
Do you want to add character to your bathroom? A classic board and batten wall treatment is a perfect choice. This wall treatment offers timeless and classic appeal. It enhances aesthetics, protects surfaces, and proves cost-effective. A DIY project, like a board and batten accent wall, is also beginner-friendly. DIY installation for a board and batten bathroom can save you thousands.
Removing old siding yourself could save up to $2,500. Painting after installation might save nearly $3,000.
This post is a comprehensive tutorial for creating a beautiful, durable diy mdf board and batten wall. You will love transforming your small bathroom space with this rewarding diy board and batten bathroom project. It truly gives your small bathroom a classic board and batten look.
Key Takeaways
A DIY board and batten wall adds classic style to your bathroom. It also protects walls and saves money.
Gather all your materials and tools first. This includes MDF boards, a miter saw, a nail gun, and strong adhesives.
Plan your design carefully. Measure your wall height and calculate batten spacing for a balanced look.
Install horizontal boards first, then vertical battens. Use a level to keep everything straight and even.
Finish your project with wood filler, caulk, primer, and paint. This makes your board and batten look professional and last longer.
Materials and Tools for Your DIY MDF Board and Batten
Getting your supplies ready is the first step for any successful DIY project. You want to make sure you have everything you need before you start. This helps your project go smoothly.
Selecting MDF Strips and Boards
For your diy mdf board and batten project, choosing the right MDF is key. MDF is great for a wall treatment because it is smooth and affordable. You will need specific sizes for your board and batten wall. Here are the recommended dimensions:
Board Type | Dimensions (Thickness x Width) |
|---|---|
Base Horizontal Board | 3/4″ x 3 1/2″ |
Top Horizontal Board | 3/4″ x 3 1/2″ |
These sizes work well for a classic look on your wall.
Essential Tools for Installation
You need some basic tools for this diy project. Grab a miter saw for clean cuts. A nail gun is super helpful. A finishing nail gun, like a Hitachi, works best. It uses a compressor. You can use a 16-gauge or an 18-gauge nail gun. Also, get a level, measuring tape, caulk gun, and a sander. These tools make your installation smooth.
Adhesives and Fasteners
Strong bonds are important, especially in a bathroom. Use a good construction adhesive. Polyurethane construction adhesives are best. They bond well to mdf and handle moisture. This is perfect for your bathroom wall. You also need brad nails. For the middle 1×4 board, use 2-inch brad nails into wall studs. For battens and the top 1×2 board, use 1 1/4-inch brad nails with adhesive. Be careful with longer nails. They might hit electrical wires. A 1 1/2-inch nail is often safer than a 2-inch nail for securing wood strips to sheetrock. Always use adhesive too for extra hold.
Finishing Supplies Checklist
Don’t forget the finishing touches. You need wood filler for nail holes and paintable caulk for seams. A good primer is a must. KILZ® Mold & Mildew Primer or HGTV Home® by Sherwin-Williams Mold & Mildew Primer are great choices. They stop mold and mildew growth on the primer film. This is vital for a bathroom. Finally, pick a durable, moisture-resistant paint. Many brands offer excellent options for bathrooms. Look for paints like Zinsser Perma-White, Sherwin-Williams Duration Home, or Behr Premium Plus Ultra. They protect against moisture and wear.
How to Install Board and Batten: A Step-by-Step Tutorial
You are ready to transform your bathroom! This step-by-step tutorial guides you through the process. Learning how to install board and batten is a rewarding DIY project.
Planning Your Board and Batten Design
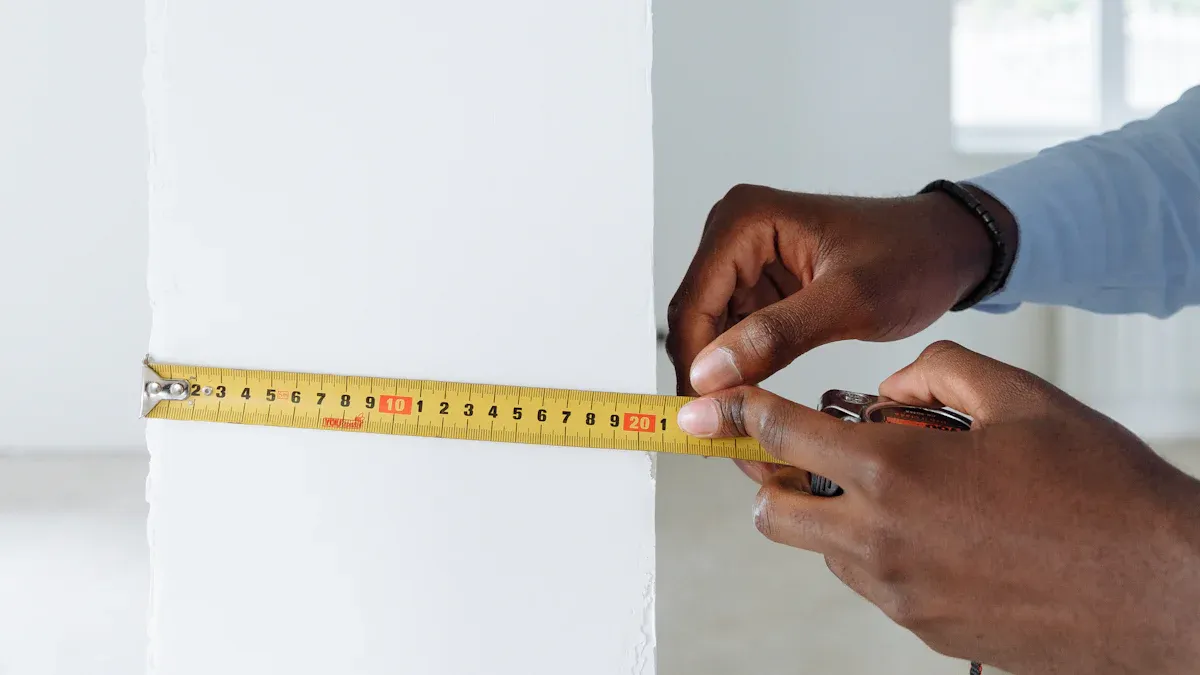
Before you cut any wood, you need a plan. Think about your wall dimensions and the look you want. This is a crucial step in your diy mdf board and batten journey.
Determine Height: For walls 10 feet or less, aim for about half the wall’s height. If your wall is 8 feet (96 inches), a height of around 48 inches works well. Remember to include any top trim in your measurement.
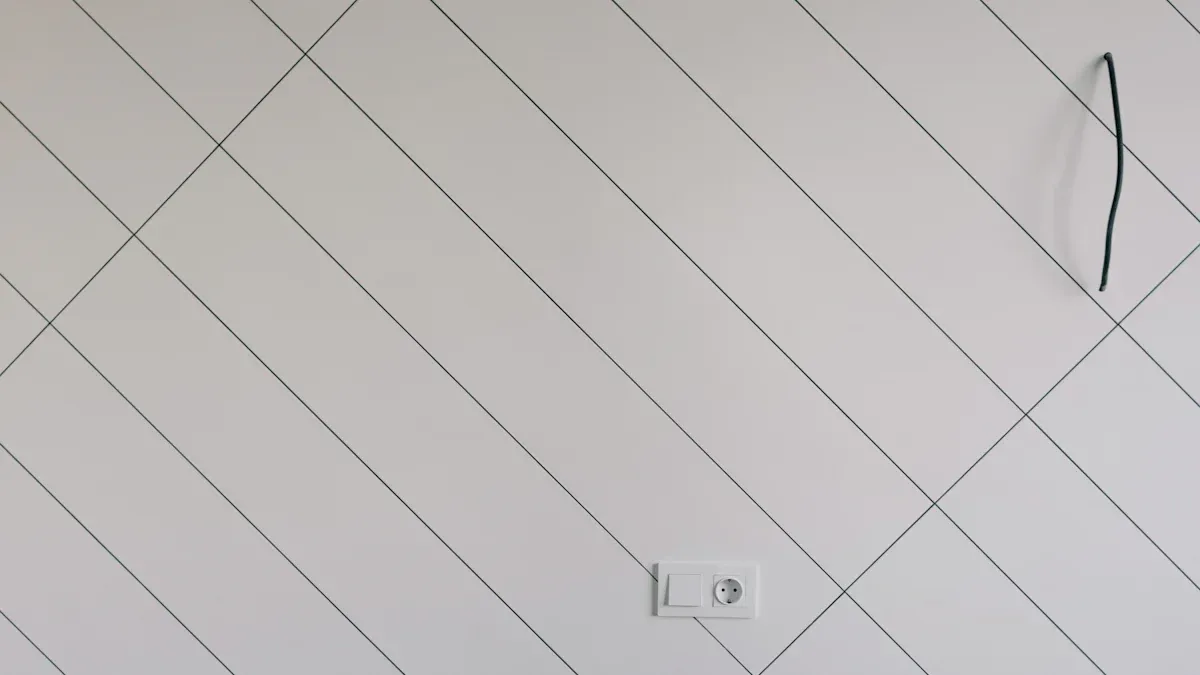
Adjust for Wall Features: Look at light switches or outlets. You might stop your board and batten wall treatment just below them (around 44-46 inches). Or, you can go a few inches above (like 54-56 inches). This avoids awkward cuts and keeps a clean look.
Calculate Spacing: You want even spacing for your vertical battens. Use this formula: (Wall Width – Total Width of All Battens) ÷ Number of Spaces = Space Between Battens. Always start and end with a batten at the wall edges. This means you will have one more batten than spaces. For example, on a 144-inch wall, if you choose 9 battens (8 spaces), and each batten is 3.5 inches wide, your spacing will be about 14.06 inches. You can visualize spacing with painter’s tape before you install board and batten.
Wall Preparation and Baseboard Removal
You need a clean slate for your new board and batten wall. If you have existing baseboards, you will remove them.
Score the Caulk: Use a sharp razor blade. Cut the caulk between the trim and the wall. Make the cut parallel to the wall. This stops the caulk from tearing your drywall paper. A putty knife can also help break the adhesion.
Pry Edge of Trim Away from the Wall: Protect your drywall. Slide an old putty knife behind the trim, over a wall stud. Then, insert a crowbar between the trim and the putty knife. This spreads the force. It reduces the chance of crushing the drywall. A trim-pulling tool also works well for easier removal.
Remove Trim: As the trim loosens, move your tool along the board. Pry at each stud location. If the caulk did not score deeply enough, slice it with a razor blade. This prevents drywall paper tears. Pull out any leftover nails with a hammer. Use a block for support near the drywall.
Attaching Horizontal Boards
Now you will install the top and bottom horizontal boards. These form the framework for your board and batten.
Set a String Line: Use a string line at the desired height for the top of your bottom rail.
Ensure Levelness: Use a level to make sure the string line is perfectly straight. The level is your best friend in this project. It ensures everything is exact. You must check both the top and bottom for levelness.
Secure Boards: Apply construction adhesive to the back of your horizontal boards. Then, position them carefully. Use your nail gun to secure them with brad nails. Make sure they are plumb and level. If you are installing new baseboards, attach them now using the same method. This tutorial focuses on a smooth, secure install.
Determining Vertical Batten Spacing
You have your horizontal boards in place. Now, you need to figure out where your vertical battens will go. This is a key part of how to install board and batten.
Exact Spacing: This method can result in end panels of different sizes. If the second-to-last batten overlaps with the end batten, they combine. You can adjust both ends equally to spread any small gaps.
Equal Spacing: With this method, you adjust batten centers to fit a chosen number of battens evenly across the wall. You can add or remove battens to change the spacing. This ensures a balanced look for your board and batten bathroom. This step-by-step guide helps you achieve a professional finish.
Installing Vertical Battens
You are almost there! Now you will install the vertical battens. This brings your board and batten design to life.
Start Plumb: The first vertical batten is the most important. It sets the alignment for all others. Use a level to ensure it is perfectly plumb and straight.
Apply Adhesive: Put construction adhesive on the back of your batten.
Position and Secure: Place the batten on the wall, aligning it with your spacing marks. Use your nail gun to secure it with brad nails. Nail every 12 inches.
Check Plumb: Periodically use your level to check that each batten remains plumb. This is vital for a consistent board and batten appearance. Work systematically across the wall. This tutorial makes the install process clear.
Finishing Your Board and Batten for a Flawless Look
You have installed your board and batten! Now, it is time for the finishing touches. These steps make your diy mdf board and batten project look professional.
Filling Nail Holes and Sanding
First, you need to hide those nail holes. Grab your wood filler. Apply a small amount to each nail hole. Let it dry completely. Then, you will sand the entire surface. Start with a medium-grit sandpaper (150-180) to smooth any rough spots. Finish with a fine-grit (220-320) sandpaper. This creates a silky smooth base for your paint. Always sand along the wood grain. After sanding, clean the wall thoroughly. Use a tack cloth to pick up all the fine dust. This ensures no residue remains.
Caulking All Seams
Caulking is a crucial step for a seamless look. It also protects your wall. You will caulk all the seams where the MDF meets the wall and where pieces of MDF meet each other. For a bathroom, use a mold-resistant silicone sealant. This type of caulk is perfect for wet areas. It offers waterproof protection and stops mold and mildew growth. It stays flexible, too, which prevents cracking. After you apply the caulk, smooth it with a wet finger or a caulk tool. Remember, caulk needs time to dry before you prime or paint. This can take anywhere from 30 minutes to 24 hours. Always check the manufacturer’s instructions for your specific product.
Priming for Durability
Now that your caulk is dry, it is time to prime. Priming is super important for durability. It helps your paint stick better and gives you a more even finish. Use a good quality primer, especially one designed for bathrooms. These primers often have mold and mildew resistance built in. Apply one or two thin coats of primer. Let each coat dry completely before applying the next.
Painting Your Board and Batten
You are ready for the final step: painting! To get a smooth, streak-free finish, apply paint in thin, even layers. Do not overload your brush or roller. Thick coats take longer to dry and can leave brush marks. After each coat, let the paint dry completely. Then, lightly sand with ultra-fine grit sandpaper (320 or 400 grit). This smooths out any tiny imperfections. Remove all dust before your next coat. For best results, use high-quality synthetic brushes or smooth foam rollers. These tools help you avoid an “orange peel” texture on your wall.
Design Tips and Troubleshooting Your Board and Batten
Choosing Height and Spacing
You want your board and batten to look just right. For an 8-foot wall in your bathroom, a height of about 48 inches works perfectly. This is half the wall’s height. It gives a classic, balanced look. You can go taller for a more dramatic effect if you like. Think about the overall feel you want for your board and batten bathroom. Spacing also matters. Evenly spaced battens create a clean, professional finish. Uneven spacing can make the wall look off.
Color Choices for Bathrooms
Colors can really change your bathroom’s feel. A black and white look is very popular. You can use ‘Perfect White’ for the board and batten and ‘Dark Kettle Black’ for the top drywall. This creates a striking contrast. Rich gray board-and-batten wainscoting with light khaki-color walls adds depth. Soft, neutral colors with subtle splashes of color make the space feel airy and tranquil. Two-tone walls, with white above and a chosen color below, keep brightness while adding character to your board and batten accent wall.
Addressing Common Installation Issues
Sometimes, paint peels. High humidity in bathrooms causes moisture to form on walls. This makes paint bulge and peel. Painting on a dirty surface also causes paint to not stick well. Water exposure, like splashes, can seep between paint layers. A substandard paint job, using low-quality paints or poor techniques, leads to brittle paint. To prevent this, improve ventilation. Use exhaust fans after showers. Patch any peeling paint right away. Always use high-quality, moisture-resistant latex paints for bathrooms.
Maintenance for Longevity
You want your board and batten to last. Avoid harsh chemicals or abrasive scrubbers. They can harm the finish. Use soft sponges and non-scratchy towels, like cotton or microfiber. When you clean, make sure your cloth is damp, not wet. Squeeze out extra water. Soak up any puddles right away with a dry cloth. For stains, use a moderate cleaning solution of water and a few drops of dish detergent. Gently wipe the wall. Rinse with a damp cloth and dry thoroughly. Regularly polish with furniture wax to protect the paint. Dust your wall often with a soft, dry fabric.
You just completed a fantastic DIY project! Your new diy mdf board and batten wall treatment truly transforms your bathroom. It brings a classic, durable appeal. This project is totally achievable for beginners. You gain significant aesthetic and protective benefits. Embrace this challenge! Enjoy the rewarding outcome of your revitalized board and batten bathroom. Your well-executed DIY home improvement will make your bathroom shine for years.
FAQ
Can I use real wood instead of MDF for my board and batten?
Yes, you can use real wood. Poplar is a good choice. It is more expensive than MDF. Real wood can also warp more easily in humid areas like a bathroom. MDF offers a smoother finish.
How high should I make my board and batten?
A common height is one-third or one-half of your wall’s total height. For an 8-foot wall, 32 or 48 inches works well. Consider your room’s scale and any existing features like windows or outlets.
Is this DIY board and batten project beginner-friendly?
Absolutely! This project is great for beginners. Our step-by-step tutorial guides you through each part. Take your time and measure carefully. You will love the results.
How do I clean my new board and batten wall?
Use a soft, damp cloth with mild soap and water. Avoid harsh chemicals. Gently wipe down the surface. Dry it immediately to prevent moisture damage. Regular dusting also helps keep it looking fresh.
