
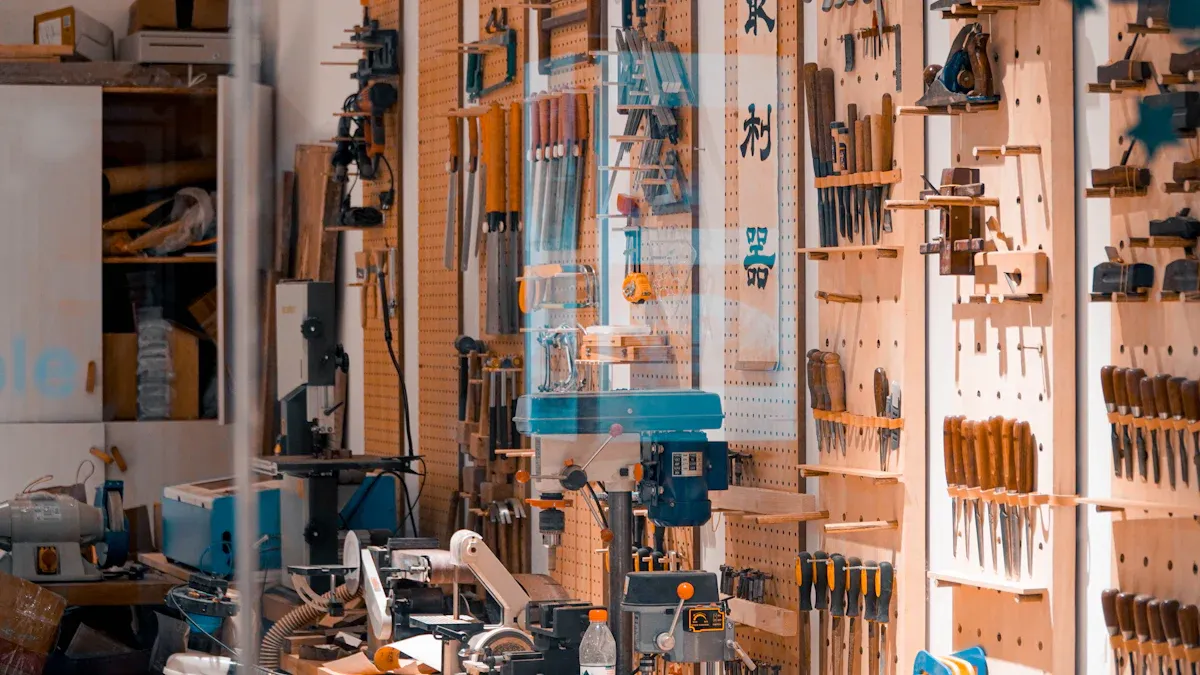
Does your workspace feel cluttered? Do you long for personalized organization? You’re not alone! Neuroscientists at Princeton University found physical clutter negatively affects your focus and ability to process information. It also reduces creative thinking and increases stress. This is why a simple DIY storage project like building a simple pegboard shelf is a fantastic DIY storage solution. This DIY pegboard shelf project offers custom storage. It’s a simple, effective solution to transform your area. Get ready for enhanced storage with your new pegboard! Embark on this rewarding DIY journey to create a more functional space.
Key Takeaways
A DIY pegboard shelf helps organize your workspace. It reduces clutter and stress.
Gather tools like a drill and saw. Get supplies like a pegboard, plywood, and hooks. Choose strong wood for shelves.
Install your pegboard with spacers. This lets hooks fit. Anchor it to wall studs for strength. Use the right hardware for your wall.
Customize your pegboard with different accessories. Use bins, cups, and various hooks. Place items you use often in easy-to-reach spots.
Keep your pegboard tidy. Plan your layout. Paint it a bright color. This makes your workspace look good and stay neat.
Tools & Materials for Your DIY Pegboard Shelf
Required Tools
To start this project, you’ll need a few essential tools. Grab a drill for making pilot holes and securing screws. A saw, like a hand saw or a miter saw, will help you cut your wood pieces precisely. You’ll also need a trusty measuring tape and a pencil for accurate markings. A level is super helpful to ensure your pegboard hangs perfectly straight on the wall. And remember, safety first! Always wear safety glasses when you’re cutting or drilling.
Supplies for Your Pegboard Shelf
Now, let’s gather the supplies needed for a diy pegboard shelf. First, you’ll need the star of the show: a pegboard. A 2’x4′ piece is a fantastic size to begin with, offering plenty of space without overwhelming your wall. Keep in mind that most pegboard holes are 1/4 inch in diameter and spaced 1 inch apart. This standard sizing is key for selecting the right hooks.
For your actual shelves, you’ll want a material that can hold your items without sagging. A 1/2 inch plywood, cut into 6-inch lengths, works well, and you can easily customize the widths to fit your needs. For the shelf board thickness, 3/4 inch is highly recommended. This thickness provides excellent stability and prevents bowing, especially if you plan to store heavier items. When choosing wood, think about its strength and appearance:
Wood Type | Key Durability Properties |
|---|---|
Pine | Affordable softwood, good for light-duty shelves. |
Poplar | Hardwood, good for painted shelves, moderate durability. |
Oak | Very strong and durable hardwood, excellent for heavy-duty shelves. |
Maple | Extremely hard and dense hardwood, ideal for high-traffic or heavy-load shelves. |
Plywood (Hardwood) | Stable and strong engineered wood, great for wide, durable shelves. |
You’ll also need a 1×4 pine board, about 10 inches long, for each shelf support. These will be the backbone of your new storage. And don’t forget the hooks! You need two short, straight pegboard hooks for every shelf you plan to build. It’s crucial that your hooks match your pegboard’s hole size; standard 1/4-inch diameter hooks are most common. For extra stability, hooks designed for 1-inch hole spacing can be secured with a plastic screw, preventing them from lifting off when you grab an item. Also, ensure you have about 1/2 inch of standoff space behind your pegboard for the hooks to insert properly. If you want to add extra reinforcement, a little wood glue is an optional but smart addition to your shelf supports.
Building Your DIY Pegboard Shelf
Pegboard Preparation
First, let’s get your pegboard ready. Don’t just guess your measurements! You need to measure the area you want to cover before you buy your pegboard. Think about the available pegboard sizes. You also need to calculate how many sheets you’ll need. This prevents buying too much or too little. Finding wall studs is also important. This helps you join multiple pegboard sections securely.
When you install your pegboard, use spacers. Spacers create a gap between the wall and the pegboard. This gap lets your hooks insert properly. Always use a level to make sure your pegboard hangs straight. A crooked pegboard looks bad and can make items fall off. Finally, use the right hardware. Different wall types need specific screws and anchors for a secure installation.
Shelf Support Assembly
Now, let’s assemble your shelf supports. You’ll use your 1×4 pine board for this. Cut it to the length you decided earlier, usually around 10 inches. This piece will sit on your pegboard hooks. You want to make sure these supports are strong.
If you’re attaching them to a wall stud, wood screws like GRK #10 wood screws (2 1/2″ length) are excellent. They are strong and give you good leverage for heavy items. These screws often come with a Torx head (T25 bit) for secure driving. If you can’t hit a stud, don’t worry! Drywall anchors, like Toggler Mini Snap-Skru anchors, work well. They can hold up to 65 pounds each when installed correctly. You’ll need a 1/4″ drill bit for pilot holes with these. These anchors expand behind the drywall for a super secure grip. This step is crucial for your diy project.
Attaching Shelves
You’ve prepared your pegboard and assembled your supports. Now it’s time to attach your shelves. Place your 1/2 inch plywood shelf pieces onto the two short, straight pegboard hooks. For extra stability, you can add stop blocks to the undersides of your shelves. These blocks prevent the shelves from sliding off the pegs sideways. Another strong method is to air nail the shelves directly to the pegs they rest on. This creates a very firm shelf that won’t slip. Just remember, this makes rearranging your simple pegboard shelf harder later.
Be careful to avoid common errors that can make your shelves unstable. Don’t assume an empty shelf will stay stable when you load it up. The dynamics change a lot with more weight. Using the wrong hardware for your wall type is another frequent mistake. Drywall anchors rated for 50 pounds won’t safely hold a fully loaded bookshelf, for example. Overloading your shelves creates stress and sagging. Poor weight distribution also causes lean and stress points. Always ensure you level the unit. An unleveled unit can cause collapse and uneven weight distribution. Don’t forget to anchor your shelving. This prevents tipping hazards and injuries. Neglecting regular maintenance can also weaken your structure over time. This step-by-step guide helps you build a sturdy shelf.
Custom Storage Installation
Shelf Layout Customization
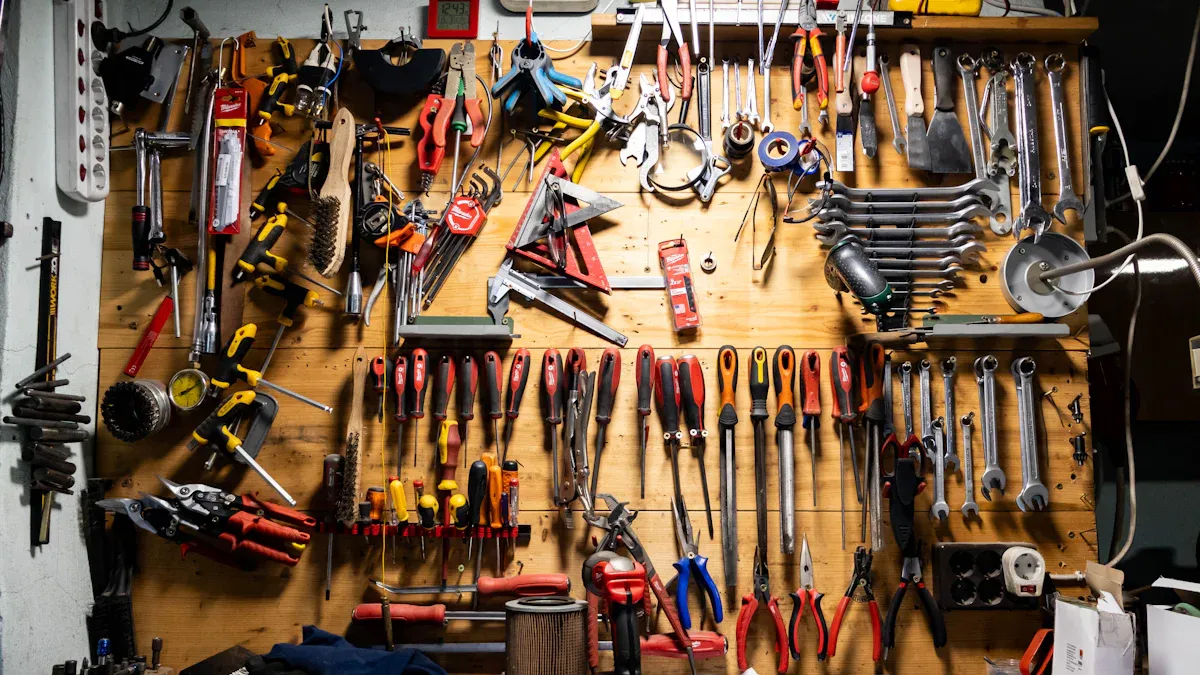
You can make your pegboard truly yours. Think about what you need to store. For your workspace, a custom pegboard offers versatile storage. You can set it up as a craft station for markers and scissors. Or, use it as a desk organizer for pens and notepads. You can even create a large pegboard for all your tools and files. Consider adding small lamps or LED strips to brighten your area. You can also organize headphones and charging cables. This helps you save space on your desk. You can even add small plants to bring some life to your area. For small items, use PVC pipe cubbyholes for files or pencils. Mini shelves can hold router bits or screwdrivers. Mason jars are great for screws and nails. This custom storage makes your area much more efficient.
Mounting Your Pegboard
Mounting your pegboard correctly is important. The strongest way is to anchor it directly into wall studs. These are usually 16 inches apart. If you cannot hit a stud, use the right anchors for your wall type. For drywall, toggle bolts are best for heavy items. Always use washers with your screws. They help spread the weight. Mount your pegboard with furring strips. This creates a 1/2-inch gap behind it. This gap lets your hooks go in properly. Make sure fasteners are no more than 16 inches apart. This stops your pegboard from sagging.
Maximizing Storage
You can get even more out of your pegboard. Think of it as a command center. You can add mail slots, a laptop shelf, and cable hooks. This keeps your desktop clear. You can also layer your pegboard behind floating shelves. The shelves hold bigger items. The pegboard behind them holds hooks and small baskets. This gives you lots of storage options. You can use mobile pegboard panels too. They let you move your tools around. Color-code your items for quick finding. Use different colors for cords or markers. Integrate LED lights into your pegboard. This makes your workspace brighter. You can also use specialized accessories. Hooks and dowels can hold wrapping paper. Binder clips can hang tool pouches. Wire baskets are good for hard-to-hang tools. This diy storage solution helps you use every bit of available space.
Workspace Organization Tips
Pegboard Accessories
Your pegboard is a blank canvas for amazing storage. You can add many different accessories to make it work for you. Think about small bins or cups. They are perfect for holding pens, markers, or small tools. Hooks come in all shapes and sizes. Use them for hanging scissors, rulers, or even your headphones. You can also add small shelves to your pegboard. These shelves give you extra space for books, small containers, or decorative items. For organizing craft supplies, consider clear plastic containers that hook onto the pegboard. This lets you see everything at a glance. Don’t forget about tool holders. They keep screwdrivers and pliers neat and easy to grab.
Maintaining Your Setup
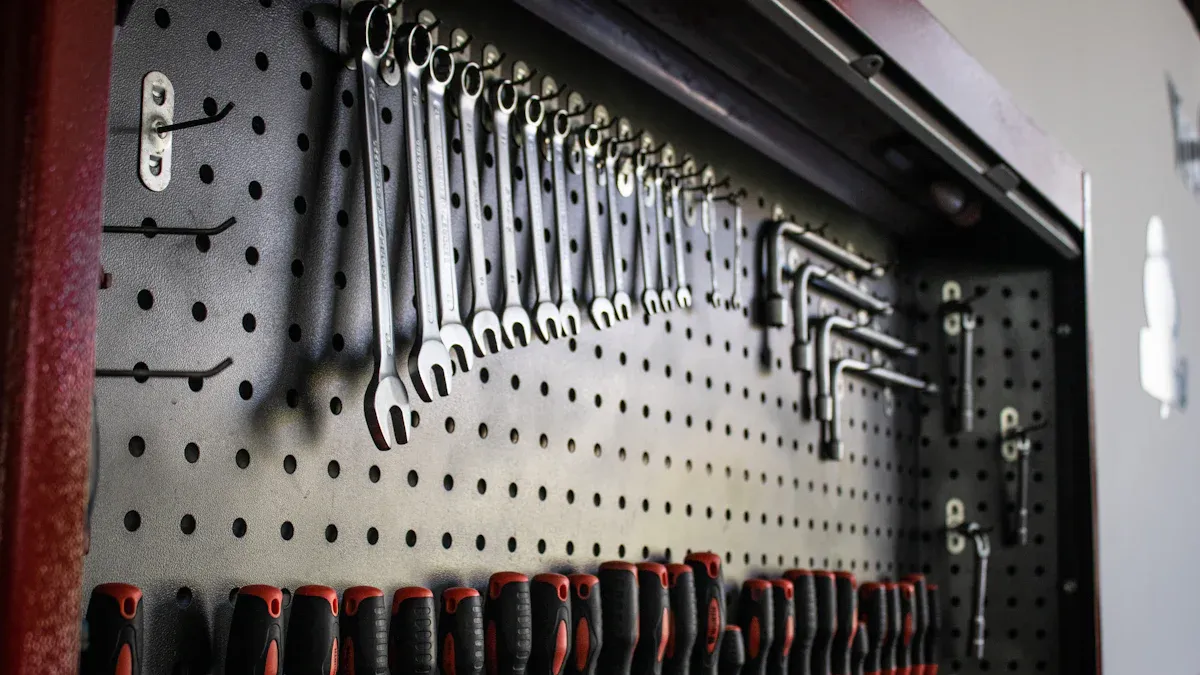
Keeping your pegboard tidy helps you stay organized. First, plan your layout before you hang anything. Think about what you use most often. Place those items in your “Primary Zone.” This is usually from eye level to your waist. You can easily reach these tools every day. For items you use weekly, put them in the “Secondary Zone.” This area is from your waist to your knees or just above your eye level. Finally, put seasonal or backup supplies in the “Tertiary Zone.” These are the lowest and highest spots on your pegboard.
You can also make your pegboard visually appealing. Paint your pegboard a bright color. This makes your tools stand out. Use different colored hooks to group similar items. For example, all your painting supplies could have blue hooks. You can even draw outlines around your tools. This creates a “shadow board” effect. You always know where each tool belongs. Remember to check your pegboard system regularly. Make sure it can handle heavy items. This prevents damage. Experiment with where you place things. Give each item enough room to be taken off easily. This smart planning keeps your workspace functional and neat.
You just built an amazing diy pegboard shelf! This simple diy project offers fantastic custom storage for your workspace. It’s an effective diy storage solution. You now have better organization, which boosts your productivity. Plus, your space looks great and feels personal. We would love to see your custom storage ideas! Share your creations with us. Go enjoy your perfectly organized workspace!
FAQ
Can my pegboard hold heavy tools?
Yes, your pegboard can hold heavy tools. You need to anchor it into wall studs. Use strong screws and anchors. This gives you the best support. Always check the weight limits of your specific pegboard and hooks.
Can I paint my pegboard?
Absolutely! You can paint your pegboard. Use a primer first. Then, apply your chosen paint color. This makes your workspace look great. A fresh coat of paint can really brighten your area.
What if I don’t want to use wood for shelves?
You have other options! You can use acrylic or metal sheets for your shelves. These materials offer a different look. They can also be very durable. Just make sure they are strong enough for your items.
How do I move my pegboard if I rearrange my workspace?
Moving your pegboard is simple. First, remove all items and shelves. Then, carefully unscrew it from the wall. You can then re-mount it in your new spot. Remember to use a level for proper installation.
What kind of hooks should I use?
You should use hooks that fit your pegboard’s hole size. Most pegboards have 1/4-inch holes. Look for hooks designed for this size. Choose hooks that match the weight of your items. This keeps everything secure.
