You want to update your home without spending a fortune, right? We all do! DIY painting offers an amazing, budget friendly way to refresh any space. It’s a truly budget-friendly solution. You get such satisfaction from these creative diy paint makeovers. Plus, you truly personalize your home. A simple diy paint project can transform your home. These affordable paint updates give you a full-home refresh. Get ready for some fantastic diy painting ideas to update your home. Each idea uses paint to make a big impact.
Key Takeaways
Good preparation is key for a lasting paint job. Clean walls, sand surfaces, and use painter’s tape for best results.
Accent walls add personality to a room. You can use bold colors, geometric patterns, or stencils to make a statement.
Paint can give old furniture new life. Revitalize pieces with fresh colors, distressed finishes, or two-tone designs.
Don’t forget doors and trim. Painting them can greatly improve your home’s look and add definition.
You can update kitchens and bathrooms with painted cabinets and vanities. Choose the right paint for durability and moisture resistance.
DIY Painting Prep: Essential Steps
Before you grab a brush and dive into your next diy paint project, remember this: good preparation is the secret to a beautiful, lasting finish. You want your hard work to shine, right? Taking these essential steps ensures your paint job looks professional and stands the test of time.
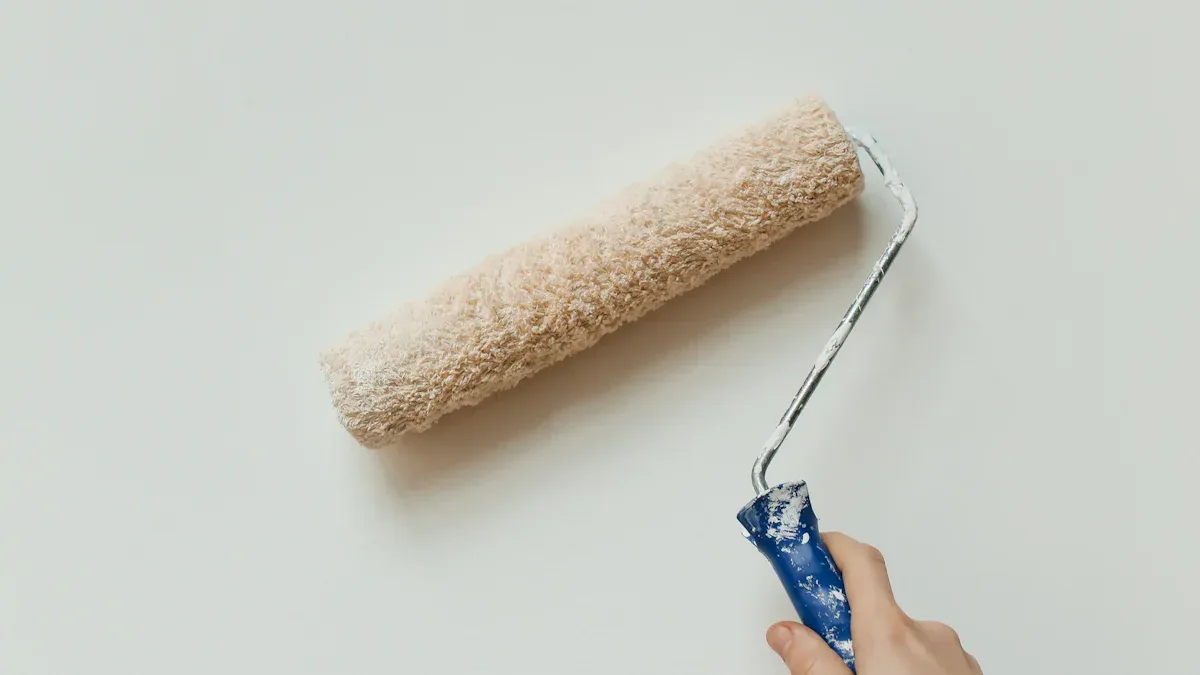
Gathering Tools and Supplies
First, let’s talk about what you’ll need. For a basic diy painting project, you’ll want these items:
Paintbrushes
Rollers
Paint trays
Drop cloths
To make your life even easier and your project more efficient, consider adding a few specialized tools. High-capacity rollers, oversized paint trays, and sticky drop cloths can streamline the entire process. A touch-up paint pen is also a lifesaver for small fixes later on.
Choosing the Right Paint
Selecting the right paint is crucial. You’ll find different types, like latex (water-based) for most interior walls and oil-based for trim or high-traffic areas. Think about the finish too: matte hides imperfections, satin offers a subtle sheen, and gloss is durable and easy to clean. Always read the label to pick the best paint for your specific surface.
Surface Preparation Basics
Proper surface preparation makes all the difference. You need a clean, smooth surface for the paint to adhere well.
Clean your walls: Gather microfiber cloths, two buckets (one for cleaning solution, one for rinse water), and mild detergent. Start by sweeping away loose dust. Then, wash the walls with a slightly wet sponge and warm water with a mild cleaning agent. Work from the bottom up. Rinse the walls with clean water to remove any soap residue.
Dry thoroughly: Make sure your walls are completely dry before you paint. Open windows or use fans to speed up drying.
Caulk and sand: Caulk any gaps between trim and walls. Sand glossy surfaces dull with 150 to 200-grit sandpaper. This helps the paint stick better.
Tape edges: Use painter’s tape along trim and around outlets. This prevents messy lines.
Prime: Priming is often a smart move. It helps paint adhere, blocks stains, and makes colors more accurate. You should always prime when painting drywall for the first time, making big color changes, or painting over wallpaper. You can even tint your primer close to your final paint color!
Safety Guidelines for Painting
Your safety matters! Paint fumes and chemicals need careful handling.
Ventilate: Always open windows and use fans to ensure proper ventilation. Consider an air purifier to reduce VOCs (Volatile Organic Compounds).
Wear protective gear: Use masks designed for painting, goggles for splashes, and gloves to protect your skin. Make sure your gear fits well. Respirators with organic vapor cartridges are ideal for filtering airborne contaminants.
Plan for emergencies: Know where your first aid kit is and who to call if something goes wrong.
Take breaks: Step outside for fresh air often. Avoid staying in a freshly painted room for 2 to 3 days after you finish.
Read labels: Always follow the manufacturer’s instructions and safety labels on your paint products.
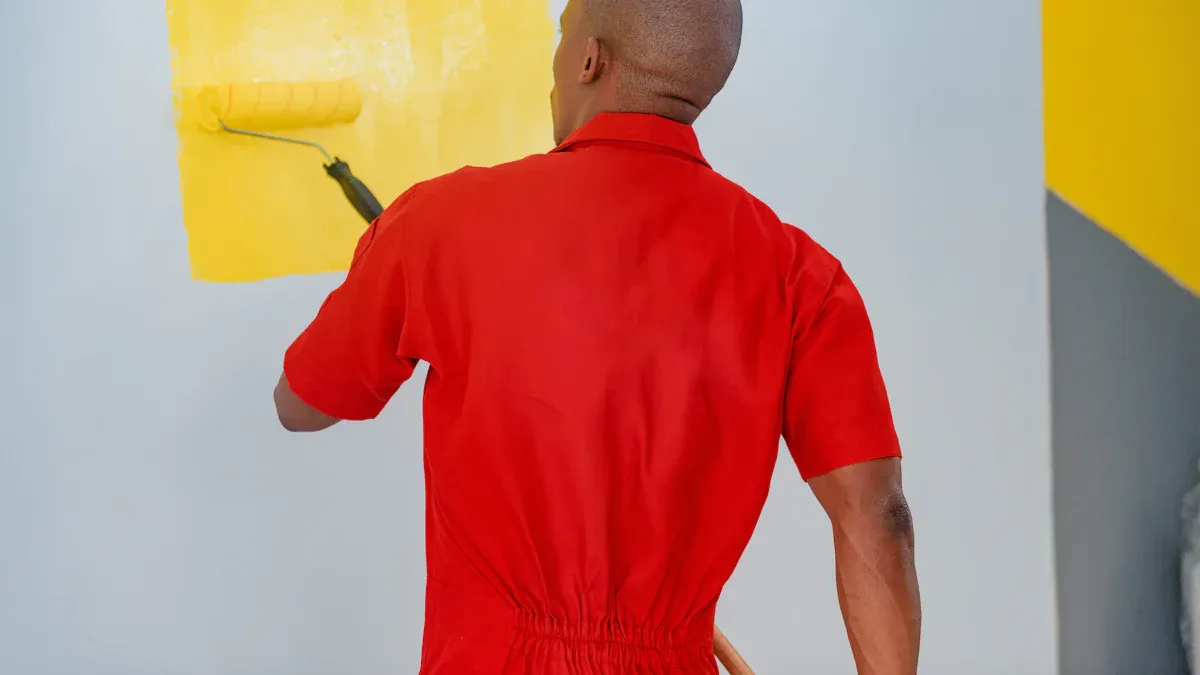
Accent Wall Refresh Ideas
You can truly transform a room with an accent wall. This simple diy idea adds personality and depth. It is one of the most impactful diy painting ideas you can try.
Bold Statement Walls
A bold accent wall can make a statement in any home. You choose one wall to highlight. Consider warm terracottas or deep plums for a cozy feel. Charcoal blacks and jewel tones like emerald green or sapphire blue offer dramatic elegance. You can also try earthy bold palettes with rustic oranges. For a maximalist look, vibrant fuchsia or teal can color-drench a space. These colors instantly draw the eye and make a statement.
Geometric Patterns and Stripes
Geometric patterns and stripes add modern flair. First, prepare your walls. Make sure they are clean and smooth. Repair any chips. Next, apply painter’s tape carefully. Press the edges down firmly. For super crisp lines, paint over the tape’s edge with your base color. This seals the tape. Then, fill in your taped sections with your chosen paint. Use thin, even coats. Let each coat dry. Finally, remove the tape while the paint is still wet. Pull it off slowly at a 45-degree angle. This helps prevent paint from tearing.
Stenciled Designs for Walls
Stenciling offers intricate designs without wallpaper. Avoid common mistakes for best results. Do not overload your roller. Too much paint causes bleeding under the stencil. Use a dense foam roller. Dip only a portion into the paint. Remove excess on newspaper. Also, do not skip wall preparation. Uneven surfaces lead to messy outcomes. Always use registration marks and a stencil level. This keeps your patterns straight. Do not rush. Let the paint dry before you reposition the stencil. This prevents smudges. Apply two thin coats for full coverage. Do not use stencils to hide wall blemishes; they will draw more attention to them.
Furniture Paint Makeovers
Do you have old furniture pieces that look tired? Don’t throw them out! You can give them a new life with a fresh coat of paint. These furniture paint makeovers are a fantastic way to update your home without buying new items. A simple paint job can completely transform a piece.
Revitalizing Old Furniture Pieces
You can easily revitalize old furniture. Think about that dusty dresser or plain coffee table. A little paint can make a big difference. First, clean the piece well. Remove any hardware. Then, lightly sand the surface. This helps the paint stick. Choose a color that matches your style. Apply thin coats of paint. Let each coat dry completely. You will be amazed at the results. This is a great diy project.
Distressed and Antiqued Finishes
You can give your furniture a charming, aged look with distressed and antiqued finishes. This style adds character. Here is how you do it:
Sand corners and edges: Use fine-grit sandpaper. Gently remove paint from areas where natural wear would happen. Think about corners and edges. This reveals the wood underneath.
Apply stain over paint: You can use a foam brush or a soft cloth. Apply wood stain over the exposed wood. Work in small sections.
Wipe and remove stain: Use a dry rag. Wipe the stain. Spread it to nearby areas. This darkens white paint. It creates a worn look. Work quickly so the stain does not dry.
Seal the finish: Apply a clear wax or a protective coating. Polycrylic works well. Follow the instructions. Apply multiple thin coats for durability.
Two-Tone Furniture Transformations
Two-tone furniture adds visual interest. You use two different paint colors on one piece. This creates a unique look. You can paint the body one color and the drawers another. Or, paint the top one color and the legs another. Many color combinations work well. For example, you could try:
French Linen and Coffee Bean for a classic feel.
Hampton Olive and Endless Shore for a calm vibe.
Old Ochre and Tea Rose for a warm, soft look.
Blueberry and Bunker Hill for beautiful blues that blend.
These diy paint makeovers let you personalize your furniture. They make your home feel fresh.
Doorway and Trim Refresh
Don’t overlook your doorways and trim! These often-forgotten elements offer huge potential for a quick, impactful update. A fresh coat of paint on these features can truly elevate your entire home.
Painting Interior Doors
Your interior doors are a big part of your home’s look. Giving them a new color can make a huge difference. When you paint interior doors, choose the right type of paint for durability.
Paint Type | Durability | Drying Time | Odor | Cleanup |
|---|---|---|---|---|
Water-Based (Latex) | Good, but less durable than oil-based in high-traffic areas | Quick | Low | Water |
Oil-Based | Excellent, long-lasting, smooth finish | Longer | Stronger | Mineral spirits |
Acrylic Enamel | Long-lasting, similar to oil-based | Quick | Low | Water |
You should also consider semi-gloss or high-gloss finishes. These finishes resist stains and scuffs. They can withstand scrubbing without damage. They are great for high-traffic areas.
To paint your doors:
Prepare doors by filling dings or holes. Sand them smooth. Scuff-sand previously painted doors. Wipe down doors to remove dust. Prime bare wood. Caulk gaps where trim meets walls. Remove or tape off hardware.
Strain your paint to remove debris.
Consider removing the door by pulling hinge pins. This lets you paint top and bottom edges. This seals the door. It helps reduce expansion or contraction.
For a 6-panel door, paint the edges first. Then paint the panels. Start with molding and border detail. Next, paint the flat surface. Apply paint liberally. Brush away excess. Brush in the direction of the wood grain.
Paint the rails and styles. Apply paint liberally. Brush in the direction of the wood grain. Feather out excess. You can use a 4-inch mini roller for application. Follow with a brush to match texture.
Apply a second coat if needed for uniform coverage.
Leave doors open until completely dry.
Highlighting Window and Door Trim
Trim adds definition to your rooms. Painting it neatly makes a big impact. This diy project is very satisfying.
To paint window sashes and trim:
Prepare window sashes and trim. Fill imperfections with paintable wood filler. Sand smooth. Scuff-sand previously painted surfaces. Wipe away dust. Prime bare wood. Caulk gaps where trim meets walls. Remove or tape off hardware. Scrape excess paint and putty from glass.
If muntins are removable, take them out. Paint them separately.
For double-hung windows, reverse sashes. Paint the lower sash. Paint the bottom half of the upper sash. Allow paint to slightly lap onto the glass to seal the edge.
Un-reverse sashes. Leave a small gap. Paint the remainder of the upper sash. Allow paint to slightly lap onto the glass.
If muntins are not removable, brush them with a smaller brush. Allow paint to slightly lap onto the glass.
Finish by painting the window trim from top to bottom. Do edges first. Then do the face.
Apply a second coat as needed.
Keep sashes open until dry. Move them daily for a week to prevent sticking.
Once dry, straighten the paint line on the glass. Use a putty knife and razor blade scraper. Wet the window with glass cleaner to prevent scratching.
Contrasting Colors for Architectural Detail
You can use contrasting colors to highlight architectural details. This adds depth and character to your home. It creates an eye-catching dimension.
Consider these ideas:
Bright arctic white for clean contrast. This defines architectural features.
Deep charcoal accents. These bring definition.
Bronze-tinted neutrals for subtle sophistication.
Crisp whites as a canvas for other design elements.
Deep granite-inspired grays. These anchor a color scheme with timeless appeal.
Balancing bold and neutral colors. This adds eye-catching dimension.
Budget Cabinet Makeovers
You can give your kitchen or bathroom a fresh look without spending a lot. Cabinet makeovers are a fantastic, budget friendly way to update your home. A simple coat of paint can completely change the feel of a room. These diy paint makeovers are truly impactful.
Kitchen Cabinet Painting Guide
Painting your kitchen cabinets is a big project, but it’s a great diy makeover. You can save a lot of money. Here are the steps you should follow for a successful paint job:
Gather Your Tools: You will need painter’s tape, drop cloths, cleaning supplies, a screwdriver, sandpaper, a foam roller, paintbrushes, a paint tray, primer, and paint.
Plan Your Budget: Think about the cost of good quality paint and new hardware.
Choose Your Paint: Pick paint made for cabinets. Oil-based paint gives fewer brushstrokes. Latex paint dries faster.
Clean Your Cabinets: Take everything out of your cabinets. Clean them well with a mild, grease-cutting soap. Make sure they are completely dry.
Prepare Your Kitchen: Open windows for fresh air. Remove furniture. Put down drop cloths. Tape off areas you don’t want to paint.
Sand and Prime: Lightly sand your cabinets. This helps the paint stick. Fill any small cracks with wood putty. Then, apply a good primer.
Paint Your Cabinets: Prop up cabinet doors for easier painting. Use even strokes. Paint the cabinet frames first, then the doors.
Dry and Apply Second Coat: Let the first coat dry completely. Then, apply a second coat for a durable finish.
Add Finish: You can add a gloss or varnish for extra protection and the look you want.
Reassemble: Put your hardware back on. Reattach doors and drawers.
Bathroom Vanity Updates
You can easily transform your bathroom with a painted vanity. This is a budget friendly way to update the space. For a bathroom vanity, you need paint that can handle moisture.
Semi-gloss Paint: This paint repels water well and is easy to clean. It’s a top choice for bathrooms.
Satin Finish: This finish has a soft shine. It is also washable and durable.
Acrylic Paints: These water-based paints resist moisture and stains. They often have low VOCs too.
These types of paint help prevent mold and mildew. They have a tight surface that keeps water out. This makes them easy to clean without damaging the color.
Open Shelving Color Pops
Open shelving is a great place to add a splash of color. You can paint the back of your shelves to make them stand out. This simple diy project adds personality. Consider these fun colors:
Blue 💙
Orange 🧡
You can even use Christmas paper for a seasonal touch! 🎄
Ceiling Paint Ideas: The Fifth Wall
You often forget about your ceiling, but it’s a huge part of your room! Think of it as the “fifth wall.” Giving it some attention can completely change how your space feels. These ceiling paint ideas offer a fresh perspective.
Adding Color to Ceilings
Adding color to your ceiling quickly makes a room more interesting. It creates visual depth. Different colors create various moods. For example, a soft blue paint can make a room feel calm. A deep charcoal adds drama. You can also highlight crown molding with a contrasting ceiling color. This enhances architectural features. It reflects your personality. Bold ceiling colors, like deep navy blue or emerald green, can truly transform a room. They create intimacy. They become a focal point. Lighter bold colors, like pastels, add energy. Painting the ceiling to match or complement accent furniture unifies your room’s design. You can even make a statement in unexpected spaces. Bold ceiling colors work well in smaller areas like powder rooms. This creates unique experiences in your home.
Stenciled Ceiling Borders
You can add a touch of elegance with stenciled ceiling borders. This paint idea frames your room beautifully. Choose a stencil design that matches your decor. Carefully tape it near the edge of your ceiling. Then, apply your paint with a stencil brush or roller. Make sure not to use too much paint. This prevents bleeding. Remove the stencil carefully for a crisp design.
Faux Coffered Ceiling Effects
Want a high-end look without the cost? Create a faux coffered ceiling effect. This clever paint technique uses tape and different shades of paint. You can mark out a grid pattern on your ceiling. Use painter’s tape to create the “beams.” Paint the recessed areas a slightly darker or lighter shade. This gives the illusion of depth. It adds architectural detail.
Floor Painting Transformations
You can completely transform your floors with paint! This is a fantastic way to give your home a fresh look without replacing everything. A painted floor can add so much character.
Stenciled Wood Floors
Give your wood floors a unique touch with stenciled designs. This DIY project lets you add intricate patterns. First, measure your walls and distances. This helps you plan the layout. For random patterns, place your first stencil in a corner. For border designs, start in the visual center. Secure the stencil with blue painter’s tape. You can mix white paint with your main colors to get different hues. Use disposable cups for mixing. Apply paint by dabbing, not stroking. This stops paint from bleeding under the stencil. Use good stencil brushes. When you reach the edges, bend the stencil to paint partial designs. Secure it with tape. Once the stencil paint is dry, you can add a border. Tape the desired border size. Protect your walls from splashes. Finally, add a matte finish protective coating over your stenciled floor. This protects your beautiful work.
Concrete Floor Revitalization
Don’t let dull concrete floors bring down your space. You can revitalize them with special paint and sealants. Products like PITTSBURGH PAINTS & STAINS® REVITALIZE® Resurfacer & Sealant are great. This 100% acrylic product helps restore concrete. It extends the life of damaged concrete. It also offers waterproofing protection. It fills cracks up to 1/4 inch. This paint resists mildew and fading. It is also self-priming. Other options include polyurea and polyaspartic coatings. These are very durable. They resist wear and chemicals. Flake systems add decorative vinyl flakes. Quartz systems are super durable for high-traffic areas. Solid color coatings are easy to maintain. They make your floor last for many years.
Checkerboard Floor Patterns
A checkerboard pattern gives your floor a classic, bold look. This transformation is striking. Start by cleaning your floor well. Fill any holes with wood filler. Lightly sand the floorboards. Then, clean again to remove dust. Apply a good quality primer. Use a large roller and brushes for corners. Protect your skirting boards with tape. Next, paint the entire floor with the lighter of your two chosen colors. You might need two or three coats. Let each coat dry completely. Avoid walking on it for at least 24 hours. Decide on your square size. Draw out the pattern. Use painter’s tape to mark off every other square. Seal the tape by painting over its edges with the lighter base coat. This stops the contrast color from bleeding. Once the seal is dry, paint the top coat. Use a small roller. Apply three coats. Remove the tape while the paint is still wet. This gives you crisp edges. Touch up any smudged areas with a small paintbrush.
Painted Home Decor Upgrades
You can give your existing home decor items a fresh, new look with just a little paint! These simple projects are perfect for adding personality and updating your space without spending a lot.
Upcycling Vases and Planters
You can give old vases and planters a fresh, new look. This is a fantastic way to refresh your home decor without buying new items. For ceramic or glass surfaces, you have several great paint options. Krylon Chalky Finish Paint, for example, comes in colors like Classic White or Paver Gray. It gives a simple, chalky matte finish and often needs no primer if the surface is clean. If you want a textured look, try Krylon Fine Stone Textured Finish or Coarse Stone Textured Finish. These spray paints create a surface that looks like limestone. Another clever trick involves water-based paints, such as acrylic or latex. You can mix one tablespoon of baking soda per cup of paint. This creates a beautiful, textured, matte finish that mimics ceramic pottery. Just remember, oil-based paints won’t work for this technique. This diy paint makeovers project is easy and fun.
Refreshing Picture Frames
Don’t let those old picture frames gather dust! A fresh coat of paint can completely transform them. You can easily match them to your current decor or make them a vibrant focal point. First, give them a light sanding. Then, apply your chosen paint color. This quick makeover gives your cherished photos a brand-new display. It’s a simple idea to update your space.
Lamp Base and Shade Painting
Lamps often get overlooked, but they offer great potential for a paint update. You can give an old lamp base a new lease on life. Choose a paint color that perfectly complements your room’s style. Clean the base thoroughly, prime it if necessary, and then apply your paint. For an even bolder statement, consider painting fabric lampshades. You can use special fabric paint or even diluted acrylic paint. This is a creative way to refresh your lighting and add a personal touch to your home.
Faux Wallpaper Paint Techniques
You love the look of wallpaper, but maybe not the cost or the commitment. Good news! You can create stunning wallpaper-like effects using just paint. These clever techniques let you add personality to your walls without the hassle of actual wallpaper. It’s a fantastic idea for any home.
Striped Wall Effects
Stripes can make your walls look taller or wider. You can easily create them with electrical tape. This tape comes in different colors and widths, like 2-inch tape you can order online. First, figure out how many stripes you can fit. Divide your wall’s height by the tape’s width. For example, an 8-foot wall with 2-inch tape gives you 7 stripes. Start applying the tape from one side of the wall, slowly going down. Stick the tape at the top, then unroll the whole length before pressing it down in small sections. This stops bubbles. Use a razor blade for a clean cut at the bottom. Apply the last stripe on the opposite side. Then, find the middle stripe by measuring the open space between the first and last. Make small marks every few inches to keep your stripe straight. If you make a mistake, you can easily peel off the electrical tape without damaging your underlying paint. You can also use ribbon or contact paper for a similar effect.
Sponge Painting Textures
Sponge painting adds a soft, textured look to your walls. First, clean your wall surface. Remove any dirt or grease. Fill holes with spackle and sand them smooth. Tape around trim, windows, and doors. Cover your floor with drop cloths. Then, roll on your chosen base coat color. Once that’s dry, mix equal parts glaze and a top-coat paint color. Wet a sea sponge, wring it out, then dip it into the glaze mix. Squeeze out any extra. Pat the sponge onto the wall in a random pattern. Work from top to bottom. Make sure some of the base coat still shows through. For more depth, let the first layer dry. Then, repeat the sponging with a second color.
Ombre Wall Blending
Ombre walls show a beautiful, gradual change from one color to another. This technique creates a soft, dreamy effect. You can pick two or three colors that blend well together. Start by painting the lightest color at the top of your wall. Then, paint the next color below it. While the paint is still wet, use a clean, dry brush to gently blend where the two colors meet. Work quickly to get a smooth transition. You can add a third color at the bottom and blend it in the same way. This paint idea adds a unique touch to any room.
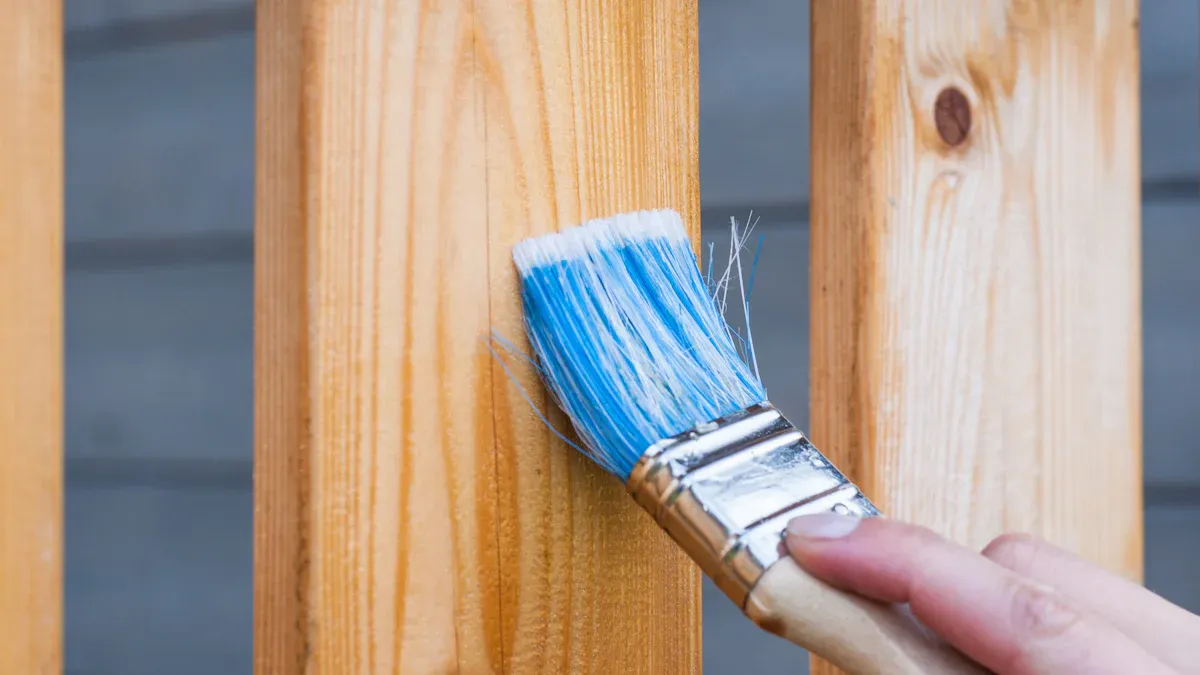
Exterior Paint Accents
You want your home to look its best, right? Don’t forget about the outside! Exterior paint accents offer a fantastic way to refresh your home’s look. These projects are often quick and budget-friendly. They make a big difference in how your property feels.
Boosting Curb Appeal with Paint
You know that great feeling when you drive up to a beautiful house? You can create that same feeling for your own home! Boosting your curb appeal is one of the most satisfying DIY projects. A fresh exterior paint job makes a huge first impression. It instantly updates your property’s look. You don’t need to repaint the whole house to see a big change. Just focusing on key areas can make a dramatic difference. Think about how a new color scheme can make your house pop. This simple update adds value and charm. It truly shows you care about your property.
Painting Shutters and Front Doors
Your shutters and front door are like the eyes and mouth of your house. Painting them can completely change its expression! Choose a bold, welcoming color for your front door. It invites guests inside. For shutters, you can match your trim for a cohesive look. Or, pick a contrasting shade for extra visual interest. Always clean these surfaces well before you paint. Remove any loose paint or dirt. Use high-quality exterior paint for durability. This small project makes a big impact. It gives your house a fresh, inviting feel. You will love the new look it creates.
Mailbox and House Number Refresh
Sometimes, the smallest details make the biggest difference. Don’t forget your mailbox and house numbers! A fresh coat of paint on your mailbox makes it look new and cared for. You can use spray paint for an easy update. Just make sure to tape off any areas you don’t want to paint. For house numbers, clean them thoroughly. Then, you can paint them a contrasting color. Or, you can spray paint them a sleek metallic finish. These little touches add polish to your exterior. They show you pay attention to every detail. It’s a quick way to add charm and personality.
You have seen the amazing power of these diy painting ideas. They can transform your home without breaking your budget. Even a small diy paint project makes a huge impact on your home decor. These paint updates offer incredible makeovers. You can personalize your home with these creative makeovers. Feel empowered to tackle any diy project. Enjoy the satisfaction of refreshing your space in 2025 with your own hands. Every paint makeover brings joy and a fresh look. This diy idea is truly rewarding. Consider a quick paint makeover for a big change. These diy painting ideas are truly transformative. A simple diy paint project can refresh your home with new paint updates. ✨
FAQ
How long does paint typically take to dry?
You will find that most latex paints dry to the touch in about 1-2 hours. You should wait 4 hours before applying a second coat. Oil-based paints take longer, often 6-8 hours to dry to the touch. Always check the specific instructions on your paint can.
Do I always need to prime before painting?
You do not always need to prime. You should prime when changing a dark color to a light one. Prime also when painting over bare wood or drywall. If you paint over a glossy surface, prime it first. This helps the new paint stick better.
How do I clean my paint brushes properly?
You should clean latex paint from brushes with warm, soapy water. Rinse them until the water runs clear. For oil-based paints, use mineral spirits or a paint thinner. Then, wash with soap and water. Shape the bristles and let them air dry.
Can I paint over wallpaper?
Yes, you can paint over wallpaper, but you need to prepare it first. Make sure the wallpaper is firmly attached to the wall. You should repair any loose seams or tears. Then, apply a good quality oil-based primer. This prevents stains from bleeding through.
What is the best way to get crisp paint lines?
You can get crisp paint lines by using high-quality painter’s tape. Press the tape down firmly to seal the edges. For extra protection, paint a thin layer of your base color over the tape’s edge. This seals it before you apply your new color.