
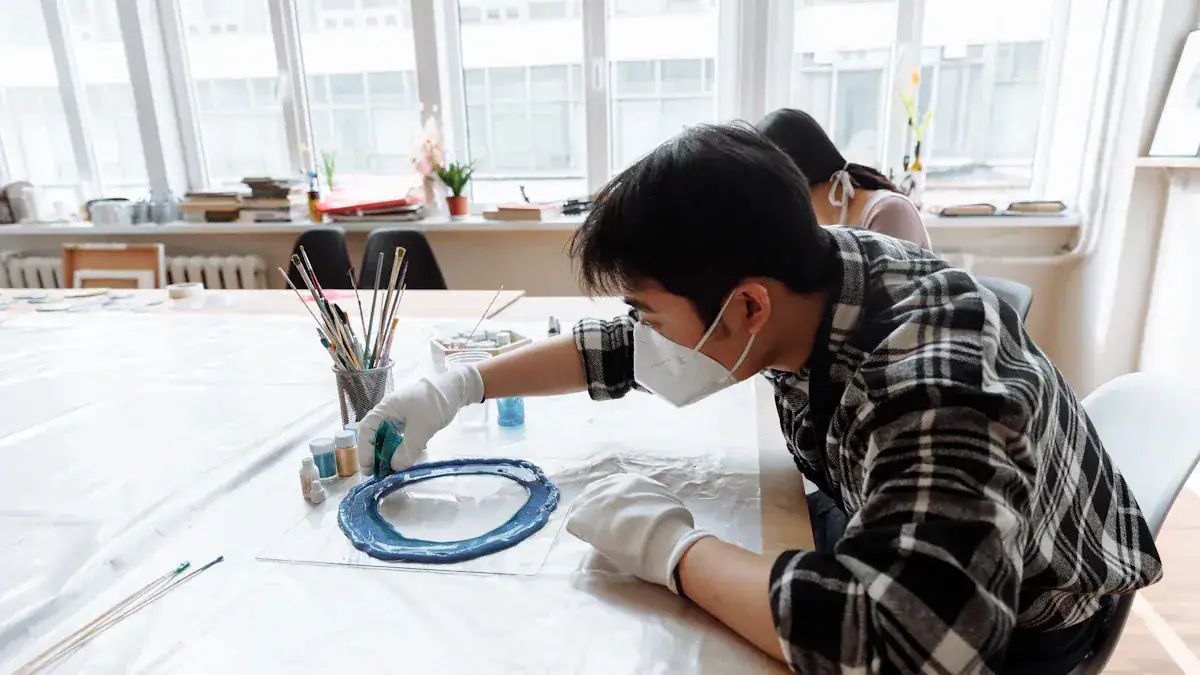
Maintaining antique furniture is essential for preserving history and craftsmanship. You can take pride in restoring these classic pieces, especially when you tackle DIY projects. Common reasons for replacing leather seats include sagging, breaking, or wearing down. By choosing to replace a leather seat yourself, you not only save money but also contribute to a more sustainable lifestyle. Restoring antique furniture helps reduce waste, keeping it out of landfills and honoring its quality materials.
Key Takeaways
Replacing a leather seat in an antique chair can save money and promote sustainability by reducing waste.
Gather essential tools like professional shears, measuring tape, and staple guns before starting your project for better results.
Secure and clean your chair properly to create a solid foundation for the new leather seat, ensuring a successful restoration.
Carefully detach the old leather and inspect the chair for damage to prepare for the new upholstery.
Use high-quality leather and proper adhesives to ensure a durable and attractive finish for your restored chair.
Tools and Materials Needed
Essential Tools
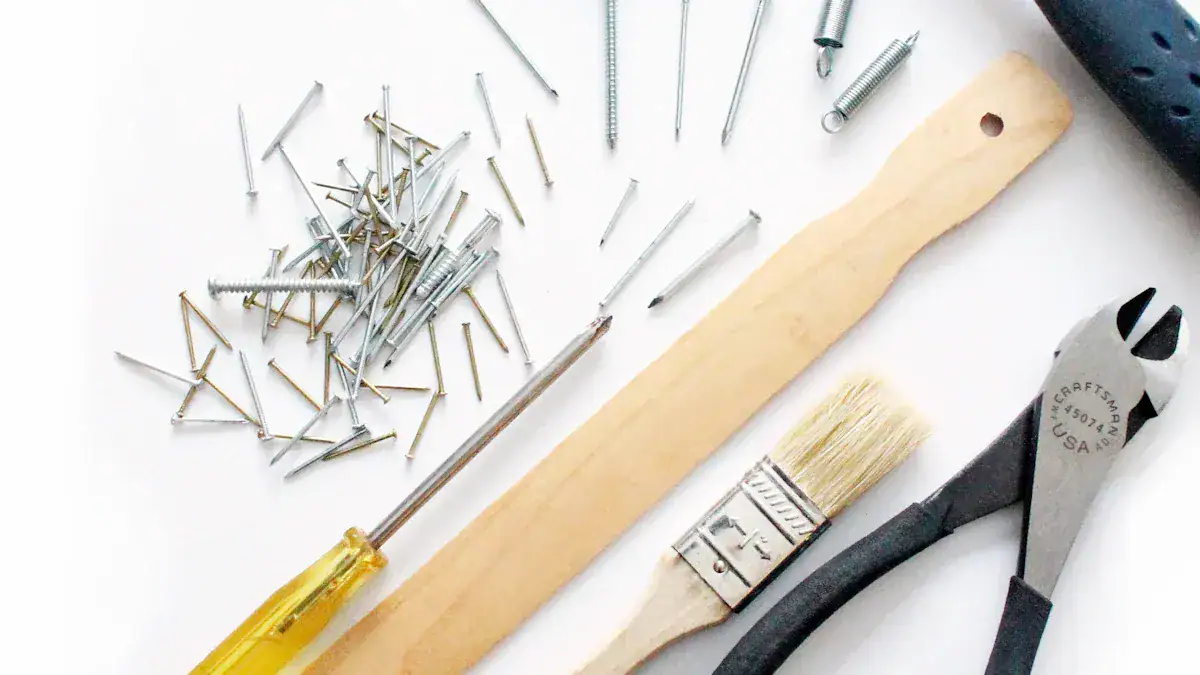
Before you start replacing the leather seat, gather the necessary tools. Here’s a list of essential tools that professional upholsterers recommend:
Professional shears: For cutting leather and fabric.
Measuring tape: To ensure accurate measurements.
Tack strips: To secure the new leather in place.
Fabric markers: For marking cuts on the leather.
Various types of staple guns: To attach the leather securely.
Needle-nose pliers: For removing old staples and tacks.
Glue gun: Useful for attaching piping or other decorative elements.
Heavy-duty staplers: For a strong hold on the leather.
Utility knives: For precise cutting.
Upholstery foam and filler: To provide comfort and support.
Sewing machine (optional): If you plan to sew any seams.
Tip: Invest in high-quality tools. They will make your project easier and yield better results.
Recommended Materials
Choosing the right materials is crucial for a successful restoration. Here are some recommended sources for high-quality leather:
Reclaimed Leather: This company specializes in vintage leather furniture. They focus on high-quality craftsmanship and historical preservation.
ReLeather: They offer a wide range of leather grades and textures, sourcing top grain leather hides from Italian tanneries known for their artisan finishing treatments.
RubnRestore: This company provides professional restoration products for leather, emphasizing high-quality materials and personalized support for DIY projects.
When selecting leather, consider the color, texture, and durability. Ensure that the leather matches the style of your antique chair. By using quality materials, you enhance the beauty and longevity of your restored piece.
Chair Preparation
Securing the Chair
Before you start working on your antique chair, ensure it is stable. A wobbly chair can lead to accidents and damage during the restoration process. Here are some steps to secure your chair effectively:
Choose a Flat Surface: Place the chair on a flat, sturdy surface. This will prevent any unnecessary movement while you work.
Use Clamps: If the chair has loose joints, use clamps to hold them together temporarily. This will provide extra stability as you work.
Check for Damage: Inspect the chair for any cracks or breaks. If you find any, consider repairing them before proceeding with the seat replacement.
Tip: Always work in a well-lit area. Good lighting helps you see details and prevents mistakes.
Cleaning the Chair
Cleaning your antique chair is essential for a successful restoration. It allows you to assess its condition and prepares the surface for new upholstery. Different finishes require specific cleaning methods. Here’s a quick guide:
Finish Type | Cleaning Method | Precautions |
|---|---|---|
Wax Finishes | Use mild soap mixed with water, wipe lightly, and apply fresh wax afterward. | Avoid excess water to prevent dulling. |
Oil Finishes | Clean with a soft cloth dampened with furniture oil. | Apply oil sparingly to avoid buildup. |
Varnish Finishes | Wipe with a very soft cloth slightly dampened with water. | Avoid soaking the cloth to protect varnish. |
Shellac Finishes | Dust with a soft brush or cloth; use shellac cleaners sparingly. | Be cautious to avoid removing the finish. |
Start by dusting the chair with a soft cloth or brush. This removes dirt and debris. Next, choose the appropriate cleaning method based on the finish type. After cleaning, allow the chair to dry completely. This step ensures that the new leather adheres properly and lasts longer.
By securing and cleaning your chair, you set a solid foundation for the upcoming leather seat replacement. Taking these steps will help you achieve a beautiful and durable restoration.
Remove Old Leather
Detaching the Seat
To begin the process of replacing a leather seat, you must first detach the seat from the chair frame. This step is crucial for accessing the old leather and preparing for the new upholstery. Follow these steps to detach the seat safely:
Flip the Chair Over: Place the chair upside down on a soft surface to prevent scratches. This position gives you easy access to the underside of the seat.
Remove Dust Cover: If your chair has a dust cover, use needle-nose pliers to pry out any staples holding it in place. Be gentle to avoid damaging the wood.
Loosen the Seat: Look for screws or bolts that secure the seat to the frame. Use a screwdriver or wrench to remove them. Keep these fasteners in a safe place for reassembly later.
Tip: Always work slowly and carefully. Rushing can lead to mistakes or damage to the antique wood.
Removing Old Upholstery
Once you detach the seat, you can start removing the old upholstery. This step requires patience, as antique leather can be brittle and sensitive. Here’s how to do it effectively:
Inspect the Upholstery: Before you start, examine the leather for any ornamental nails or tacks. These can complicate the removal process.
Use the Right Tools: For tacks, consider using a forked hammer end, a flat screwdriver tapped with a hammer, or a small tack claw. These tools help you gently loosen the tacks without damaging the wood frame.
Remove Upholstery Tacks: Carefully pry out the tacks or staples. Flip the piece over to access the underside. If you encounter resistance, take your time to avoid tearing the leather or harming the chair.
Handle with Care: Remember that antique leather is often brittle and dry. You may find that it breaks easily. If you notice any ornamental nails, be cautious, as they can press into the leather or break during removal.
Common Challenges:
Antique leather can be brittle, making it difficult to handle without causing further damage.
The presence of ornamental nails may lead to additional damage when removed.
You might need extensive repairs due to the brittleness or missing parts of the leather.
After removing the old upholstery, inspect the seat for any remnants. Clean up any leftover pieces of leather or tacks to prepare for the new leather. This careful removal process sets the stage for a successful replacement of the leather seat.
Replace a Leather Seat
Cutting New Leather
To replace a leather seat, you first need to cut the new leather to the correct dimensions. Start by using the old leather seat as a pattern. This method ensures that the new leather matches the original seat dimensions perfectly. Here’s how to do it:
Measure the Old Leather: Lay the old leather flat and measure its length and width. Take note of any curves or unique shapes.
Create a Pattern: Use the old leather to trace a pattern on the new leather. You can use fabric markers for clear visibility.
Add Extra Margin: When cutting the new leather, leave a little extra margin around the edges. This margin accounts for potential shrinkage and allows for adjustments during installation.
Cut Carefully: Use professional shears or a utility knife to cut the new leather. Ensure your cuts are smooth and even to avoid fraying.
For the best results, consider using full-grain leather. This type of leather is durable and has a luxurious appearance. It retains the natural surface of the hide, showcasing its beauty. Although it can be challenging to work with due to its thickness, the long-lasting quality makes it an excellent choice for antique chair seat replacement.
Attaching the New Leather
Once you have cut the new leather, it’s time to attach it securely to the chair frame. Follow these steps to ensure a strong and lasting bond:
Prepare the Frame: Clean the frame thoroughly to remove any dust or debris. This step helps the adhesive bond better.
Use the Right Fasteners: You can use staples or upholstery tacks to secure the leather to the frame. Consider wrapping the leather around the frame and fastening it underneath for added security.
Apply Adhesive: Before stretching and stapling the leather, apply a dilute white glue to the frame. This extra step helps prevent sagging and ensures a tight fit.
Support Layer: For added durability, use heavy canvas as a support layer beneath the leather. This layer provides extra strength and helps maintain the shape of the seat.
Here are some recommended adhesives for attaching leather to wood:
Adhesive Type | Description |
|---|---|
Contact Cement | Strong and easy to use, ideal for flexible surfaces needing strategic pressure. |
PVA Glue | Simple to use, becomes strong when set, but requires clamps during drying. |
Epoxy Adhesives | Creates strong, moisture-resistant bonds, ideal for high-strength connections. |
For stitching, consider using techniques like backstitching or adding rivets for extra security. Backstitching provides a strong hold, especially under tension. Rivets enhance durability in high-tension areas.
By following these steps, you can successfully replace a leather seat in your antique chair. This process not only restores the chair’s functionality but also enhances its aesthetic appeal.
Finishing Touches
Trimming Excess Leather
After attaching the new leather, you may notice some excess material around the edges. Trimming this excess is essential for a neat and professional finish. Here’s how to do it:
Inspect the Edges: Look closely at the edges of the leather. Ensure that the leather fits snugly against the frame without any sagging.
Use Sharp Scissors: Grab your professional shears or a utility knife. Carefully trim the excess leather, leaving about half an inch of material around the edges. This margin allows for any adjustments during the final installation.
Smooth the Edges: After trimming, use sandpaper to smooth any rough edges. This step prevents fraying and gives the seat a polished look.
Tip: Take your time while trimming. A steady hand will help you achieve clean lines and a better overall appearance.
Final Inspection
Once you finish trimming, conduct a thorough inspection of your work. This step ensures that everything is secure and looks great. Follow these guidelines for a successful final inspection:
Check for Loose Areas: Gently tug on the leather to ensure it is firmly attached. If you find any loose spots, reinforce them with additional staples or tacks.
Inspect the Finish: Look at the wooden parts of the chair. If the wood shows signs of wear or damage, consider refinishing it. Here’s a quick guide for refinishing:
Clean the Wood: Use a gentle detergent or soap oil method to remove dirt and grime.
Remove Old Finish: Depending on the type of finish, sand or use a chemical stripper to remove the old layer.
Apply Sealant: Protect the wood by applying a sealant. This step prepares it for staining.
Choose Stain or Paint: Select a stain or paint based on your preference and the wood’s condition.
Finish with a Protective Coat: Apply a protective coat to enhance durability and appearance.
Recommended Materials:
Dish soap or mild soap
Paint stripper
Wood sealants (wax, varnish, polyurethane)
Safety goggles and gloves
By following these finishing touches, you ensure that your antique chair not only looks beautiful but also stands the test of time. Enjoy the satisfaction of your hard work and the restored charm of your antique piece!
Replacing the leather seat in your antique chair involves several key steps. You detach the old seat, clean the chair, cut the new leather, and attach it securely. Each step contributes to restoring the chair’s beauty and functionality.
Take pride in your work! After replacing the seat, consider other restoration projects. You might want to add new tenons or pegs for joints, reinforce the legs with glue, or even remake the springs. Each improvement enhances the chair’s durability and charm. Enjoy your journey in antique restoration! 🪑✨
FAQ
What type of leather should I use for my antique chair?
You should choose high-quality leather, such as full-grain or top-grain leather. These types offer durability and a luxurious appearance, making them ideal for antique furniture restoration.
How do I know if my chair needs a new leather seat?
Signs include visible wear, sagging, or cracks in the leather. If the seat feels uncomfortable or looks damaged, it’s time for a replacement.
Can I replace the leather seat without professional help?
Yes, you can replace the leather seat yourself. With the right tools, materials, and guidance, you can successfully complete the project as a DIY endeavor.
How long does it take to replace a leather seat?
The time required varies based on your experience and the chair’s condition. Generally, you can expect the process to take a few hours to a full day.
Is it necessary to refinish the wood after replacing the leather?
Not always, but it’s a good idea. If the wood shows signs of wear or damage, refinishing enhances its appearance and protects it from future damage.
