
You can transform your kitchen with a bright, airy feel. Whitewash oak cabinets create a stunning modern coastal aesthetic. This guide provides a comprehensive, step-by-step approach for your DIY project. It covers everything from preparing your surfaces to applying the final protective coat. Whitewashing perfectly fits the modern coastal style, lightening your space while retaining the wood’s unique character. This technique updates dated kitchens into modern masterpieces. In fact, updating cabinets is a budget-friendly choice, often showing a high return on investment.
Key Takeaways
Whitewashing oak cabinets makes your kitchen bright and modern. It lets the wood grain show through for a natural look.
Gather all your tools and materials first. This includes cleaning supplies, sandpaper, white paint, brushes, and a protective topcoat.
Prepare your cabinets by cleaning and lightly sanding them. This helps the whitewash stick well.
Mix white paint with water to create your whitewash. Apply it in thin coats and wipe it back to show the wood grain.
Seal your finished cabinets with a topcoat. This protects them and makes them last longer.
Why Whitewash Oak Cabinets for a Modern Coastal Kitchen?
Benefits of Whitewashing
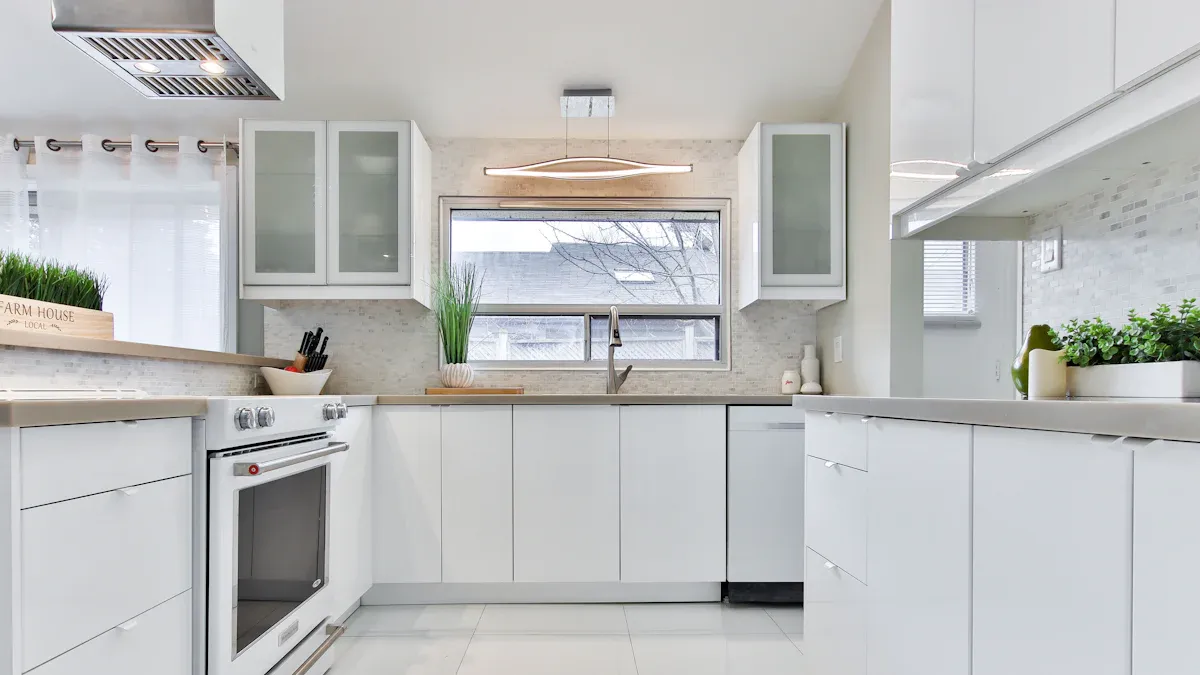
Whitewashing your cabinets offers many advantages. It instantly brightens and updates your kitchen. This technique allows the natural wood grain to show through. You get a fresh, airy look without losing the wood’s character. Whitewashing transforms dark, dated oak into a modern focal point. It creates a sense of spaciousness and light in your home.
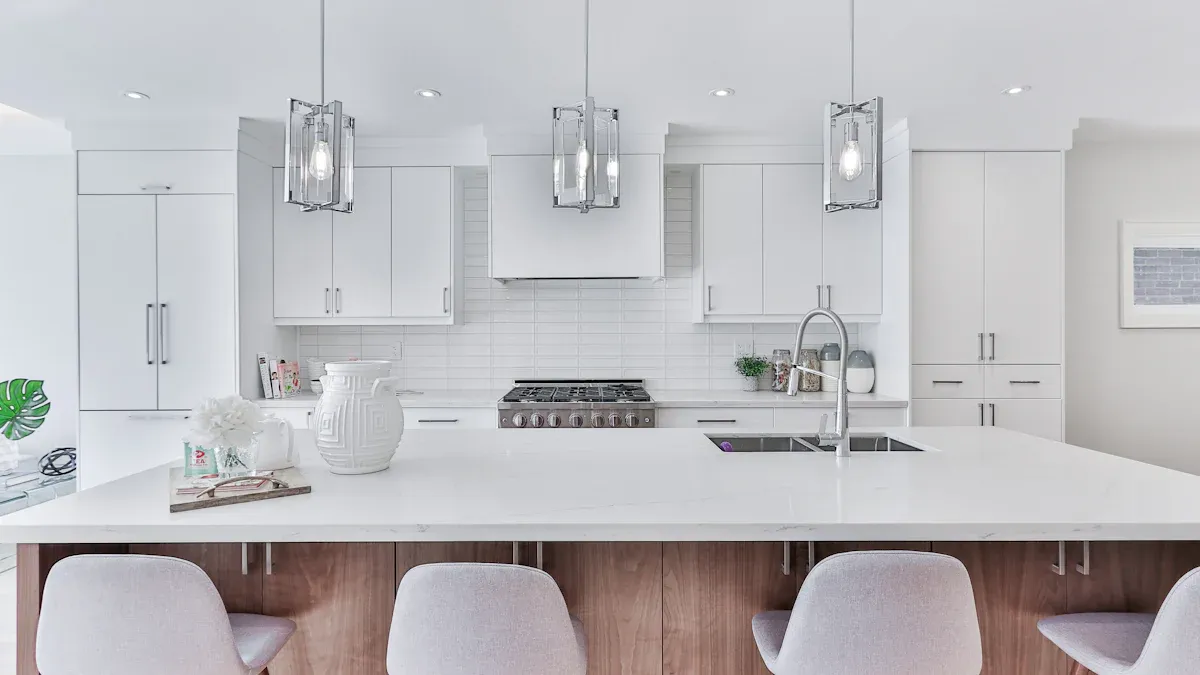
Defining Modern Coastal Style
Modern coastal style creates a serene and relaxed atmosphere. It moves beyond traditional nautical themes. This design emphasizes light colors, natural textures, and an uncluttered feel. You will see calming, nature-inspired colors like white, ivory, soft sand, and muted sea-glass blues. These colors create a light and airy foundation. The style incorporates natural textures such as woven baskets, seagrass rugs, and linen curtains. It also uses rattan chairs and driftwood accessories. This adds warmth and visual richness. Modern coastal design maximizes natural light. It uses large windows and light-filtering curtains. This creates a fresh ambiance connected to the outdoors. You will find subtle blue accents in textiles or artwork. Greenery like palms or olive branches brings life into the space. The style avoids overly literal nautical decor. It focuses on function and comfort. It prioritizes comfortable furnishings and inviting layouts. This design is curated, not cluttered. It displays meaningful pieces with intentionality.
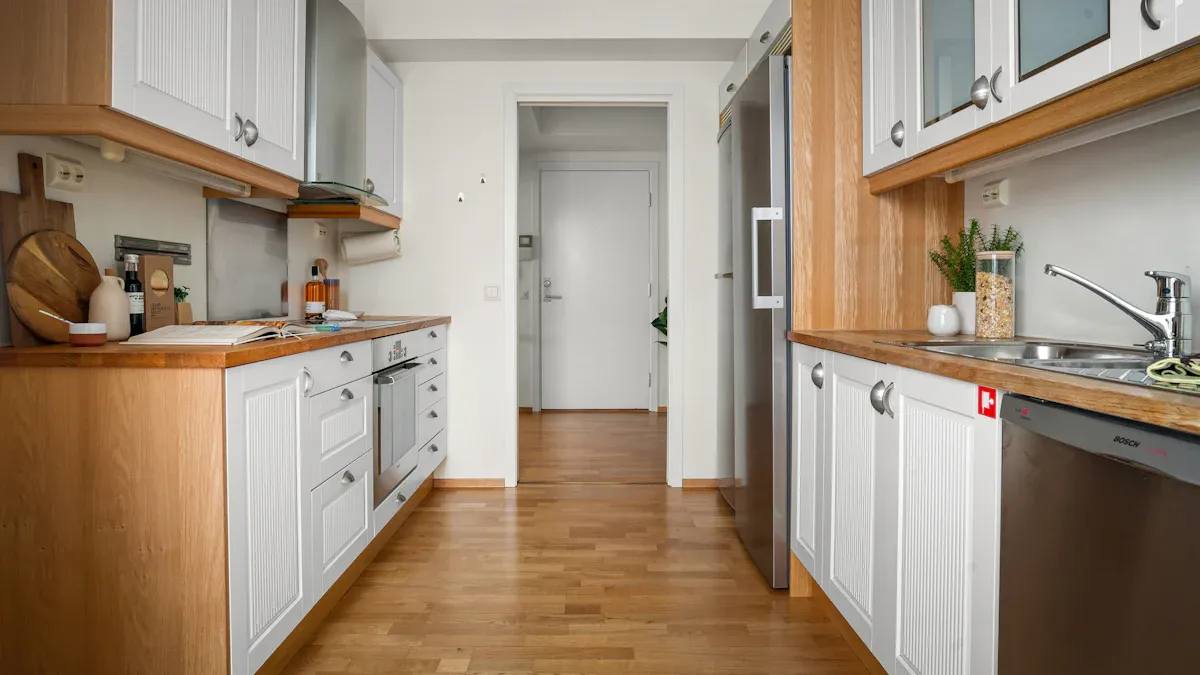
Oak’s Suitability for Whitewash
Oak is an excellent choice for whitewashing. Its prominent grain shows through beautifully. The open grain of oak wood absorbs the whitewash mixture. This allows the natural patterns to remain visible. You achieve a soft, translucent finish. This highlights the wood’s texture. Whitewash oak cabinets offer a unique blend of rustic charm and modern elegance. The grain provides depth and character. This makes your cabinets look sophisticated and natural.
Essential Materials and Tools
Gathering your supplies before you start saves time. You will need specific items for each step. This list helps you prepare for your whitewashing project.
Cleaning and Prep Supplies
You must clean your cabinets well. Get a good degreaser, clean rags, and a scrub brush. A strong degreaser removes grease and grime. Many people recommend Krud Kutter. You can use it full strength for very greasy spots. You can also dilute it. Some people find mineral spirits or Dawn dish soap effective. An ‘old school’ method uses a 50/50 mix of warm water and distilled vinegar. This works well but can smell strong. Dish soap and warm water also work for daily dirt.
Sanding Tools and Grits
Sanding prepares the surface. You will need sanding blocks or an orbital sander. Use 120-grit sandpaper first. Then, use 220-grit sandpaper for a smoother finish.
Whitewash Mixture Components
You will create your whitewash. Get white paint. Chalk mineral paint works well. You also need water or a clear glaze. Mixing containers are important for blending your whitewash.
Application Tools
You need tools to apply the whitewash. Have brushes ready. Foam rollers give a smooth finish. Rags help you wipe back the whitewash.
Protective Gear
Protect yourself during the project. Wear gloves to keep your hands clean. A mask protects your lungs from dust and fumes. Eye protection keeps your eyes safe.
Topcoat and Sealer Options
A topcoat protects your finished cabinets. Water-based polyurethane or polycrylic are good choices. They offer different benefits.
Feature | Water-Based Polyurethane | Polycrylic |
|---|---|---|
Composition | Water-based urethane | Water-based acrylic resin with urethane compounds |
Durability | Good protection, better than polycrylic, moderate | Adequate for low-traffic areas, less durable than poly |
Appearance | Dries clear, no yellowing | Dries crystal clear, no yellowing, ideal for light woods |
Drying Time | 2 to 4 hours between coats | Fastest, 2 hours between coats, 30 minutes dry to touch |
Safety/Fumes | Reasonably safe, low VOCs, standard ventilation | Wins for indoor safety, minimal odor/fumes, low VOCs |
Application | Easier than polycrylic, faster than oil-based | Thin, runny consistency, requires careful technique to avoid drips |
Cost (per quart) | $20 to $35 | $20 to $30 |
Cleanup | Soap and warm water | Soap and warm water |
Recommended Use | Balance of clarity and durability, moderate durability | Clear, fast-drying finish for indoor, low-traffic areas |
Polycrylic dries faster and has fewer fumes. Polyurethane offers more durability. Choose the one that fits your needs best.
Step-by-Step Whitewashing Process
You are ready to begin your transformation. Follow these steps carefully. You will achieve a beautiful, lasting finish for your cabinets.
Cabinet Preparation
Start by preparing your workspace. Clear the area. Make sure it is well-lit and uncluttered. Lay a protective sheet on the floor. Keep a first aid kit nearby. You will need essential tools. Gather screwdrivers, drills with bits, and specialized hand tools. An electric screwdriver is very helpful. Prioritize your safety. Wear protective gloves, safety goggles, and a dust mask.
Next, remove all cabinet doors and hardware. Different cabinet styles need specific removal techniques. This prevents damage. For framed cabinet doors, locate and carefully remove screws. These screws secure the door frame to the cabinet. Support the door as you remove it. This prevents drops. Gently pry away any extra brackets or clips. Use a flat-head screwdriver or pry tool. If a door is stubborn, check for hidden fasteners or adhesives. A putty knife can help break seals. Apply lubricant to seized screws. Use an extractor for stripped screws. Or, replace them with slightly larger ones.
After removing doors and hardware, thoroughly clean all surfaces. Use your chosen degreaser. This removes all grease and grime. Rinse the cabinets well. Let them dry completely. Protect any surrounding areas you do not want to whitewash. Use painter’s tape and drop cloths.
Sanding for Adhesion
Sanding is a crucial step. It creates a surface for the whitewash to stick to. You do not need heavy sanding. Light sanding is enough. For solid wood, machine sand to 180 grit. Then, hand sand to 150 grit. You can also go down to 100 grit if 100 is not too coarse. For veneers, machine sand to 180 grit. Then, hand sand to 150 grit. Many people use 150 grit for all sanding. Avoid grits finer than 150. Finer grits can polish the wood. This prevents the whitewash from grabbing effectively.
After sanding, mist the wood. Use a 50/50 mix of denatured alcohol and water. This opens the wood pores. After misting, lightly sand the wood with 320 grit. This removes any “fuzzies.” Finally, remove all dust. Use a tack cloth or a vacuum with a brush attachment. A clean surface is vital for good adhesion.
Mixing Your Whitewash
Now, mix your whitewash. The right consistency gives you the look you want. For a thin, translucent coating, use a 1:3 paint-to-water ratio. This means one part white paint to three parts water. This ratio often does not require wiping or dry brushing. You can adjust this ratio. More paint makes it more opaque. More water makes it more translucent. Mix thoroughly in your container. Ensure there are no lumps.
Applying the Whitewash
Apply the whitewash carefully. Focus on even coverage. Work in small sections. This helps you maintain control. Use long, even strokes. This prevents streaks and blotches. You can use a brush or a foam roller. A paint sprayer gives a very even coat. It also minimizes visible brush strokes. Paint in the direction of the wood grain. This creates a consistent finish. Thin your paint slightly. This improves flow and makes application easier. Apply multiple thin coats. Allow each coat to dry completely.
Wiping Back for Effect
Wiping back controls the transparency. It also controls how much grain shows through. You can wipe the surface lightly after 30-60 seconds. This reveals the wood grain. If you press a bit harder, you can achieve a weathered, barn-wood effect. You can also allow 2-3 minutes for the whitewash to penetrate. Then, wipe it back. This helps achieve a translucent effect. Adjust your wiping pressure. Heavier wiping removes more whitewash. This creates a lighter effect. Experiment on a test piece first. Find the look you prefer.
Drying Between Coats
Drying time is important. Do not rush the process. Allow the initial coat to dry completely. Then, assess if you need more layers. Apply a subsequent coat only after the preceding one has fully dried. This ensures an opaque finish. Sufficient drying time between applications is crucial. It leads to optimal outcomes. Check the paint manufacturer’s instructions for specific drying times.
Applying Additional Coats
You can apply additional coats. This increases the opacity. You can repeat layering. This makes the color look more white. You can repeat another layer of stain. This makes your final outcome lighter. Apply thin coats. Build up the color gradually. This gives you more control over the final look. Let each coat dry fully before applying the next.
Sealing for Durability
Sealing your cabinets protects your hard work. It adds durability. This is especially important in high-traffic areas like kitchens. Once you achieve full paint coverage, allow the paint to dry. This usually takes 24 to 48 hours.
You have several options for sealing. You can apply Fusion Mineral Paint Ultra Guard. This product offers extra protection. It is non-yellowing. It is reinforced with silica for durability. It goes on whitish but dries transparent. It enhances both light and dark colors.
Alternatively, use a multi-purpose sealer. These sealers often go on milky but dry clear. Apply the sealer with a brush. Work it into all nooks and crannies. Follow up with a roller. This evens out the application. Allow 24 hours for the paint to dry before applying the sealer. This ensures proper adhesion and a smooth finish. This final step protects your beautiful Whitewash Oak Cabinets for years to come.
Achieving a Flawless Modern Coastal Finish
You want your kitchen to look perfect. Achieving a flawless modern coastal finish requires careful steps. You can make your Whitewash Oak Cabinets look professional.
Testing First
Always test your whitewash mixture first. Use an inconspicuous area on your cabinets. You can also use a scrap piece of oak wood. This lets you see the look before you apply it everywhere. A 1:1 water-to-paint ratio is a good starting point. If the whitewash looks too opaque, add more water. If it looks too translucent, add more paint. Different wood types can give different results. Testing helps you get the preferred appearance.
Working in Small Sections
Work in small sections. This helps you maintain control. You can manage the application better. This also helps you wipe back the whitewash evenly. Small sections prevent the whitewash from drying too quickly.
Ensuring Consistent Look
You need a uniform appearance across all cabinets. First, wipe down surfaces with a liquid deglosser. This prepares the surface. It also removes sawdust after sanding. Use painter’s tape to protect surrounding areas. This ensures clean edges. Apply a good primer. Kilz Premium primer works well. It blocks stains and has no VOCs. For frames, use a brush for cutting-in. Then, use a foam roller to smooth brushed edges. For doors, a paint sprayer gives a smooth, factory-like finish. It applies paint thicker. Use a durable paint like Benjamin Moore Advance. It is made for cabinets. It has low VOCs and self-levels. Apply two coats of primer. Then, apply three coats of paint for hand-painted areas. For sprayed doors, one coat of primer and one coat of paint is often enough. This is because of the thicker coverage.
Troubleshooting Common Issues
Sometimes, you might see streaks or uneven coverage. If this happens, do not worry. You can fix these issues. Lightly sand the affected area. Then, reapply the whitewash. Adjust your wiping technique. Make sure you wipe evenly. You can also adjust the paint-to-water ratio. This helps achieve a smoother finish.
Updating Hardware
New hardware completes your modern coastal update. It adds the final touch. Brushed nickel offers a soft, understated look. It pairs well with stainless steel appliances. Matte black adds a modern edge. It works well as an accent. Antique brass or gold offers timeless warmth. These pair with modern and traditional styles. Polished chrome is another good choice. Gold or brass adds warmth and contrast. Brushed nickel or matte silver is clean and modern. Aged bronze works for a Mediterranean or nautical theme. You can also choose textured knobs. Leather-wrapped, ceramic, or hammered metal add character.
Whitewash Oak Cabinets is an accessible and rewarding DIY project. It significantly updates your kitchen’s aesthetic. You brighten your space and achieve a modern coastal feel. This process transforms your home. Embark on your own transformation. With careful preparation and execution, you create a beautiful, durable, and stylish kitchen. You will love your new space.
FAQ
❓ Can I whitewash cabinets without sanding?
You should always sand your cabinets. Light sanding creates a surface for the whitewash to stick. This ensures good adhesion. Skipping this step can lead to peeling or an uneven finish. A quick, light sand makes a big difference.
🎨 What kind of paint works best for whitewashing?
Chalk mineral paint works very well for whitewashing. You can also use other white paints. Mix your chosen white paint with water or a clear glaze. This creates the translucent whitewash effect. Experiment with ratios to find your perfect look.
🖌️ How do I fix streaks in my whitewash?
If you see streaks, do not worry. You can fix them. Lightly sand the streaky area. Then, reapply the whitewash. Adjust your wiping technique. Make sure you wipe evenly. You can also adjust the paint-to-water ratio for a smoother finish.
💪 How long will my whitewashed cabinets last?
Your whitewashed cabinets will last many years. You must apply a good topcoat or sealer. This protects the finish from daily wear and tear. Water-based polyurethane or polycrylic are excellent choices. Proper sealing ensures durability.


