
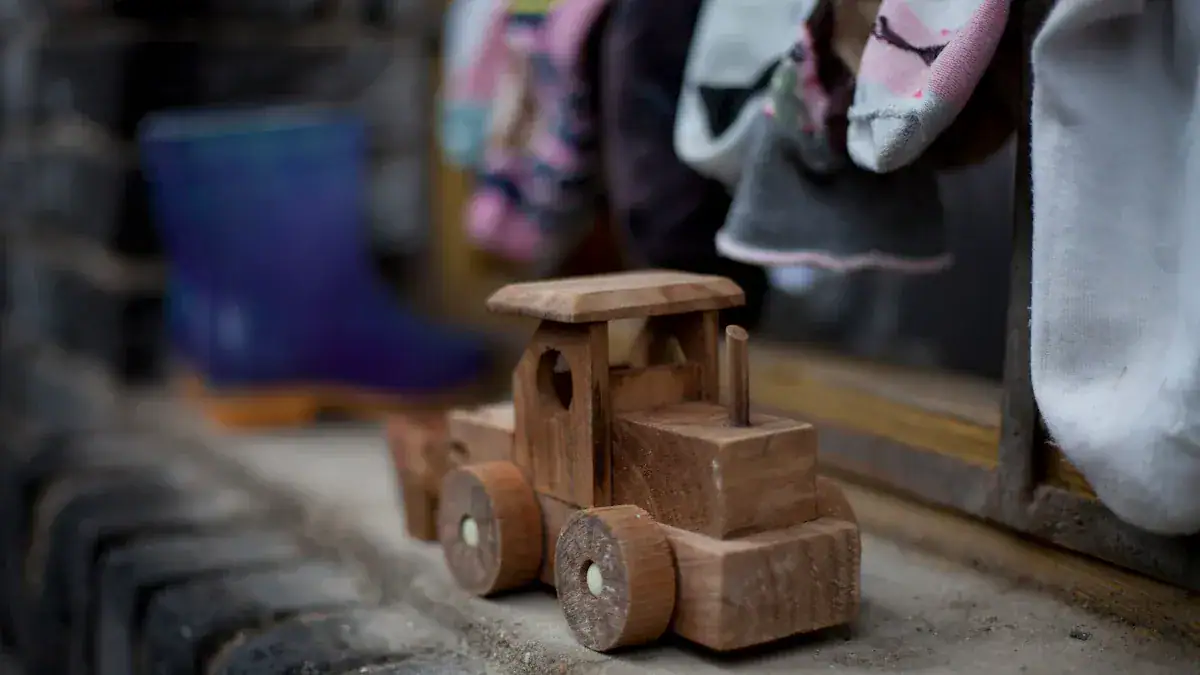
Handmade wooden toys bring lasting joy. You create durable, personalized toys. These diy projects are sustainable too. This guide provides free diy wooden toy plans. You can build a classic wooden toy train. We focus on train projects. You only need basic wood tools to start. This diy path is rewarding. Unlock the potential for cherished, timeless train toys. You save money with these plans.
Key Takeaways
Building wooden toys offers many benefits. These include durability, personalization, and sustainability. They are better for the environment than plastic toys.
Safety is very important for DIY wooden toys. Use non-toxic wood and finishes. Ensure all parts are large enough for young children. Follow safety standards like ASTM F963 or CE marking.
You can find many free wooden toy plans online. Websites and community resources offer designs for trains, cars, and puzzles. Always check the quality of plans for safety and durability.
You can build a DIY wood train set with basic tools. Start with simple train cars. Then, move to more detailed engines. You can use magnets or hook and loop couplers to connect cars.
Beyond trains, you can build other wooden toys. Try animal cutouts, various vehicles, or puzzles. Always prioritize safety and smooth finishing for all your projects.
Why Build Wooden Toys
Benefits of DIY Toys
You gain many advantages when you build your own toys. DIY projects offer incredible durability. Your creations can last for generations, becoming cherished family heirlooms. You also get complete personalization. You can make each piece unique, reflecting your child’s interests or your own creative vision. Sustainability is another significant benefit. Wooden items are much better for the environment than plastic ones. They reduce waste and your carbon footprint.
Consider the clear differences between materials:
Feature | Wooden Items | Plastic Items |
|---|---|---|
Material Source | Renewable resource (trees). | Non-renewable resource (petroleum). |
Manufacturing Process | Less energy-intensive. | Energy-intensive. |
Durability & Lifespan | Highly durable, lasts generations. | Breaks easily, shorter lifespan. |
Biodegradability | Decomposes naturally. | Persists in landfills for hundreds of years. |
Toxicity | Generally non-toxic. | Can contain harmful chemicals. |
Carbon Footprint | Lower carbon footprint. | Higher carbon footprint. |
You can easily start your diy journey with a diy wood train set. These are among the simplest woodworking projects. You will feel immense pride in what you make.
Safety Considerations
Safety is very important when you make diy wood items. You must ensure your creations are safe for children. Manufacturers in Europe and America follow strict safety rules. They use non-toxic paints and materials. These materials are free of harmful chemicals. Products from some other countries might have lower standards. They could contain chemicals banned in Western markets.
You should know about key safety standards:
ASTM F963: This is a safety standard for children’s products in the US.
CPSIA compliance: This is a US regulation called the Consumer Product Safety Improvement Act.
CE marking: This shows compliance with EU safety standards.
ISO certification: This is an International Organization for Standardization certification.
The EU has many regulations for children’s product safety. The EU Toy Safety Directive (2009/48/EC) covers all items for children under 14. Regulation (EC) No 1907/2006 (EU REACH) restricts chemicals. It includes substances like mercury and formaldehyde. The EN 71 series of standards is also mandatory for the EU market. This includes parts for mechanical properties, flammability, and migration of elements. A new rule, the EU Deforestation Regulation (EUDR), starts in 2025. It stops the import of products that cause deforestation. This includes wood items. You must provide a declaration of compliance for wood products entering the EU. This ensures your train projects are both safe and sustainable.
Essential Tools and Materials
Basic Hand Tools
You do not need a full workshop to start your diy projects. Basic hand tools are enough. A tape measure helps you get accurate sizes. Chisels let you fine-tune details. You use mallets and hammers to join pieces. Hand saws make quick cuts. A block plane smooths edges. Sharpening tools keep your blades ready. Carpenter’s squares check your angles. Clamps hold your wood steady. You can even use scrap wood for your diy wood train set.
Safe Wood Types
Choosing the right wood is crucial for child safety. Some wood types are better than others.
Wood Type | Suitability for Toys |
|---|---|
Maple | Safest for chewers, high density, hypoallergenic. |
Beech | Strong, durable, fine texture, resistant to warping. |
Birch | Durable, shock-proof, lighter than maple. |
Basswood | Good for chunky toys, less dense. |
Poplar | OK for thicker pieces, few details. |
Rubberwood | Safe, sustainable, but check for latex allergies. |
Pine, Spruce, Fir | Softwoods, prone to denting, better for older children. |
Avoid Butternut, Mahogany, and Fruitwood. Be careful with Walnut due to sawdust.
Non-Toxic Finishes
You must use safe finishes for your diy toys. Many options exist. You can leave the wood unfinished. Some companies use soy ink for colors. Water-based paints are a good choice. Non-toxic stains add color safely. Water-based sealants protect the wood. Natural options include beeswax/jojoba finishes. Food-grade mineral oil also works well. These choices ensure your train toys are safe for little hands.
Finding Free DIY Wooden Toy Plans
Online Resources
You can find many free diy wooden toy plans online. Websites like ToymakingPlans.com offer a dedicated section for ‘Free Toy Plans’. WoodworkersWorkshop.com also provides ‘Wooden Toys Free Woodworking Plans and other children’s and kids playtime’ projects. These sites give you instructions to build fun children’s projects. Wooden Toy Plans offers a collection of handmade wooden toys. Many of these you can make with simple hand tools. You do not need a large budget or extensive workshop. All designs mentioned are free of charge.
You can find various types of projects. These include:
Free wooden toy cars (racing car, Batmobile, roadster, 4 wheel drive)
Free 3-story toy car parking garages
Easy-to-build wooden toy motorcycles
Free printable wooden airplanes
Wooden toy trains
Doll furniture (dolls house, dolls cradle, doll rocking horses)
Free puzzles (scroll saw puzzle patterns, Soma Cube Puzzle)
Many sites offer free printable PDF designs with step-by-step instructions. PDF eBook downloads often include assembly exploded views and detailed instructions. These resources make your diy projects easier. You can find great diy plans here. They often come with clear step-by-step instructions.
Community Sharing
Local communities also offer ways to find free diy wooden toy plans. You can check local workshops. Libraries often have books with woodworking plans. These places can connect you with other makers. You might find free plans for various items. Some examples include:
Passenger plane for kids
Pecking Chickens
Pedaling Cyclist
Periscope
Pickup from the Past
Puppet Theatre
Ring Tower
Road Grader
Scooter
Scotty Dog Puzzle
Semi-Tractor
Shaped box for kids
Simple designs on wheels
Snowman
Space Wagon
Steam Train Whistle
Steamboat
Steamroller
The Airplane
The Classic Woody
The Cradle
These community resources help you discover new projects. They also foster a shared love for woodworking.
Evaluating Plans Quality
You must evaluate the quality of any diy wooden toy plans you find. High-quality plans ensure safety and durability. Consider several key factors.
Durability and Safety: The toy must be firm. It should not break into small pieces. Small pieces can injure a child. For children under three, parts must be larger than their mouth. This prevents swallowing or inhalation.
Material Safety: Toys must use healthy, safe materials. They should be free from toxic chemicals and paints. Wood is a natural, safer choice than plastic.
Stability: Toys for sitting or climbing must be stable. They should not tip over easily.
Absence of Hazards: Toys should not have sharp parts or edges. These can cut a child. They should not make noise that can damage hearing.
Cleanliness: You should be able to wash or clean the toys easily.
Design for Age and Development: A good plan considers the child’s age. It also considers their developmental needs. It promotes imagination and creativity. It helps develop psychic, motor, mental, social, and emotional skills.
Smoothness and Finish: Surfaces must be perfectly sanded. This prevents splinters. Edges should be rounded. Glues and colors must be non-toxic and child-safe. Colors should be durable, bright, and attractive.
Wood Selection: Use non-harmful wood types. Avoid toxic or allergenic substances. Maple, alder, birch, sycamore, poplar, or cherry are good choices. Hardwood without large pores is best. It avoids trapping dirt and bacteria. Avoid exotic woods and walnut. They can cause allergic reactions. Choose wood from sustainable forests or plantations.
Always prioritize these points. They help you create safe and lasting toys.
Building Your DIY Wood Train Set
You can start building your own diy wood train set today. This section guides you through creating different levels of train projects. You will find that building these wooden toys is a rewarding experience.
Beginner Train Cars
You can easily build beginner-friendly train cars using simple blocks and shapes. You do not need a high level of skill. The average woodworker with basic tools can complete these projects. Most cars are super easy to make. They only take a couple of hours from start to finish. You will not find fancy joinery or many parts to put together. The steps are simple.
You can organize your scrap wood material. Take stock of available scrap wood. Trim larger pieces to the sizes you need. Match these pieces with your design drawings. Cut bases for your car body pieces. Cut them slightly long. This helps you round the ends later. Then, cut rounded ends on your car body pieces. Use a 2.5-inch circle template, a compass, or string to trace curves. Cut these curves with a band saw or jigsaw. Sand them smooth. Drill holes in your car body pieces. Drill oversized axle holes for free spinning. Drill tight hitch peg holes.
You can use up scraps with these designs. This allows for variations in thickness or dimensions. You base these on the materials you have. You can even change plans on the fly. Use your judgment on what looks good. Simple rectangular parts often do not require templates. Dimensions provide guidance. You can customize based on your scrap wood.
Here are some easy cars you can make:
Passenger Car: This
caris super easy to make. It takes only a couple of hours. It has simple steps and no fancy joinery.Caboose: This
caris very similar to the passengercar. It goes together about the same way. Pictures illustrate the steps.Lumber Car: This
caris the easiest one of all. It requires no special templates. You just glue a base to a chassis. It is a good way to use small scrap pieces for “lumber.”
To assemble wood train cars, you need to attach the wheels. You can pre-drill holes in the wooden toy train car. Attach the wheels using countersunk screws. Avoid overtightening screws. This ensures the wheels turn freely. Use washers if you need to stabilize the wheels.
Alternatively, you can use axle pegs:
Measure and mark the drilling spots for axle pegs. Ensure proper placement for stability.
Indent the marks with an awl or sharp object. This guides your drill.
Drill holes slightly larger than the axle diameter. This allows for glue.
Drill holes about 1/4 inch deeper than the axle’s extension into the
wood.Test fit axles to ensure they fit properly.
Apply glue into the drilled holes.
Press the wheel and axle into the side of the
traincar. Ensure the wheel is slightly away from the body for free spinning.
Intermediate Train Engines
You can move on to intermediate train engines after mastering beginner cars. These projects involve adding more details. You might incorporate more complex shapes. You can also add more functional elements. You will still use your basic diy skills. You can build a more detailed engine body. You might add a smokestack or a cab. These additions make your train engine look more realistic. You can find plans online for these types of engines. They often provide more intricate cutting and assembly instructions. You will continue to assemble wood train cars and engines with care.
Advanced Miniature Wooden Train Projects
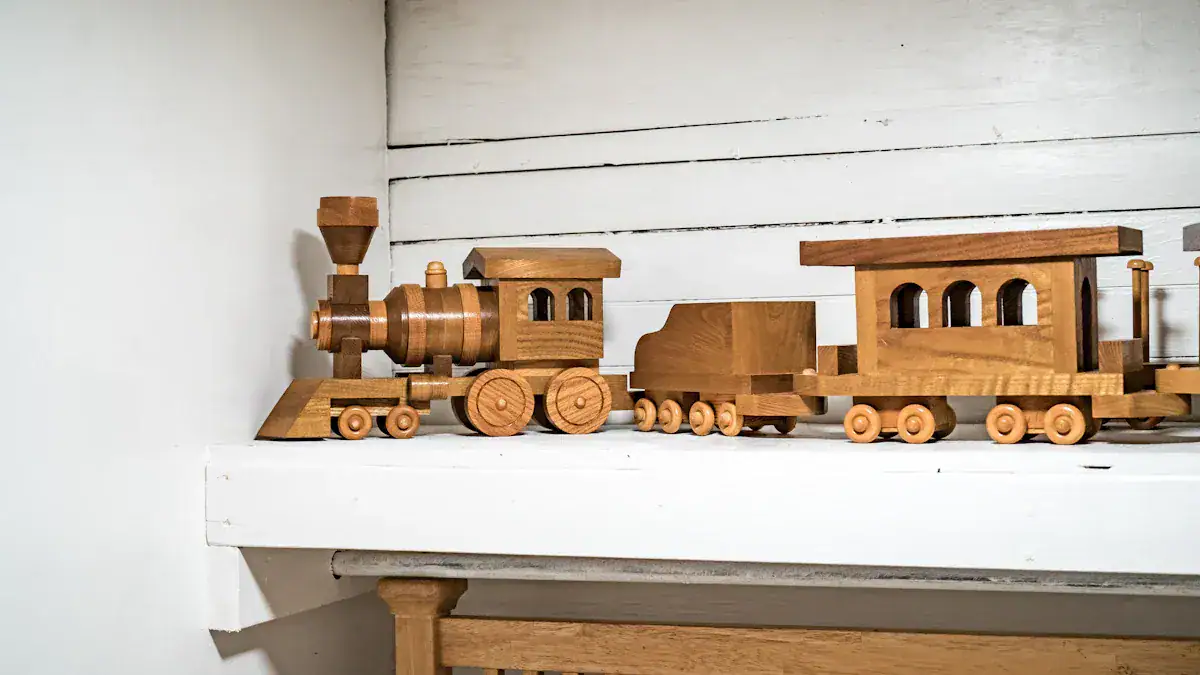
You can explore advanced miniature wooden train projects. These projects offer greater complexity and detail. You might build a 7 car set. This set could include various types of cars and a detailed engine. You can also create trains based on 19th-century switching engines. These require more precise cuts and assembly. You can make a truly custom-made diy wood train set.
For connecting your train cars, you need strong and safe wood couplings. Manufacturers use different methods:
Magnets: Many
woodentrainmanufacturers use magnets. Brands like Brio, Thomas Wooden Railway, and Whittle Shortline use them. They connecttraincars easily.Hook and Loop Couplers: The Japanese
ToyTrainCompany, Plarail, uses white plastic hook and loop systems.
You can incorporate these coupling methods into your custom-made diy wood train set. This makes your miniature wooden train set functional and fun. Your diy efforts will result in a cherished train collection.
Beyond Train Projects
You can expand your diy skills beyond train projects. Many other toys offer rewarding building experiences. You can create various items for children.
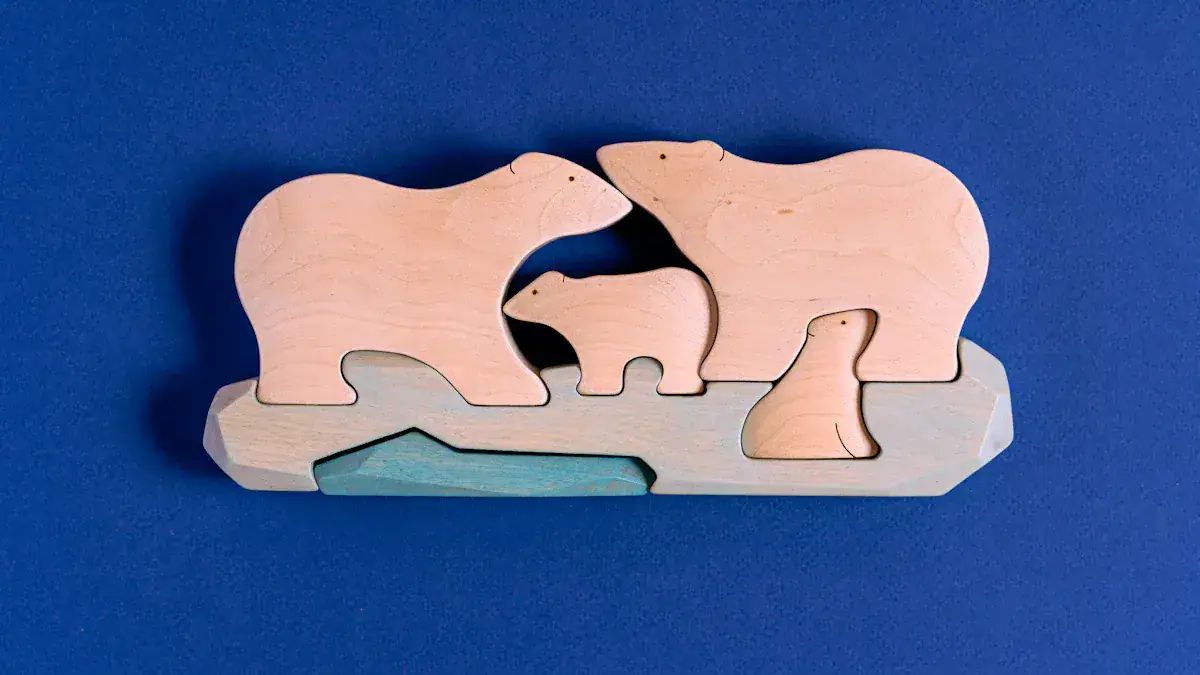
Animal Cutouts
Simple animal cutouts are a great next step. You can create many fun shapes from wood. Popular designs include a Dog Bone Unfinished Cutout, a Sea Turtle Unfinished Cutout, and a Cute Elephant Unfinished Cutout. You might also like a Seahorse Unfinished Cutout or a Dolphin Unfinished Cutout. Consider a Monkey In A Barrel Unfinished Cutout, a Star Fish Unfinished Cutout, or an Owl Unfinished Cutout. Bumble Bee Unfinished Cutout, Butterfly Unfinished Cutout, and California Dogface Butterfly Unfinished Cutout are also good choices. These projects use small pieces of wood.
Wooden Vehicles
You can also build various wooden vehicles. These projects offer more complexity than simple cutouts. You can make different types of cars. One car uses a square centerpiece with a large ‘half’ round molding for the bonnet. It has ogee molding sides and wheels attached by round-head screws. Another car is a hardtop. You make this car from four pieces of staff bead. This car shows how to use curved shapes from moldings. A third car uses two pieces of strip wood glued in a T-shape. Scotia molding fills the sides for a scalloped effect. A cut-down scotia forms the head fairing. You can also make a car with two pieces of staff bead glued for the ‘chassis’. Shiplap cladding forms the wings. The Pinewood Derby car is a primary type of wooden vehicle for diy enthusiasts. Its body is typically wood. The wheels and axles can vary. This allows for flexible car design and performance.
Puzzles and Stackers
You can create engaging puzzles and stackers. These toys challenge young minds. A diy Stacking Block Puzzle is a good project. You use 2×2 scrap wood for this. You need a 2×2 scrap piece, 1/4-inch oak or pine dowels, and wood glue. You also need a scrap wood base (about 3×5 inches). Paint, stain, or polyurethane will finish it. You will use four 4.5×4.5 inch cropped images, Mod Podge, and polyurethane spray. You cut nine 1.5-inch blocks from a 2×2. You drill center holes in each block. You create a base with three dowel holes. You secure the dowels. Then, you apply cropped images to the blocks. You use Mod Podge and polyurethane. This project makes a fun and educational toy.
Tips for Successful DIY Building
Prioritize Safety
You must always prioritize safety when you work on your diy projects. Always wear protective gear. This includes safety glasses and gloves. When you use edge tools like chisels, keep your hands behind the cutting edge. This prevents accidents. Secure your hand tools. Lock them away if children can access your workspace. Maintain sharp tools. Dull tools need more effort. They increase your risk of losing control and getting hurt. Use both hands for tools designed for it, like spoke shaves. This avoids accidental cuts. Wear stout shoes and long pants in your workshop. This protects you from falling tools or heavy objects. You should also ensure your tetanus shots are current. Skin breaks are possible. Keep a properly stocked first aid kit nearby. You should also know basic first aid.
Smooth Finishing
You need smooth, child-safe surfaces for your wood toys. Follow these sanding and finishing techniques. First, prepare your workspace. Ensure it is clean and well-lit. Lay down a drop cloth. Start with 150-grit sandpaper. This removes roughness. Gently round all edges for safety. Next, progress to 220-grit sandpaper. This smooths the surface. It eliminates sanding marks. For a silky finish, lightly sand with 320-grit sandpaper. This prepares the surface for coating. After sanding, vacuum all dust. Wipe the surface with a tack cloth. Finally, apply only non-toxic, child-safe finishes. Allow them to fully cure.
You have many non-toxic finish options:
Finish Type | Advantages | Application Method |
|---|---|---|
Beeswax | Non-toxic, natural moisturizer, easy to apply | Melt, brush on, let cool |
Shellac | Food-safe, durable finish, quick drying | Mix flakes with Everclear alcohol, brush on |
Tung Oil | Water-resistant, robust finish | Apply to wood, allow to cure |
Encourage Creativity
You can encourage creativity in children through diy toy building. Allow for customization and personalization of toys. Give children freedom to add features, colors, or designs. These reflect their interests. You can also promote sustainability. Encourage the use of recycled and upcycled materials. Teach children to repurpose old items into unique toys. Open-ended toys like blocks or magnetic tiles boost imagination. They also improve problem-solving abilities. You can build a simple puppet theater. This encourages imaginative play and storytelling. It develops language skills. A diy musical instrument explores rhythm and sounds. This fosters auditory development. These activities help children design and build. They develop cognitive, language, sensory, social-emotional, and psychomotor skills.
You gain immense satisfaction building wooden toys. These creations are lasting and meaningful. Start your diy journey today. Free diy wooden toy plans and basic tools are all you need. You can build a cherished diy wood train set. Imagine the joy these handmade train toys bring. They create wonderful memories for children and families.
FAQ
What is the best wood for toy making?
You should choose hardwoods like maple, beech, or birch. These woods are durable and safe for children. They resist dents and splinters. Avoid softwoods for younger children. Always pick non-toxic wood types.
How do I make my wooden toys safe for children?
You must sand all surfaces very smooth. Round every edge to prevent splinters. Use only non-toxic finishes like beeswax or food-grade mineral oil. Ensure all parts are large enough to prevent choking hazards.
Can I really build a wooden toy with basic tools?
Yes, you can! You do not need a fancy workshop. Hand saws, drills, and sanders are often enough. Many free plans exist for simple projects. You can start with a basic train car.
What kind of wooden car can I build?
You can build many types of wooden cars. Simple block cars are great for beginners. You can also try more complex designs like a racing car or a truck. A Pinewood Derby car is a popular project.
