
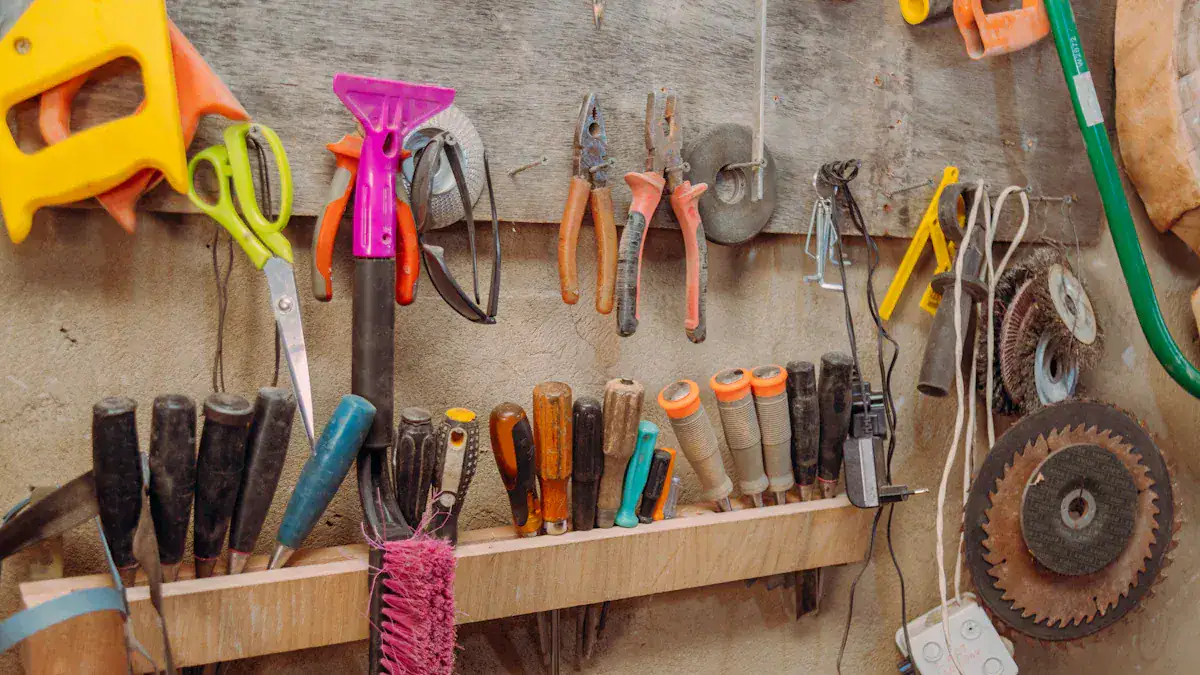
Every successful workshop relies on essential hand tools. While power tools are great, mastering hand tools is crucial for precision, control, and versatility.
Hand tools provide unparalleled precision and control in woodworking tasks, allowing woodworkers to achieve clean, accurate cuts and joinery. This level of precision is especially important when working on intricate or custom projects that require delicate, detailed work something that may not be possible with power tools.
You achieve the final fit and perfect alignment with these hand tools. They are truly extensions of your will, vital where power tools fall short. This post guides you to indispensable workshop tools. Ready to build a solid foundation for your projects?
Key Takeaways
Hand tools give you great control and precision for detailed work. They are important for any workshop, even with power tools.
Always put safety first in your workshop. Understand your tools, wear safety gear, and keep your workspace clean.
Start your workshop with basic tools like a tape measure, hammer, screwdrivers, pliers, and a utility knife. These tools help with many projects.
Use special tools for measuring and marking, like a combination square and marking gauge. These tools help you make accurate cuts and avoid mistakes.
Keep your tools clean and oiled to stop rust. Store them in a dry place to make them last longer.
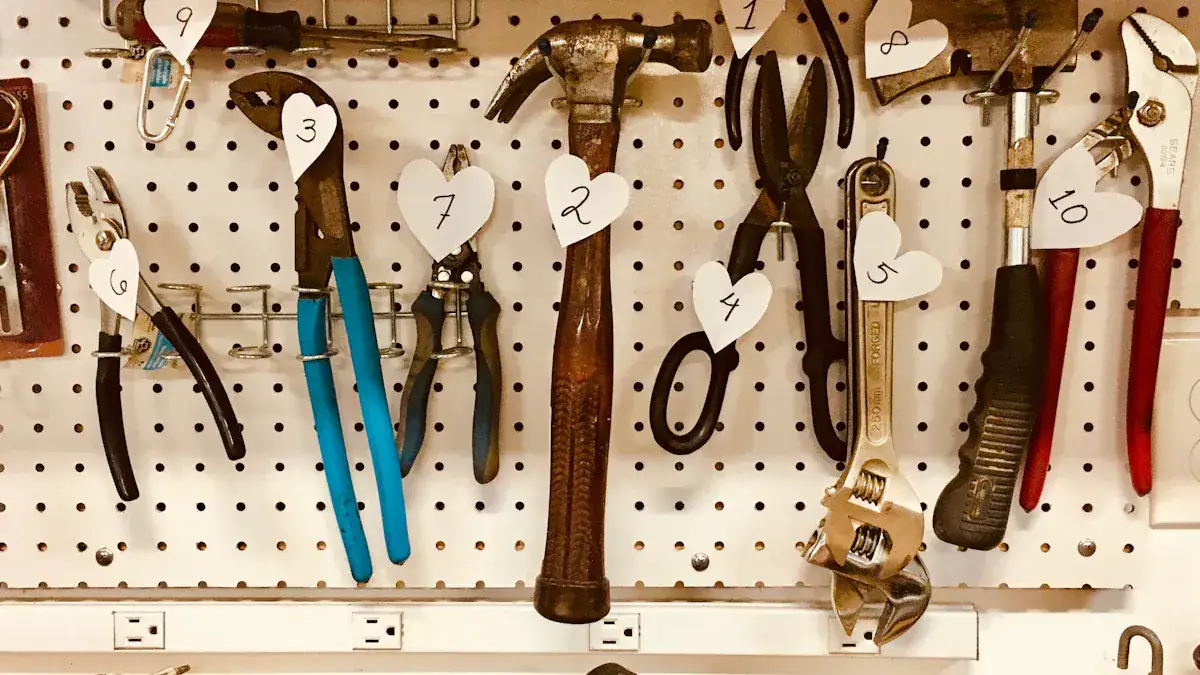
Foundational Essential Hand Tools
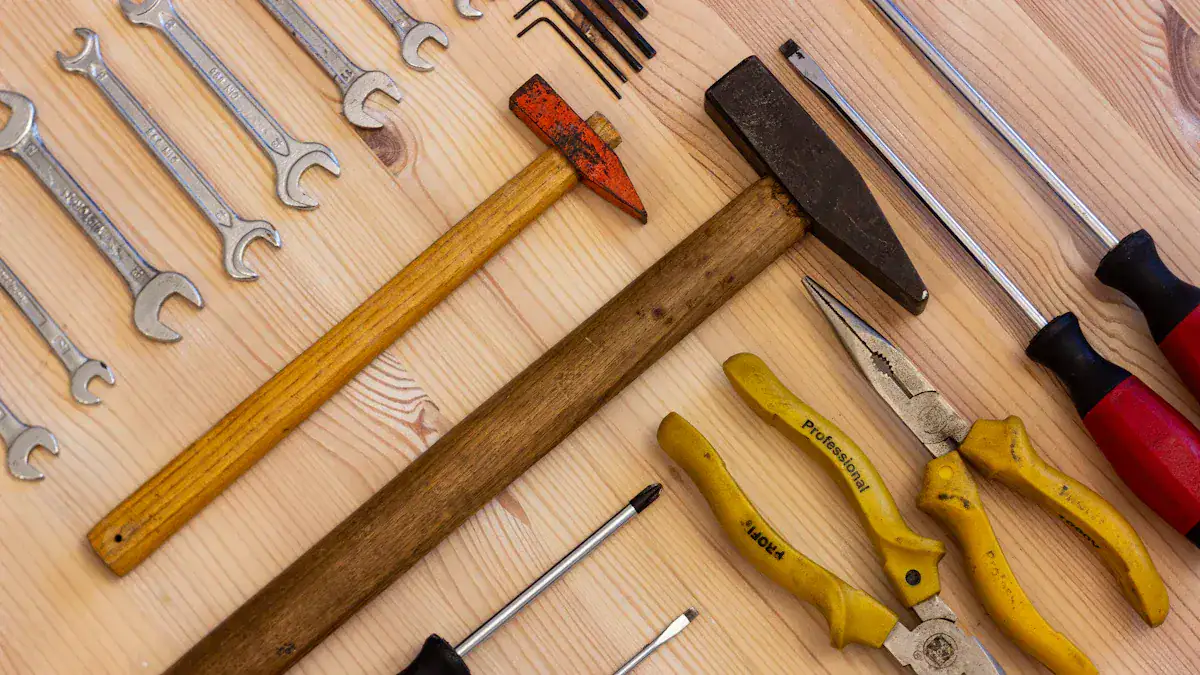
You begin building any workshop with a core set of tools. These essential hand tools form the backbone of your workspace. They are universally needed for almost any project. Before you pick up any tool, remember safety. You must always prioritize safety in your workshop.
Here are some key safety practices:
Understand the Tool: Read the user manual. Learn about the tool’s operation, hazards, and safety features.
Wear Appropriate Safety Gear: Use high-quality safety glasses, ear protection, and gloves. Add a dust mask or respirator if needed.
Work in a Well-Ventilated Area: Ensure good airflow. This is important when tools create dust, fumes, or hazardous substances.
Use Safety Guards and Devices: Check that built-in safety guards are in place. Make sure they work correctly. This prevents contact with sharp edges or moving parts.
Maintain a Clean and Organized Workspace: Keep your work area clear. Remove clutter, obstacles, and tripping hazards. This helps you move safely and control your tools.
Tape Measure
A tape measure is your primary tool for accurate dimensions. You use it to measure lengths, widths, and depths. This tool ensures your cuts are precise and your layouts are correct. For example, you measure wood pieces before cutting them for a furniture project. You also check the dimensions of a room for a renovation.
Different types of tape measures exist for various tasks:
Surveyor’s Tape Measure: You use this for large spaces and long distances. It often has an easy grip and handle.
Carpenter’s Composite Folding Ruler: This heavy-duty option works well for construction. It stores easily and maneuvers around corners.
Classic Steel Tape Measure: This durable choice is good for smaller home projects. It holds lengths well.
Magnetic Tape Measures: These are useful in workshops for specific tasks where magnetic attachment helps.
Professional Tape Measures: You design these for more demanding or specialized workshop jobs.
Pocket Tapes: These are convenient for quick, on-the-go measurements in your workshop.
You will find a classic steel tape measure indispensable for most woodworking tools and general projects.
Claw Hammer
The claw hammer is a classic tool. You use it for driving nails into materials. You also use its claw end for pulling nails out. This makes it essential for assembly and light demolition tasks. For instance, you might use it to assemble a wooden frame or to remove old trim.
Ergonomics play a big role in hammer design. A good grip reduces hand strain. It also improves control, precision, and safety. Shock-absorbing handles reduce vibration. This protects your joints over time and prevents repetitive strain injuries. Fiberglass or composite handles offer excellent shock absorption.
Handle Material | Ergonomic Benefit for Fatigue Reduction |
|---|---|
Wood | Offers natural shock absorption. It transmits less vibration to your arm, reducing fatigue during long use. It provides a warm, comfortable grip. |
Fiberglass | Dampens vibration. It transmits much less vibration than many solid steel options. It often has an over-molded rubber grip for better comfort and control. |
Steel | Modern designs include advanced anti-vibration technologies. These include shock-dampening grips and internal structures. They absorb impact, reducing jarring and managing vibration levels. |
Screwdrivers
Screwdrivers are fundamental for fastening and unfastening screws. You use them in countless assembly and repair jobs. You need a variety of sizes and tip types to match different screws.
Here are common screwdriver tip types and their uses:
Flathead (Slotted) Screwdrivers: You use these for woodworking, basic household repairs, and simple fastening.
Phillips Screwdrivers: These are best for electronics, automotive work, and furniture assembly.
Pozidriv Screwdrivers: You use these for assembly work, heavy-duty tasks, and industrial machinery.
Hex (Allen) Screwdrivers: These are common in furniture assembly, bicycle repairs, and DIY projects.
Robertson (Square) Screwdrivers: You prefer these for woodworking, automotive assembly, and electrical installations.
Tamperproof Star (Torx Plus) Screwdrivers: You design these for security systems, tamper-resistant applications, and electronic devices.
Star (Torx Plus) Screwdrivers: These excel in automotive and aerospace industries. They work well for high-torque applications and precision equipment.
Microtech Screwdrivers: You specialize these for electronics, smartphones, watches, eyewear, and precision engineering.
While a cordless drill can drive screws faster, screwdrivers offer unmatched control and feel. This is especially true for delicate woodworking tools or when you need to avoid overtightening.
Pliers
Pliers are versatile gripping, bending, and cutting hand tools. You use them to hold small objects, bend wire, or cut electrical cables. They come in many forms, each designed for specific tasks. For example, you might use needle-nose pliers for intricate electrical work or slip-joint pliers for general gripping.
Plier Type (Jaw Surface) | Description | Gripping/Cutting Function |
|---|---|---|
Serrated Jaws | Toothed or grooved surface for extra grip. | Provides secure grip on robust materials like stubborn bolts or oily car parts; avoid delicate materials. |
Smooth Jaws | Flat and smooth surface. | Non-damaging grip for delicate materials like jewelry, crafting, or chrome plumbing fixtures. |
V-Slot Jaws | Jaw with a V-slot for wire or cable. | Increases surface area contact for enhanced grip on metal wire, cable, or rod; useful for fencing and jewelry making. |
Soft Jaws | Jaws made from softer materials like plastic or nylon. | Safeguards delicate materials from crushing while maintaining grip accuracy; popular for jewelry making and small wooden components. |
Plier Type (Jaw Shape) | Description | Gripping/Cutting Function |
Flat Nose | Typical shape, offering reliable grip. | General gripping and bending in normal conditions, balancing ease of use with reliable grip. |
Snipe Nose | Tapered jaws ending in a point. | Allows for accuracy with smaller materials and reaching into small spaces; perfect for intricate jewelry forming and hard-to-reach general purpose jobs. |
Adjustable Wrench
An adjustable wrench lets you turn nuts and bolts of various sizes. You adjust the jaw opening to fit different fasteners. This makes it a convenient tool when you do not have a full set of fixed wrenches. You might use it for plumbing repairs or tightening bolts on a bicycle.
However, adjustable wrenches have limitations. They are not ideal for high-torque situations. They also struggle with stubborn fasteners. Fixed wrenches or socket sets offer a more secure grip.
They handle greater force without slipping. Adjustable wrenches can slip suddenly. This earns them the nickname ‘knucklebuster’. For precision woodworking tools or heavy-duty mechanical work, you often prefer fixed-size wrenches over adjustable ones.
Utility Knife
A utility knife is a simple yet powerful cutting tool. You use it for opening boxes, trimming materials, or scoring lines. Its sharp, replaceable blades make it versatile for many tasks. You might use it to cut cardboard, trim veneer for woodworking tools, or slice through insulation.
Proper handling and storage of your utility knife are crucial for safety.
Always carry utility knives in a sheath or protective cover.
Avoid leaving knives exposed on tables or workbenches.
Store blades either retracted or facing downwards in a dedicated pouch or toolbox.
For retractable knives, ensure the blade is fully retracted when not in use.
After use, store utility knives in a secure location. If the knife has a retractable blade, ensure it is retracted. You can use lockable drawers or cabinets for storage. This prevents unauthorized or accidental access, especially in areas where children or untrained individuals might be present. These power tools complements are simple, but require respect.
Precision and Layout Workshop Tools
You need precision for successful projects. These tools help you measure, mark, and ensure everything is square. Accurate measurements prevent cutting mistakes. These mistakes lead to wasted materials. You must invest in quality measuring tools. You must also use them consistently.
You can reduce errors by using reference surfaces. A Reference Surface (RS) is a flat area on your material. You use it for layout. First, you prepare a Primary Reference Surface (PRS).
You make sure it is straight, flat, and without twist. This means you saw, mill, or plane the material. All four long-grain surfaces become flat. Adjoining surfaces are square (90˚). Opposing sides are parallel. You check flatness with a precision straightedge. This prevents mistakes and saves material. Planning cuts before you start also helps. You can sketch a cutting plan. You can create a cutting list. This is a main way to avoid waste.
Combination Square
A combination square is a very versatile tool. You use it for many tasks. It helps you measure, mark, and check squareness. You can mark 45-degree angles for miters. You can also measure depth for grooves or mortises. You check square corners on a workpiece. You can even use its spirit level to ensure your work is level.
This tool offers great versatility. It performs many functions. It measures, marks, and checks squareness and angles. It gives you high accuracy for exact dimensions. It excels at measuring and setting angles. It often has a protractor or bevel feature. It usually includes a scriber.
This helps you make accurate reference points. It is perfect for verifying the squareness of corners and edges. You can use it for precision measurements in woodworking tools, metalworking, or machining projects. You can measure and mark angles other than 90 or 45 degrees with a protractor head. It has a depth gauge for holes, grooves, or recesses.
You can find the center of round objects with a center finder attachment. You can scribe lines and reference points with its built-in tool. It also helps you measure smaller workpieces because of its fine markings.
Marking Gauge
A marking gauge helps you scribe parallel lines. You use it to transfer exact dimensions between pieces. You do not need to know the precise measurement. This ensures consistency. It also creates true parallelism in your marked lines. This is very important for joinery, like dovetails. For example, you set a marking gauge for dovetailing. You reference one piece to scribe a perfect line on another. This ensures the exact width of the wood is correct.
Marking gauges are superior to pencils for this task. For hand-cut dovetails, a scored baseline gives you a visual guide. It shows you the sawing depth. It also provides a precise point for a chisel. The chisel snaps into this line when you remove waste. This removes any doubt about where to remove material. It leads to cleaner and more accurate joinery.
Level
A level helps you ensure things are perfectly flat or straight. You use it to check if surfaces are horizontal or vertical. This tool is essential for building anything that needs to be plumb or level. For example, you use a level when hanging shelves. You use it when installing cabinets. You also use it when framing walls.
Most levels use a small bubble in a liquid-filled tube. When the bubble sits exactly between two lines, the surface is level. If the bubble is off to one side, the surface is not level. You can find levels in different lengths. Longer levels help you check larger surfaces. Shorter levels are good for small spaces. Using a level helps you avoid crooked installations. It ensures your projects look professional.
Pencil
A pencil is a simple but vital marking tool. You use it to mark cut lines. You also use it to mark drilling spots. You use it to make notes on your material. You need a pencil that makes clear, visible lines. These lines should not smudge easily.
The hardness of the pencil lead matters. Hard leads are good for fine lines and precision. Soft leads work better for visibility on darker woods. For most woodworking tools projects, an HB or H lead is best. These leads are hard enough not to break easily. They are also soft enough to leave visible marks on wood surfaces. You always want a sharp pencil point for accuracy.
Cutting and Shaping Hand Tools
You need tools to cut and shape materials. These hand tools help you transform raw stock into finished pieces. They are essential for any project, from simple cuts to intricate designs. You will find these tools invaluable for your woodworking tools collection.
Hand Saws
Hand saws are fundamental for cutting wood. You use them to make straight cuts, curves, or intricate joints. Different saws have different tooth configurations. These configurations suit specific cutting applications.
Saw Blade Type | Tooth Configuration | Ideal Cutting Applications |
|---|---|---|
Crosscut Saw Blade | Angled teeth, alternating direction, smaller and finer | Cutting across the grain of wood, carpentry, finish work, clean cuts in plywood, softwood, or hardwood |
Rip Saw Blade | Large, flat, chisel-shaped teeth | Cutting along the grain (ripping) lumber, construction, framing, rough cuts where speed is prioritized |
Back Saw Blade | Thin, fine teeth; stiffened spine | Miter cuts, dovetail joints, tenon cuts, precision cuts in molding, trim, and joinery |
Coping Saw Blade | Very fine, thin blade, teeth point toward cutting direction, mounted in U-shaped frame | Cutting curves and intricate shapes, detailed designs, fine, detailed work, decorative cuts |
Panel Saw Blade | Similar to crosscut saw blades, generally larger | Cutting plywood, MDF, and other panel materials, larger, thinner sheets needing straight cuts |
Pruning Saw Blade | Aggressive, pointed teeth, curved or straight blades | Pruning trees and shrubs, cutting through green wood (1–4 inch diameter branches), gardening, outdoor tasks |
Saber Saw Blade (Jigsaw Blade) | Thin blade, fine teeth | Cutting curves, angles, and complex shapes, wood and metal (depending on blade), DIY projects, cabinetry, custom woodworking |
Fine-Toothed Saw Blade | Very small, closely spaced teeth | Finish work requiring smooth, clean cuts (cabinetry, furniture), cutting delicate or thin materials (veneer, moldings, fine woods) |
Double-Edge Saw Blade | Teeth on both sides of the blade | Specialized tasks requiring cutting in both directions (trimming door frames), cutting moldings, baseboards |
You choose the right saw for the job. This ensures clean cuts and efficient work. A miter saw offers power, but hand saws give you control for delicate tasks.
Hacksaw
A hacksaw cuts metal. You use it for pipes, rods, and other metal stock. Its fine-toothed blade makes precise cuts through various metals. You can cut aluminum, steel, or even plastic with the right blade.
Blade Type | Metal Thickness/Material | Characteristics |
|---|---|---|
Regular Blade | Soft metals (aluminum, tintype) | Most common, teeth alternate left and right for smooth cutting. |
Raker Blade | Thick metals (iron pipe) | Three teeth in a group, requires more effort but suitable for heavy-duty jobs. |
Wavy Blade | Thin metal | Teeth run in a wave pattern (right to left, left to right) for smooth cuts. |
Superfine Grade Blade | Fine metals, thin sheets | Typically has 30-32 TPI. |
All Hard Blade | Cast iron, mold iron | Extremely fine (30-32 TPI), hardened and tempered for durability and sharpness. |
You select the blade based on the material you cut. A higher TPI (Teeth Per Inch) gives you finer, cleaner cuts. This is important for both hard and soft metals. Unlike a miter saw, a hacksaw is specifically for metal.
Chisels
Chisels are shaping tools. You use them to carve, pare, and remove wood. They are essential for joinery and detailed woodworking tools.
Lathe Chisels: You use these with a lathe to shape spinning wood.
Beveled Edge Chisels: These are versatile for fine paring or shaping with a mallet.
Dovetail Chisels: You use these for creating strong dovetail joints.
Curved Chisels: These remove more material quickly and offer precision for carving.
Slick Chisels: You use these for intricate carvings with an efficient cutting edge.
Bench Chisels: These are general-purpose chisels for shaping and chopping.
Paring Chisels: You use these for trimming, shaping, and delicate details.
Sash Mortise Chisels: These cut into tight corners for precise mortises.
Skew Chisels: You use these for intricate details and controlled cuts.
Butt Chisels: These create intricate details and shape smooth edges.
You choose the right chisel for the task. This ensures clean, accurate results.
Hand Plane
A hand plane flattens, reduces thickness, and smooths lumber. You use it to create consistent, smooth surfaces. Specialized planes also cut joints or decorative moldings.
Most planes fall into categories by size: block planes, smoothing planes, and jointing planes. Bench planes have their cutting bevel facing down. They often have a rear handle. Block planes are smaller, one-handed tools. They work well across the grain on end grain. They also smooth small pieces and chamfer edges.
Plane Type | Sub-Type | Length/Characteristics | Primary Function(s) |
|---|---|---|---|
Bench Planes | Jointer plane | 22 inches or longer | Trimming, squaring, and straightening edges of doors or longboards. |
Jack plane | 12–17 inches | Smoothing and squaring rough lumber, truing longboards, removing warp or twists. | |
Smooth plane | 9–10 inches | Flattening and smoothing board faces, leveling high spots, general planing. | |
Block Planes | Standard block plane | Pocket-sized, 20-degree blade pitch | Trimming smaller areas. |
Low-angle block plane | 12-degree blade pitch | Severing end grain, fitting shingles, shaving door corners, fine-tuning trim cuts. | |
Specialty Planes | Rabbet plane | N/A | Cutting rectangular grooves (rabbets) along board edges. |
Router plane | N/A | Cleaning up dadoes and other grooves. | |
Shoulder plane | N/A | Trimming tenons and cleaning up joints. |
You use a hand plane for precision. This is often where power tools cannot match the control. You can achieve a superior finish with these woodworking tools.
Regular inspection is crucial for identifying wear and tear. You should clean your tools properly. Remove dirt, grease, and rust. Lubrication reduces friction in moving parts. Protective sprays or oils prevent corrosion. This extends the lifespan and performance of your cutting and shaping tools.
Gripping, Holding, and Leverage Tools
You need tools to secure your workpieces. You also need tools to apply force. These hand tools are essential for stability and leverage in many tasks. When you choose gripping, holding, and leverage tools, consider ergonomics. Tools should be well-balanced and light. This minimizes muscle strain. Handles should be rubberized and textured. They should fit your hand. This reduces pressure and absorbs vibrations. Good tool shape reduces strain on your hands, wrists, and arms.
Clamps
Clamps hold pieces together during assembly or drying. You use many types of clamps. Each type has specific uses:
C-Clamps: These have a C-shaped frame. A threaded screw mechanism applies pressure. They hold wood pieces together.
Bar Clamps: These have a long bar with adjustable jaws. You use them for large workpieces or multiple pieces. They are good for edge gluing.
Pipe Clamps: These use fixtures on separate pipes. They offer a cost-effective solution for long-reach clamping.
Aluminum Bar Clamps: These are lighter than pipe clamps. Glue contact will not discolor wood. They work for most panel glue-ups.
Parallel-Jaw Clamps: These have deep jaws. They stay parallel under heavy pressure. They keep panels flat.
F-Clamps: These secure workpieces to a bench. You use them for laminating pieces or holding items for sanding.
One-Hand Clamps: You operate these with one hand. You can align parts with your free hand.
Spring Clamps: These apply light, fixed pressure. You use them for temporary tasks, like holding stop blocks.
Handscrews: These have deep reach and independently turning jaws. They grip small or odd-shaped workpieces.
Band (or Strap) Clamps: These use a webbed strap. They wrap around glue-ups. They hold corners together for boxes.
Corner Clamps: These align perpendicular pieces. They apply clamping pressure. They are useful for frame-making.
Bench Vise
A bench vise secures your workpiece. It holds items firmly for sawing, drilling, or filing. When you choose a bench vise, consider these features:
Types: Benchtop vises are versatile. Front and end vises are good for woodworking tools.
Material: Cast iron is tough for high clamping pressure. Steel is strong for woodworking tools.
Jaw Width: Wider jaws provide more surface area. This prevents damage to workpieces.
Jaw Opening: This determines the size of items you can clamp.
Throat Depth: A deeper throat allows clamping wide materials closer to their centers.
Swivel Rotation: This lets the jaws rotate. You get better angles for working on items.
Mount Type: How the vise attaches to your workbench. Proper mounting ensures stability.
Anvil: A flat surface for hammering metal. Woodworking vises usually do not have this.
Quick Release: This allows fast adjustment of the jaws.
Vise Grips
Vise grips are versatile locking pliers. You use them for temporary clamping, holding, or extracting fasteners.
Temporary Clamping and Holding: You use vise grips as quick clamps. They hold small pieces of metal for drilling. They also grip objects tightly. This prevents rusted nuts from spinning.
Extracting Fasteners: They remove rounded-off fasteners. They also remove damaged screws. You can pull nails where the head has rusted off. They grip severely rounded fasteners when other tools fail.
Pry Bar
A pry bar helps you with demolition or material separation. Different types of pry bars serve specific purposes:
Pry Bar Type | Specific Uses for Demolition or Material Separation |
|---|---|
Wrecking Bar | Removing nails; demolishing structures; lifting heavy objects. |
Flat Pry Bar | Prying and lifting tasks. |
Crowbar | Increased leverage and force when prying. |
Claw Bar | Gripping and pulling nails. |
Molding Bar | Separating trim from walls without damage. |
Ripping Chisel | Removing loose boards or siding; extracting nails. |
Cat’s Paw | Digging out embedded nails. |
Mallet
A mallet strikes chisels or assembles joints. It uses a softer head than a hammer. This prevents damage to your workpiece or tool handles. Different mallet head materials offer specific advantages:
Mallet Type | Head Material(s) | Advantages for Chiseling/Assembling Joints |
|---|---|---|
Rubber Mallet | Rubber | Prevents marks on delicate surfaces; good for assembling furniture. |
Wooden Mallet | Hardwoods | Good for delicate surfaces; classic tool for tapping joints. |
Metal Mallet | Steel, Aluminum | Very durable; provides a lot of force for driving chisels. |
Plastic Mallet | Hard plastic | Lightweight; great for delicate tasks; absorbs shock. |
Rawhide Mallet | Treated rawhide | Taps and sets joints without damaging wood; softer head absorbs shock. |
These tools provide the necessary grip, hold, and leverage. They complement your power tools by offering control and precision.
You now understand the value of essential hand tools. They are the backbone of any productive workshop. These essential hand tools provide precision and control. We covered foundational, precision, cutting, and gripping tools. These hand tools help you tackle many projects. Build your collection gradually. Always choose quality over quantity. Start equipping your workshop today. Share your must-have tools in the comments below!


