
Do you want to transform your living space without breaking the bank? A diy paint pen accent wall offers an incredibly simple and affordable solution! Imagine a unique, hand-drawn mural that reflects your personality. This paint pen accent wall is an easy way to update a wall, giving you a personalized look with minimal fuss. Unlike traditional paint projects, using paint pens is a low-commitment diy project. You get the satisfaction of creating something beautiful yourself, and the results bring a truly unique aesthetic to any room.
Consider the cost savings:
Installation Method | Materials Cost | Labor Cost | Total Cost |
|---|---|---|---|
DIY | $100–$500 | $0 | $100–$500 |
Professional | $100–$500 | $500–$1,900 | $600–$2,400 |
This simple tutorial shows you how to achieve stunning results.
Why Choose a DIY Paint Pen Accent Wall:
Cost-Effective Home Decor
You can create the look of expensive wallpaper without the high cost. A diy paint pen accent wall saves you money. Think about it: Sharpie paint pens, a common choice, usually cost between $3 and $10 each. For an entire accent wall project, your material costs can be as low as $15. This makes it a super affordable diy option for any room. You get a custom look without a big budget.
Unleash Your Creativity
This is your chance to really make a space your own. You can draw any design you imagine. Do you want geometric patterns? Or maybe some whimsical ideas for a child’s bedroom? A paint pen makeover lets you express yourself. It is a fantastic way to add personality. Kids and teens especially love designing their own spaces. You can create unique ideas for their bedroom walls.
Low Commitment, High Impact
You might think a big wall change takes a long time. Some people finish a paint pen project quickly. One person reported their wall only took a couple of hours to complete. This shows a fast turnaround for an easy diy diy sharpie wall. Other projects might take longer. One creator worked on their bedroom makeover over several months. They fit it in between other renovations. This means you can work at your own pace. This accent wall project gives you a huge visual impact with flexible time commitment.
Gather Your Paint Pen Accent Wall Supplies:
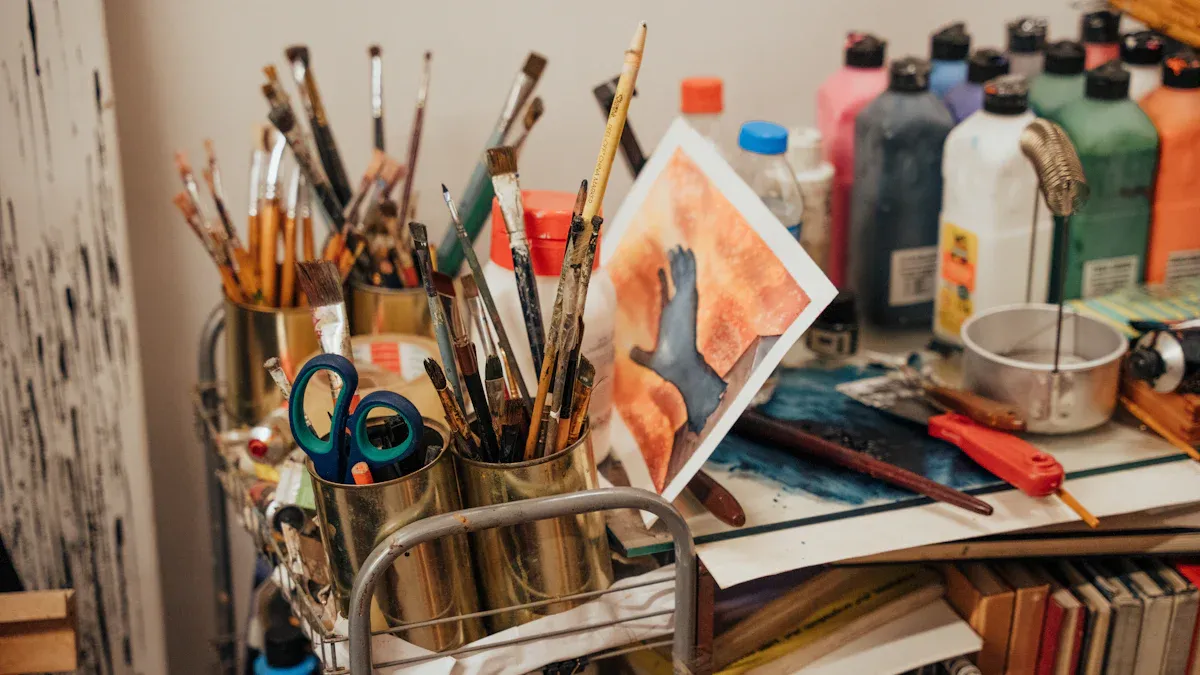
To create your amazing paint pen wall, you need the right tools. Getting everything ready beforehand makes the process smooth and fun. Here are the supplies you’ll need to bring your vision to life.
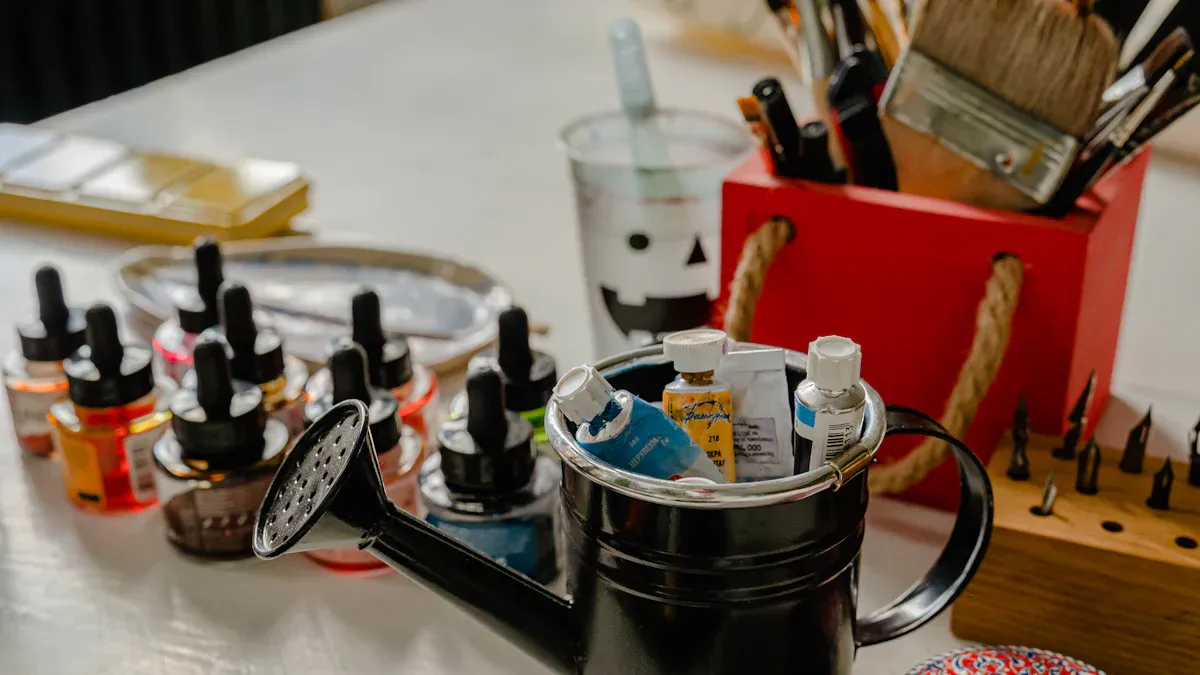
Essential Paint Pens
Your paint pens are the stars of this project! Choosing the right ones is key. Many brands offer great options for drawing on your wall. Here are some popular choices you might consider:
Betem 24 Colors Dual Tip Acrylic Paint Pens Markers: These premium acrylic markers work well on many surfaces, including walls. They have excellent reviews.
Pagather 72 Colors Acrylic Paint Markers: These pens come with both fine and brush tips. They are great for detailed work and broader strokes.
Realzeva Acrylic Paint Markers: You get 24 vibrant colors with dual tips. These are also suitable for canvas and walls.
Sharpie Creative Markers: These are water-based acrylic markers with a brush tip. They are very versatile for different designs.
ARTISTRO 2 Gold Dual-Tip Acrylic Paint Pens: If you want a metallic touch, these multisurface markers are a good choice.
When you pick your pens, think about how durable you need them to be. Mural Pens are acrylic paint pens made specifically for walls. They become permanent on porous surfaces like your wall. They are also artist-quality, meaning they are light-fast and resist fading. Oil-based paint pens are super durable. They stay on longer and are great for surfaces that might get scratched. Water-based paint pens are less durable and can scratch off more easily. So, choose wisely for your project’s needs!
Wall Preparation Tools
Before you start drawing, you need to get your wall ready. This means you need some specific wall preparation tools. First, fix any small imperfections like nicks, holes, or loose paint. Fill them in and sand them smooth. If you have gaps between your trim and the wall, use paintable caulk to fill them. You might need to sand glossy surfaces to dull them. For most walls, a light sanding with 150 to 200-grit sandpaper helps the paint stick better. After sanding, clean your wall. Wipe it down with water and a mild cleaning solution. This removes dirt, dust, and cobwebs. Let the wall dry completely for a few hours. If your wall has stains, dark patches, or if you are changing from a dark to a light paint color, use a primer. Primer helps cover old colors and makes your new design stick better. You can even use old tester pots of wall color for budget-friendly options if you need a small amount of paint for touch-ups or priming small areas.
Design and Measurement Aids
Next, you need tools to help you plan and transfer your design accurately. These are your design and measurement aids. Grab pencils and an eraser for sketching your ideas. A ruler and a spirit level are essential for drawing straight lines and creating precise patterns. For very accurate measurements, especially in high, sloped, or irregular areas, consider using a laser distance meter. These tools let you collect data from the ground, which is much safer. Some models can even send data wirelessly to your smartphone or tablet. This makes transferring your design much easier and helps prevent mistakes.
Safety and Cleanup Items
Finally, you need to think about safety and how to clean up any mistakes. These are important items to have on hand. If your design goes high on the wall, you will need a ladder. Always wear sturdy shoes when you are on a ladder. Make sure the ladder is on level ground. Always keep three points of contact (two hands and one foot, or two feet and one hand) on the ladder. Never stand on the top steps. Check the ladder’s weight capacity and make sure the rungs are dry. If you use an extension ladder, tie it to a secure point. Don’t carry too many items up the ladder at once. Always read the ladder manufacturer’s safety recommendations.
Mistakes can happen, so have cleanup items ready. For paint pen mistakes, you can use rubbing alcohol or hairspray. Dampen a soft cloth with 70% isopropyl (rubbing) alcohol and gently blot the stain. For acrylic paint, mix warm water with a few drops of liquid dish soap. Dampen a cloth and gently rub fresh stains. For tougher spots, a melamine sponge (like a Magic Eraser) works well. Just dampen it and gently rub the marks. Whitening toothpaste can also help. Rub a small amount onto the stain, let it sit for 10-15 minutes, then wipe it away. White vinegar is another option. Dip an old toothbrush in undiluted white vinegar and gently scrub the stain. Always wipe the wall clean with a damp cloth afterward, then dry it.
Your DIY Paint Pen Accent Wall Tutorial:
You are ready to start your diy paint pen accent wall! This tutorial guides you through each step. You will create a stunning mural that transforms your space.
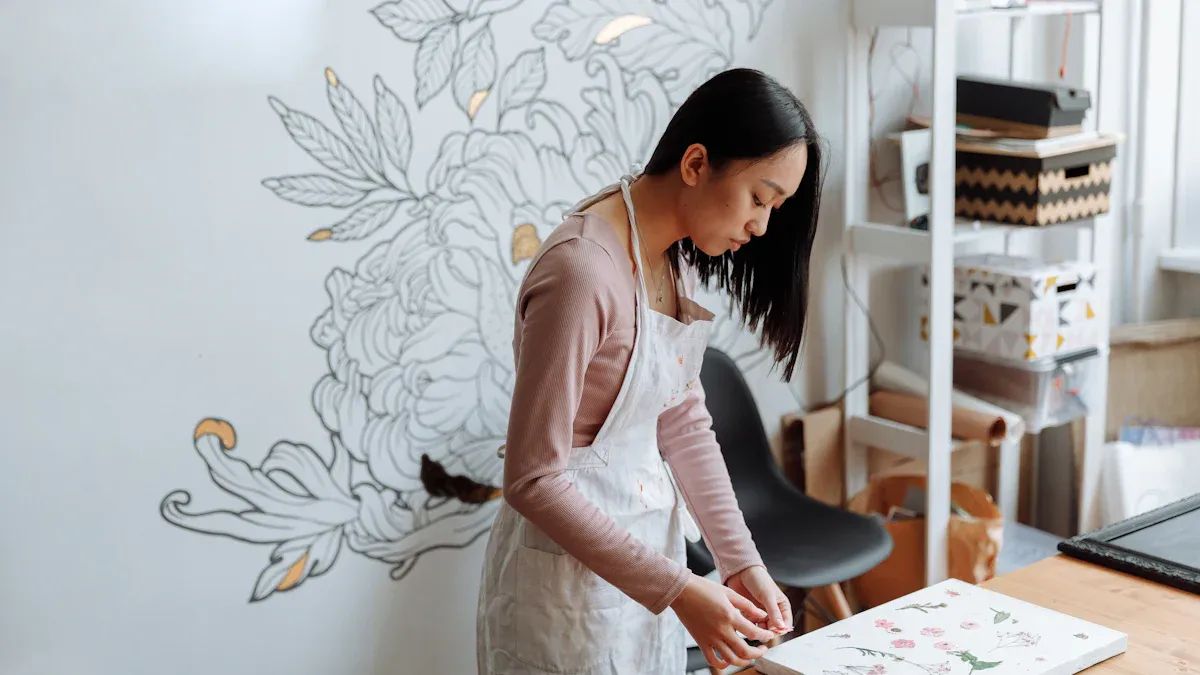
Planning Your Design
First, grab some paper and a pencil. Sketch out your ideas. This helps you visualize your diy accent wall design. Do you want a bold geometric pattern? Maybe a delicate floral mural? You can choose from many popular designs. Think about damask stencils, modern geometric shapes, or even tribal patterns. You could also create a mini mural or a wall of handwritten quotes. Some people love faux tile effects. Others enjoy a kid-friendly drawing gallery. This is your chance to be creative! You can even try a simple design like a chevron pattern.
Preparing Your Wall
You need a clean canvas for your mural. Make sure your wall is clean and smooth. If you plan to use Sharpie paint pens, paint the room first. This gives you a fresh base color. A smooth, clean wall helps your paint pens glide easily. It also makes your design look crisp.
Marking Your Pattern
Now, transfer your design to the wall. This step needs accuracy. You can use a simple technique for this. If you have a geometric pattern, use masking tape. A spirit level helps you get horizontal lines straight. A plumb line ensures vertical lines are perfect. Press the tape down firmly. This prevents paint from bleeding under it. You can also create a template with stencils. Draw your pattern on sturdy card. Then, cut it out. For circles, use a round object as a stencil. For larger circles, use a nail, string, and a pencil. This technique ensures a perfect circle. For a diy sharpie wall tutorial, you might draw a grid first. This helps keep your design even. A grid is a great way to ensure your diy sharpie wall looks professional.
Applying the Paint Pen
It is time to bring your mural to life! Carefully trace your marked pattern with your paint pens. Take your time. If your pen flow is inconsistent, shake it well. Then, prime it on a scrap piece of paper. This ensures a smooth line. If you notice bleeding, remember to use non-porous surfaces if possible. If your wall is porous, use less paint. Let each layer dry before adding more details. This reduces bleeding. If your pen seems watery, shake it moderately. Test it on scrap paper. Dab the tip on a paper towel to remove excess ink. Store your paint pens horizontally. This prevents them from becoming too watery. This project is all about patience and precision.
Finishing Touches & Troubleshooting
You are almost done with your accent wall project! Once your mural is complete, erase any visible pencil marks. Step back often to view your wall from a distance. This helps you see the overall effect. It also helps you spot any areas that need touch-ups. If you made a mistake, do not worry. You can often fix small errors. This diy tutorial makes it simple to create a beautiful accent feature.
Pro Tips for Your Accent Wall Project:
You’ve done a great job so far! Now, let’s look at some pro tips to make your accent wall project even smoother. These simple pieces of advice will help you achieve a professional-looking finish.
Test Pens and Practice
Before you draw on your main wall, always test your paint pens. Grab a scrap piece of paper or find an inconspicuous spot on the wall. This lets you see how the paint flows. You can also practice your lines and patterns. This simple step helps you get a feel for the pen. It prevents surprises later on.
Embrace Patience
Creating a beautiful accent wall takes time. Do not rush the process. Take breaks when you feel tired. Step away from your project for a bit. Come back with fresh eyes. Rushing can lead to mistakes. Patience ensures a better result. You will be happier with your finished wall.
View from a Distance
As you work, step back often. Look at your wall from across the room. This helps you see the overall design. You can spot any areas that need adjustments. Sometimes, a small imperfection up close disappears from a distance. This tip helps you maintain perspective.
Correcting Mistakes
Mistakes happen, and that is okay! For pencil marks, a good eraser works wonders. If you make a small paint error, you have options. For fresh paint pen marks, sometimes a damp cloth can help. For dried mistakes, you can carefully touch up with your base wall paint. This makes the error disappear. Your accent wall project will look perfect.
You just completed a beautiful diy paint pen accent wall! This simple project is incredibly rewarding. You embraced your creativity and personalized your living space. You found an affordable, unique, and personally satisfying way to update your home. Now, go create your own paint pen accent wall! Share your simple designs with us.
FAQ
Can I use any type of paint pen for this project?
You should choose acrylic or oil-based paint pens. They offer better durability on walls. Water-based pens might not last as long. Always test your pen on a hidden spot first.
How long will my paint pen accent wall last?
Your accent wall can last for many years! Its lifespan depends on the pen type you use. Acrylic and oil-based pens are very durable. Proper wall preparation also helps your design stay vibrant.
What if I want to change my design later?
Changing your design is simple. You can easily paint over it. First, use a good primer. Then, apply your new wall paint. This makes your wall ready for a fresh look.
Do I need to prime my wall before starting?
Priming your wall helps a lot. It creates a smooth surface for your design. Primer also helps your design stick better. If your wall has dark colors or stains, priming is a must.
Can I do this project if I am not an artist?
Absolutely! This project is for everyone. You can use stencils or simple geometric patterns. Many people find this a fun and easy way to add personality to their space.
