
Building your own rocking chair offers a truly rewarding challenge. You gain immense satisfaction when you build rocking chair plans into a custom, comfortable rocking chair. This guide provides clear, actionable steps for your DIY rocking chair project. It is achievable, but it requires careful attention. Enjoy personalized comfort, lasting quality, and a unique handmade rocking chair.
Key Takeaways
Choose a good design and strong wood like oak or cedar for your rocking chair.
Gather the right tools and always wear safety gear to protect yourself.
Cut all your wood pieces carefully and make sure they fit together well.
Shape the seat and backrest to fit your body for the best comfort.
Apply a protective finish and test the chair’s rock to make sure it moves smoothly.
Planning Your Build: Choosing Rocking Chair Plans
Selecting Your Rocker Design and Plans
You begin your project by choosing the right design. You can find free templates online. You can also buy detailed plans. Some popular plans are Sam Maloof-inspired. These designs focus on sculpting and flowing lines. Maloof believed the design process happens as you build. You often discover how to shape a part while working with the wood.
This creates a comfortable and stable rocking chair. Kits are available for these designs. They include pre-cut parts. This makes it easier to build a Maloof-inspired rocker. You might prefer a simple design. These often have flexible back slats and scooped seats. More complex craftsman styles offer intricate details. Consider your skill level when you build rocking chair plans.
Wood Selection for Comfort and Durability
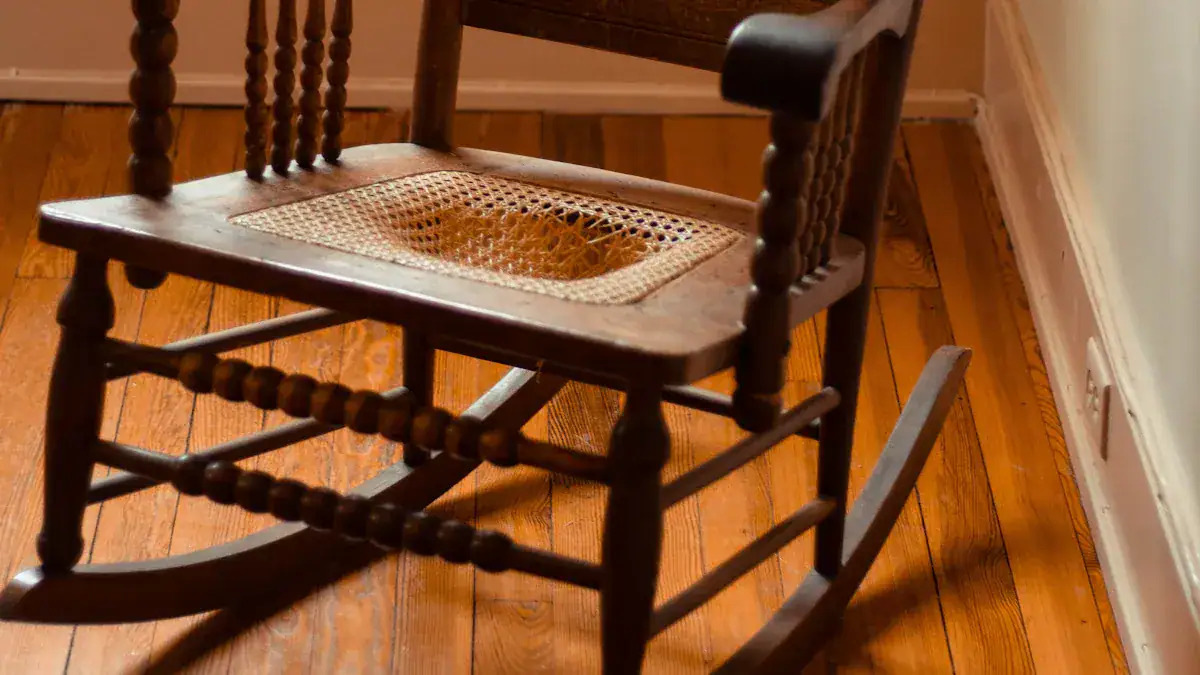
Next, select your wood. The right wood ensures comfort and durability for your rocking chair. Oak is a classic choice. Red Oak is a nice wood for making a rocker. It has a pale red color once you apply oil. Cedar is another good option.
Western Red Cedar is widely available. It resists warp, decay, and insects. This makes it great for outdoor use. Cedar is also easy to work with. It holds finishes beautifully. Other hardwoods like maple or cherry also work well.
Essential Tools and Safety Gear
Gather your tools before you start. You will need several power tools. A bandsaw is useful for cutting curves. A jointer and planer prepare your wood. A table saw helps with precise cuts. For shaping, you might use a router table with various bits. Examples include a rabbeting bit or a roundover bit.
Rasps, such as Auriou rasps, and spoke shaves help sculpt the wood. A powerful flex shaft grinder, like the Foredom TXH440, can also shape contoured seats. You will also need many clamps for laminations. For safety, always wear protective gear. Use eye protection to shield your eyes. Wear hearing protection for loud tools. A mask protects your lungs from sawdust. This ensures a safe experience building a simple rocking chair.
Constructing the Rocker Frame: Step-by-Step
You are now ready to bring your design to life. This section guides you through building the main structure of your rocking chair.
Preparing and Cutting Components
Start by preparing your wood. You need to cut all the individual pieces for your rocking chair. Create a build plan first. This plan helps you identify potential problems early. It also serves as a reference. You can optimize material usage with a good plan. Always use the right tool for the job. Hand tools might work better for fine joinery. Power tools should use multiple small passes. This is safer and gives better results than one large pass.
Minimize measuring by setting up for repeatable cuts. Use jigs, like stop blocks on a table saw. This ensures consistent dimensions for multiple identical components. Double-check your measurements. Inaccurate measurements lead to loose joints and gaps. This compromises structural integrity. Avoid over-sanding.
Using sandpaper finer than 150 grit excessively can create a fuzzy texture. Stop when you achieve the desired smoothness. Ensure you use the correct tools for each specific task. Mismatched tools can cause poor results like splintering. Choose high-quality materials. The quality of materials directly impacts durability and appearance.
Tune your band saw properly. Misaligned guides or incorrect blade tension lead to inaccurate results. Use the correct blade width for the task. Do not ask a router to remove too much material in one pass.
More than 1/8” can snap bits or overheat the tool. Take multiple shallow passes. Verify your squares and straightedges. They can become inaccurate. Always double-check calculations and cutting lists. This prevents errors that snowball. Use a mechanical pencil or marking knife for sharp, visible lines. This ensures precise cuts. Avoid dull pencils. Understand that dimensions are typically listed as thickness x width x length. Length refers to the grain direction.
Assembling Side Frames and Rockers
You will now assemble the side frames. Drill pocket holes into the side frame tops and side frame bottoms. Use a Kreg jig with 2/4” material. Assemble these pieces using wood glue and pocket screws. Repeat this process for the other side frame.
For the rocking chair legs, you can create a ‘faux’ half-lap joint. Glue two boards of different lengths together. This method joins the short legs to the long legs. It ensures everything lines up flush. After the glue dries, reinforce these connections with oak dowels. Drive two dowels per connection. Use a forester bit to drive them about 1/2” through the leg.
Dry-fit the legs to the rockers. This prepares you for laying out tenon and mortise joints. Clamp a back leg into the bridle joint of the rocker. Then, lay out the mortise-and-tenon joint for the front leg and armrest. Use purpose-made clamping cauls for the final glue-up. This ensures proper clamping pressure for the leg, rocker, and arm subassembly.
Building Seat and Back Supports
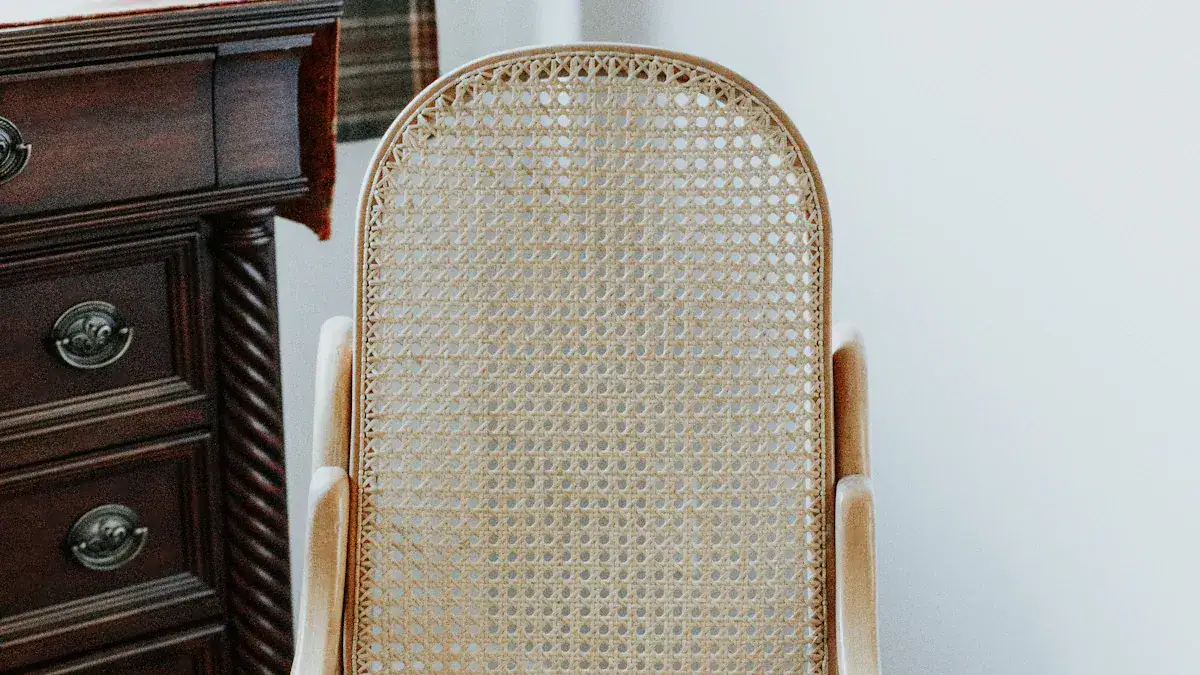
Next, you will build the seat and back supports. These components are crucial for comfort. Cut the pieces according to your plans. Pay close attention to angles and curves. These details define the ergonomic shape of your rocking chair. Ensure all edges are smooth. This prevents discomfort later.
You might need to laminate several thin pieces of wood for curved back supports. Apply glue evenly between layers. Clamp them securely in a form. This creates the desired curve. Allow ample drying time. This ensures a strong, stable component.
Joining Frame Elements
Now, you will join all the main frame elements. Precise fits at every joint are crucial for strength and stability. Measure to within “.01” tolerance. Test fit and inspect for flawless joints before assembly.
Consider the strongest types of wood joints. A mortise and tenon joint is one of the strongest. It offers superior strength under pressure. This makes it good for furniture. A pocket-hole joint also provides strong connections. It increases durability, especially with glue. A dowel joint offers good alignment and strength. It is a strong option for furniture.
Use super strong glues to join elements. This includes legs to the seat, and headrest/arms to legs. Incorporate dowels and stainless steel screws where appropriate. This further strengthens joints. The type of project, like building a rocking chair, requires stability. Your skill level also matters. Some fasteners are more challenging to use. Consult diagrams or tutorials for specific furniture pieces. This helps determine recommended joinery. Understand the three categories of fasteners: internal, mechanical, and direct.
To accurately measure for the long dowel stretchers, reassemble the chair. Tighten jam nuts. Use spacers and light clamping pressure on the side assemblies. This verifies squareness. These dowels conceal hanger bolts. They also function as spacers. This correctly aligns the rocker/leg/arm subassembly with the back and seat.
Crafting Ergonomic Seat and Backrest
You have built the frame. Now, focus on the parts that touch your body. The seat and backrest are crucial for comfort. You will shape these components carefully.
Shaping for Optimal Comfort
You want your rocking chair to feel like it was made just for you. Shaping the seat and backrest for optimal comfort is key. Designers study how people sit. They analyze the natural curve of the spine. They look at pelvic inclination. They also consider muscle and bone forces. This helps them set the chair’s curve and angle accurately. This reduces pressure and fatigue.
For rocking chairs, you set reasonable back curves and tilt angles. This supports your natural spinal curve. It reduces pressure on your waist and back. Slight rocking movements promote blood circulation. The design minimizes pressure points. It also allows for natural body movements. This accommodates various sitting habits.
Consider the materials you use. Highly elastic sponges and memory foam are good choices for seat cushions and backrests. They offer resilience and support. They adapt to your body shape. This provides a more fitted feel. You can also optimize the design with specific features. A ‘pebble seat base’ has gentle sloping edges. This distributes pressure evenly. It also gives you freedom of movement. A ‘waterfall seat edge’ reduces pressure behind your knees.
Attaching Seat and Backrest
You need to securely attach the seat and backrest to the frame. This ensures stability and longevity. One effective method involves securing a thick wooden countertop piece. You can cut this piece to your desired dimensions, for example, 55 x 60 cm. Then, you secure it in place with screws. This creates a strong connection.
For the backrest, you might use screws or dowels. You can also use a combination of both. Ensure the backrest fits snugly into its supports. You can use wood glue for added strength. Clamp the pieces together while the glue dries. This creates a solid bond.
Upholstery or Wood Finishing Options
After attaching the seat and backrest, you decide on the final look. You can choose upholstery or a wood finish.
If you choose upholstery, you will cover the seat and backrest with fabric or leather. This adds softness and warmth. You can select a material that matches your home decor. You will need foam padding and fabric. You will also need a staple gun to attach the material.
If you prefer a natural wood look, you will apply a finish. This protects the wood and enhances its beauty. Here are some popular options:
Finishing Option | Benefits |
|---|---|
Natural Oil | Seals well, looks beautiful, can create a glossy “varnish-like” finish with natural ingredients. |
Wipe-on Poly | Easy to apply. You can mix it with Naphtha 50/50. Apply it with a soft cloth. This allows for multiple coats per day with rubbing in between. |
Milk Paint | Suitable if the wood is not attractive. You can apply it in multiple layers. |
Choose a finish that suits your aesthetic and durability needs. Each option offers unique advantages for your custom rocking chair.
Finishing and Maintaining Your Rocking Chair
You have built the main structure and crafted the comfortable seat. Now, you will give your rocking chair its final look and ensure its longevity.
Sanding and Surface Preparation
Achieving a smooth surface is crucial before you apply any finish. Begin by cleaning the surfaces. If possible, disassemble the rocking chair. This gives you easier access to all parts. Use 80-grit sandpaper to strip off old finishes from flat areas. These include the seat and arms. Switch to 150-grit sanding sponges.
These effectively smooth spindles and other rounded sections. Conclude with 220-grit sandpaper. This achieves a surface perfectly ready for finishing. You can also use 120 grit for removing old finishes. Then use 180 grit for refining curves. For an ultra-smooth finish, you can use 320 grit. Always sand in the direction of the wood grain. This prevents scratches, especially on prominent areas. Thoroughly vacuum and use a tack cloth. This removes all dust particles before you apply any finish.
Applying Protective Finishes
Applying a finish protects your wood and enhances its beauty. If you choose an oil-based finish, follow these steps. Begin by hand sanding with 320 and then 400 grit sandpaper. Ensure all surfaces are smooth.
Vacuum away all sanding dust. On day one, apply oil generously. Rub it in until the surface is fully coated. Wet sand any glue spots with oil and 400 sandpaper. Dry the surface with a cloth. Use compressed air to remove excess oil from joints. Continue rubbing with a fresh cloth until no excess oil remains. Place the chair in a drying rack. After one hour, check for oil bleed-out. Blow out any excess. Repeat a similar process on day two and day three, using finer grits and less oil. After at least 24 hours, inspect all surfaces. Buff out any anomalies. Lightly oil those areas. Immediately wipe away all excess oil.
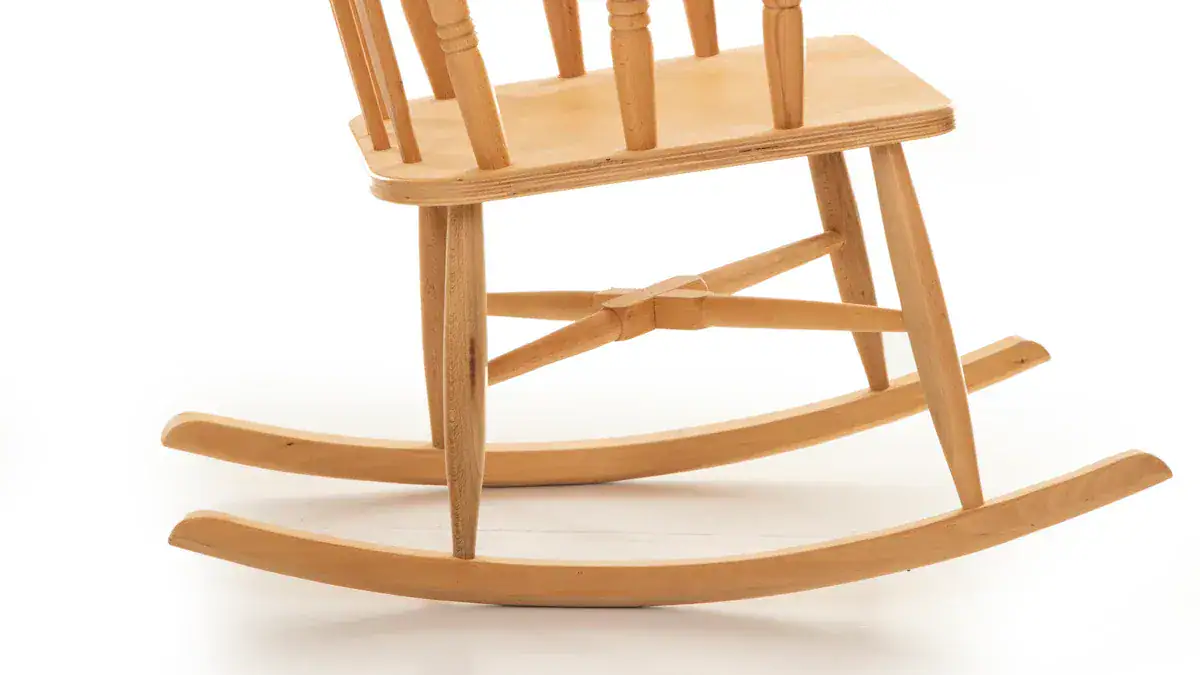
Balancing and Testing Rocker Motion
A good rocking chair moves smoothly. It has a balanced arc. You should feel comfortable. Your feet should meet the ground without feeling like you will tip. If your rocking chair requires too much effort to move, it has poor balance. This will discourage its use.
Test the weight and motion. This ensures the frame stays balanced. The runner geometry is crucial. A gentle curve creates longer, slower arcs. A tighter curve produces quicker motion. A longer runner distributes weight evenly. This prevents tipping. The chair’s center of gravity should align with the runner’s midpoint. This allows a natural return to rest. If your chair feels unbalanced, you can make adjustments. Tighten all bolts, screws, and joints. Loose hardware causes unsteadiness. Re-glue creaking joints. Add a rocker wedge if your floor is uneven. You can also replace damaged rockers.
Long-Term Care Tips
Proper care will keep your rocking chair beautiful for years. Regularly dust with a soft, lint-free cloth. This prevents scratching. Avoid excessive sunlight exposure. This prevents fading and warping. Check and tighten hardware like screws and bolts regularly. This maintains stability. For cleaning, use mineral spirits.
They clean off old oil and dirt. You can also use Murphy’s oil soap with a soft brush. For light cleaning, use a broom or cloth with mild soap and water. For stubborn stains, follow the furniture’s care instructions. You can use a mixture of vinegar and warm water. To protect against mold, clean with a damp cloth. Consider adding bleach if the manufacturer recommends it. These practices will help you enjoy your custom build rocking chair plans for a long time.
You have now completed your own comfortable, personalized rocking chair. This is a significant accomplishment. Enjoy your handcrafted furniture for many years. You also gained valuable woodworking skills during this project. Creating functional art brings lasting satisfaction. Your new rocking chair is a testament to your dedication and craft. It offers both comfort and a unique personal touch.
