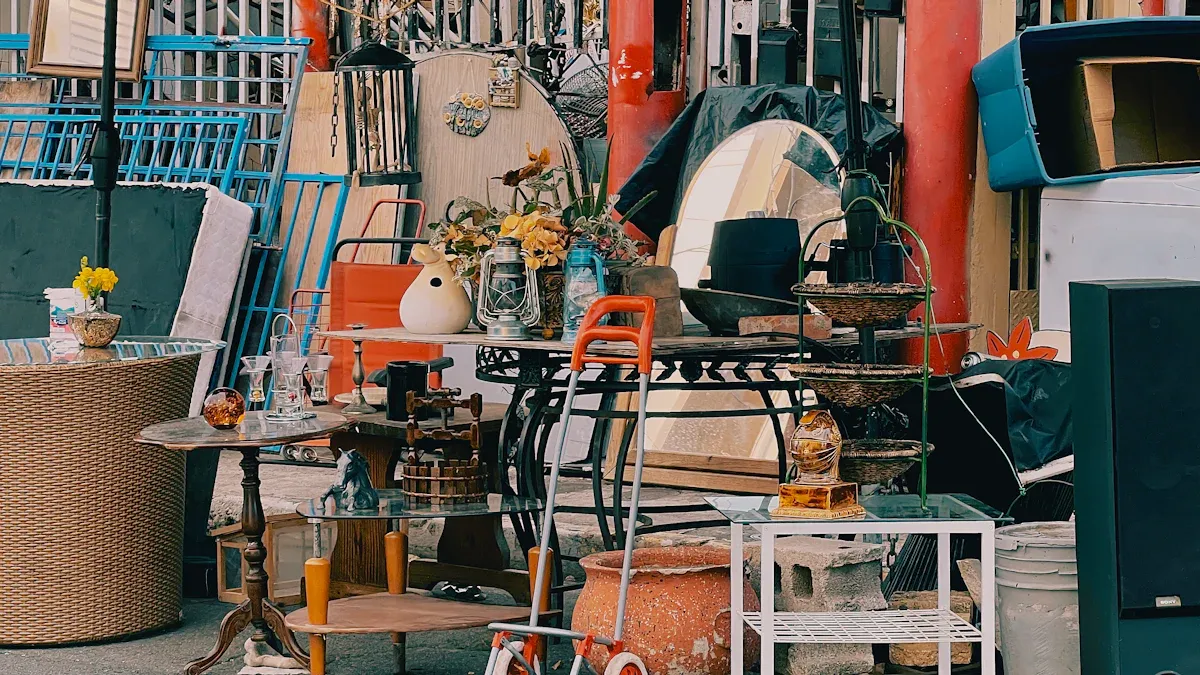
You can transform old items into beautiful new pieces. Repurposed furniture makeovers are a growing trend. Approximately 60% of consumers actively seek eco-friendly home decor. Many find a home minimizing its environmental impact important for wellness. This approach offers unique home decor ideas and saves money. You turn trash to treasure, creating truly personal items. Experience the joy of giving old things new life. Start your own trash to treasure journey with repurposed furniture.
Benefits of Repurposed Furniture
Eco-Friendly Upcycling
You make a big difference when you choose to upcycle. This process significantly lowers energy use and cuts down on greenhouse gas emissions. Manufacturing new items uses a lot of energy. It often relies on fossil fuels. Upcycling reduces the need for new production. This means less energy for extraction and refining. It also means fewer greenhouse gases. Upcycling uses less energy than recycling. You avoid breaking materials down to their basic parts. This practice keeps items out of landfills. It stops toxic chemicals like methane from harming the environment. You can also use non-toxic paints and eco-friendly fabrics. For example, choose plant-based oil wood finishes. Look for GOTS-certified fabrics for reupholstering. This helps create a healthier home. An upcycled piece reduces waste. It lessens the demand for new materials. Each repurposed item means one less item made. It also means one less item thrown away. This elevates the value of old materials. You create a sustainable choice.
Budget-Friendly Home Decor
You save a lot of money with repurposed furniture. Used furniture often costs 70% or more less than new items. This lets you stretch your budget. You can find higher-quality pieces for less money. Look at the potential savings:
Furniture Piece | Average Cost New | Average Cost Used | Potential Savings |
|---|---|---|---|
Dresser | $150 – $1000+ | $30 – $200 | $120 – $800 |
Coffee Table | $50 – $500+ | $20 – $150 | $30 – $350 |
Chair | $50 – $500+ | $10 – $100 | $40 – $400 |
Bookcase | $50 – $500+ | $20 – $150 | $30 – $350 |
Desk | $100 – $1000+ | $50 – $300 | $50 – $700 |
Headboard | $50 – $1000+ | $25 – $200 | $25 – $800 |
You can use many budget-friendly materials. Old drawers, plywood, and reclaimed pallet wood work well. You might find old kitchen stools or scaffold boards. Simple tools like a power drill, sanders, and quality paintbrushes are useful. Chalk paint and top coats are also great. These options make unique home decor ideas affordable. You transform your home without breaking the bank.
Unique Style and Personalization
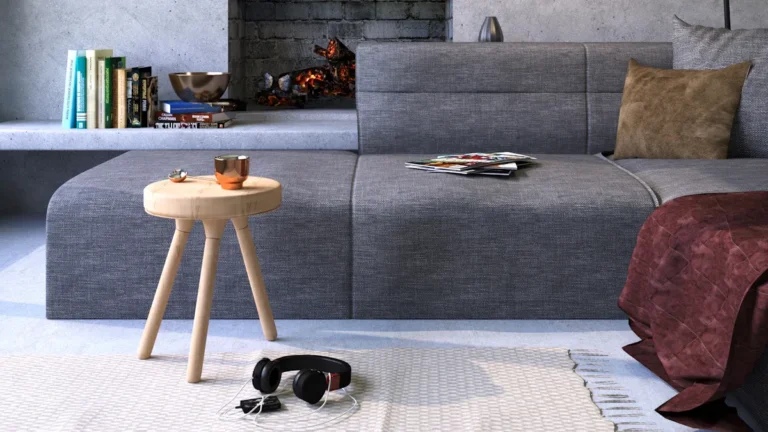
You create truly unique pieces. Repurposing furniture allows for amazing personalization. You can make statement pieces. These items add personality and character. They become focal points in your home. Sculptural furniture is very popular. Even small side tables can make a big impact. You reflect your own style. Custom pieces show your desire for unique interiors. You can choose custom upholstery. You pick the size, fabric, and trims. You customize cocktail tables or beds. You select finishes, fabrics, and headboard options. This adds a bespoke quality. You move away from sterile looks. You create a more lived-in, personalized feel. You combine antiques, family heirlooms, and modern pieces. You use statement colors, textures, and unique furniture. This tells your personal story. You can achieve many design styles. Think about Bohemian, Eclectic, or Industrial looks. You might create a dining table from old sailboat wood. You could use reclaimed railroad ties for the base. This blends maritime and industrial themes. You reflect your adventures. A coffee table can become a sculptural piece. It might have a twisted wood base. It flows into a glass top. This balances art with practical needs. You turn trash to treasure. These ideas give old items new life.
15 Repurposed Furniture Makeover Ideas
You will love seeing the incredible before and after transformations. Each repurposed furniture makeover offers a unique before and after story. You can turn everyday items into something extraordinary. Get ready to feel inspired by these creative ideas.
Dresser to Bathroom Vanity
You can transform an old dresser into a beautiful and functional bathroom vanity. This repurposed furniture makeover adds character to your bathroom. First, choose a dresser that fits your space. You need to cut out space for the sink and faucet. Use a template from your sink. Drill pilot holes, then carefully cut the sink hole. You also need to retrofit the drawers. Remove the bottom of each drawer. Cut the side of each drawer that blocks the plumbing. Trim the back of each drawer. Reattach the side with L brackets. Secure the back with staples and wood glue. Cut down the drawer bottom and re-staple it. Add new drawer rails. Next, seal the dresser. Apply three or more coats of a heavy-duty sealant. This protects the wood from water. You can use Masters Armor or oil-based polyurethane. Set the sink and faucet in place. Apply clear silicone around the sink opening. Drop the sink in. Install the faucet. Cut out the back of the vanity for water lines and plumbing. Mark the back, then use a drill and jigsaw to cut circles. Secure the dresser vanity to the wall. Drill through scrap wood inside the dresser into wall studs. Reattach the plumbing. Connect the faucet’s water lines. You might need a new P-trap or a longer pipe.
Pallets to Coffee Table
You can build a rustic or modern coffee table from wooden pallets. This diy project is very rewarding. First, select your pallets carefully. Avoid pallets stamped with ‘MB’. This means they used a pesticide unsafe for indoor use. Look for ‘HT’ (heat-treated) or ‘DB’ (debarked) stamps. These are generally safe. Check for cleanliness. Avoid large stains or spills. Clean the wood. Scrub it with bleach or soapy water. You can also use a power washer. Let them dry completely in the sun. This disinfects them. Disassemble the pallets if you need individual pieces. Use a reciprocal saw or crowbar. Sand the surfaces for a smooth finish. You can then stain or paint your new coffee table. This upcycle project adds unique charm to your home.
Vintage Suitcase to Pet Bed
Give an old suitcase new life as a cozy pet bed. This repurposed idea provides a unique resting spot for your furry friend. Choose a hard-shell suitcase. They are sturdier. Make sure it is robust enough for your pet’s weight. It should be spacious enough for them to stretch out. Inspect the suitcase for stability. Reinforce it if it wobbles. You can add legs. This elevates the bed. It improves air circulation. It keeps your pet off cold floors. Securely attach the legs with screws. Use furniture pads to protect your floors. Line the bed for comfort. Memory foam offers orthopedic support. It helps older dogs or those with arthritis. Nylon is durable for active dogs. Soft fabrics like fleece provide coziness. Polyester resists stains. Cotton is a breathable option.
Bookshelf to Dollhouse
You can transform a simple bookshelf into a magical dollhouse. This diy upcycle project sparks imagination. First, mark the center of the bookshelf sides. Use a speed square to mark 45-degree angles. Cut along these lines. You can use a miter saw or jigsaw. Assemble the bottom and middle shelves. Secure the top shelf with screws. Cut a top piece to size. Screw it in place for the back part of the roof. Secure the original bookcase’s faceplate to the other side. This creates the front roof. Leave it open for play. Spray paint a blue border. Tape over it. Paint the rest of the dollhouse white. Remove the tape while the paint is wet for a clean line. Use vinyl adhesive shelf liner for fake windows. Decorative tape works for wallpaper. Scrapbooking paper and stickers make great wall art. A scrap of fabric becomes a rug.
Crib to Desk or Craft Table
You can convert an old crib into a functional desk or craft table. This repurposed furniture makeover is perfect for a child’s room or a creative space. First, remove the front side or railing of the crib. Measure the bottom of the crib. Cut a piece of MDF to fit it. Prime and paint the MDF with black chalkboard paint. Let it dry. Screw the MDF board onto the crib bottom. Attach the top piece of the front railing to the open edge of the desk. This completes the look. You now have a sturdy and inspiring workspace.
Old Door to Headboard or Table
An old door can become a striking headboard or a unique table surface. This repurposed item adds architectural interest. First, prepare the door. Remove all hardware. Check for lead paint. Fill any holes. Reinforce hollow cores if needed. Sand the door. Prime or prepare it for staining. Seal it with a waterborne polyurethane. For a headboard, mount it securely. Use anti-tip brackets for heavy doors. Mount a continuous cleat into wall studs. You can also use L-brackets to attach it to your bed frame. For a table, ensure it is level and stable. Reinforce hollow-core doors with internal ribs. This enhances structural integrity. Ensure exposed edges are smooth. Round the corners to avoid sharp edges.
Ladder to Bookshelf or Display
An old wooden ladder can become a charming vertical bookshelf or display unit. This upcycle idea adds rustic appeal to any home. Simply clean and sand the ladder. You can paint or stain it to match your decor. Place wooden planks across the rungs to create shelves. Ensure the planks are secure and level. You can use brackets or screws to hold them in place. This creates a unique display for books, plants, or decorative items. It is a simple yet effective makeover.
Wine Barrels to Planters
You can transform old wine barrels into beautiful outdoor planters. These repurposed projects add rustic elegance to your garden. First, prepare the barrel. Clean the interior and exterior with warm, soapy water. Rinse and air-dry it. Inspect for damage or rot. Repair any compromised areas. Sand the surface to remove rough edges. Next, create drainage holes. Flip the barrel upside down. Mark several evenly spaced spots on the bottom. Use a drill with a spade or hole saw bit. Start small and gradually increase the hole size. Treat the wood. Apply linseed oil to the exterior. This protects it from weathering. Use food-safe sealants if you plan to grow edible plants.
Drawers to Storage or Planters
Old drawers offer endless possibilities for storage or planting. This diy trash to treasure transformation is incredibly versatile. For planters, drill several holes in the bottom for drainage. This prevents water from pooling. Paint the entire drawer, inside and out. Use an outdoor varnish. This protects the wood from the elements. Once dry, add potting soil. Plant flowers like pansies. You can also use them for tiered herb gardens. Stack different sized drawers. Use pots or grow bags. For storage, use them as potting trays. Add dividers for organization. Old wooden filing drawers work well for seed storage.
Old Chair to Plant Stand
You can turn an old chair into a charming plant stand. This repurposed makeover adds a touch of whimsy to your space. Remove the seat of the chair. Place a sturdy piece of wood or a decorative tile in its place. You can also leave the seat and place a potted plant directly on it. Ensure the stand remains sturdy. Regularly tighten screws and bolts. Avoid overloading it. Distribute the weight of plants evenly. This prevents tipping. This idea is perfect for displaying your favorite plants.
Shutters to Wall Decor
Old shutters can become stunning wall decor. This diy upcycle adds texture and interest to your home. Layer them with floating shelves. Add greenery or LED uplighting. Use smaller shutters to break up large wall areas. They make great backdrops for framed images. Personalize them through diy. Revamp thrift store finds. You control the appearance and measurements. Add hooks, pegs, or shelving units for functionality. Install them vertically or horizontally. Use pairs to frame mirrors or entrances. Create a standout wall behind your bed or sofa. You can even use them as a room divider. Position vintage, solid shutters to section off a space.
Trunk to Coffee Table
A vintage trunk can become a unique coffee table. This furniture makeovers idea adds character and storage to your living room. Clean the trunk thoroughly. You can paint it, stain it, or leave its original finish. Add legs if you want to raise its height. Secure them firmly to the bottom. The trunk’s interior provides hidden storage for blankets or magazines. This piece tells a story.
Picture Frames to Trays
You can transform old picture frames into elegant serving trays. This diy trash to treasure project is simple and stylish. Find the perfect frame. Choose a wall frame for a flat surface. An 11″ x 14″ frame offers more room. Find the perfect handles. Look for them at thrift stores. You can also repurpose old cabinet handles. Measure and drill. Align the handles. Mark drilling targets. Drill the handles into place. Decorate the tray. Frame a tea towel, decorative paper, or a photo collage.
Spools to Outdoor Tables
Large wooden cable spools make fantastic outdoor tables. These repurposed projects are sturdy and functional. Clean the spool thoroughly. Sand any rough edges. You can paint it a vibrant color. You can also stain it for a natural look. Apply a weatherproofing sealant. This protects it from the elements. These tables are perfect for your patio or garden.
Filing Cabinet to Garage Storage
An old filing cabinet can become organized garage storage. This repurposed makeover helps declutter your workspace. Clean the cabinet thoroughly. You can paint it a bright color. This adds cheer to your garage. Label the drawers for tools, hardware, or craft supplies. You can add casters to the bottom. This makes it easy to move around.
Tips for Repurposing Projects

You can make your repurposing projects successful. These tips help you with your next repurposed furniture makeover. You will create beautiful and lasting pieces.
Safety and Tools
You must prioritize safety. Always wear protective gear. Use gloves, goggles, and a dust mask. This protects you from dust, chemicals, and injuries. Ensure good ventilation in your workspace. This is important when you use paints, solvents, or adhesives. You avoid inhaling harmful fumes. Follow manufacturer instructions for power tools. Keep them out of reach of children. Handle them with care. You need to maintain focus. Avoid distractions when you operate power tools. Keep your hands, loose clothing, and jewelry away from moving parts. Disconnect power when you take breaks. This prevents accidental startups. You need to handle repurposed items with care.
Preparation is Key
Preparation makes your diy efforts shine. Clean your furniture before you paint. You can mix vinegar and water. This is an affordable option. Simple Green cleaner also works well. A cleaner and degreaser is effective for very dirty surfaces. Always wipe down with fresh, clean water. Clean the inside of the furniture too. Remove cobwebs and dust. Inspect your furniture for damage. Remove all drawers and shelves. Check for bugs or signs of insect damage. Use a flashlight to examine the entire piece. Gently rock the furniture. Check for looseness. Look for gouges or cracks. You might need wood filler for a smooth surface. Clean the existing finish with denatured alcohol and water. This removes dirt and grime. Sand the finish with a 220 sanding pad. Wipe the surface with a damp cloth. This removes dust.
Choosing the Right Finish
You need to choose the right finish. This helps you upcycle effectively. Different paints work best for different projects.
Paint Type | Best For | Key Characteristics |
|---|---|---|
Latex Paint | Furniture that won’t see a lot of action | Affordable, low-VOC, needs primer and top coat |
Chalky Paint | Antique pieces, matte look | Water-based, distressed look, thick texture |
Oil Paint | Heavily used furniture | Most durable, expensive, long drying time, high VOCs |
Alkyd Paint | High-traffic locations | Water-based, easy to apply, durable, no top coat needed |
Spray Paint | Plastic furniture | Not for porous surfaces, can be uneven |
Personalizing Your Creations
You can add personal touches. These diy techniques add charm. Decoupage uses vintage maps or fabric patterns. This transforms plain surfaces. Stenciling adds decorative patterns. Reclaimed materials add unique character. Old barn wood gives rustic charm. Salvaged metal pieces create an industrial look. Every upcycle project becomes a unique statement. These ideas help you create something special.
You discover immense value and joy in every repurposed furniture makeover. Look at old items with new eyes. Embrace your creativity with these ideas. You create unique home decor, support sustainability, and save money with repurposed furniture. Start your own DIY “trash to treasure” projects today. This journey transforms ordinary into extraordinary, making your home truly unique. You will love the results!
FAQ
What are the main benefits of repurposing furniture?
You gain unique home decor. You save money on new items. Repurposing also helps the environment. You reduce waste and support sustainability. It gives old pieces new life.
What tools do you need for repurposing projects?
You often need basic tools. A power drill, sanders, and quality paintbrushes are useful. You might also use a saw or crowbar. Always wear protective gear like gloves and goggles.
What types of items can you repurpose?
You can repurpose many things. Old dressers, pallets, suitcases, and cribs work well. Even old doors, ladders, and wine barrels have potential. Look for items with good bones.
What is the most important step in any repurposing project?
Preparation is key. You must clean, sand, and repair your item first. This ensures a smooth surface. It helps your chosen finish last longer. Safety is also very important.