You want to refresh your painted wood surfaces. A new coat of paint can transform any item. Success hinges on proper preparation. Eighty percent of premature paint failures happen due to poor surface preparation. This guide shows you how to paint already painted wood. You will learn the right steps to achieve a durable, beautiful finish. You can definitely accomplish this project with the right approach.
Why Proper Preparation is Key
You might think painting is just about applying color. However, the success of your entire paint job depends heavily on what you do before you open a can of paint. Proper preparation is the foundation for a lasting and beautiful result.
Ensuring Adhesion and Durability
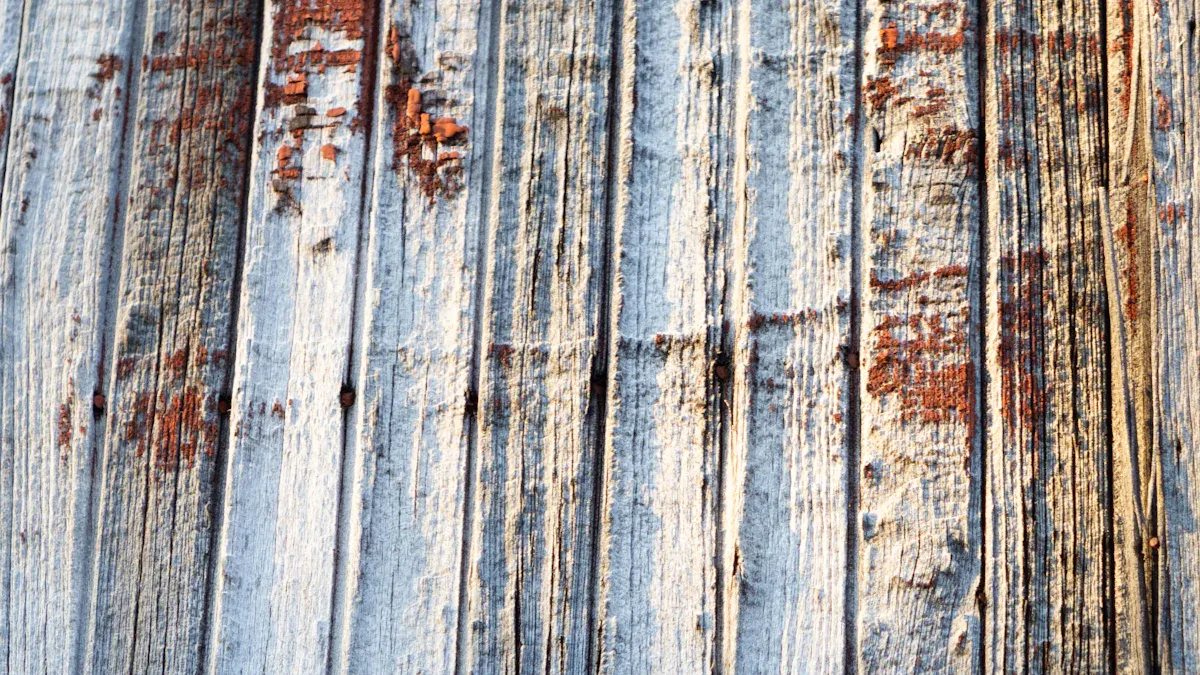
Good preparation ensures your new paint sticks firmly to the old surface. Without it, your new paint job will not last. Many things can stop new paint from sticking. Loose or flaking old paint, if you do not remove it, creates a weak base. Glossy finishes, if you do not sand them, are too smooth for new paint to grip. Contamination on the surface, like grease, oils, dust, or mildew, also prevents good adhesion. Even residues from cleaning products, if you do not rinse them fully, can cause problems. High moisture content in the wood also causes issues. For exterior wood, the moisture should be below 15%.
Preventing Peeling and Cracking
When paint does not adhere well, it will peel and crack. This ruins your paint job quickly. You want your hard work to last for years, not months. Skipping primer, especially for challenging surfaces or to block stains, often leads to early failure. Wood surfaces with excessive tannins or resins can bleed through the paint, causing discoloration and peeling. High moisture in the wood also makes paint bubble and peel as the moisture tries to escape. Taking the time to prepare correctly prevents these frustrating problems.
Achieving a Smooth Finish
A smooth finish is the mark of a professional-looking project. Preparation helps you achieve this. Sanding removes imperfections and creates an even base. For example, very fine sandpaper (like 220-grit) is ideal for sanding between coats of paint. Extra-fine grits (like 280-320) are perfect for final sanding. They ensure a smooth, blemish-free surface. Super-fine grits (360-600) give you an ultra-smooth finish, especially for high-gloss looks. You create a perfect canvas for your new paint when you properly prepare the surface.
Essential Tools and Materials for Painting Wood
You need the right tools and materials. They make your painting project easier. They also ensure a professional finish. Gather everything before you start.
Cleaning Supplies
You must clean the surface thoroughly. This removes dirt and grime. A good degreaser is essential. You can use products like White Lightning Cleaner. It effortlessly degreases and eliminates all debris from furniture and cabinets. This ensures a flawless canvas for your paint. Other effective options include TSP, Krud Kutter, and Simple Green. Denatured alcohol removes old finishes and residues. For light dirt, a mix of white vinegar and water works well.
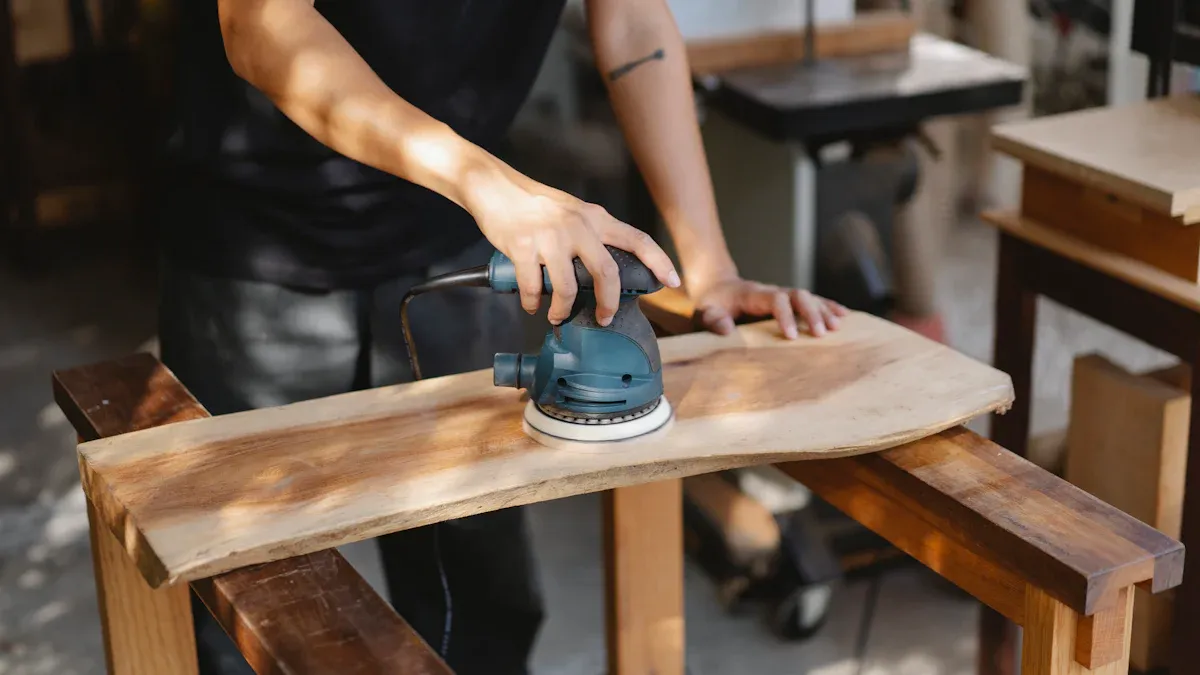
Sanding Tools
You will need sanding tools. These prepare your wood surface for new paint. Sanding sponges or sandpaper in various grits are useful. A sanding block helps you apply even pressure. This ensures consistent sanding.
Repair Materials
Keep repair materials handy. Wood filler fixes holes and cracks. A putty knife helps you apply it smoothly.
Primers and Paints
Choosing the right primers and paints is crucial. A primer prepares the surface for paint.
Feature | Oil-Based Primers | Water-Based (Latex) Primers |
|---|---|---|
Sealing/Stains | Excellent for sealing wood, blocking tough stains (smoke, water, tannins) | Can activate stains with water in the coating |
Durability | Durable | Good balance of performance and environmental safety |
Drying Time | Longer drying times | Quick-drying |
Odor | Strong odors | Low in volatile organic compounds (VOCs) |
Versatility | Works well with oil or latex paint coatings | More versatile, preferred for drywall, softwood, easy cleanup |
Wood Application | Best for knots and tannins in softwoods | Preferred for softwood |
For exterior wood, especially clapboard siding, slow-drying oil-based primers are highly recommended. Their extended drying time allows for deeper penetration. This ensures a strong bond and long-lasting adhesion. |
Consider the traffic on the wood surface when choosing paint.
Oil-based paint resists heavy wear and tear. It suits both indoor and outdoor projects.
Specialized trim paint (semi-gloss or high-gloss finish) is ideal for high-impact areas. It offers excellent coverage and durability.
Water-based latex paint is good for indoor furniture in high-traffic areas. It provides a durable look.
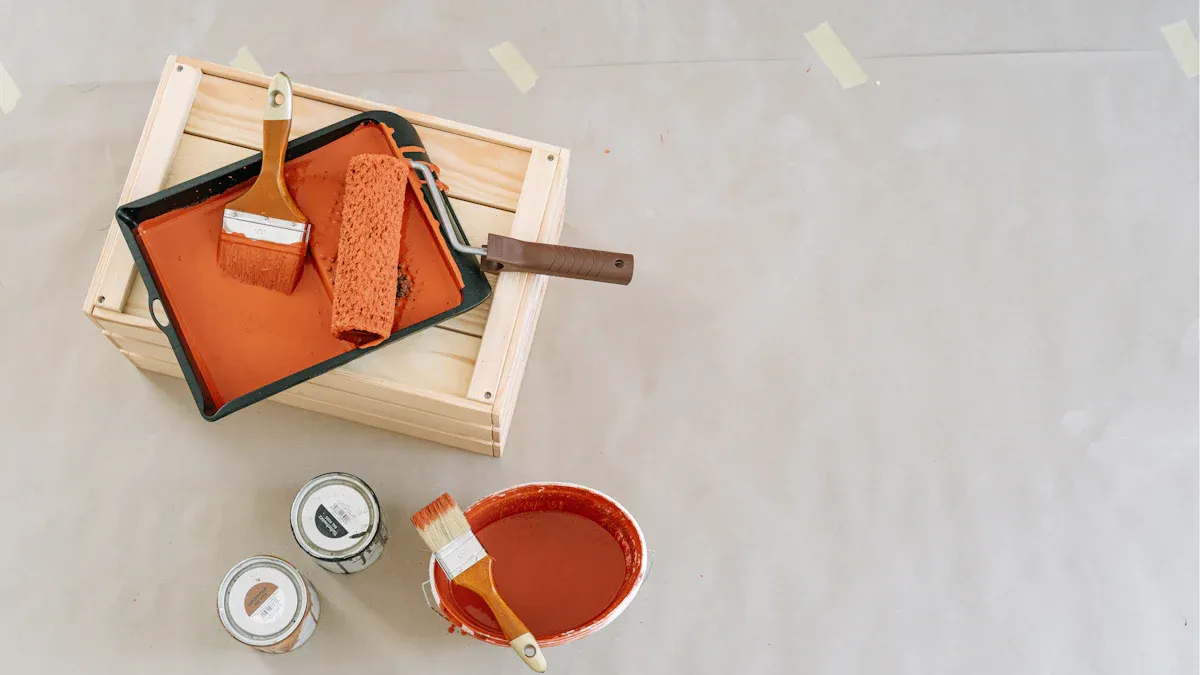
Application Tools
You need application tools. Brushes, rollers, and paint trays are standard. Choose high-quality brushes for smooth finishes.
Safety Gear and Workspace Prep
Safety is important. Wear gloves, a mask, and eye protection. Use drop cloths to protect your floors. Painter’s tape creates clean lines. Remove hardware from your wood piece. Ensure good ventilation in your workspace.
Step-by-Step Wood Preparation
Proper preparation is the most critical step when you paint over painted furniture. This careful preparation ensures your new finish lasts. You will achieve a professional look.
Removing Hardware and Cleaning
First, remove all hardware from your furniture. Take off hinges, knobs, pulls, and any other attachments. Store these items safely. Next, you must clean the surface thoroughly. Use a degreaser like TSP, Krud Kutter, or White Lightning Cleaner. These products remove grease, grime, and dirt. Wipe down the entire wood surface. Rinse it with clean water. Allow the furniture to dry completely.
Inspecting and Repairing Imperfections
Now, inspect your furniture closely. Look for any cracks, holes, or dents in the wood. Use a wood filler to repair these imperfections. Apply the filler with a putty knife. Smooth it flush with the surface. Let the filler dry according to the manufacturer’s instructions. If you find areas of peeling paint, address them now. Scrape away any loose paint. If you expose bare wood, dampen it slightly before applying filler or primer. This helps with adhesion.
Removing Loose Paint
You must remove any loose or failing paint before you apply new paint. This prevents future peeling. Several methods effectively remove loose paint from your furniture.
Mechanical Methods: You can use hand tools. Pull scrapers, putty knives, and wire brushes work well. They remove loose coatings. Sanding also removes loose paint and degraded layers. You can use hand or power tools for this.
Heat Methods: Heat guns soften paint until it bubbles. Then you can scrape it off. Use this method only if you know the old paint does not contain lead.
Chemical Strippers: Apply these to the surface. They disrupt paint bonds. After 15-20 minutes, scrape or wash off the loosened paint. You might need multiple applications for many coats. Rinse the furniture thoroughly. Allow long drying times.
Combinations: Often, you will use several methods together. This removes existing coatings effectively.
Consider preparing test patches. Apply new coating to areas with varying levels of old coating removal. Let it dry for a month. Then, assess adhesion. This helps you decide how much old coating to remove. For fragile items, use gel-based strippers or diluted formulas. Steamers also soften aged paint gently. Use soft-bristled brushes for application. Avoid scraping that could harm delicate furniture. Patience is key. Do not force removal. This prevents damage to the underlying wood. When you paint over painted furniture, removing loose paint is crucial for a lasting finish.
Sanding for Adhesion
Sanding creates a profile for new paint to grip. This is essential for good adhesion.
Scrape First: Scrape away any loose or peeling paint before you sand.
First Pass (80-grit): Use 80-grit sandpaper. This strips paint and levels the surface.
Smooth (120-grit): Smooth the surface with 120-grit sandpaper. This creates a consistent texture.
Refine (180-grit): Refine the surface with 180-grit sandpaper. This removes any remaining sanding marks.
Final Sanding (220-grit): Complete the final sanding with 220-grit sandpaper. This creates a smooth surface, ready for primer or paint.
Direction: Always sand in the direction of the wood grain. This prevents cross scratches.
Light Sanding: If the existing paint is in good condition and not glossy, a light sanding with 220-grit sandpaper might be enough. This scuffs the surface for better adhesion.
Post-Sanding Cleaning
After sanding, you will have dust everywhere. You must remove all dust from the furniture. Use a vacuum cleaner with a brush attachment. Then, wipe the wood surface with a tack cloth. You can also use a damp cloth. Ensure no dust particles remain. Dust prevents proper paint adhesion.
Protecting Surrounding Areas
Protect areas you do not want to paint. Use painter’s tape along edges. Lay down drop cloths to protect floors and nearby items. This keeps your workspace clean.
Priming and How to Paint for a Flawless Finish
You have prepared your wood surface. Now you are ready for the next crucial steps: priming and painting. These stages transform your piece. They give it a durable, beautiful finish. You will learn how to paint for the best results.
Why Priming is Non-Negotiable
You might feel tempted to skip priming. Do not do this. Priming is a critical step. It ensures your new paint adheres properly. Skipping this step leads to many problems. You will see visible flaws bleeding through the finish. Your paint will peel and flake after a short time. This can happen in just a season or two. You might also notice uneven color or blotchy coverage. The wood can absorb too much paint, requiring more coats. Tannin stains can bleed through from knots or the wood grain. Moisture damage, rot, or mold can even develop underneath the paint layer.
Skipping primer causes peeling, bubbling, and lost coverage. Your paint does not stick properly. Increased moisture absorption can lead to swelling, warpage, or early decay. Knots, tannins, or natural oils can bleed through. This causes unwanted stains and discoloration. Ultimately, skipping primer often results in a finish that will not endure. It creates more work for you in the long run. A good paint job always starts with proper priming.
Choosing the Right Primer
You need to select the correct primer for your project. Different primers serve different purposes. For advanced adhesion, stain blocking, and sealing, consider a water-based formula. The Mélange Stain Blocking Primer is an excellent choice. It works well on wood. If you have heavy stains, odors, or tannin-rich wood, you should apply two coats. This primer dries to the touch in 30 minutes. You can apply additional coats after one hour. This type of primer ensures your color stays true.
Primer Application Techniques
You apply primer just like paint. Use a high-quality brush or roller. Apply thin, even coats. Avoid applying too much primer at once. This can cause drips or an uneven surface. Work in sections. Ensure you cover the entire surface. Let each coat dry completely before applying another. This creates a uniform base for your paint.
Applying the First Paint Coat
You are ready to apply your paint. Once your primer is dry, you can start. Use a good quality brush or roller. Dip only the tip of your brush into the paint. This prevents overloading. Apply thin, even coats. Work in the direction of the wood grain. This helps minimize brush marks. Do not try to achieve full color coverage with the first coat. This coat is a base. It prepares the surface for subsequent coats. You want to lay down a consistent layer of color.
Drying and Recoating
You must allow adequate drying time between coats. This is crucial for a durable paint job. Skipping the wait on primer drying compromises the paint’s adhesion. This leads to issues like peeling or cracking. Applying paint over incompletely dried primer might result in an uneven or blotchy finish. Adequate drying time allows the primer to fully seal and prepare the surface. This ensures a smoother application of the topcoat. It gives you a more polished final look.
Primer Type | Drying Time (between coats/before paint) | Influencing Factors |
|---|---|---|
Latex-based | 1-3 hours | Humidity, Temperature, Airflow |
Oil-based | 6-8 hours | Humidity, Temperature, Airflow |
Shellac-based | 45 minutes – 1 hour | Humidity, Temperature, Airflow |
Always check the manufacturer’s instructions for specific drying times. Factors like humidity, temperature, and airflow affect how quickly paint dries.
Subsequent Paint Coats
You will need at least two topcoats of paint. The first coat penetrates porous areas. The second creates a uniform, protective finish. For maximum durability, you should consider three coats. Allow each layer to dry completely before adding the next. You should always apply at least two coats of paint, regardless of label suggestions. The first bonds to the surface. The second bonds to the first. This creates a stronger, more protective layer. Two thin coats bond and look better than one heavy coat. You can use a paint sprayer for an even finish. This works especially well on uneven or detailed surfaces. Apply thin, overlapping coats. Follow with backbrushing to prevent drips. This ensures full coverage. Inspect for thin spots or drips once the paint is dry. Touch them up with a brush for seamless blending. This is how to paint for lasting results.
Avoiding Brush Strokes
You want a smooth, professional finish. Avoiding brush strokes is key. Choose quality brushes with soft, flexible bristles. They hold paint well for even application. Match the brush to the paint type. Use synthetic bristles for water-based paint. Use natural bristles for oil-based paint. Opt for longer bristles. They create smoother strokes and minimize visible lines. Ensure the brush feels comfortable and balanced. This gives you better control.
Prepare the surface by sanding. This removes imperfections and creates a smooth base. You can thin paint if needed. Add a small amount of water to help it level out smoothly. This is especially helpful in cooler temperatures. Load the brush correctly. Dip only about one-third of the bristles. This prevents drips and visible brush strokes. Apply gentle pressure. Let the brush glide across the surface. This avoids streaks and marks. Work in thin, even coats. Allow each coat to dry before applying the next. Use shorter strokes for better control and even coverage. Follow the wood grain when painting. This hides marks and achieves a natural look. Lightly sand between coats if brush marks appear after drying. Use at least 320-grit sandpaper. For a super sleek, brush-stroke-free surface, use a microfiber roller to apply your paint. Then, quickly ‘lay off’ the paint. Drag the tip of a flat synthetic brush lightly over the rolled surface. This smooths out texture.
Pro Tips for Painting Already Painted Wood
You can achieve a professional finish on your next painting project. These expert tips help you navigate common challenges. They ensure a successful furniture makeover.
Testing for Lead Paint
Older homes and furniture may have lead paint. You must test for lead paint before you begin any furniture makeover. Lead paint is a health hazard. You can use simple kits to test for lead. 3M LeadCheck Swabs are inexpensive and easy to use. They turn red if lead is present. The Lumetallix Instant Lead Detection Kit uses UV light to show lead. It detects even tiny amounts. However, it is not yet EPA-recognized. D-Lead two-part solution tests are EPA-recognized. They reliably detect lead-based paint. Always perform a paint test if you suspect lead. This protects your health.
Painting Over Varnished Wood
Painting over varnished wood requires specific steps. You cannot just apply paint directly. First, inspect the varnished wood furniture for damage. Repair any cracks or holes. Clean the varnished wood surface thoroughly with warm water and dish soap. Let it dry completely. Next, sand the varnished wood using medium-grit sandpaper. This removes the glossy varnish. It creates a rough surface for better adhesion. Wipe away all dust. Apply a high-quality oil-based primer. This seals the varnished wood. It prevents bleed-through. Allow it to dry for one to two hours. This prepares your varnished furniture for a beautiful makeover.
Dealing with Glossy Finishes
Glossy finishes need special attention. You want your new paint to stick. For a furniture makeover with emulsion paint, use sugar soap to clean and degrease the surface. Let it dry. Then, apply one coat of Super Grip Primer. This primer allows painting over smooth, shiny surfaces without sanding. If you use satin, eggshell, or another gloss paint, lightly sand the surface with 240-grit sandpaper. This roughens it up. Clean away dust. Apply two coats of paint. Sand lightly between each coat. This ensures good adhesion for your furniture.
When Priming is Optional (e.g., Chalk Paint)
Sometimes, priming is optional. Chalk paint is an example. You can often apply chalk paint directly over existing finishes. This includes varnished or glossy surfaces. Chalk paint adheres well without extensive prep. However, for a durable furniture makeover, always read the paint manufacturer’s instructions.
Using a Paint Sprayer
A paint sprayer gives a smooth, even finish. This is especially true for large furniture pieces. It works well on uneven or detailed surfaces. Apply thin, overlapping coats. Follow with backbrushing to prevent drips. This ensures full coverage.
Deepening Routed Areas
Routed areas on furniture can be tricky. Use the right tools to deepen these areas. A soft, angled paintbrush with synthetic bristles works well. It reaches tight corners. A stubby-handled, two-inch paintbrush offers good control for smaller furniture. A three-inch paintbrush with a longer handle suits larger furniture. These tips help you get paint into all the details.
Proper Ventilation and Cleanup
Proper ventilation is crucial. Open windows a few inches. Use fans to circulate air. If you feel dizzy, use a respirator mask. Wear protective clothing and dust masks. This prevents inhaling paint particles. Keep combustible paint solvents away from heat. Dispose of rags and brushes properly. Let them dry outside before disposal. Keep children and pets away from chemicals. These steps ensure a safe furniture makeover.
Painting already painted wood is a rewarding DIY project. You achieve a great transformation. Remember, thorough preparation and correct techniques are vital for a lasting look. Take your time. Be patient for the best results. This ensures a beautiful look. Your careful work leads to a stunning transformation. You will love the new look. This transformation gives your space a fresh look. Enjoy the transformation and the amazing results. The final look will impress you.
FAQ
How long does paint last on wood?
Paint durability depends on preparation and paint quality. A well-prepared surface with high-quality paint can last many years. Exterior paint might need refreshing every 5-10 years. Interior paint can last 10-15 years or even longer.
Can you paint over chipped paint?
No, you should not paint over chipped paint. Chipped paint creates an uneven surface. New paint will not adhere properly. You must scrape away all loose and chipped paint. Then, sand the area smooth before you prime and paint.
Do you have to sand wood before painting?
Yes, you almost always need to sand wood before painting. Sanding creates a rough surface. This helps new paint adhere better. If the old paint is glossy, sanding is especially important. A light scuff sand is often enough for good adhesion.
What kind of paint do you use on wood?
You can use various paints on wood. Latex (water-based) paints are popular for interiors. They offer easy cleanup. Oil-based paints provide a durable finish. They are good for high-traffic areas or exteriors. Choose a paint type suitable for your project’s needs.
How do you clean wood before painting?
You clean wood before painting to remove dirt and grease. Use a degreaser like TSP or Krud Kutter. Wipe the surface thoroughly. Rinse it with clean water. Allow the wood to dry completely before you proceed. This ensures proper paint adhesion.