
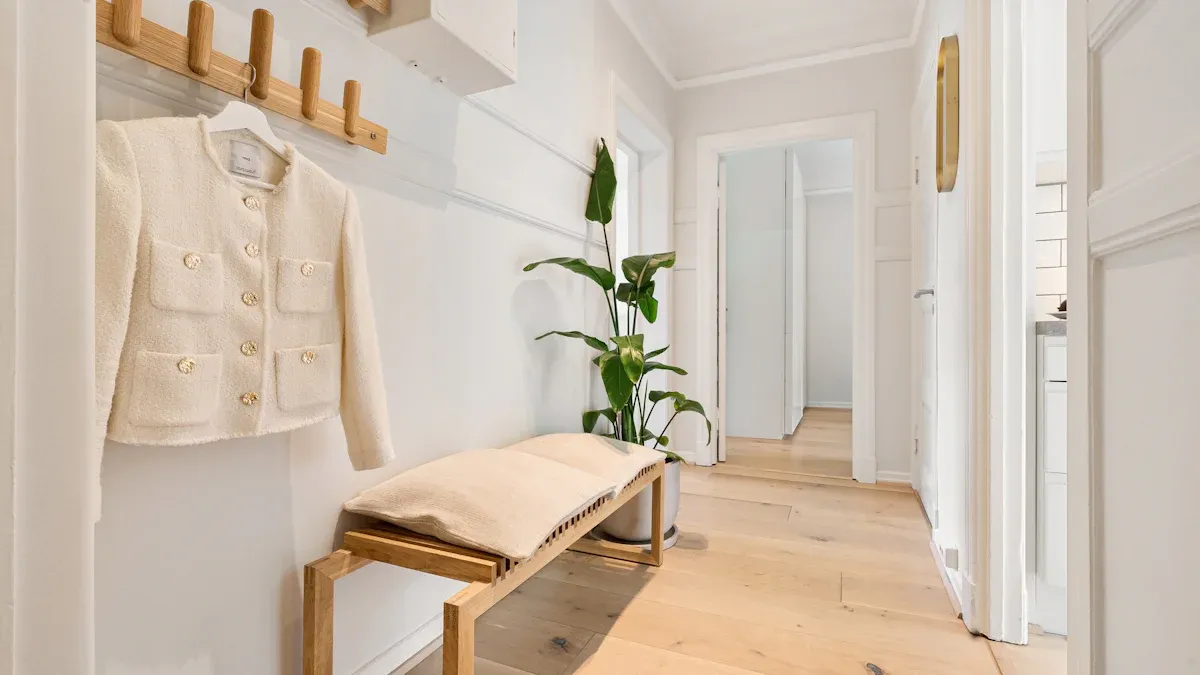
Does your entryway greet you with a mountain of coats and bags? You want functional, stylish storage that keeps things tidy. A DIY wall-mounted coat rack is the perfect answer! This easy DIY project is often achievable in an afternoon. You will save space, personalize your home, and feel proud of your creation. Get ready to transform your chaotic entryway into an organized entry with this simple, wall-mounted solution. This offers excellent entryway storage solutions.
Benefits of a DIY Coat Rack
A DIY wall-mounted coat rack offers many great advantages. You transform your chaotic entryway into an organized space. This project is often beginner-friendly. You can complete it in an afternoon. It is a superior choice for home organization.
Space-Saving for Small Entryways
You have limited floor space. A wall-mounted solution is perfect for you. It uses vertical areas on your walls. This keeps your floor clear and open. You get more room to move around easily. It makes your home feel bigger and less cluttered. This design is a smart choice for any small area, giving you valuable extra space.
Affordable DIY Storage
Buying new furniture can cost a lot of money. A DIY coat rack saves you cash. You buy materials like wood and hooks. You do not pay for a finished piece. This makes it affordable storage for your home. You find wood and hooks easily at local stores. This approach gives you great value and a custom look without breaking the bank.
Personalized Style & Customization
Your home is unique. Your coat rack should be too. You choose the type of wood you like. You pick the hooks that match your taste. You decide the finish, maybe paint or stain. This lets you match your decor perfectly. You create a piece that truly fits your style. It is a truly custom wall-mounted item, made just for you.
Joy of DIY Creation
There is a special feeling when you build something with your own hands. This DIY endeavor gives you that joy and satisfaction. You see your work come to life right in your home. You transform your space with your effort. It is a practical storage solution that looks good. You feel proud of your new rack every time you use it. You did it yourself, and that feels amazing!
Materials & Tools for Your DIY Coat Rack Wall
Building your own diy coat rack wall means you get to pick every piece. This section helps you choose the right materials and tools. You will create a sturdy and stylish storage solution.
Choosing Wood for Your Rack
The wood you pick forms the base of your coat rack. You have many options. You can use solid wood, reclaimed wood, or even pipe for a modern look. Many people choose one-by-threes or thin wood boards. For a classic feel, consider Black Walnut wood. Plywood also works well. You can even use an Oak dowel rod if you plan to connect different pieces. Pretty much any wood can work, depending on your style.
Think about durability when you choose your wood. Wood finishes are a popular choice for coat racks. They offer both strength and beauty. Metal finishes also give you durability with a more modern touch. Some woods are extra tough:
Hickory: This wood is very sturdy and robust. It ensures your rack lasts a long time.
Cedar: Cedar naturally resists decay. It is a long-lasting choice. It also fights off moisture and insects, but it works best in sheltered spots.
Ash: Ash is known for its strength. It handles daily use well because it is so hard.
Selecting Hooks
Hooks are key for holding your items. You need to pick hooks that can handle the weight. Different hooks have different weight limits. Look at this chart to help you decide:
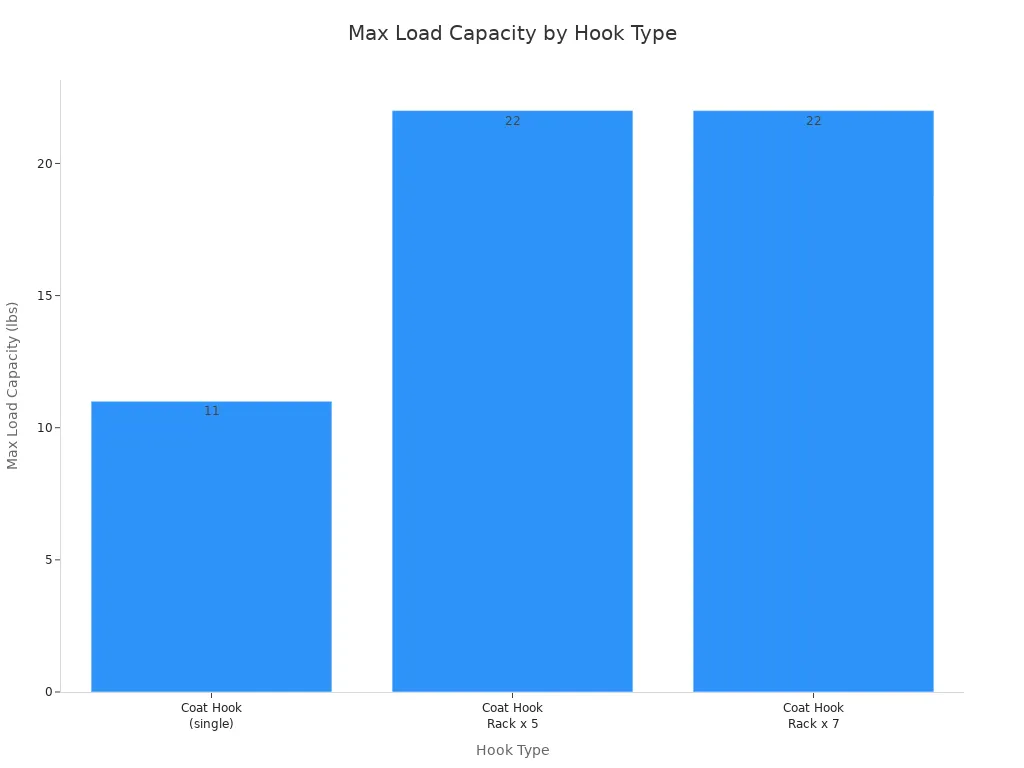
A single coat hook can hold about 11 pounds. If you use a rack with 5 or 7 hooks, the whole rack can hold about 22 pounds. Choose hooks that match your style and the weight of the items you plan to hang.
Mounting Hardware
You need the right hardware to attach your wall-mounted coat rack securely. This is especially true if you are mounting it to drywall. If you cannot find a wall stud, you will need extra support. Drywall anchors are great for this. They help spread the weight evenly. For heavier racks or items you use often, choose heavy-duty anchors. Toggle bolts are a good example. They hold more weight and attach firmly to drywall.
Different anchors hold different amounts of weight:
Plastic Expansion Anchors: These work for lighter items.
Molly Bolts: These are good for medium-weight things.
Toggle Bolts: These are the strongest option. They are perfect for heavy loads.
Always try to mount your wall-mounted rack into wall studs for the best strength. If studs are not available, use the right anchors.
Essential Tools
You need a few basic tools to build your wall-mounted coat rack. These tools help you cut, drill, and install your project.
For cutting your wood:
You can use a circular saw.
A miter saw or table saw also works well.
Always wear eye protection when you cut wood.
Practice on scrap wood if you are new to using a saw.
For drilling and installation:
You will need a drill. A RYOBI 18V Cordless Drill is a good choice.
Measuring tape helps you get the right length.
A level ensures your rack hangs straight.
Sandpaper smooths out your wood.
Remember safety when you use power tools.
Always read the instruction manual for each tool. Wear personal protective equipment (PPE) like safety glasses, earplugs, and gloves. Avoid loose clothing or jewelry. Inspect your tools before and after each use. Make sure your workspace is clean and well-lit. Unplug electric tools when you are not using them or when you make adjustments.
Build Your DIY Coat Rack: Steps
Now, let’s get to the fun part: building your diy coat rack! This step-by-step build outline will guide you through each stage. You will create a sturdy and stylish storage solution for your entryway.
Wood Preparation
First, you need to prepare your wood. If you bought a longer piece, cut it to the length you want for your coat rack. Use your saw carefully. Once you have your piece, it is time to make it smooth. Sanding is very important for a nice finish.
Start with coarse-grit sandpaper, like 40 to 60 grit. This removes any rough spots or old finishes. It smooths the wood for the next steps. Then, switch to medium-grit sandpaper, around 80 to 120 grit. This makes the surface even smoother. It also removes any scratches the coarse grit left behind. For the final touch, use fine-grit sandpaper, from 150 to 220 grit or even higher. This step makes the wood super smooth. It gets it ready for staining or painting.
Always sand with the grain of the wood. Move your sandpaper or sander in the same direction as the wood fibers. This prevents scratches. It also gives you a much smoother finish. Sanding against the grain can leave ugly marks. It can damage the surface.
After you finish sanding, vacuum the wood surface. This removes all the dust. Then, wipe it with a clean rag dipped in mineral spirits. Let it dry completely. This prepares the bare wood for any finish you want to apply.
Hook Attachment
Now, you will add the hooks to your wood board. First, decide how many hooks you want. Then, mark where each hook will go. For the best use, space your hooks about 5 to 7 inches apart. This gives enough room for coats and bags. Use a measuring tape and a pencil to mark these spots.
Once you mark the spots, pre-drill small pilot holes for your hooks. This prevents the wood from splitting when you screw in the hooks. Make sure your drill bit is a little smaller than the screw size. Then, attach each hook firmly with its screws. You are making good progress on your diy coat rack wall!
Secure Wall Installation
This is a crucial step for your wall-mounted coat rack. You need to attach it securely to the wall. The best way to do this is to screw it directly into wall studs. Wall studs are the vertical wooden beams inside your walls. They provide strong support.
Use a stud finder to locate these studs behind your drywall. Mark their locations with a pencil. Once you find the studs, drill pilot holes through your coat rack and into the studs. Make sure these pilot holes line up with the mounting spots on your rack. Then, use long screws to attach the rack firmly to the wall studs. This gives you the best support for your wall-mounted storage. If you cannot find studs where you want to hang your rack, use heavy-duty drywall anchors.
Stability Check
You have almost finished your wall-mounted coat rack! Before you load it up, check its stability. Gently pull on the rack to make sure it feels secure. It should not wobble or move. Hang a few heavy coats or bags on it. Watch how it holds the weight. If everything feels solid, you did a great job! Your new entryway storage is ready to use. This step-by-step build outline helped you create a functional and beautiful piece.
Customize Your DIY Wall-Mounted Coat Rack
You can make your diy wall-mounted coat rack truly yours with the right finish. The finish you choose protects the wood and enhances its look. Consider these popular options:
Finish | Durability Enhancement | Appearance Enhancement |
|---|---|---|
Lacquer | Resistant to moisture and scratches | High-gloss finish |
Paint | Durable protection | Excellent coverage, wide range of color options |
Epoxy Resin | Very durable against moisture and scratches | Crystal-clear, high-gloss finish |
Wood Stains | Needs protective topcoat for durability | Changes wood color, enhances grain, adds depth |
Wood Dyes | Needs protective topcoat for durability | Vibrant, consistent color, wide range of effects |
Wood Finishes & Colors
When you apply a finish, paint is often quicker than stain. However, many people feel a stain with a polyurethane coat looks more high-quality. If you want a black finish, paint works best. Remember to sand your wood smoothly, using progressively finer sandpaper grades. This prevents scratches, especially if you stain. To apply stain, brush it on, wipe excess, and let it dry for an hour. Then, you can stain the other side. You can also spray primer and metallic paint on metal hooks for a coordinated look. Finish your wood with an even coat of spar varnish.
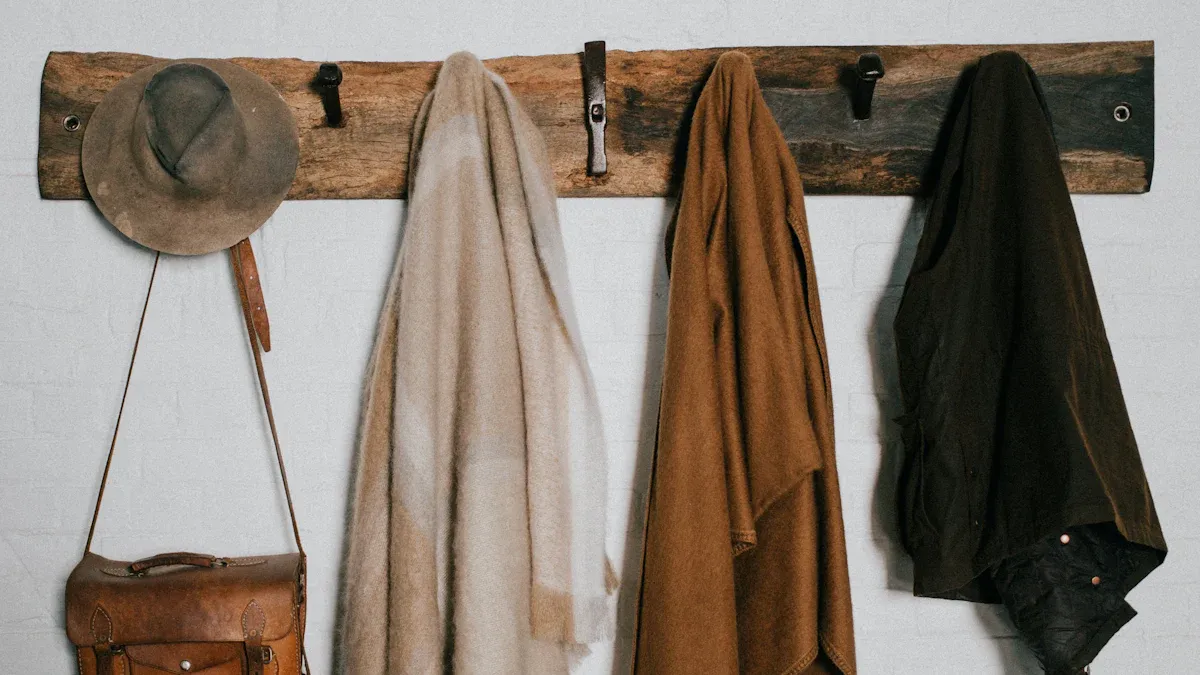
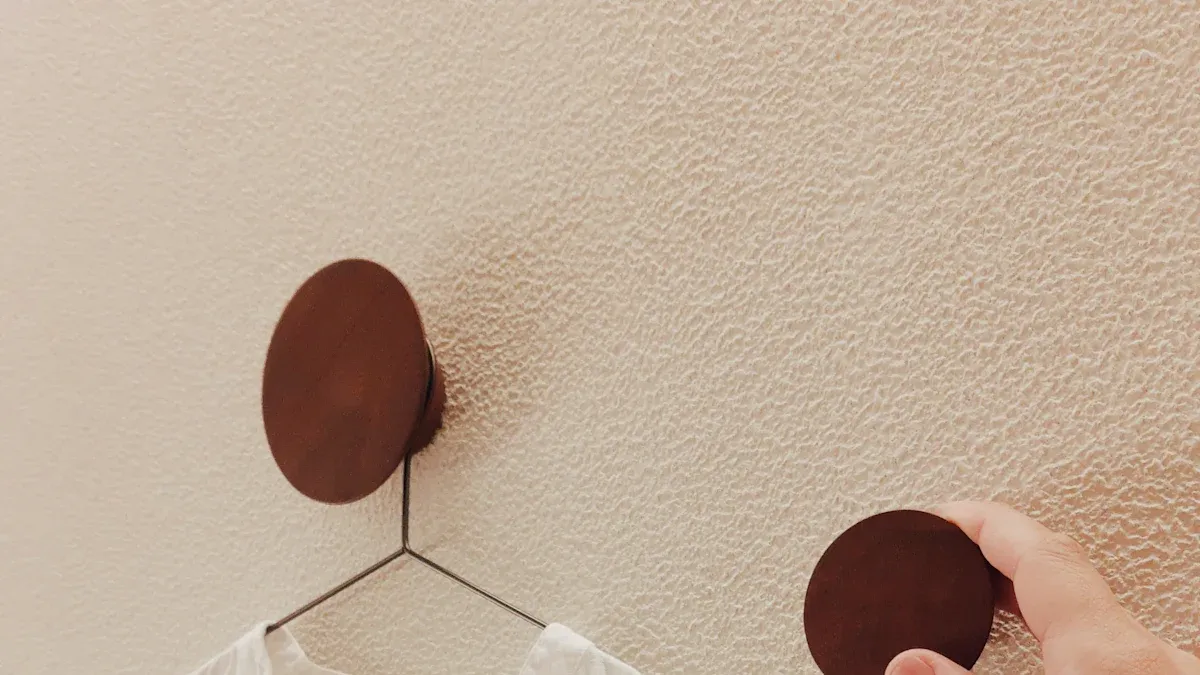
Unique Hook Designs
Don’t just pick any hooks; choose ones that make a statement! Unique hook designs add aesthetic value. They combine function with visual appeal. You can find hooks that are:
Sculptural Hooks: These offer an artistic touch. They create a curated display.
Animal-Shaped Hooks: These are great for kids’ rooms. They encourage imaginative tidying.
Geometric Shapes: You see these in mid-century modern styles. They often feature vibrant colors.
Abstract Forms: These are part of eclectic designs. They add a unique statement.
Pipe-Style Hooks: These are common in industrial designs. You often mount them on metal or wooden panels.
These decorative hooks act like wall art. They can be conversation starters in your entryway.
Adding Storage Features
Beyond hooks, you can boost your wall-mounted rack’s utility. Think about integrating extra storage. You could add a shelf above the hooks. This gives you space for decor or baskets for gloves and scarves. You can also include built-in mirrors for quick checks before you leave. Umbrella holders keep wet gear tidy. For an entryway command center, add key hooks or slots for sunglasses. Double hooks maximize hanging space in a small area.
Decorative Accents
Small details make a big difference. Think about adding decorative accents. You can stencil a design onto the wood. Or, attach small decorative plaques. Even the choice of screw heads can add a touch of style. These little touches personalize your diy project even more.
Troubleshooting Your DIY Rack
Even the best diy projects can hit a snag. Don’t worry if your coat rack isn’t perfect right away. You can fix common problems easily.
Loose Hooks & Hardware
Do your hooks feel wobbly? Or does the hardware seem loose? This often happens with frequent use. First, try tightening all the screws. Use a screwdriver that fits snugly. If a screw hole is stripped and the screw won’t tighten, you have a couple of options. You can remove the screw, fill the hole with wood glue and a wooden dowel or toothpick, let it dry, and then re-drill a pilot hole. Or, you can use a slightly larger screw to get a better grip. Always make sure your hooks are firmly attached.
Uneven Rack Fixes
Did you hang your rack, and now it looks a little crooked? An uneven or slanted coat rack often happens if you did not use a level during installation. You can fix this! Take the rack down. Use a pencil to mark the current screw holes. Then, use a level to find the true horizontal line. Re-drill new pilot holes along this level line. Make sure they are in fresh wood, not the old holes. Then, re-mount your rack. It will look much better and hold items more securely.
Finding Wall Studs
You want to hang your rack, but you can’t find a wall stud. Wall studs offer the strongest support. You can use a stud finder to locate them. Tools like the Bosch GMS120 Digital Multi-Scanner, Franklin Sensors ProSensor T13, or Zircon MultiScanner A200 are very accurate. They help you find studs and even metal or electrical wires. The C.H. Hanson 03040 Magnetic Stud Finder also works well by detecting steel screws in the wall.
If you still can’t find a stud where you want your diy rack, you have other options. You can use drywall anchors. These help distribute the coat rack’s weight evenly across the wall. For heavier racks or items you use often, choose heavy-duty anchors like toggle bolts. Toggle bolts support more weight and give you a secure attachment to drywall.
Your new diy wall-mounted coat rack offers great practicality and looks fantastic. It adds a personal touch to your home and solves your entryway storage needs. This diy project is for everyone, no matter your skill level. It truly enhances your home’s organization and decor. You get easy construction, a custom design, and effective entryway organization. Enjoy the satisfaction of this diy wall-mounted coat rack and other home improvement projects.
FAQ
What kind of wood works best for a DIY coat rack?
You can use many types of wood. Hardwoods like hickory, cedar, or ash offer great durability. Pine or plywood also work well for a budget-friendly option. Choose wood that matches your home’s style. 🪵
What if I don’t have wall studs for mounting?
No problem! You can use heavy-duty drywall anchors. Toggle bolts are a strong choice for heavier items. These anchors spread the weight. They give your coat rack a secure hold on the wall. 💪
What is the best way to space coat hooks?
You should space your hooks about 5 to 7 inches apart. This gives enough room for coats and bags. It prevents overcrowding. This spacing makes your rack look neat and functional. 📏
What finish should I use to protect my coat rack?
You can use paint for a solid color. Wood stain enhances the natural grain. Always add a protective topcoat like polyurethane or spar varnish. This protects your wood from wear and moisture. ✨

