Repairing hairline cracks is essential for maintaining the appearance and functionality of your wood door. These cracks can worsen over time, leading to more significant issues. Additionally, fixing hairline cracks helps preserve the integrity of your door. You might be surprised at how simple the repair process can be. With a few tools and some patience, you can tackle this project yourself!
Here are some common causes of hairline cracks in wood doors:
Cause
Explanation
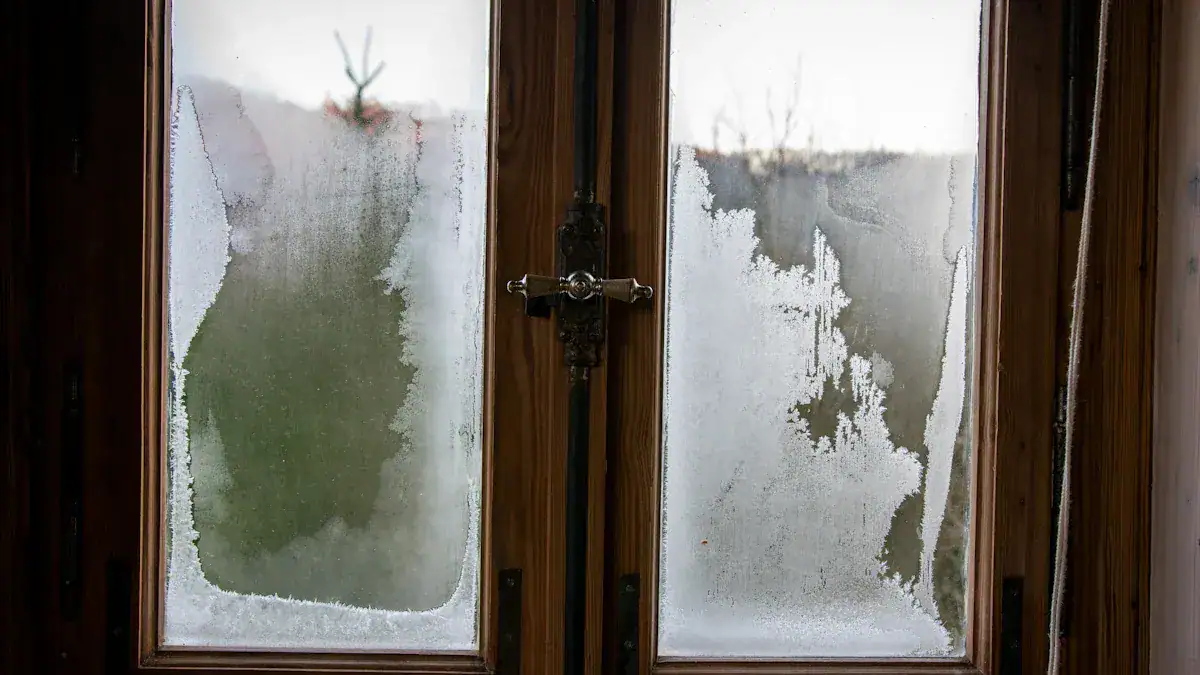
Water Damage and Moisture
Prolonged exposure to water or high humidity can lead to hairline cracks due to warping and expansion.
Unregulated Temperatures
Fluctuating temperatures can stress the interior walls, contributing to hairline cracks in door frames.
Faulty Drywall Taping
Improper sealing of drywall seams can create weak spots that lead to hairline cracks around door frames.
Damaged Crawl Space
Compromised support structures can cause warping or hairline cracking in door frames due to uneven weight distribution.
Differential Settlement
Uneven foundation settling can increase stress around doorways, leading to hairline cracks.
Foundation Heaving
Upward movement of the foundation due to soil expansion can create stress and hairline cracks in door frames.
Key Takeaways
Repairing hairline cracks in wood doors is essential for maintaining their appearance and functionality. Regular inspections can help catch issues early.
Gather the right tools and materials, such as wood putty and sandpaper, to ensure a smooth and lasting repair. Proper preparation is key to success.
Apply wood putty in layers for deep cracks, allowing each layer to dry before adding more. Finish by sanding and sealing the area for a professional look.
Materials for Repairing Hairline Cracks
When you’re ready to repair those hairline cracks, gather the right materials. This will make your job easier and ensure a lasting fix.
Tools Needed
You’ll need a few essential tools to get started. Here’s a handy list:
Small putty knife
Toothpicks
Crafts sticks
Towel or large rag
Dampened cleaning cloth
Gloves (optional)
These tools will help you apply the wood putty and clean the area effectively.
Types of Fillers
Choosing the right filler is crucial for a successful repair. Here’s a quick comparison of some effective wood fillers:
Type of Wood Filler | Characteristics | Best Use Case |
|---|---|---|
Water-based Fillers | Less odor, low VOCs, quick drying (15 mins), easy cleanup with soap and water. | Filling pores in open-grain woods. |
Solvent-based Fillers | Higher VOCs, stronger odor, longer drying time (1 hour), requires acetone for cleanup. | Best for exterior projects, resistant to elements. |
Epoxy Fillers | Extremely durable, ideal for high-traffic areas. | Repairs on hardwood floors and decks. |
For hairline cracks, wood putty is often the best choice. It fills the cracks smoothly and can be stained or painted over once dry.
Additional Supplies
Besides tools and fillers, you might need a few extra supplies to ensure a durable repair:
Material | Description |
|---|---|
Wood putty | Fills hairline cracks and provides a smooth finish. |
Epoxy sealer | Ensures a strong bond and waterproofing for the repair. |
Dust cloth | For cleaning the area before applying fillers. |
Sandpaper | Used for smoothing the surface after the filler has dried. |
Having these materials on hand will help you achieve a professional-looking repair.
How to Repair Hairline Cracks

Preparing the Area
Before you dive into the repair, you need to prepare the area properly. This step is crucial for achieving a smooth and lasting fix. Here’s what you should do:
Clear the Area: Move any furniture or obstacles away from the door. This gives you enough space to work comfortably.
Clean the Surface: Use a vacuum to remove dust and debris from the crack and surrounding area. A clean surface helps the wood putty adhere better.
Sand the Area: Lightly sand the crack with 120-grit sandpaper. This roughens the surface, allowing the filler to grip better.
Vacuum Again: After sanding, vacuum again to eliminate any sanding dust. This ensures a clean surface for the next steps.
Applying Wood Putty
Now that you’ve prepared the area, it’s time to apply wood putty. Follow these steps for a seamless repair:
Select the Right Filler: Choose a wood filler that matches your door’s material. This ensures a good bond and a natural look.
Apply in Layers: If the crack is deep, fill it in layers of about 6mm. Allow each layer to dry before adding the next. This prevents the filler from sinking.
Use a Putty Knife: Firmly press the wood putty into the crack using a putty knife. Smooth it out as you go to minimize sanding later.
Dry Time: Let the filler dry for at least 6 hours. This is important for a solid repair.
Here are some additional tips to keep in mind:
Always choose a filler appropriate for your specific application.
Apply the filler in thin layers, allowing drying time between applications.
Use progressively finer grits of sandpaper for a smooth finish.
Finishing Touches
Once the wood putty has dried, it’s time for the finishing touches. This step will help blend the repair with the rest of the door:
Sand Smooth: Use fine-grit sandpaper (220 grit) to smooth out the filled area. This creates an even surface ready for staining or finishing.
Check for Clogs: Ensure the filler is completely dry before sanding. This prevents any clogs or uneven surfaces.
Stain if Needed: Match the filler with the door’s stain. Sanding to the right grit (between 120-150) ensures even distribution of stain pigments.
Apply a Finish: Seal the repair with a clear finish. Consider using products like clear epoxy or spar varnish to protect the area from future damage.
By following these steps, you can effectively repair hairline cracks in your wood door, restoring its beauty and functionality.
Repairing hairline cracks in your wood door is straightforward. You prepared the area, applied wood putty, and finished with sanding and sealing. To keep your door looking great, follow these best practices:
Best Practice | Description |
|---|---|
Regular Inspections | Helps spot problems early to prevent further damage. |
Cleaning | Regular cleaning prevents rot and mold. |
Painting or Sealing | Protects the door from the elements. |
Refinishing | Required every few years when signs of wear appear. |
Adding Overhangs and Weatherstripping | Protects the door from moisture and reduces exposure to the elements. |
Oil Treatments | Periodic oil treatments help maintain the wood. |
By taking these steps, you can enjoy a beautiful and functional door for years to come. Take pride in your DIY skills!
FAQ
What should I do if the crack is too deep for wood putty?
For deep cracks, apply wood putty in layers. Allow each layer to dry before adding more.
How can I prevent hairline cracks from forming?
Maintain consistent humidity and temperature levels. Regularly inspect and seal your door to protect it.
Can I paint over the repaired area?
Yes! Once the filler dries and you sand it smooth, you can paint or stain the area to match your door.