

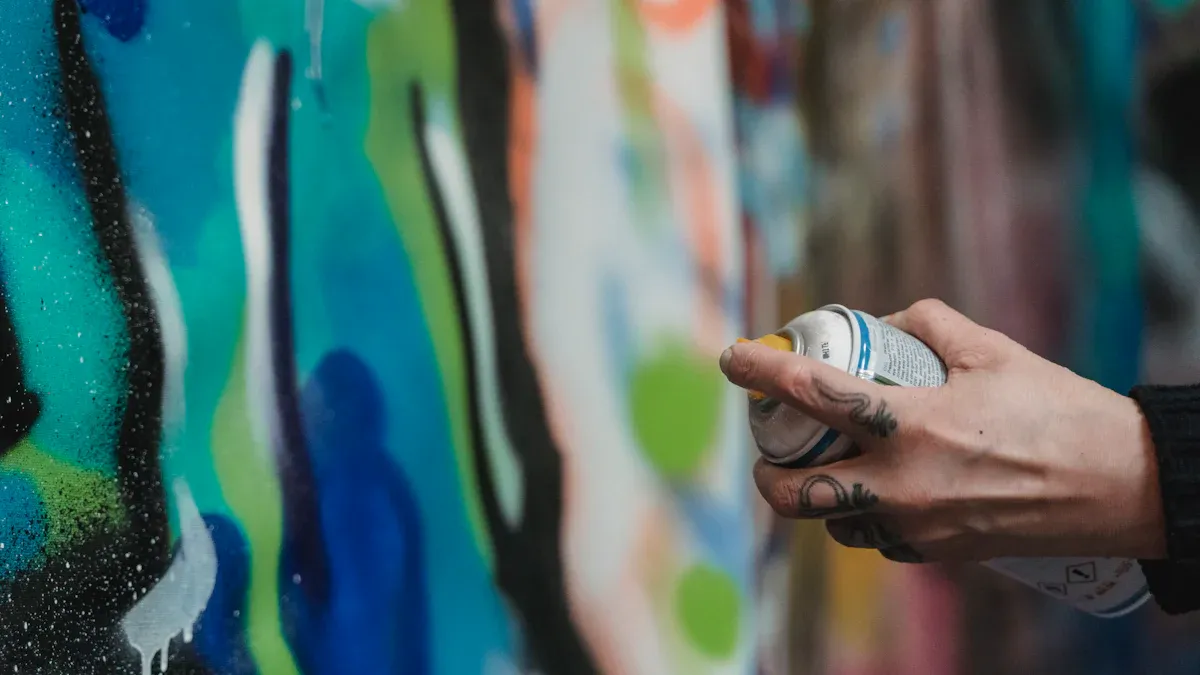
Spray paint offers amazing transformations for your home. It’s affordable, and it can give old items new life. You can easily refresh your home decor with just a few cans. Did you know 74% of homeowners plan a DIY project in 2025? You can join them! This post gives you over 20 creative DIY spray paint projects. These ideas show you how to update your space. Spray painting is an accessible way to tackle many easy DIY projects. Anyone can do these DIY projects, no matter your skill level.
Why Spray Paint is Your DIY Secret Weapon
You might wonder why spray paint is such a big deal for home decor. Well, it’s truly your secret weapon for any diy project. It offers amazing benefits that make it a top choice for quick and impactful transformations.
Affordability and Accessibility
Spray paint is incredibly budget-friendly. You can find it almost anywhere, from hardware stores to craft shops. For small diy projects, a 12-ounce can of spray paint typically costs between $4 and $16. Compare that to other paint types! A gallon of latex paint can cost you $20 to $50. Even a half-pint of paint, suitable for tiny art projects, costs $4 to $20. Spray paint gives you a lot of bang for your buck, making it perfect for trying out new looks without spending a lot of money.
Versatility on Various Surfaces
Spray paint sticks to so many different materials. You can use it on wood, metal, plastic, and even glass. Do you have an old wooden chair? Spray paint it! What about a metal lamp base? You can spray paint that too. It even works on fabric, opening up a whole new world of diy possibilities for pillows or curtains. This versatility means you can refresh almost anything in your home.
Speed and Ease of Application
One of the best things about spray paint is how fast and easy it is to use. You don’t need brushes or rollers, which means less cleanup. Just shake the can and spray! It dries quickly too, so you can often finish a project in just a few hours.
Surface | Average Drying Time |
|---|---|
Metal | 10-30 minutes |
Plastic | 30-60 minutes |
Wood | 1-2 hours |
This quick drying time means you can apply multiple coats or flip your item over sooner. You save time and effort, making diy decorating a breeze. It’s perfect for those weekend diy makeovers.
Essential Spray Painting Tips
You want your spray paint projects to look amazing, right? Getting a professional-looking finish is easier than you think. You just need to follow a few key steps. These tips will help you avoid common mistakes and achieve beautiful results every time.
Preparation is Key
Great results start with good preparation. You cannot skip this step! First, clean your item thoroughly. Remove all dirt, grease, and grime. A simple wipe-down with a damp cloth and mild soap often works. For tougher spots, use a degreaser.
Next, sand the surface. This creates a rough texture, or “tooth,” that helps the paint stick better. Use 150 to 220 grit sandpaper for most surfaces. If you are working with metal, a light scuff sanding is enough. After sanding, wipe away all dust and debris. You want a perfectly clean surface before you even think about spraying. Sometimes, you might need to prime the surface, especially if you are painting a dark item a light color, or if the material is very porous. This extra step ensures better adhesion and a more even final color for your diy project.
Proper Ventilation and Safety Gear
Safety comes first when you spray paint. Always work in a well-ventilated area. This means outdoors on a calm, windless day, or in a garage with the door open. If you must paint indoors, open windows and use fans to move air.
Protect yourself from fumes and paint particles. You should always wear a respirator and eye protection. These are important for both indoor and outdoor spray painting. They minimize your exposure to harmful substances. Also, wear gloves and protective clothing, like coveralls. These protect your skin from chemicals and paint. Finally, wear slip-resistant footwear. This prevents falls, especially if you are working on slick surfaces. If you are painting indoors, set up a spray shelter. This protects your workspace and keeps dust away from your wet paint. Cover anything you do not want painted!
Technique for Flawless Finish
Achieving a smooth, even finish is all about technique. First, shake your paint can thoroughly for at least a minute. This mixes the paint well. Before you spray your actual item, test spray on a piece of scrap material. This checks for clogs or spitting.
Hold the can 10 to 12 inches away from the object. This distance helps you apply thin coats and prevents drips. Apply one thin coat, then let it dry for 30 to 45 minutes. Then, apply a second thin coat. You want to move your arm in smooth, consistent sweeping motions. Start spraying off the object and continue past its edge. This avoids paint buildup at the start and end points. Overlap each pass by about 50%. This ensures even coverage. Regularly wipe the nozzle with a rag. This prevents paint buildup and drips from the nozzle onto your diy item. Remember, smoothness comes from sanding between coats, not just adding more paint. If you are using a paint sprayer, adjust the settings for spray pattern, material flow, and air flow. This creates uniform paint droplets.
Drying and Curing Times
Drying and curing are not the same thing. Drying means the paint feels dry to the touch. Curing means the paint has fully hardened and reached its maximum durability. Always check the paint can for specific instructions.
Acrylic Spray Paint: Often touch-dry in 10-20 minutes. It fully cures in up to 24 hours.
Enamel Spray Paint: Can take 8-24 hours to be touch-dry. Full curing takes much longer, sometimes weeks. Flat enamels might feel dry quickly, but applying a second coat too soon can disturb the first layer. Many people suggest letting enamels cure for weeks, especially for multiple heavy coats. This allows for complete “gassing out.” A good sign of fully cured enamel is when the “paint smell” is gone.
Lacquer Spray Paint: Dries quickly, often in 10-20 minutes. It can be buffed to a high shine. Allow at least two weeks for full hardening before sanding and polishing for the best results.
Environmental factors like humidity and temperature affect drying times. Choose a calm, windless day with temperatures around 70-80 degrees Fahrenheit for outdoor diy painting. Allow adequate dry time between coats to prevent bumpy finishes. For full scratch resistance, allow 15-30 days for complete curing.
Troubleshooting Common Issues
Even with the best technique, you might run into problems. Do not worry, most issues have simple fixes!
Drips and Streaks: These happen when you apply too much paint in one spot or hold the can too close. If you see a drip, let the paint dry completely. Then, lightly sand the affected area with a fine-grit sanding block. After sanding, apply another thin, even coat. For future applications, use the right speed and motion.
Uneven Coverage: This often comes from inconsistent distance or motion. Maintain a consistent distance from the surface. Use smooth, sweeping motions. Apply several thin layers instead of one thick layer. Let each layer dry completely.
Clogged Spray Tips: A clogged nozzle can cause uneven flow or spitting. Regularly clean the spray tip during breaks and after each section. If it clogs, stop, release the pressure, and clean the nozzle. If you are using a paint sprayer, strain the paint before pouring it in. This removes clumps that could clog the sprayer.
Keep your painting area clean and free of dust. Dust particles can land on wet paint and create imperfections. By following these tips, you will be well on your way to creating beautiful, long-lasting spray paint transformations for your home.
Creative DIY Spray Paint Projects for Home Decor
You now know the secrets to successful spray painting. It is time to unleash your creativity! You can transform almost anything with a can of spray paint. These diy spray paint projects will help you refresh your home and create fabulous home decor. You will find ideas for every room and every skill level.
Upcycle Furniture and Large Items
Give old furniture a new lease on life. You can easily upcycle pieces you already own or find amazing deals at a thrift store. Imagine transforming an old chair, a tired stool, or a worn dresser. You can also update nightstands, shelving units, or patio furniture. Even lamps and light fixtures can get a fresh look. These diy furniture makeovers are simple and impactful.
You can choose from many colors and finishes. Rustoleum Heirloom satin white is a popular choice. It gives a soft, elegant look without being too stark. Metallic spray paints are also very versatile. They work well in both formal and casual settings. You can find bold colors like ‘Blackout’ (matte black) or ‘First Million’ (metallic). Other fun options include ‘Farmer’s Daughter’ (pink), ‘Princess Cut’, ‘Emoji’, ‘Island Girl’, ‘Summer Pedicure’, and ‘Orange Slice’.
Here is how you can tackle larger furniture pieces:
Prepare Your Piece: First, remove all hardware. Take out drawers or tape them off. Lightly sand unfinished wood with 320-grit sandpaper. If your furniture has old paint, sand it until it is smooth and dull. Remove any shine. Clean the surface with a damp rag and let it dry completely.
Prime Your Piece: Use a spray primer like Kilz Original. Shake the can very well to avoid grittiness. Apply light coats, holding the can about 10 inches away. Let it dry. Lightly sand again with 320-grit sandpaper. Vacuum up the dust and wipe with a damp rag or tack cloth. Repeat this for two coats.
Time To Paint: Choose your favorite spray paint. Many people recommend Rust-oleum for its quick dry time, smooth finish, and color choices. Shake the can well. You can use a spray paint gun or wear gloves. Start by painting the bottom legs and undersides. Then, move to the top. Apply a single, light coat. Let it dry completely; it should not feel sticky. Lightly sand it smooth with 320-grit sandpaper. Remove dust with a vacuum and wipe with a damp cloth or tack cloth.
Repeat The Steps: Apply four to five light coats. Repeat the process of spraying, drying, light sanding, vacuuming, and wiping clean. Continue until your item is perfectly painted. Avoid painting on rainy or high humidity days. This prolongs drying time.
Seal For Best Protection: Once your furniture is perfectly painted, apply a sealer. General Finishes High Performance Water Based Top Coat is excellent for durability. Brush on three coats of sealer. Let each coat dry completely. Lightly buff with sandpaper in any areas that are not completely smooth. Be careful not to remove color.
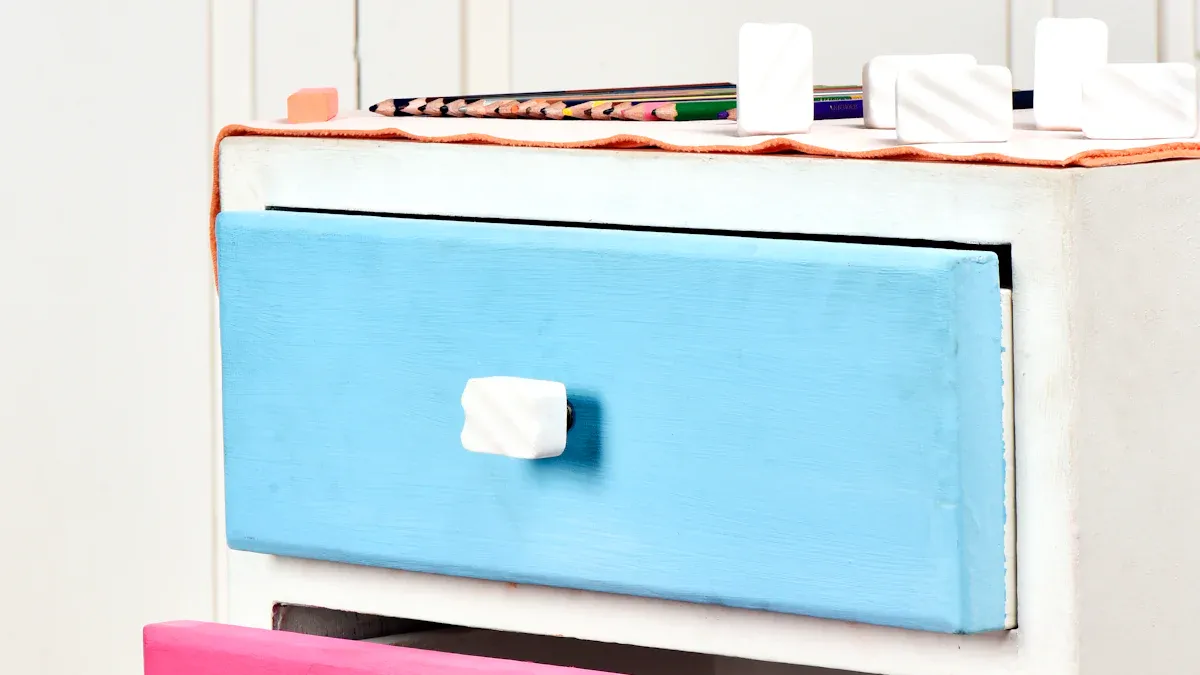
Decorative Accents and Small Items
Small home decor items can make a big impact. You can easily upcycle thrift store decor with spray paint. Look for thrift store finds like vases, bells, or wooden stools. You can also update lamps, curtain rods, picture frames, mirrors, bookends, and metal furniture. Even knick-knacks, cheap Halloween decor, ceramic decor (like plates or faux fruit), and furniture hardware can get a fresh look.
Vases: Transform existing or thrift store vases. You can use textured options like stone spray paint. For glass vases, try a solid color. Pour oil-based enamels into clear glass vases. Swirl the paint to cover the inside. Let the excess paint drain. This gives you an even, durable finish without brush marks. You can also create a marble swirl. Use three to four different oil-based enamel colors. Pour them into the vase. Slowly swirl with a skewer and move the vase. This creates a beautiful marble effect on the interior.
Planters: Terracotta planters look amazing with a new coat of paint. You can choose bright colors or classic neutrals.
Picture Frames: Revitalize thrift store frames. Focus on their shape. Imagine them with a new coat of paint. This creates a high-end look. Oil-based enamels are great for picture frames. They give a factory-finished look without brush marks. You do not even need to prime them.
Candle Holders and Trays: Give these items a cohesive look. Spray paint them all the same color. This creates a unified centerpiece.
Bowls and Figurines: These small projects are quick and fun. You can use them as decorative accents.
Pinecones: Spray paint pinecones for seasonal decor. They make great additions to a holiday centerpiece.
Functional and Organizational Solutions
Spray paint is not just for pretty things. You can also use it to make your home more organized. These diy projects are both practical and stylish.
Storage Bins and Baskets: Give plain storage bins or baskets a fresh color. They will blend better with your decor.
Desk Organizers: Update plastic or metal desk organizers. A new color can make your workspace feel brand new.
Toolboxes: Transform an old toolbox into a stylish container for craft supplies.
Clipboards and Bulletin Boards: Customize these office essentials. They will match your home office aesthetic.
Door Knobs and Cabinet Pulls: You can update these small hardware pieces. A fresh coat of metallic spray paint can change the entire look of a room.
Wine Boxes: A simple wine box can become a stylish storage solution. Paint it to match your interior decor. This transforms it from a plain cardboard box into something that fits aesthetically into your home.
Unique and Unexpected Transformations
Think outside the box! Many unexpected items can become fantastic diy projects with spray paint. You can truly upcycle thrift store decor and other thrift store cast-offs into unique pieces.
Fabric: Yes, you can spray paint fabric! Use specialized fabric paint for pillows or curtains. ‘Simply Spray Fabric Paint’ is a great option. It absorbs into the fabric, creating a dyed surface. This avoids a crunchy texture. The paint usually does not come off or stain clothes after drying. It also does not alter the feel of the cushion. Be aware that spray can tips can sometimes clog. You might need acetone or paint thinner to clean them. Coverage varies; you might need several cans for a complete transformation, especially when changing from a light to a dark color. A pistol-grip nozzle attachment can make large projects much easier.
Hardware: Update hinges, vents, and even doorknobs or cabinet knobs. Metallic spray paint can give them a new finish.
Outdoor Decor: Give garden gnomes or bird baths a colorful makeover. Plastic lawn furniture can also get a new color with specific spray paint designed for plastic.
Stenciled Art: Create stenciled art on walls or canvas. You can make botanical wall art or other designs.
DIY Curtain Rods: Use electrical conduit to make your own curtain rods. Spray paint them to match your decor.
Water Marbling: This technique creates beautiful, swirling patterns. You can use it on various small items.
Faux Finishes: Experiment with faux finishes. You can make items look like stone, marble, or aged metal.
Stained Wood Furniture: Revive worn wood tables and chairs. Use translucent lacquer-based spray stain.
Small Appliances: Use stainless steel paint to match other appliances. This paint can even withstand high temperatures.
Slippery Stairs: Apply a texturized finish spray. This creates a non-skid surface.
Brass Fireplace Inserts and Radiators: Update these with high-heat enamel paint.
Advanced Techniques and Finishes
You have mastered the basics. Now, you can explore more sophisticated spray painting methods. These techniques will help you create truly unique pieces for your home.
Layering Colors for Depth
You can add amazing depth to your projects by layering colors. Start with lighter colors for your first coat. You can use tape to create interesting shapes. Tear painter’s tape into organic forms or use narrow tape for fine lines. Stencils also work great for adding more layers and designs. Make sure you dry each layer completely before adding the next. A heat gun or hair dryer speeds this up. Spray from a distance, not too close to your project. This prevents heavy spots. Blot stencils with paper before lifting them. This removes extra paint and can even create more designs. Remember, imperfections can make your piece special. If a piece turns out too dark, or you do not like the design, you can stamp over it with opaque paint. You can also use a product like deColourant to remove some color. This gives you a chance to fix things.
Distressing and Antiquing Effects
Do you want a vintage or aged look? Spray paint helps you achieve this. BEHR PREMIUM® Chalk Decorative Spray Paint gives a smooth matte finish. This is perfect for an antique appearance or a vintage modern flair. You can use it on wood furniture, concrete, or metal. It needs minimal prep. For a distressed look, you can use specific spray paints.
Spray Paint Type | Finish | Notes for Distressed/Antiqued Effects |
|---|---|---|
Rust-Oleum White | Flat | Easy to distress with 220-grit sandpaper. |
Rust-Oleum Heirloom White | Satin | Great with dark paste wax for an aged look. |
Rust-Oleum French Cream | Matte | Pairs well with dark wax for detailed aging. |
These paints help you create a beautiful, aged finish for your diy projects.
Using Stencils and Tape for Patterns
Stencils and tape let you add cool patterns to your diy items. First, make sure your surface is clean and dry. Primed, flat surfaces work best. Position your stencil carefully. You can use removable spray adhesive or masking tape to keep it in place. Apply paint with short, even strokes from about 18 inches away. Avoid zigzag paths. This ensures even coverage and prevents drips. Keep the can upright and at a 90-degree angle to your surface. This prevents overspray. Let the stencil dry fully before you lift it. Pull it straight up to avoid smearing. For tape, make sure it seals completely. This stops paint from leaking underneath. Do not remove tape too early or too late. Too early can smudge, too late can peel dried paint. Always peel tape at a 45-degree angle. This prevents jagged edges. This diy tip is crucial for clean lines.
Specialty Finishes for Unique Looks
You can find many specialty spray paint finishes for unique looks. These finishes add texture and visual interest to your diy creations. You can find metallic, hammered, or textured finishes. There are also sand, concrete, and suede finishes. You can even get appliance epoxy, camouflage, or fluorescent paints. High heat paint works for radiators. Plastic spray paint is great for outdoor diy furniture. These options let you customize your projects even more.
Spray paint truly transforms your home decor. It offers incredible versatility and impact. You can tackle many diy projects with confidence. These diy spray paint projects are easy, affordable, and full of creative potential. You can refresh your space with just a can or two. So, grab some paint and start your next diy projects today! Your diy journey begins now.
FAQ
What kind of spray paint should you use for outdoor furniture?
You should use spray paint specifically designed for outdoor use. Look for labels that say “exterior,” “weather-resistant,” or “for outdoor use.” These paints protect against sun and rain. They also prevent rust on metal pieces.
What is the best way to prevent spray paint drips?
To prevent drips, apply several thin coats instead of one thick coat. Hold the can 10 to 12 inches away from your item. Keep your arm moving in smooth, sweeping motions. Do not stop spraying in one spot.
What should you do if your spray paint nozzle clogs?
If your nozzle clogs, remove it from the can. Soak it in mineral spirits or paint thinner for a few minutes. You can also try clearing it with a thin wire or pin. Always clean nozzles after each use.
What is the difference between drying time and curing time?
Drying time means the paint feels dry to the touch. You can usually handle the item. Curing time means the paint has fully hardened and reached its maximum durability. This can take days or even weeks. Always check the can for specific times. Time
