
A fresh coat of paint transforms your space. You achieve a professional-looking finish with the right tools. Many DIY painting enthusiasts make mistakes using incorrect equipment. This often ruins the painting finish. Poor quality rollers shed bristles or leave streaks, wasting your time. This guide presents only the truly essential gear. It saves you time and frustration.
You get a successful outcome for any painting project. We cover preparation, application, safety, and cleanup must-have tools. Investing in quality essential gear prevents redoing painting work. Quality makes a difference in your painting efforts.
Key Takeaways
Good preparation is key for painting. It makes paint stick better. This helps you get a smooth finish.
Use the right tools for painting. Quality brushes and rollers help you paint well. They make your work easier.
Safety tools protect you. Wear safety glasses and gloves. Use a respirator for paint fumes.
Clean your tools after painting. This makes them last longer. Store paint properly to keep it fresh.
Must-Have Preparation Tools
Before you even think about opening a can of paint, you need to prepare your space. These foundational tools ensure your painting project starts right. Proper preparation saves you time and effort later. It also guarantees a much better finish. This section covers the essential gear you need for a smooth start.
Drop Cloths and Sheeting
You must protect your floors and furniture from paint drips and spills. Drop cloths and sheeting create a barrier. They keep your surfaces clean. Different materials offer various benefits.
Canvas Fabric: This material comes from heavy cotton fibers. It is durable and reusable. Canvas drop cloths are heavy, typically 8-22 oz/sq yd. They absorb paint spills well. Some canvas cloths have a water-repellent coating. Professional painters often call them “indestructible” because they resist tearing. Many canvas cloths also feature a rubberized butyl backing. This backing provides grip and reduces slips. You can wash and reuse canvas drop cloths many times. This makes them cost-effective for frequent painting projects. Canvas is also eco-friendly, as it is biodegradable and recyclable.
Polyethylene Sheeting: This material is lightweight and water-resistant. However, it tears easily and often shifts. You typically use it once.
Paper or Paper/Polyethylene Blends: These are cheap and semi-absorbent. They are designed for one-time use. They can wrinkle or shred under pressure.
Polypropylene (PP) Fabric: This fabric is lightweight, durable, and water-resistant. It is less prone to tearing than thin polyethylene. Paint spills wipe away from polypropylene. It is ideal for repeated use.
Here is a quick look at common material types for drop cloths:
Material Type | Composition | Key Characteristics | Suitable Use Cases |
|---|---|---|---|
Tarp Paper (Tarpaulin/Tarps) | Polyethylene or Canvas | Heavy-duty, waterproof, withstands harsh weather | Outdoor use, covering large areas, construction |
Canvas Drop Sheets | Light fabrics (often cotton) | Heavier than paper, porous, good absorbing properties | Indoor painting sessions, reliable spill barriers |
Paper Drop Sheets | Paper | Lightweight, disposable, lacks robustness | Quick tasks, interior painting jobs |
For serious painting, invest in quality canvas drop cloths. They offer superior protection and last longer.
Painter’s Tape
Painter’s tape creates crisp, clean lines. It protects trim, baseboards, and ceilings from stray paint. This tape is different from regular masking tape. Painter’s tape prevents paint bleed. It often uses advanced technology to form a barrier. This barrier works even on textured materials like brick or concrete.
You can find specialized tapes for rough or uneven areas. These tapes offer better adhesion on textured surfaces. Always test the tape first. Apply it to a small, hidden area. This ensures it does not damage the surface or leave residue. Different tapes have varying adhesive strengths. They also leave different amounts of residue upon removal. Choose a quality tape for the best results.
Spackle and Putty Knife
Walls often have small holes or cracks. Spackle fills these imperfections. A putty knife helps you apply the spackle smoothly. This combination creates a flawless surface for your new paint.
To use spackle effectively:
Option One: Use a Putty Knife or Painter’s Multi-Tool: Squeeze a small amount of spackle directly into the hole. Avoid using too much. Use the flat side of your putty knife or painter’s multi-tool to scrape off any excess. Make sure the spackle stays mostly inside the hole. After a few minutes, lightly sand the area. This removes any remaining excess.
Option Two: Use Your Finger: Take some spackle with your finger. Press it firmly into the nail hole. Fill the hole completely. Wipe away any excess with your finger or a paper towel.
After the spackle dries, you can feather the paint. Instead of painting the entire repaired spot, dab the wall color gently. Use a paper towel to blend the paint around the spot. This helps the paint blend seamlessly into the wall. It prevents the repaired area from standing out.
Sandpaper and Block
Sanding creates a smooth surface. It also helps paint adhere better. You need sandpaper and a sanding block for this step.
Grit Selection: For preparing new surfaces, use 120–180 grit sandpaper. This creates a slightly rough texture. Paint sticks to this texture well. If you are refurbishing painted surfaces, use a medium grit (120–150) to remove old paint. Then, use a fine grit (180–220) for the final pass. This ensures good paint adhesion for your new coat.
Sanding Block Benefits: A sanding block helps you apply even pressure. This is especially useful on flat surfaces. It ensures a consistent finish. For smaller areas or delicate work, you can fold sandpaper. However, a block provides better control and a more uniform result.
Cleaning Supplies
A clean surface is crucial for successful painting. Paint does not stick well to dirt, grease, or grime. You need the right cleaning supplies to prepare your walls.
Mild Detergent and Water: This is a gentle option. It works for most surface dirt and stains. It does not leave residue.
Vinegar Solution: Mix equal parts white vinegar and water. This natural degreaser is effective for tougher stains.
TSP (Trisodium Phosphate): This is a stronger cleaner. Use it for stubborn stains or grease spots. Use it cautiously and rinse thoroughly afterward.
Specialty Wall Cleaners: These products are made specifically for pre-paint cleaning. They ensure proper paint adhesion.
Commercial Cleaners: Use these for deep cleaning. They tackle significant dirt, grease, or challenging substances. They are especially useful in kitchens and bathrooms.
Always test any cleaning solution first. Apply it to a small, hidden area of the wall. This ensures it does not damage the paint or wall surface. Clean walls provide a perfect canvas for your new paint. This step is as important as any other painting preparation.
Application: Essential Painting Supplies
This section covers the main tools for applying paint. You need these items to get paint onto your walls. They help you achieve a smooth and even finish. Having the right set of supplies makes your painting job much easier.
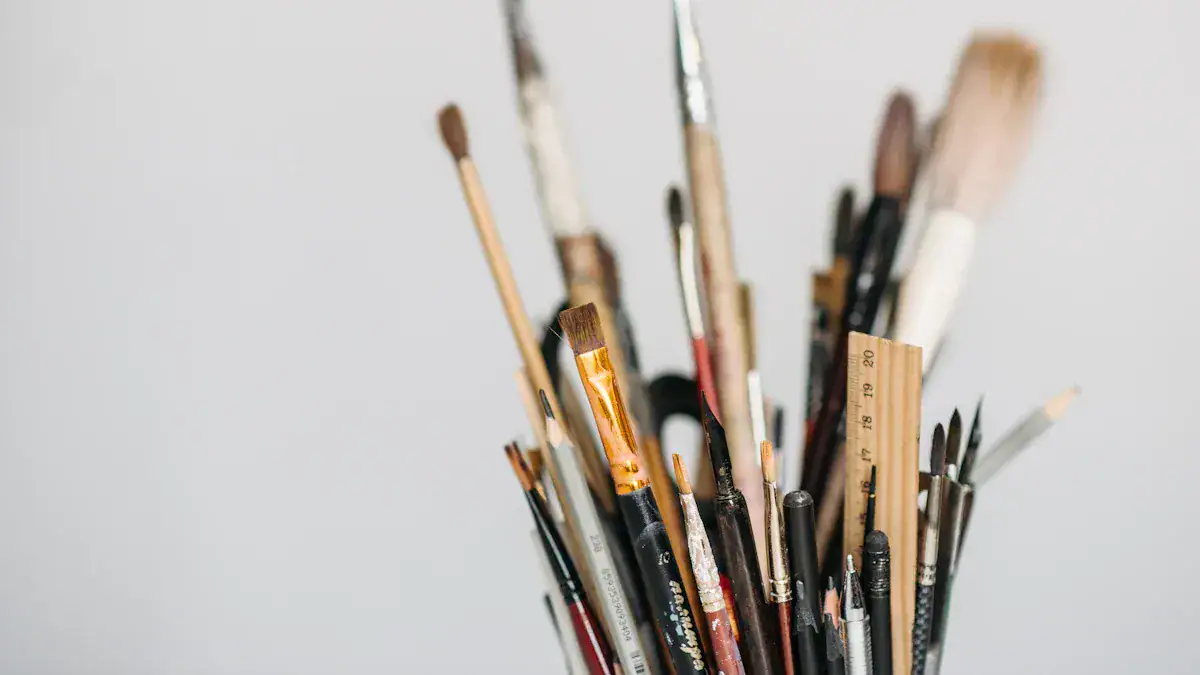
Paint Brushes
Paint brushes are for detailed work. You use them for cutting in edges, painting trim, and small areas. Different brushes work best with different types of paint.
Synthetic brushes are great for all types of coatings. They offer maximum versatility. These brushes are best for water-based paints. This includes latex, acrylic, and water-based wood finishes.
Chinex® brushes are very durable. They stay stiff even with heat and humidity. They pick up a lot of paint and give a smooth finish. Cleaning them is easy.
Nylon brushes are also durable. But they might soften in hot weather or with long use in latex paint. They pick up paint well and give a smooth finish.
Nylon/Polyester Blend brushes combine the good parts of nylon and polyester. Nylon gives precise tips and good paint pickup. Polyester adds stiffness and control. Many professionals choose this blend because it is so versatile.
Polyester brushes keep their shape when exposed to heat. However, they pick up less paint. This makes cleaning harder due to fast-drying resins.
Natural bristle brushes are best for oil-based paints. Use them for varnishes, shellac, alkyd enamels, and oil stains. Do not use them on rough surfaces. This can damage the bristles.
Choosing the right brush from your set of brushes helps you get the best results. A good oil paint brush set is essential gear for detailed work. You can achieve a smooth finish on your canvas with the right brush.
Paint Rollers and Covers
Paint rollers cover large surfaces quickly and efficiently. They are a key part of your painting equipment. The roller cover’s nap size matters for different surfaces.
Surface Type | Nap Size (inches) | Characteristics/Use Cases |
|---|---|---|
Very Smooth (new drywall, smooth plaster, sanded wood, doors, metal) | 3/16″ to 1/4″ | Ideal for glossy/semi-gloss paints, ultra-smooth finish, holds small amount of paint. Some prefer 3/8″ for speed, but it may leave slight texture. |
Most Interior Walls/Ceilings (lightly textured) | 3/8″ to 1/2″ | Versatile, works well with flat, satin, low-sheen paints. |
Rough (textured walls, stucco, decks) | 3/4″ to 1″ | Holds more paint, reaches deeper textures, ensures even coverage, good for exterior or heavily textured interior walls. |
Very Rough (brick, concrete blocks, heavily textured exteriors) | 1 1/4″ to 1 1/2″ | Extra-long nap, holds a lot of paint, covers deep textures effectively. |
Microfiber roller covers are a great choice. They hold up to three times more paint than standard rollers. This means you reload less often. You paint more efficiently. They work well with all paint types and sheens. They are especially good for semi-gloss and high-quality gloss paints. Microfiber rollers give a smooth finish. This makes them ideal for doors, trim, and full room applications. Many consider them a top choice for painting walls and doors. You can find wide rollers for even faster coverage. These wide rollers help you finish big jobs quickly. While brushes and rollers are common, some projects might use paint sprayers. These paint sprayers are another type of painting equipment. Such sprayers can cover large areas quickly. These sprayers require specific skills. You can paint a large canvas or wall with these tools.
Paint Trays and Liners
Paint trays hold your paint. They make it easy to load your brushes and rollers. Liners fit inside the trays. They make cleanup much simpler.
Paint tray liners offer many benefits:
They improve cleanliness. You do not need to wash trays often. This saves time.
They save you money over time. Liners protect your paint tray. This makes the tray last longer.
They help with sustainability. Many liners are recyclable or eco-friendly.
They make your work faster. You can change colors quickly by swapping liners. This keeps your workspace organized.
Liners are often made from high-impact polystyrene. This makes them durable. They resist cracking. Clear PET (recycled plastic) liners are solvent resistant. They withstand common paint and cleaning agents. You can choose disposable liners made of thin plastic or coated paper. Reusable liners are often silicone or thick plastic. You can even use aluminum foil as a DIY solution. This set of liners is a smart addition to your painting supplies. You can easily switch colors when painting a canvas.
Extension Pole
An extension pole helps you reach high spots safely. You can paint ceilings and high walls without a ladder. This improves safety.
Using extension tips and poles is the safest way to reach tall ceilings. This is true even when you wear protective equipment like respirators. It means you do not need ladders or scaffolding.
If you must use a ladder, make sure it is secure. It should be the right height. Place it on a flat, stable surface.
Avoid painting directly over your head. This position is stressful. It is hard to control. It is also not efficient.
Choose a pole that extends 2-3 feet beyond your ceiling height. This allows for easy movement. Do not overextend the pole. Longer extensions are harder to control. Common extension pole lengths include 2′-4′, 3′-6′, 4′-8′, 6′-12′, and 8′-16′. These poles often adjust to any length between their minimum and maximum. Extendable poles can reach 20 feet or more. They often have adjustable angles for precision. A 15-20 foot pole is usually enough for most homes. This tool is an essential part of your painting equipment. It helps you paint your canvas or walls with ease.
Stir Sticks and Can Opener
Stir sticks and a can opener are for paint preparation. You need to mix your paint well before you start. This ensures consistent color and texture.
Use a flexible palette knife for mixing paint. Its soft blade prevents damage to your palette. It allows for controlled mixing. Do not mix timidly. Use a heavy-handed, vigorous whipping motion. This is like whisking batter or scrambling eggs. This ensures all pigments mix fully. It is not just the surface layer.
Here is how to stir paint properly:
Use a palette knife for mixing. Use a vigorous whipping motion. This is like whisking batter or scrambling eggs.
After the first mix, scoop the paint into a pile. Remix it. Repeat this scooping and piling at least three times. This ensures all pigments combine well. The color value will be consistent.
Before mixing different colors, temper each pigment. This means adjusting the value of darker pigments. You can tint them with titanium white. This makes them match lighter pigments. Or, adjust both to balance them. This stops darker colors from taking over the mix too soon.
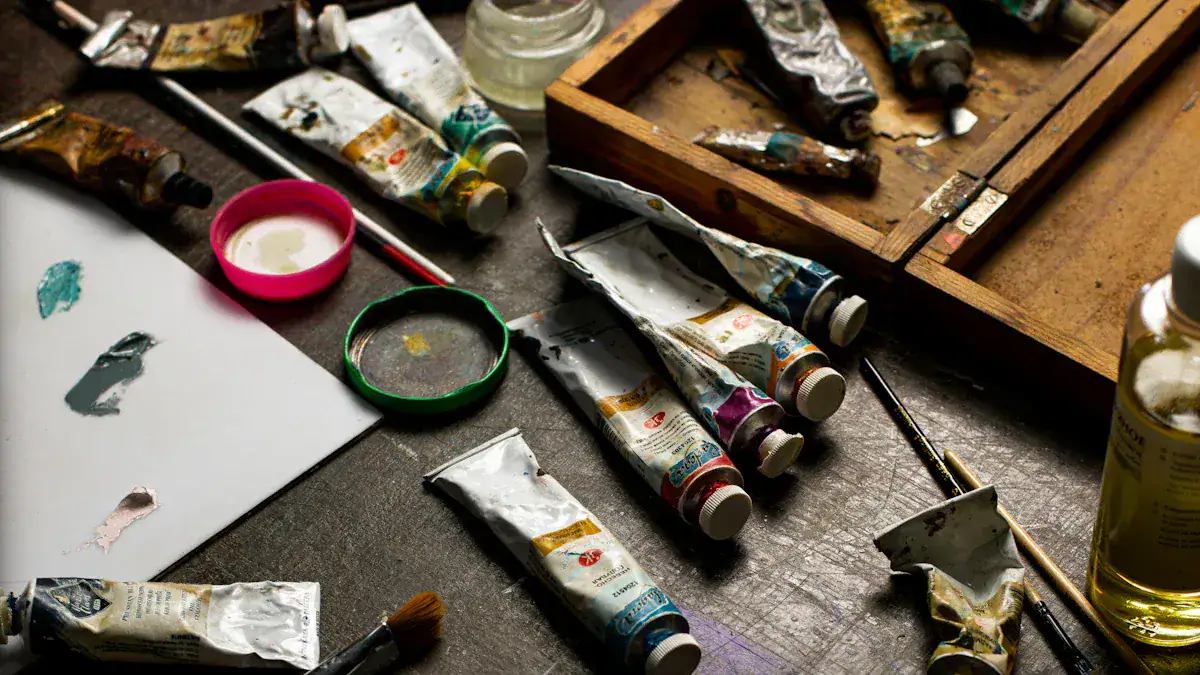
A can opener helps you open paint cans easily. These basic oil painting supplies ensure your paint is ready for application. This set of tools is simple but vital. For artists, a good oil paint set is crucial. You need quality oil painting supplies for your art. A complete set of oil painting supplies includes these items. You can achieve quality results on your canvas.
Safety and Professional Painting Tools
You must prioritize safety during any painting project. The right safety tools protect you from harm. These professional painting tools ensure your well-being. They also help you achieve a high-quality finish without incident.
Safety Glasses
You need safety glasses to protect your eyes. Paint splatters, dust, and debris can cause serious eye injuries. Always wear safety glasses when you prepare surfaces or apply paint. Choose glasses that fit well and offer full side protection. This prevents particles from entering from the sides.
Gloves
You need gloves to protect your hands from paint and chemicals. Not all gloves offer the same protection.
Thick nitrile gloves (8 mil or greater): These provide better protection against isocyanates and solvents. You find these chemicals in many paint formulations. Studies show 8 mil thick nitrile gloves offer adequate protection against sprayed coatings.
Butyl rubber gloves: These are also effective against isocyanates in sprayed coatings.
Thin latex gloves (2-5 mil): These are a poor choice. They allow chemicals to pass through easily.
Thin nitrile gloves (2-5 mil): These also show permeation of chemicals. They are better than latex but still not ideal for strong solvents.
Always choose the right glove type for the specific chemicals in your painting project.
Ladder or Step Stool
You often need a ladder or step stool to reach high areas safely during painting. Painters frequently use ladders. They face significant fall risks. You must adhere to general ladder safety regulations.
Extension Ladders:
Position the frame against a secured, fixed vertical surface.
Extend the ladder at least three feet above the landing or working surface.
Use the 4-to-1 rule: for every four feet of ladder height, the base should be one foot away from the supporting structure.
Platform Ladders:
Only use the platform on a flat, level surface.
Lock the platform and guardrail before climbing.
Do not overreach from the platform. Maintain your center of gravity within the side rails.
Proper ladder use is crucial for your safety, especially during a commercial paint job.
Respirator or Mask
Paint fumes contain harmful chemicals and volatile organic compounds (VOCs). You must protect your lungs. A respirator or mask is essential for safe painting. The 3M™ Organic Vapor Cartridge/Filter 60921, P100 is NIOSH approved. It protects against various gases, vapors, and particulates. These cartridges protect against organic vapors. You commonly find organic vapors in paint fumes and VOCs. They connect easily to 3M™ reusable respirators.
They offer balanced breathability and a long service life. For protection against organic vapors, such as those in paints and thinners, a cartridge with a black label is recommended. If you need protection for both organic vapors and acid gases, a yellow-labeled cartridge is appropriate.
Cleanup and Storage: Your Painting Equipment List

You finish your painting project. Now, you need to clean your tools. Proper cleanup and storage extend the life of your painting equipment. It also prepares you for your next project. This section guides you through essential cleanup and storage practices. You protect your investment in quality painting supplies.
Rags and Paper Towels
Rags and paper towels are simple but essential cleanup supplies. You use them for quick spills and drips. They wipe excess paint from brushes and rollers. Keep a good supply on hand during your painting work. You can use old clothes or towels as rags. Paper towels are good for small messes. They are disposable.
Brush and Roller Cleaner
Cleaning your brushes and rollers properly saves you money. It keeps your painting equipment in top condition. Follow these steps to clean your tools:
Remove as much paint as possible from brushes and rollers immediately after use. Use a scraper or spinner to simplify this task.
For latex or acrylic paints, clean tools in a bucket with soap and water. Refresh the water as needed.
For oil-based paints, use mineral spirits or paint thinner in a well-ventilated area. After cleaning, strain solids and reuse the solvent. Dispose of settled solids safely.
Rinse brushes and rollers under running water. Hold brushes bristles-down to prevent damage.
Press out excess moisture with a paper or cloth towel. Ensure tools are completely dry before storing them in an airtight container, such as a plastic bag. This set of cleaning steps keeps your tools ready.
Paint Can Lids and Storage
You want to keep leftover paint fresh. Proper storage prevents spoilage. This is a key part of your painting equipment list.
Understand paint storage: Proper storage prevents deterioration like separation, thickening, or drying. Different paint types have specific needs.
Choose the right container: Use the original container if clean and undamaged. If not, transfer to a new, clean, airtight container. Consider smaller containers to reduce air exposure.
Label your paint containers: Mark with paint color, finish, and storage date for easy identification.
Control temperature and light: Store in a cool, dry place with stable temperatures (ideally 50°F to 80°F). Avoid high humidity and direct sunlight. A dark, dry closet or cabinet is often best.
Avoid freezing: Freezing can cause paint to separate or become lumpy. Store paint indoors above freezing.
Ensure a tight seal: A well-sealed container prevents air entry. Use airtight lids. Consider covering the rim with plastic wrap before sealing.
Prepare paint for future use: Stir thoroughly before storing. Inspect for spoilage. Consider adding a paint conditioner for extended storage. This set of practices ensures your paint lasts.
You now understand the importance of investing in the right tools. These essential gear items ensure a successful and enjoyable painting experience. They contribute to efficiency, safety, and a high-quality finish. You achieve a professional look with quality preparation. You get smooth application with quality supplies. Your safety is paramount with quality protection. You maintain your investment with quality cleanup. Always choose quality products. Gather your quality gear before your next painting project. Enjoy transforming your space.
FAQ
What is the most important step in painting?
Preparation is the most important step. It ensures a smooth surface. This helps paint stick better. Good preparation prevents future problems. You get a professional-looking finish.
What kind of paint roller should I use for textured walls?
Use a roller with a longer nap. A 3/4″ to 1″ nap works well. It holds more paint. This helps it reach deep textures. You get even coverage.
What is the difference between painter’s tape and masking tape?
Painter’s tape prevents paint bleed. It creates crisp lines. Masking tape is not designed for painting. It often leaves residue. It can also damage surfaces. Always use painter’s tape for painting projects.
What should I do with leftover paint?
Store leftover paint properly. Seal the can tightly. Keep it in a cool, dry place. Avoid freezing temperatures. Label the can with the color and date. This keeps your paint fresh for future use. 🎨


