
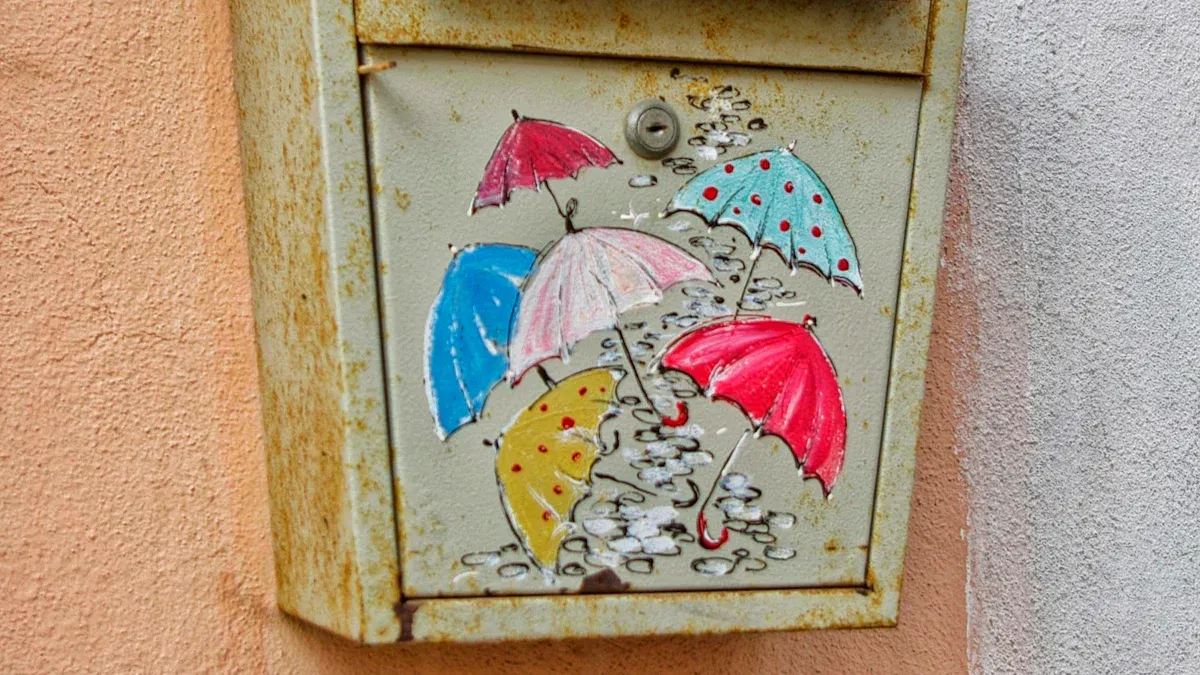
You can easily paint a metal mailbox. This simple, quick, and inexpensive DIY project significantly enhances your home’s curb appeal. A fresh mailbox makeover truly transforms your exterior. A survey indicates 35% of homeowners prioritize curb appeal due to its impact on resale value. You can refresh an old mailbox with minimal effort. This guide provides all the steps for a durable, professional finish. It makes a perfect weekend DIY project. Your metal mailbox will look fantastic.
Gather Your Mailbox Painting Supplies
Before you begin your exciting mailbox makeover, you need to collect the right materials. Selecting durable outdoor spray paint or paint specifically designed for metal surfaces is crucial. These choices ensure your newly painted mailbox withstands the elements.
Essential Tools for Your Mailbox Makeover
You will need several key tools for this DIY project. Gather a wire brush to tackle rust. For heavy-duty rust, consider scratch brushes or single row knot wire cup brushes. These are robust for aggressive scrubbing. You also need medium and fine-grit sandpaper. This helps smooth the surface.
Grit Range | Application | Purpose |
|---|---|---|
P40-P60 | Rust removal | Effectively eliminates rust without harming the underlying metal. |
Finer grits | Softer metals (e.g., aluminum) | Prevents surface damage and achieves a smooth finish. |
Coarser grits | Harder metals (e.g., mild steel) | Removes significant material and imperfections. |
Start sanding with coarser grits for major imperfections. Then, move to finer grits to refine the surface. A degreaser will clean the mailbox thoroughly. Painter’s tape protects areas you do not want to paint. A drop cloth keeps your workspace clean. You also need gloves and safety glasses for protection.
Choosing the Right Paint and Primer for Metal
Selecting the correct paint and primer is vital for a lasting finish. You can choose a rust-inhibiting primer. This comes in spray or brush-on forms. For exterior metal, a “rusty metal primer” works well. Brands like Rust-Oleum Clean Metal Primer or Benjamin Moore Ultra Spec HP Systems are excellent. BLOC-RUST® Premium is another good option. It offers strong corrosion resistance.
Next, pick your exterior metal paint. This also comes in spray or brush-on options. Spray paint offers easy application and even coats. However, some people find spray paint finishes lack durability. One user noted, “Most neighbors keep spray painting theirs, and I don’t like the look or durability of the spray paint finish.” Consider this when you paint a metal mailbox. A clear protective topcoat is optional. It adds extra durability and shine to your finished mailbox.
Prepare Your Mailbox for Painting
Before you apply any paint, proper preparation is key. This step ensures your new finish lasts a long time. You can either remove your mailbox from its post or carefully protect the surrounding area. Removing it allows for easier access to all surfaces.
Thorough Cleaning and Rust Removal
First, you must clean the mailbox thoroughly. Use soap and water or a strong degreaser. Rinse it well and let it dry completely. For effective degreasing, POR-15 Cleaner Degreaser is a great choice. It removes grease, oil, dirt, and rust residue. This ensures your primer and paint stick properly. Other effective options include mineral spirits paint thinner, which is cost-efficient. Naptha also cuts through grease well and evaporates quickly without residue. For very dirty surfaces, a mild solution of sodium hydroxide works wonders. You can even use oven cleaner, followed by a boiling water rinse, to help the metal self-dry without rust.
Next, tackle any rust or old, loose paint. Use a wire brush or medium-grit sandpaper. Scrub away all loose rust and flaking paint. This creates a smooth base. After removing the major imperfections, use fine-grit sandpaper. This step further smooths the surface. It also helps the primer adhere better.
Sanding and Masking for Optimal Adhesion
Sanding creates a slightly rough surface. This roughness gives the primer something to grip onto. It is crucial for a durable finish. Once the mailbox is clean and sanded, you need to mask off any parts you do not want to paint. This includes the flag, numbers, or any decorative elements. Painter’s tape is ideal for this task. It is a low-tack tape designed for delicate surfaces. Painter’s tape resists moisture and UV light. This makes it perfect for outdoor use. It helps you achieve clean, crisp paint lines. You can remove it easily without damaging the underlying surface, especially if you remove it within 12 hours. This careful masking ensures a professional-looking finish for your diy project. You are now ready to paint a metal mailbox.
Paint Your Metal Mailbox for a Smooth Finish
You are now ready to paint your mailbox. Spray paint is often the quickest and easiest method. You should always work in a well-ventilated outdoor area. This ensures proper air circulation and safety.
Applying Rust-Inhibiting Primer Evenly
Applying primer correctly is crucial for a lasting finish. You can choose your application method. Brushing works well for small repairs. Spray equipment gives the smoothest finish on larger areas. You can also use a roller.
Apply the primer in thin, overlapping coats. Three thin, even coats are much better than a few thick ones. You should re-coat once the previous coat feels dry to the touch. This usually takes 2–6 hours. Apply additional coats within 8 hours. You should apply primer when the temperature is between 55–82°F. Avoid painting in rain or high humidity. Before you start, mix the primer thoroughly. Stir it from the bottom of the can to the top. Thinning is usually not needed when spraying. If you need to thin it, 5–10% is generally enough.
For large surfaces, use a sprayer or spray gun. This helps with even application. It also minimizes waste. Apply multiple thin coats. Two coats are recommended for full coverage. Allow enough drying time between coats. Some products need 20 minutes. Others might need 48 hours before you apply the topcoat. Always ensure the surface is clean. Remove all loose rust and scale before you apply primer. Work in a well-ventilated area. Always follow the manufacturer’s instructions for the best results.
Different primers have different drying times before you can apply a topcoat.
Primer Type | Topcoat Time (Minimum) | Topcoat Time (Ideal) |
|---|---|---|
Oil-based rust-inhibiting | 8 hours | 24 hours |
Water-based acrylic | 2-4 hours | 4-6 hours |
Self-etching primer | 30 min-1 hour | 1-2 hours |
Two-part epoxy | 12-24 hours | 24-48 hours |
Rust converter | 24-48 hours | 48-72 hours |
Shellac-based | 45 min-1 hour | 2-3 hours |
For oil-based rust-inhibiting primers, wait at least 4-8 hours before applying a topcoat. 24 hours is ideal. Water-based primers usually let you topcoat after 2-4 hours. Epoxy primers often need 12-24 hours. You must topcoat them within 7 days for proper chemical bonding. Self-etching primers can usually be topcoated after 30 minutes to 1 hour. Environmental factors like temperature and humidity can change these times. Cool, humid conditions can double them. Rushing this process can cause problems. Your topcoat might wrinkle. It might also fail to stick properly.
Achieving a Flawless Paint Application
After the primer dries, you can apply your paint. You want to achieve a flawless finish on your metal mailbox.
Apply 2-3 thin coats: For spray paint, aim for light coverage on the first coat. This means about 60-70% opacity. The second coat should give full coverage. You can add an optional third coat for deep colors or extra protection. If you use brush-on paint, apply three thin coats. Do not apply one thick coat.
Wait between coats: Allow 15-30 minutes for spray paint. It should be tacky but not wet. For brush-on paint, wait 2-4 hours. Always check the manufacturer’s instructions.
Sanding between coats: Lightly sand with 320-400 grit sandpaper. This removes small imperfections. It also helps the next coat stick better. Wipe away all dust with a tack cloth. This is important for spray paint. It helps remove texture or overspray.
Choose appropriate tools and techniques: Use a brush for small or uneven areas. For larger areas, use a sprayer or roller. When spraying, hold the can 6-8 inches away. Keep a consistent speed. Overlap your passes by 50%. For rolling, load the roller evenly. Roll in one direction. Do not oversaturate the roller.
Consider environmental factors: The best conditions are 65-75°F with 40-60% humidity. This helps the paint flow and level well. Avoid painting in direct sunlight.
When spraying, hold the sprayer 8-10 inches from the surface. Maintain a consistent speed, about one foot per second. Move your entire arm. Overlap each pass by 50% for uniform coverage. Start spraying before the edge and continue past it. This prevents heavy paint buildup. For brushing, use smooth strokes. Do not overload the brush. Use quality synthetic brushes. Apply paint with long, smooth strokes in one direction. Do not scrub back and forth. Do not go over wet paint. For foam rolling, use 4-inch foam rollers. They give the smoothest finish. Load the roller evenly. Apply paint with light, overlapping strokes. Do not press hard. This prevents bubbles and uneven coverage.
You might encounter drips and runs. These usually happen when you apply too much paint in one pass. Holding the spray gun too close to the surface also causes them. An inexperienced person might apply paint too heavily. It can be hard to judge the amount already applied.
Optional Clear Coat for Added Durability
You can add a clear protective topcoat. This is an optional step. It makes your paint job last longer. It allows you to admire your diy mailbox for years to come. A clear coat adds extra protection and durability.
Many types of clear coats work for outdoor metal. Polyurethane clear coats offer great protection. They guard against wear, scratches, chemicals, and UV damage. They are durable and keep their gloss. They suit harsh outdoor conditions. Acrylic clear coats are known for strong UV protection. They prevent fading and chalking. They create a hard, glossy finish. They work on metal, wood, and masonry. Epoxy clear coats are robust. They suit heavy traffic or industrial use. They form a hard, durable layer. They protect against chemicals, abrasion, and impacts. They resist moisture. They give a smooth, glossy finish. You can also find hybrid products. These combine benefits from different formulas. They offer versatility and durability for various surfaces, including metal.
Final Touches and Troubleshooting Your Mailbox Makeover
You have finished painting your mailbox. Now you need to complete the final steps. This ensures a long-lasting finish.
Reinstallation and Curing Time
Do not rush to reinstall your mailbox. Paint needs time to cure. Curing is different from drying. Drying means the paint feels dry to the touch. Curing means the paint has fully hardened. This process makes it durable.
Environmental factors greatly affect curing time.
Temperature: Cold temperatures slow curing. Below 50°F, curing can slow by 50-70%. The ideal range is 60-80°F. Hotter climates can make paint dry too quickly. This leads to cracking or blistering.
Humidity: High humidity inhibits drying. It can cause bubbles and flaking. Low humidity makes paint brittle. The ideal range is 40-60%.
Ventilation: Good airflow removes moisture. This helps paint cure faster. Lack of ventilation traps moisture.
You should wait at least 24-48 hours before reinstallation. If you painted in less-than-ideal conditions, add more time. For example, cold weather projects might need 5-7 days to cure. This patience ensures your new paint job lasts.
Addressing Common Painting Imperfections
Sometimes, imperfections appear. Do not worry. You can fix them. Improper surface preparation often causes bubbling and chipping. This includes not removing dirt, grease, or rust. Incompatible materials also cause defects.
Here are common issues and how to fix them:
Bubbling: This happens from rust, contamination, or moisture. Trapped solvents or air bubbles also cause it.
Peeling: Poor surface preparation or painting conditions cause peeling. Not cleaning the surface well also contributes. Using incompatible primers and paints can lead to this.
To repair marks, scratches, or spots:
Clean the area with a damp sponge and mild soap.
Apply a high-quality primer with a small brush. Let it dry.
Delicately apply the original paint. Start from the inside of the touch-up. Move outwards.
For flaking or chipping paint:
Scrub and clean the surface thoroughly.
Use a wire brush to remove loose paint.
Wash the surface with liquid soap and hot water.
Apply a layer of primer.
Follow with oil-based paint for durability.
When buying new paint for touch-ups, ensure it is the same brand, sheen, type, and color. This minimizes visible lines. Your diy mailbox makeover will look perfect.
You now know how to paint a metal mailbox. This simple diy project significantly boosts your home’s look. You will enjoy your revitalized curb appeal. Feel satisfied with your successful effort. Following these clear steps ensures a long-lasting, attractive finish. Your home’s exterior will look fresh and inviting for years to come.
FAQ
What kind of paint should you use for a metal mailbox?
You should use exterior metal paint. Look for spray paint or brush-on paint specifically designed for outdoor metal surfaces. Rust-inhibiting primers are also essential. These products ensure durability and weather resistance.
What should you do if your mailbox has a lot of rust?
First, remove all loose rust. Use a wire brush or medium-grit sandpaper. Then, apply a rust-inhibiting primer. This primer stops further rust and helps the paint stick. You can then apply your chosen topcoat.
What is the best way to apply spray paint for an even finish?
Hold the can 8-10 inches from the mailbox. Apply thin, even coats. Move your arm steadily across the surface. Overlap each pass by about 50%. This prevents drips and ensures smooth coverage.
What happens if you paint your mailbox in cold or humid weather?
Painting in cold or humid conditions can cause problems. The paint may not dry or cure properly. This can lead to bubbling, peeling, or a poor finish. Always check the paint manufacturer’s recommended temperature and humidity ranges.


