
Want to add a unique touch to your living space? You can easily create beautiful home decor with diy marbled pots! This diy project is super fun and simple, perfect for anyone, even if you’re a crafting beginner. You’ll love the personalized, artistic flair these pots bring to any room. Get ready to learn how to transform plain items into stunning marble art with a simple marbling technique using nail polish.
Why DIY Marbled Pots
You might wonder why you should try making your own marbled pots. This craft offers many great benefits. It is a fantastic way to add beauty to your home without spending a lot of money. You also get to create something truly special and enjoy the process.
Budget-Friendly Decor
Creating your own decor saves you money. Store-bought decorative pots can be expensive. With this diy project, you use simple, affordable materials. You probably already have some nail polish at home. This means you can transform plain items into stylish pieces for very little cost. You get beautiful results without breaking your budget.
Unique Personalized Designs
When you make your own marbled items, you create something truly one-of-a-kind. No two marble patterns are ever exactly alike. You choose your favorite colors and swirl them to make a unique design. This lets you match your decor perfectly to your style. You get a personalized touch that store-bought items cannot offer. Each marbled design reflects your creativity.
Fun and Easy DIY Project
This project is incredibly fun and simple to do. You do not need any special skills or tools. It is a relaxing activity that lets you express yourself. You will love watching the colors swirl and transform plain planters into art. Making diy marbled pots is a rewarding experience. You will feel proud of your beautiful creations.
Materials for DIY Marbled Pots
Ready to start your marbling adventure? First, you need to gather all your materials. Having everything ready makes the process smooth and fun. You will find most of these items around your house or at a local store.
Gathering Your Supplies
You need a few key items to begin. First, grab a disposable container. This is super important! Make sure this container is much larger than any pot you plan to marble. You will fill it with water, and you need enough space to dip your pots without touching the sides. Think about an old plastic tub, a large yogurt container, or even a disposable aluminum pan. You also want some paper towels for quick cleanups and a pair of disposable gloves to protect your hands from the nail polish. A wooden skewer or a toothpick works perfectly for swirling the polish on the water. These are the main supplies needed to make nail polish marble pots.
Choosing the Right Pots
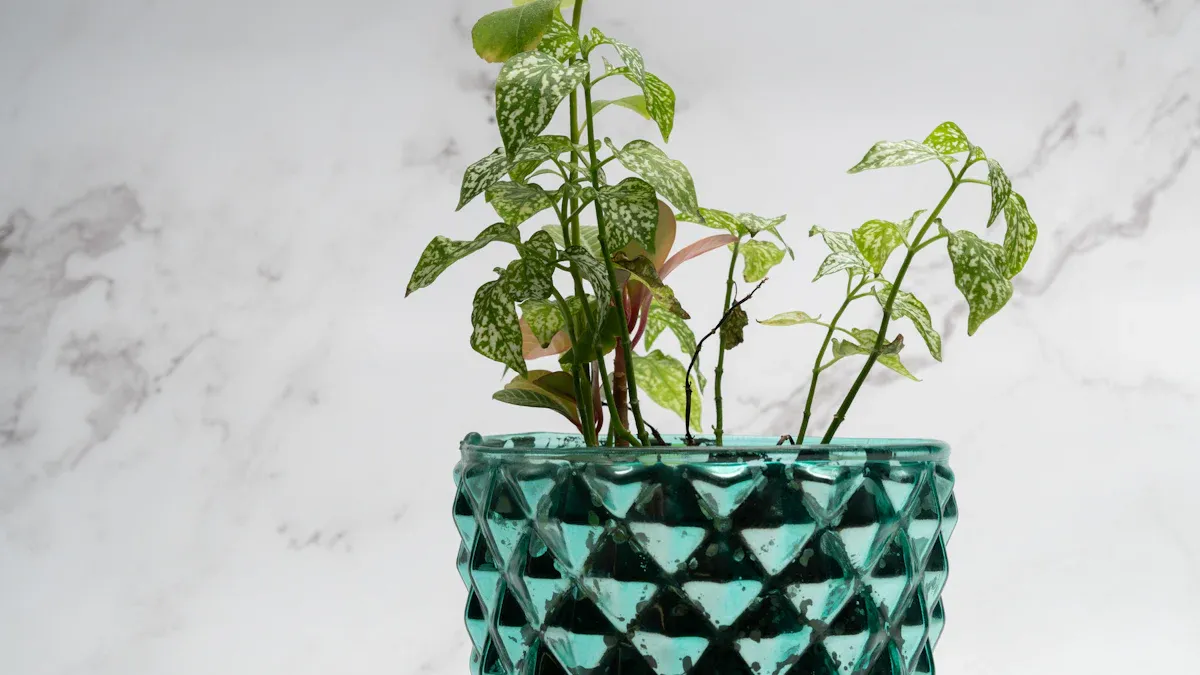
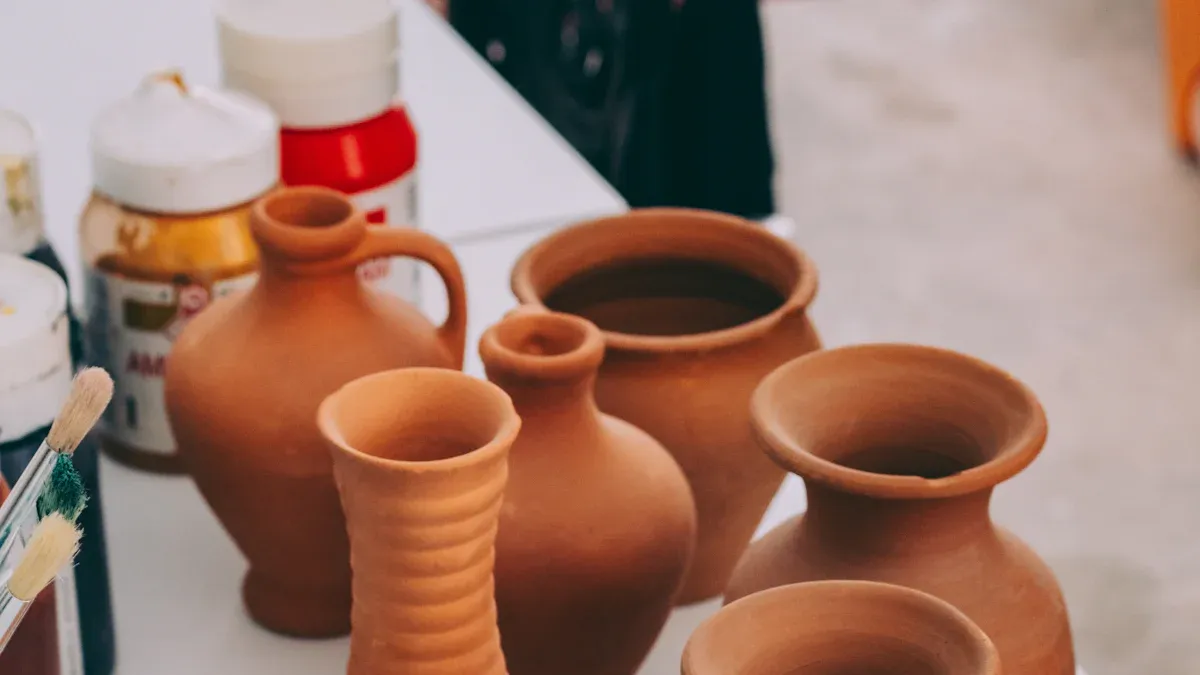
Now, let’s pick out what you want to marble. You can use many different types of pots for this project. For the best results, choose items with a smooth, clean surface. Clay plant pot options are fantastic because they absorb the polish well. You can also use plain white ceramic pieces like planters, coffee cups, and vases. These surfaces really make the marbled designs pop. Consider the size and shape of your pots. Smaller pots are easier to handle for your first try. You can also transform larger planters into stunning decorative pieces. Remember, the smoother the surface of your pots, the better the nail polish will adhere and create that beautiful marble effect.
Selecting Nail Polish Colors
This is where your creativity truly shines! You get to pick all the nail polish colors. You can use any colors you like, but think about how they will look together. Do you want bold, bright colors that stand out, or do you prefer softer, more subtle shades? Having a variety of colors lets you experiment with different combinations. You can create unique marble patterns every time. Try to use newer nail polish bottles. Older polish can get thick and might not spread well on the water. This makes it harder to get a good marble design. Choose colors that make you happy and match your home decor. The right colors will make your finished diy marbled pots truly special.
How to Make Nail Polish Marble Pots

You are ready to create your beautiful diy marbled pots! This section guides you through each step. You will learn exactly how to make nail polish marble pots.
Prepare Your Workspace
First, set up your work area. You want a clean, protected space. Lay down old newspapers or a plastic sheet. This protects your surfaces from spills. You also need a disposable container. This container holds your water bath. It must be larger than the pot you plan to dip. For example, a disposable bucket works well for nail polish marbling. You can also use disposable aluminum cake pans. These are great options. If you are dipping a larger item, ensure your container is big enough to fully submerge it.
Set Up the Water Bath
Now, prepare your water bath. Fill your chosen disposable container with water. The water temperature is important for good results. Use room temperature water. This helps the nail polish spread correctly. You can leave a pitcher of water out for a couple of hours. This ensures it reaches room temperature. Make sure the container is wide enough. You need to comfortably dip your pots.
Drip Nail Polish onto Water
Next, you will add the nail polish. Open your chosen nail polish colors. Hold the brush close to the water surface. Let drops of polish fall onto the water. You will see the polish spread out. Work quickly when you drip the nail polish. This prevents it from drying too fast on the water’s surface. Add several drops of different colors. Create layers of color on the water.
Swirl for Marble Patterns
Now, create your unique marble patterns. Take a wooden skewer or a toothpick. Gently drag the tip through the polish on the water. You can make swirls, lines, or zigzags. A toothpick helps you draw lines from the center to the edge. This creates star patterns. You can also use a dotting tool. This adds small circles of different colors. Experiment with your tool. You will see beautiful marbling designs form.
Dip and Dry Your Pot
It is time to dip your pot! Hold your pot firmly. Slowly and carefully dip it into the water. Submerge the pot completely. The nail polish will transfer to the pot’s surface. Pull the pot out of the water. You will see your amazing marbled design. Set your pot upside down to dry. It needs to dry for a minimum of 24 hours. This ensures the polish is completely set.
Apply Clear Sealant
After your pot dries, apply a clear sealant. This step protects your beautiful design. It makes your pots more durable. A good sealant creates a watertight seal. It resists moisture and stains. You can use products like Miracle Sealants 511 Impregnator Sealer. This sealant works on many surfaces. It offers long-lasting protection. It will not yellow your design. Another option is Tenax Hydrex Concrete Sealer. This sealant is effective on polished marble. It is safe for indoor and outdoor use. It repels liquid without changing the color of your pot. Apply the sealant according to the product instructions. This final step ensures your marbled creations last a long time.
Tips for Perfect DIY Nail Polish Marble Pots
You want your diy nail polish marble pots to look amazing, right? Here are some simple tips to help you get the best results every time. These tricks will make your marbling experience even better.
Optimal Water Temperature
Getting the water temperature right is key for great nail polish marbling. You want to use room temperature water. This helps your nail polish spread out smoothly on the surface. If the water is too cold, the polish might clump. If it’s too hot, it could dry too fast. Many crafters find success with just a bottle of room temperature water. Some even use distilled room temperature water. This ensures no minerals interfere with the polish. It helps you make nail polish marble pots with clear, beautiful designs.
Work Quickly with Polish
Nail polish dries fast, especially when it’s thin on water. You need to work quickly once you start dripping the polish. Drop your colors onto the water without delay. Then, swirl them right away. If you wait too long, the polish will form a skin. This makes it hard to create a smooth marble pattern. Speed helps you capture those flowing designs.
Experiment with Color Combos
Don’t be afraid to try different color combinations! This is where your creativity shines. You can use two contrasting colors for a bold look. Or, pick several shades of the same color for a softer effect. Think about how the colors will blend. You might discover your new favorite design.
Clean Water Between Dips
You should use fresh water for each new pot. The old water will have polish residue. This residue can mess up your next design. It might prevent the new polish from spreading correctly. Dump out the old water and refill your container. This simple step ensures crisp, clean patterns on all your pots.
Consider Pot Surface
The surface of your pot matters. Smooth, non-porous surfaces work best. They allow the polish to adhere evenly. If your pot is very porous, like unsealed terracotta, it might absorb some polish. This can make the design less vibrant. You can prime porous pots first if you want.
Troubleshooting Your Marbled Pots
Sometimes, your marbling project might not go exactly as planned. Do not worry! Many common issues have simple fixes. Here are some solutions to help you get perfect results on your pots.
Polish Sinking or Clumping
You might find your nail polish sinks to the bottom or clumps instead of spreading. This happens for a few reasons. If you drop the polish from too high, it can sink. Cold water also makes polish dry too quickly and not spread. Use room temperature or slightly warmer water for the best spread. Unfiltered tap water with minerals can stop polish from spreading well. Try bottled or filtered water instead. If your polish is too thick, it will clump. Add a drop or two of nail polish remover to thin it out. Some polishes, like fast-drying types or those with a lot of shimmer, are naturally problematic. Drafts or air conditioning can also dry polish too fast. Make sure your workspace is calm. If there is already polish on the water, new drops may not spread.
Uneven Marbling Fixes
Did your marble design turn out uneven? This is a common issue. You might have dipped your pot too quickly or at an odd angle. Try dipping slowly and evenly next time. If the water surface had too much polish, it could create a thick, uneven layer. Use a clean skewer to remove excess polish from the water before dipping. You can also try re-dipping the pot if the first attempt was very light. Just make sure to clean the water surface first.
Tip: If your design is uneven, you can sometimes gently wipe off the wet polish with a paper towel and try again. Act quickly before it dries!
Polish Not Sticking
Sometimes, the nail polish just does not want to stick to your pot. This usually means the surface of your pot is too smooth or has oils on it. Before you start, wipe your pots down with rubbing alcohol. This removes any dirt or oils. It gives the polish a clean surface to adhere to. Also, ensure your polish is fresh. Old, thick polish might not stick as well.
You see how simple and rewarding creating diy marbled pots can be! You can easily add a personal, artistic touch to your home decor. This project is super cost-effective. It gives you unique designs. You also get the joy of a successful craft. Go ahead, unleash your creativity, and enjoy your beautiful new marbled creations!
FAQ
What types of pots can I marble?
You can marble many things! Smooth surfaces work best. Try ceramic, glass, or plastic pots. Terracotta pots are great too, but seal them first. This helps the polish stick better.
What if my nail polish dries too quickly on the water?
Work faster! Nail polish dries quickly. Drop your colors and swirl them right away. Also, use fresh polish. Old, thick polish dries even faster. Make sure your room is not too cold or drafty.
What should I do if the colors don’t swirl well?
First, check your water temperature. It needs to be room temperature. Also, use a clean skewer. If the polish is old, it might be too thick. Try a new bottle. Sometimes, certain polish brands just don’t spread well.
What if I want to use my marbled pots outside?
You can! Just make sure to apply a good clear sealant. Choose one designed for outdoor use. This protects your beautiful design from weather. It helps your pots last longer outside.


