
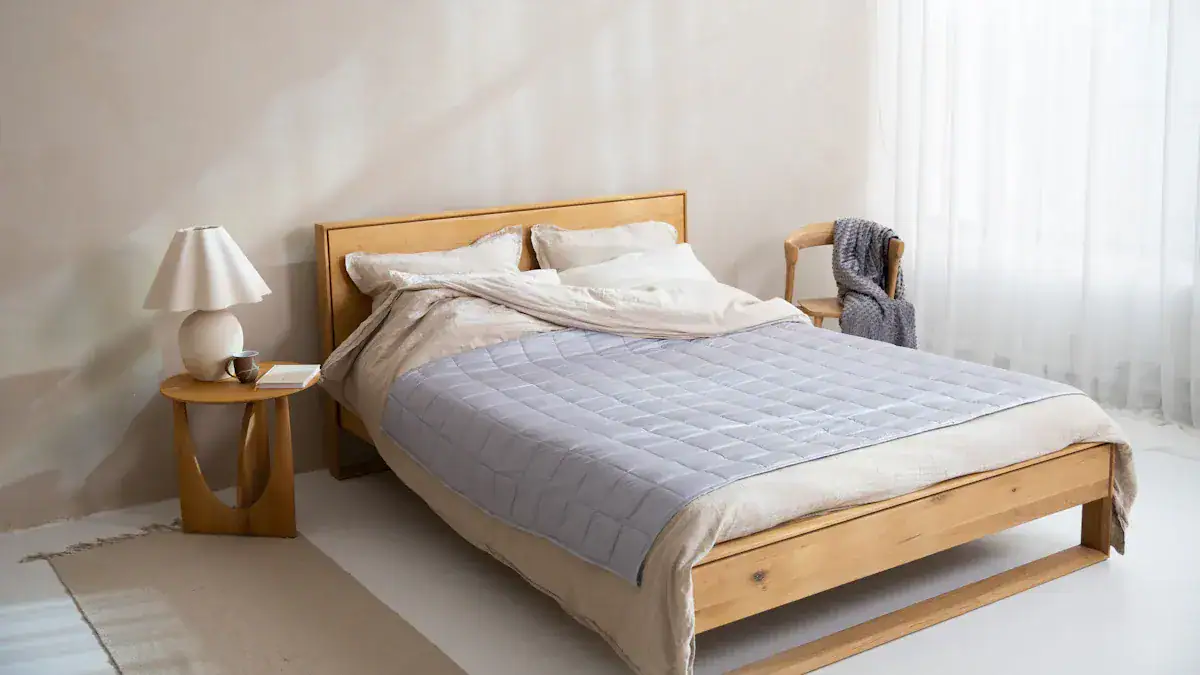
You want an affordable, sturdy, and customizable bed frame. Building one yourself is a rewarding project. It is also achievable, even for beginners. Many free, easy-to-follow diy bed frame plans exist to guide you. You save money. You also create a unique piece perfectly suited to your style. This process gives you a sense of accomplishment. You will love your personalized bedroom furniture.
Key Takeaways
Building your own bed frame saves money and lets you customize its size and style.
You need basic tools like a drill and a saw, and wood like pine, to build a bed frame.
Many free plans are available online for different bed styles, including platform beds and storage beds.
Always measure carefully, use safety gear, and reinforce key areas for a strong and lasting bed frame.
Regular checks and maintenance will keep your handmade bed frame in good condition.
Why Build Your Own
Building your own bed frame offers many advantages over buying one from a store. You gain control over the final product. You also save money.
Cost Savings
You save a lot of money when you build your own bed frame. Store-bought frames often have high markups. You pay for materials, labor, and brand names. When you build it yourself, you only pay for the raw materials. This makes a budget friendly bed frame possible. You can choose affordable lumber and hardware. This significantly reduces your overall cost.
Customization Options
Store-bought bed frames offer limited choices. When you build your own bed, you have complete control. You pick the exact size that fits your room perfectly. You choose any style, from modern to rustic. You can add integrated storage drawers underneath. You can build in special features like built-in nightstands. You can also incorporate unique headboard designs. You can customize the size to suit your space perfectly, from twin to king. You can choose specific materials like reclaimed wood. You can use contrasting elements such as walnut plywood with welded legs. You can build platform beds, raised platform beds, storage beds, or traditional bed frames. You can even upholster the bed frame for an extra special touch. You can apply custom stains to wooden bed frames for a unique look.
Personal Achievement
There is great satisfaction in creating something with your own hands. Finishing a DIY project gives you a sense of pride. You will look at your bed frame and know you built it. This personal achievement makes your bedroom feel more special.
Built to Last
You control the quality of materials and construction. You can choose stronger wood and better fasteners. This means your DIY bed frame can be more durable than many mass-produced options. You build it to last for many years. Many diy bed frame plans focus on sturdy construction.
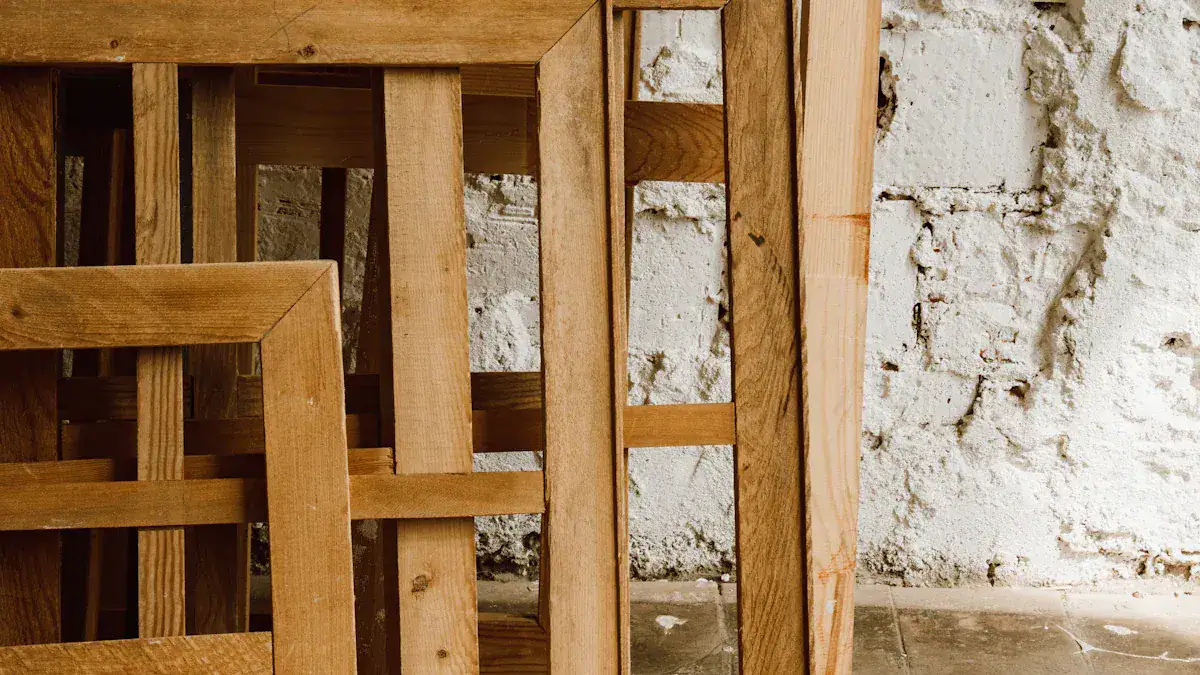
Tools and Materials
You need specific tools and materials for your bed frame project. Some are essential. Others offer convenience.
Essential Tools
You need a few key tools to build your bed frame. A cordless drill is very useful. It helps you drill pilot holes and drive screws. You will need a drill bits kit. A countersink drill bit creates a clean finish for screw heads. A self-centering drill bit helps you place screws accurately. A circular saw cuts your lumber to length. Even a basic circular saw works well. Use a speed square with your saw for straight cuts. Corner clamps hold pieces together while you assemble them. This ensures proper alignment. For sanding, a mouse style sander is effective. You will need mouse style sandpaper for it. A sanding sponge helps you smooth sharp edges by hand.
Lumber Choices
Selecting the right wood is important. It affects both durability and cost. Softwoods are generally more affordable. Hardwoods offer greater strength and longevity.
Wood Type | Durability | Cost-Effectiveness |
|---|---|---|
Pine | Durable | Low cost |
Poplar | Good | Affordable |
Oak | Highly durable | Expensive |
Pine is a popular softwood choice. It is low cost and easy to work with. Poplar is an affordable hardwood. It is easy to work with. Oak is a highly durable hardwood. It resists rot and decay. It costs more than pine or poplar.
Hardware Needs
Hardware holds your bed frame together. A ‘Bed Hardware Screw Pack’ often contains many necessary items. You need basic fasteners like screws. Assembly hardware ensures a strong build. You might also use sealants or adhesives for extra strength. Lubricants can help with moving parts if your design includes them.
Finishing Supplies
Finishing protects your wood. It also makes your bed frame look good. You will need sandpaper in various grits. This smooths the wood surface. You can use wood stain to change the color. Paint also works well. A clear sealant or polyurethane protects the wood from wear and moisture. These supplies give your bed frame a professional look.
Finding Free DIY Bed Frame Plans
You want to build your own bed frame. You need to find reliable diy bed frame plans. Many great resources offer free plans for beds. These plans guide you through the building process. You can find them on woodworking websites, craft blogs, and video platforms.
Plan Styles
You can find many styles of diy bed frame plans. Websites like Kreg Tool offer 27 free project plans. These include designs for various mattress sizes. You can find styles from rustic to modern. Examples include an Easy Full Platform Bed or a Craftsman-Style Twin Bed. You can also build a DIY Four Post Canopy Bed. Ana White also provides numerous free plans. You can search by type. Look for daybeds, loft beds, or traditional frames. You can find plans for twin, full, queen, or king sizes. Specific plans include a Farmhouse Bed or a Farmhouse Storage Bed with Drawers. The Spruce Crafts offers 14 platform plans. These plans show modern, farmhouse, or traditional styles. Pinterest is another good source. You can find visual inspiration there.
Platform Designs
Platform beds are very popular. You can find many free plans for them. These designs often do not need a box spring. You can build a Hailey Platform Bed. It has wood slats for a headboard. It also has a wood frame and wood legs. You can make it in twin, full, queen, king, or California king sizes. You can build a DIY Modern Farmhouse Platform Bed. This design is simple. It has a modern farmhouse look. You can also find plans for a DIY Live Edge Wood Platform Bed. This is a twin-sized platform bed. It has a solid top frame. It features a live edge headboard. This gives it a rustic yet modern feel. Build Something offers a Platform Bed Plan. It includes a slatted headboard. It has a wood frame with center support. It also has stylish legs. Shanty 2 Chic has an Easy DIY Platform Bed. It has a chunky base and platform. It features a planked headboard. You can even find plans for an Under $200 Platform Bed. This is a very budget friendly bed frame. It includes building instructions and photos. You can build a king-sized platform bed for less than $100 in materials. This plan does not require a box spring.
Storage Solutions
Many free plans include storage. You can build platform beds with integrated drawers. These drawers give you extra space. Some beds accommodate tubs, crates, or boxes underneath. You can slide these containers in and out. Loft beds often have dedicated space for toy storage. Some loft beds integrate IKEA storage units. You can find bed frames with removable slats. These slats hide storage underneath. Other plans show bed frames that use pre-made cabinets or dressers as a base. This creates a functional and stylish storage solution.
Minimalist Options
You can find simple, minimalist designs. These are great for small spaces. A basic twin size bed frame is easy to build. Instructables offers a simple twin size bed frame plan. YouTube also has many videos for minimalist platform beds. These plans often use minimal materials. They focus on clean lines and functionality. You can build a 3-Step Platform Bed. This twin-sized bed builds quickly. It uses plywood for the headboard. It uses pre-made table legs.
Build a Budget Friendly Bed Frame: Step-by-Step

Building your own bed frame is a rewarding project. You can create a sturdy and stylish piece for your bedroom. This guide gives you general steps for constructing a bed frame. These steps apply to most free diy bed frame plans. You can build a king-sized platform bed for about $150. This is much cheaper than buying one. You also avoid buying a box spring, which can cost $400 or more. This makes it a truly budget friendly bed frame.
Workspace Setup
A safe and efficient workspace is important. You need enough room to move around.
Personal Protective Equipment: Always wear safety gear.
Safety Glasses (for projectiles and dust)
Hearing Protection
Respirator Mask (for vapor and dust)
Nitrile Gloves
Structural Safety Guidelines: Make sure your bed frame is strong. It must hold its intended weight. All parts need secure attachment. The frame should be level. Anchor it to the wall to prevent tipping.
Workspace Setup: Keep your area clean and organized. Ensure good lighting. This helps prevent accidents.
Accurate Cuts
Precise cuts are key to a strong bed frame.
Measure twice and cut once. This ensures correct dimensions.
Mark your cutting line with a pencil. Do this after careful measurement.
Clamp the wood to a stable surface. This stops movement while you cut.
Adjust your circular saw blade depth. Make it slightly more than the wood’s thickness.
Cut along the marked line. Keep the saw steady. Follow the line closely.
Use a speed square. It helps you mark straight and perpendicular lines.
Apply steady and even pressure with your circular saw. The blade should move at the right speed. This avoids burning the wood or moving too fast.
Set the correct blade depth for notches. Match it to the intersecting lumber’s thickness.
For miter cuts, use the speed square. Mark 45-degree lines accurately.
Measure and mark positions for skeleton slots and mattress support notches. Do this before cutting.
Frame Assembly
Assemble your bed frame in a logical order.
Connect the main parts first. These include the side rails, headboard, and footboard. Leave bolts loose at first. This allows for adjustments.
Align the core structure. Gently push the frame until all corners are perfect 90-degree angles. Tighten the bolts in a star or ‘X’ pattern. This spreads tension evenly.
Install the slats. Ensure proper spacing. Gaps should be no more than 2.5 to 3 inches apart. If wooden slats have a slight curve, install them with the curve facing up. Use a staple gun or fabric strip. This keeps slats from shifting.
Install the center support beam. This is especially important for larger beds. Make sure its support legs touch the floor firmly and evenly.
Master hardware connections. Hand-tighten all bolts first. Then, go back and firmly tighten them. Use a crisscross pattern. This ensures sturdiness and prevents stripping.
Adding Supports
Proper mattress support prevents sagging.
Install Center Support: Cut a wooden beam (like a 2×4). Fit it between the headboard and footboard. Attach it to the side rails with brackets or screws. Add support legs. Use one for a queen bed, two for a king. These legs must touch the floor firmly. This prevents middle sagging.
Use a Bunkie Board: These are thin, solid platforms. They are 1-3 inches thick. They are made from plywood or particleboard. Bunkie boards give uniform support. They fix issues with wide slat gaps. You need no tools to use them. They are also often cheaper than other options.
Add Slat Support: Reinforce your existing slats. Replace damaged slats. Reduce gaps between slats to no more than 3 inches. Add new slats if needed. Screw slats permanently to the side rails. For best support, add a center support rail. Place it perpendicular to the slats. Thicker slats (at least ¾ inch) are best. For foam mattresses, cover the entire slat system with ½-inch plywood. This creates a solid surface.
Add a Center Beam: Choose a straight 2×4 or 2×6 lumber beam. It should span the bed’s length. Attach it with heavy-duty metal brackets to the headboard and footboard. Position it exactly in the center. This distributes weight evenly.
Install Extra Legs: Add these legs to a center beam. They transfer weight directly to the floor. You can cut them from 2×4 lumber. You can also buy adjustable metal legs. A queen bed needs at least one leg in the middle. A king bed needs two or three evenly spaced legs. Attach legs with T-plates or corner brackets. They must sit flat on the floor. Rubber caps prevent floor damage.
Create a Support Box: This is a strong solution for bad sagging. Build a rectangular box frame from 2×4 lumber. Make it about one-third the width and length of the bed. Add legs at each corner. Place the box directly under the bed’s middle. Add a center cross brace if the box is over 3 feet long.
Final Touches
Finishing your bed frame protects the wood. It also makes it look professional.
Sanding & Prep: This is essential for a professional look. Start with 120-grit sandpaper. This removes rough spots. Then, use 220-grit for smoothness. Always sand with the wood grain. Vacuum between grits.
Staining & Painting: Use penetrating stains for natural wood. This enhances the grain. For painted finishes, apply a high-quality primer first. Then, apply thin, even coats of paint. Water-based finishes dry faster. Oil-based finishes offer richer colors.
Sealing & Protecting: Apply topcoats for durability. Polyurethane works well for high-wear areas. Paste wax gives a natural feel. It also allows for easier touch-ups.
Always test any paint, stain, or finish. Do this on a scrap piece of wood. Test it before applying it to the bed frame and headboard. This ensures you get the color and finish you want.
Tips for Success
You want your DIY bed frame to be sturdy, safe, and durable. Follow these tips to ensure a successful build.
Square and Level
Always check that your frame is square and level. Use a large carpenter’s square to check corners. A level ensures your bed sits flat. This prevents wobbling and uneven stress on joints.
Reinforce Key Areas
Certain parts of your bed frame need extra strength. The center area often supports the most weight. Reinforce it to prevent sagging. Corner joints can loosen over time. Strengthen these points. Slats may crack under heavy loads. Use strong materials for them. Support legs, especially center ones, can bend. Make sure they are robust. Side rails can bow outward. Add sufficient center support or corner bracing.
Fastener Best Practices
Choose the right fasteners for a strong bed frame. Attach the legs first. Use Simpson Strong-Tie Outdoor Accents® APRTC2 Rigid Tie® Corner Connectors. These make assembly easy. They hold legs and rails together well. For center supports, use Simpson Strong-Tie LU Light Face-Mount Joist Hangers. Attach them to the header and footer before assembly. This ensures good alignment. Add two extra feet in the middle of the bed for more sturdiness. This is especially important for wider beds.
Safety First
Safety is important when you build your bed frame. Plan your installation carefully. Ensure a level surface for assembly. Use quality tools. Consider having a helper. Read all instructions before you start. Sort all hardware. Assemble on a flat surface for proper alignment. Hand-tighten connections first. Then, tighten them fully with tools. Double-check all connections before you use the bed. Wall anchoring is recommended for extra stability. Use proper anchors for your wall type. Check local building codes. Verify all hardware is tight after installation. Make sure the bed does not wobble. Check for sharp edges.
Maintenance
Regular maintenance extends your bed frame’s life. Dust it weekly. Deep clean it monthly. Conduct seasonal inspections. This prevents problems. Strengthen joints by adding metal brackets or corner braces. Install cross-bracing between legs. Use a wooden or metal slat system. This prevents sagging. It also distributes weight evenly. Control humidity to address rust. Treat minor rust spots early. Apply touch-up paint. Regularly check and tighten all bolts and screws. This prevents instability. Identify the source of squeaks. Clean the area. Apply lubricants. Refinish your frame to restore its look. Repair damaged parts. Replace individual bolts or screws as needed.
Building your own bed frame offers great rewards. You save money. You also get a custom piece. This gives you personal satisfaction. You can achieve this project. Free plans and basic tools make it possible. Anyone can succeed. Start today. Transform your bedroom with a handmade bed frame. You will love your unique creation.
FAQ
What tools are essential for building a bed frame?
You need a drill, a circular saw, and a speed square. These tools help you make accurate cuts and secure connections. A tape measure and pencil are also vital for marking your wood.
What type of wood works best for a sturdy bed frame?
Pine is a good choice. It is affordable and easy to work with. For more strength, you can use poplar or oak. Always choose straight, knot-free lumber for the best results.
What if I have no woodworking experience?
Many free plans are perfect for beginners. Start with a simple platform bed design. These plans often use basic cuts and common tools. You can learn new skills as you build.
What is the benefit of a platform bed design?
A platform bed does not need a box spring. This saves you money. It also gives your mattress direct support. Many designs include built-in storage, which saves space in your room.


