
Do you often need extra sleeping space for guests? DIY trundle beds provide a smart solution. They are incredibly space-saving. You can build a DIY trundle bed for about $35 using just one sheet of plywood. This makes them highly cost-effective. Building your own offers immense satisfaction. You also get complete customization for your style. This DIY project is achievable for you, even with basic skills.
Key Takeaways
DIY trundle beds save space. They fit under another bed. You can pull them out for guests.
Building a trundle bed costs less than buying one. You can make it for about $120. This saves you money.
You can customize your trundle bed. Choose the wood, color, and style. It will match your home.
Careful planning is important. Measure your space and choose materials. This makes a strong bed.
Always check for stability and safety. Tighten all screws. Make sure the bed rolls smoothly.
Why Build DIY Trundle Beds
Building your own trundle bed offers many advantages. You gain control over the design and save money. You also create a functional piece for your home.
Space-Saving Solutions
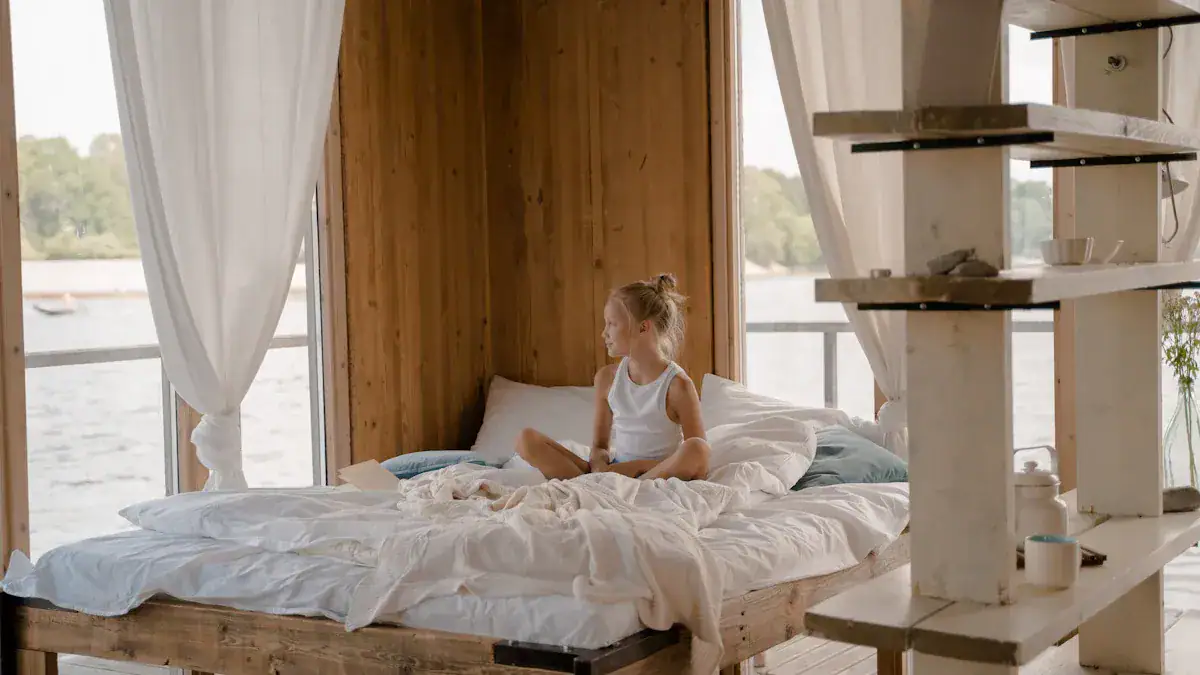
You often need extra sleeping space. A DIY trundle bed provides an excellent solution. It slides neatly under an existing bed or sofa. This design allows you to maximize space in any room. You can easily pull it out when guests arrive. Then, you tuck it away when not in use. This keeps your room clear and organized. It is a truly space-saving furniture piece.
Cost-Effective Guest Bed
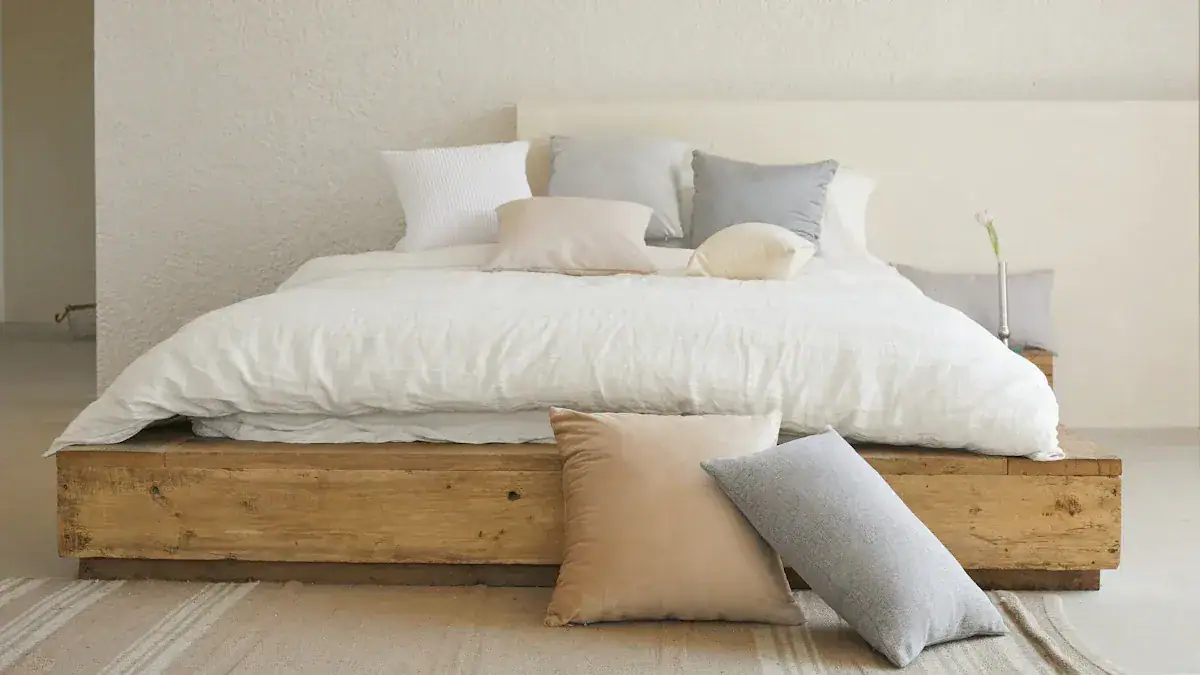
You can build a DIY trundle bed for a fraction of the cost of buying one. A simple DIY bed, constructed from a single sheet of plywood, costs approximately $120 for materials. This price includes the wood, legs, leg hardware, and edge banding. It does not cover finishes or basic tools. This makes a DIY project a smart financial choice for you. You save money while getting a custom piece.
Customization for Your Style
You get complete creative freedom with a DIY project. You choose the wood type, paint color, or stain. You can match your new trundle bed to your existing decor perfectly. Do you want a modern look? Or a rustic feel? You decide every detail. This ensures your trundle bed fits your home’s aesthetic.
Practicality for Any Room
A DIY trundle bed is incredibly versatile. You can place it in a child’s bedroom for sleepovers. It works well in a home office for unexpected guests. You can even use it in a living room as a hidden guest bed. Its roll-out design makes it practical for various situations. You gain flexible sleeping arrangements without sacrificing permanent floor space.
Planning Your DIY Trundle Bed Frame

You start your DIY project with careful planning. This step ensures your diy trundle bed frame fits your space and meets your needs. Good planning saves you time and money. It also helps you build a sturdy and beautiful pull out bed frame.
Design Considerations
You need to think about several things before you cut any wood. Your design choices affect how your pull out bed frame looks and works.
Size and Dimensions: You must measure your room. This tells you the biggest bed size you can fit. Trundle beds come in twin, full, or queen sizes. Choose the size that works best for your space.
Mattress Type and Thickness: Your mattress choice affects comfort. It also affects how practical your pull out bed frame is. You can choose memory foam, innerspring, or hybrid mattresses. Make sure your diy trundle bed frame can hold the mattress thickness you want.
Quality and Durability: You want your bed to last. Build a strong frame from good materials like solid wood. This ensures long-term use.
Style and Design: Trundle beds come in many styles. You can choose modern or traditional. Pick a style that matches your home decor. This makes your new pull out bed frame look great.
Consider the mattresses you will use. The top twin mattress is usually 38 inches by 75 inches. The bottom twin mattress is often a bit shorter, like 38 inches by 72 inches. Other common sizes include 28 inches by 72 inches. Trundle mattresses usually range from 4 to 8 inches in height. The top trundle can often hold a taller mattress than the bottom one.
Thickness |
|---|
4.5” |
5.5” |
6” |
8” |
You also need to decide how your pull out bed frame will move. You can use casters (wheels) or glides (furniture sliders). Casters make it easy to roll the bed out. Glides offer a smoother, quieter slide. Think about your floor type when you choose. These trundle bed frame design ideas help you create the perfect piece.
Material Selection
Choosing the right materials is key for your diy trundle bed frame. You want materials that are strong and fit your budget.
Material | Durability | Cost |
|---|---|---|
Solid Wood | Very Durable | Expensive |
Metal | Very Durable | Less Expensive |
Plastic/Synthetic | Shorter Lifespan | Inexpensive |
Particle Board | Shorter Lifespan | Inexpensive |
Solid wood is a great choice for durability. Birch wood is quite durable. It offers a good lifespan for your pull out bed frame. All-hardwood frames are very stable. They work well for beds that need to be strong. Woods like cherry, espresso, maple, and oak are often used for durable frames. These woods also offer beautiful finishes.
Essential Tools
You need the right tools for building your diy trundle bed frame. These tools make the job easier and more accurate.
Cordless drill: You will use this for drilling holes and driving screws.
Nail gun: This helps you attach pieces quickly and securely.
Miter saw: You need this for making precise cuts in your wood.
Sander: This tool helps you smooth out your wood for a nice finish.
Budget and Sourcing
You can build a great pull out bed frame without spending a lot. A modern diy daybed can be made for around $100. This bed fits a standard twin mattress. It can also expand into a king-sized guest bed. This expandable twin-to-king guest bed is perfect for guests.
You can build a versatile and budget-friendly expandable twin-to-king guest bed for about $100. This cost covers the main materials. You can find wood at local lumber yards or home improvement stores. Look for sales or discounted wood to save even more.
Building Your Customizable Pull-Out Bed
You are now ready to start building your own trundle bed. This section provides detailed instructions for constructing your customizable pull-out bed. Follow these steps carefully to create a sturdy and functional piece.
Wood Cutting and Prep
Accurate cuts are essential for a strong diy trundle bed frame. You need to prepare your wood pieces before assembly.
Measure and Mark: Always double-check your measurements. Mark your cutting lines clearly on the wood.
Rip Plywood: Use a table saw to rip plywood to the correct width. Set up work tables for extra support if you are working alone. This ensures stability for large pieces.
Cut to Length: Use a circular saw to cut pieces to length. Clamp a straight edge as a guide. This helps you make precise cuts.
Ensure Square Cuts: Use a carpenter’s square to align your straight edge. This guarantees perfectly square cuts.
Create Joints: For specific designs, you might create half-lap joints. Set your circular saw blade depth. Make a series of cross-cuts. Then, use a hammer and chisel to remove the remaining wood. Smooth the joint for a clean fit.
Pre-drill Holes: Pre-drill holes in the pull out bed frame where you will install fastening screws. This prevents panels from shifting during assembly. It also stops the wood from splitting.
Assembling the Frame
Assembling the frame requires strong joints for durability. These instructions guide you through building your customizable pull-out bed.
Join Side Rails: Connect wooden side rails to the headboard and footboard. You can use dowels, screws, or bolts for these connections.
Secure with Screws: Use a manual or electric screwdriver. Be careful not to over-tighten screws. Over-tightening can strip the wood.
Strengthen Joints: For the trundle section, pay close attention to joint integrity. You can use a combination of screws and wood glue for extra stability.
Test Stability: After assembly, gently shake the bed and trundle. This helps you test for instability. Reinforce any loose areas you find.
Inspect Connections: Inspect and tighten all connections. This ensures security. Loose components can compromise safety and functionality.
Butt Joints: Use long screws to join butt joints. Make sure the assembly is on a level surface. Align the boards properly. Drive two screws through the face of one board into the length of the other.
Prevent Splitting: Pre-drill ⅛-inch pilot holes when driving screws near board edges. This prevents the wood from splitting.
Secure Platform Boards: Secure platform boards with at least one screw in the center of each board. Add screws to the ends as well for extra strength. This is especially important for active use. The mattress will hide these screws.
Build the Frame: For the 2×4 frame, secure butt joints with two long screws each. Space them out. Make sure they do not overhang where the trundle face board will attach.
Attach Trundle Face Board: Align the bottom edge of the 1×12 Trundle Face board with the 2×4’s bottom edge. Secure it with medium screws. Screw through the back of the 2×4 into the 1×12. Place screws near the top and bottom edges of the 2×4. Also, place them along its length to strengthen the connection.
Installing the Base
You need a sturdy base to support the mattress. You have two main options for your pull out bed frame base.
Wood Slats: You can use wood slats. Space them evenly across the frame. Secure each slat with screws on both ends. This allows for good airflow to the mattress.
Plywood: A solid sheet of plywood provides a firm base. Cut the plywood to fit snugly inside the frame. Secure it with screws around the perimeter. This creates a very stable surface for your mattress.
Attaching Wheels or Sliders
Your pull out bed frame needs to move smoothly. You can choose between wheels (casters) or furniture sliders.
Casters: Attach casters to the bottom corners of the trundle frame. Use screws that are appropriate for the caster type. Make sure they are securely fastened. Casters make it easy to roll the bed out on most floor types.
Furniture Sliders: If you prefer a quieter slide, use furniture sliders. Attach them to the bottom of the trundle. These work well on carpeted floors or for a smoother glide on hard surfaces.
Adding Optional Features
You can enhance your diy trundle bed frame with various optional features. These additions improve functionality and aesthetics.
Built-in Storage Drawers: Consider adding built-in storage drawers. These are like captain’s beds. They maximize bedroom space. This is very useful for children’s rooms or small apartments.
Headboard Panels with Storage: Some designs include headboard panels with storage. You can store books or decorative items here. This is beneficial in small rooms.
Pop-up Frame Design: A pop-up frame design allows the trundle to rise to the same height as the main bed. This creates a seamless sleeping surface. It is ideal for couples or those needing extra space.
Daybed/Sofa Functionality: Many trundle beds can function as stylish daybeds or sofas during the day. They transform into a bed at night. This makes them ideal for multifunctional spaces like home offices or dens.
Upholstered Design: An upholstered design adds elegance. It serves as both a stylish seating area and a comfortable bed. This is perfect for multifunctional spaces.
Colorful Designs: Incorporate a colorful trundle daybed. This enhances a room’s aesthetic appeal. It adds a vibrant touch while maintaining functionality.
Diverse Styles: You can choose from diverse styles, finishes, and materials.
Traditional Style: This features ornate woodwork, curved lines, and rich finishes. It creates a timeless and elegant look.
Modern and Minimalist Style: This style has sleek, clean lines, neutral colors, and minimalistic design elements.
Vintage and Rustic Style: This showcases distressed wood, weathered finishes, and antique-inspired details. It gives a charming and cozy vibe.
Finishing and Safety for Your DIY
You have built your trundle bed frame. Now, you need to add the final touches. These steps make your bed look great and ensure it is safe to use.
Sanding and Preparation
You must prepare the wood surface. This step is crucial for a smooth finish. Start by cleaning the furniture. This prevents gumming up your sandpaper. You can use cleaners like Simple Green. Begin sanding with a coarse grit. An 80-grit sandpaper removes rough spots. Then, move to finer grits. Use 120-grit, then 220-grit, and finally 320-grit. This progression creates an ultra-smooth surface. Always sand in the direction of the wood grain. This prevents visible scratches. Use a flat block to back your sandpaper on flat surfaces. This avoids hollowing out softer wood. After sanding, remove all dust. Use pressurized air, then wipe with a damp cloth. This prepares the wood for an even stain absorption.
Painting or Staining
You can choose to paint or stain your trundle bed. For painting, sand to at least 220 grit for a smooth, glossy finish. You can even go up to 400 grit. For stained wood, you need more thorough sanding. Stain highlights scratches. Apply your chosen finish. Let it dry completely. Then, lightly hand sand between coats. Use 320-grit sandpaper. Wipe off all dust before applying the next coat. Repeat this for multiple layers. If you paint, add Floetrol to your paint. This helps with self-leveling. It also reduces brush or roller marks.
Stability and Safety Checks
You must ensure your new bed is stable and safe. Check all connections. Make sure every screw and joint is tight. Gently shake the frame. Look for any wobbles. Reinforce any loose areas. This prevents accidents. Ensure the trundle rolls smoothly. It should not catch or tip. Your diy trundle bed must be secure for anyone who uses it.
Mattress Fit
A proper mattress fit is important. It prevents gaps and ensures comfort. The top mattress is typically 38 inches by 75 inches. The bottom mattress is often shorter. It might be 38 inches by 72 inches or 28 inches by 72 inches. Trundle mattresses are also thinner. They range from 4 to 8 inches in height. Standard twin XL mattresses are usually too long. They will not fit well. Custom sizes are available. These address specific fit requirements. They help you avoid gaps.
You have now learned about the many benefits of building your own diy trundle beds. They are functional, stylish, and a true testament to your DIY skills. We encourage you to embark on this rewarding project. You will gain a versatile guest bed. This project greatly enhances your home’s functionality. It also boosts your hospitality for visitors.
FAQ
What is a trundle bed?
A trundle bed is a low bed. You store it under another bed or sofa. You can roll it out when you need extra sleeping space. It is a great solution for guests. You save floor space when you do not use it.
What mattress size works best for a DIY trundle bed?
You typically use a twin-sized mattress. The top mattress is often 38×75 inches. The bottom trundle mattress is usually shorter. It can be 38×72 inches or 28×72 inches. Trundle mattresses are also thinner, from 4 to 8 inches high.
What materials do you need for a basic DIY trundle bed?
You need wood for the frame. Plywood is a common choice. You also need hardware like screws and wood glue. Casters or furniture sliders are necessary for the roll-out function. You can add paint or stain for the finish.
What tools are essential for building a trundle bed?
You need a cordless drill for screws. A miter saw helps you make accurate cuts. A sander prepares the wood surface. You also need measuring tape and a pencil. These tools help you build your bed effectively.
