
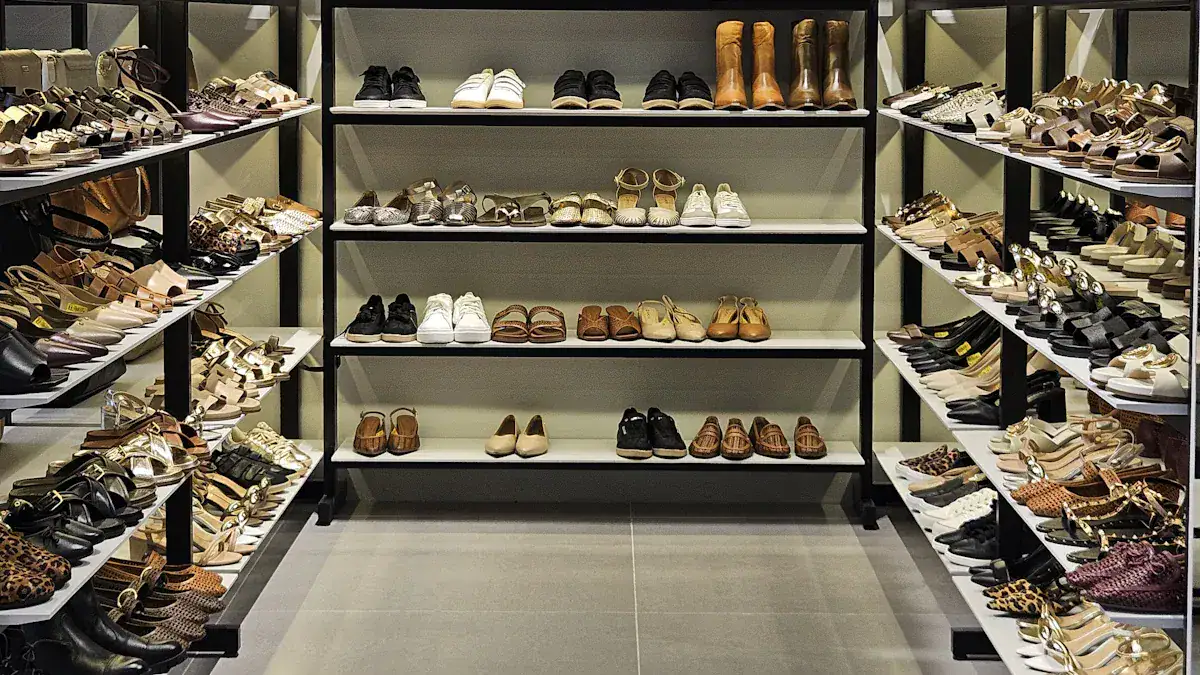
Shoe clutter can overwhelm your home. You want organized spaces. A diy shoe rack provides excellent shoe storage. You save money with a diy project. You also get a custom fit and style. This post gives you free diy shoe rack plans. These plans help you build a useful shoe rack. You achieve better storage and enjoy creating something yourself. Start transforming your shoe mess today!
Key Takeaways
Building your own shoe rack saves money and lets you create a perfect fit for your home.
You can use simple tools and affordable materials like wood, PVC pipes, or even cardboard for your project.
Many free plans are available, from easy cardboard cubbies to more advanced wood designs.
Always measure your space carefully and prioritize safety by wearing protective gear when you build.
Finishing touches like sanding and painting make your shoe rack look good and last longer.
Why DIY Your Shoe Rack
Building your own storage offers many advantages. You gain more than just a place for shoes. You get a solution tailored to your life. These diy shoe rack plans help you achieve that.
Cost Savings
You save money when you build your own storage. Buying materials often costs less than purchasing a ready-made unit. You avoid labor costs and retail markups. This makes diy projects a smart financial choice. You can use affordable materials like scrap wood or repurposed items.
Custom Fit And Style
You create a storage solution that perfectly fits your space. Store-bought options might not work for odd corners or small areas. You can build shelving around door frames. This uses vertical space often left empty. You can also create custom shoe walls that go from floor to ceiling. This maximizes vertical storage. Cubby-style shelves fit narrow spaces. You design a shoe rack to match your home’s look. You choose the colors and finishes. This ensures your storage looks good and works well.
Sustainable Choices
You make eco-friendly choices with DIY. You can use recycled or repurposed materials. Old pallets, crates, or even cardboard become new storage. This reduces waste. You give new life to items that might otherwise go to a landfill. This helps the environment.
Personal Achievement
You feel a great sense of accomplishment when you finish a project. Completing a diy shoe rack gives you a tangible achievement. This boosts your self-esteem. You express your creativity. You solve a problem with your own hands. This process can reduce stress. It helps you focus. You gain satisfaction from a job well done. This feeling of success is a reward in itself.
Tools And Materials For Your Shoe Rack
You need the right tools and materials for your DIY project. Gathering these items makes building your shoe rack easier. You can find many affordable options.
Essential Tools
You need some basic tools. A tape measure and a speed square are vital. They help you get accurate measurements. Clamps hold pieces together. This gives you an extra set of hands. A hand saw cuts wood to size. Sandpaper smooths rough edges. Start with coarse grit, then use fine grit. For more advanced projects, you might use a drill/driver. A jigsaw or miter saw helps with precise cuts. A 5/8-inch Forstner bit creates clean holes. A pocket hole jig helps join wood pieces. Always wear safety glasses and gloves.
Affordable Materials
Many materials work well for a shoe organizer. You can use pine boards or fir. These woods are sturdy and budget-friendly. Wire metal shelving offers good air circulation. Wood pallets are inexpensive. They look great when finished. Recycled plastic bottles can become cubbies. They save space. Scrap wood also works well. You can also use PVC pipes. Cardboard boxes are good for temporary storage. Old wooden crates or baskets offer open storage. Fabric can create hanging organizers.
Fasteners And Adhesives
You need items to hold your project together. Screws and nails are common fasteners. Wood glue provides strong bonds. Zip ties can secure lighter materials. Choose fasteners that match your materials.
Free DIY Shoe Rack Plans
You can find many free diy shoe rack plans. These plans help you create organized spaces. Many options exist for different skill levels. You can complete some projects in less than a day. These are great for beginners. For example, Kreg Tool offers 17 free shoe storage plans. These include easy options like a simple shoe storage rack or a rustic ladder shoe shelf. They also have moderate plans like a DIY book or shoe rack. You can even find advanced projects like a hidden door shelf.
One popular beginner-friendly project uses 2x4s. This diy shoe rack is easy and very handy. It is totally doable for anyone. This design features two shelves. It uses space efficiently in entryways, closets, or mudrooms. The rack is compact. It fits under a console table. You need three 2x4s that are 8 feet long.
Here is a cut list for this 2×4 shoe rack:
(A) – 4 pieces @ 13 inches (legs)
(B) – 4 pieces @ 5 inches (sides)
(C) – 6 pieces @ 33 inches (shelves)
The final dimensions are 36 inches wide, 13 inches tall, and 12 inches deep. You will need a saw, a drill, 2 1/2-inch screws, 4-inch screws, wood glue, and wood filler.
Pallet Shoe Rack Project
You can transform a free pallet into a multi-tiered shoe organizer. This is a great way to repurpose wood.
Disassemble the Pallet: Take apart a pallet. Cut the wood into different lengths. You need pieces for the frame and shelves.
Build the Frame: Create a rectangular frame. Use the pallet wood. Make sure it is sturdy and level.
Cut Shelves: Cut more pallet slats. Cut them at an angle. This creates inclined shelves.
Attach Shelves: Attach the rack to the wall using screws and wood glue. Space them evenly.
Finish: Sand the entire rack. This removes splinters. Apply wood stain or paint. This protects the wood.
⚠️ Pallet Safety First! Pallets can carry harmful bacteria. They may have been exposed to chemicals. Always look for an ‘HT’ stamp. This means heat-treated and safe. Avoid ‘MB’ stamps. This means methyl bromide, a toxic pesticide. Never use unmarked pallets. Confirm the pallet’s origin. Use thick gloves to avoid splinters and nails. Do not burn pallet wood indoors.
PVC Pipe Organizer
You can create individual shoe cubbies from PVC pipes. This is a modern and functional storage solution.
Mark and Cut: Mark the desired length on the PVC pipe. Use a tape measure and a permanent marker. Cut the pipe to this length. A miter saw works for larger pipes. A hacksaw also works.
Smooth Edges: Clean and smooth the cut edges. Use 80-grit sandpaper.
Clean Pipes: Wash the PVC pipes with dish soap and water. Let them dry completely. This helps glue and paint stick better.
Dry Fit: Arrange the pieces. Confirm your desired shape and size. Mark contact points with a pencil.
Glue Together: Apply construction adhesive. Use a bead line between all touching pipe sections. Gorilla Glue or PVC cement works well.
Secure and Dry: Use props or clamps. Hold the pieces together. Let the adhesive dry overnight. Remove excess glue with a razor blade.
Optional Finish: Spray paint the assembled shoe shelf. You can also cover pipes with decorative wallpaper.
You can secure PVC pipe cubbies in several ways.
Glue Base: Glue together a base of 3-5 pieces wide. Use Gorilla Glue or PVC cement.
Stack and Glue: Apply a thick line of glue to the inner side of pipes. Connect them. Place a heavy item on the ends. This holds pipes until the glue dries. Stack more pipes. Repeat the gluing process.
Clamps and Glue: Arrange pipes. Use clamps to hold them. Mark meeting points. Apply PVC glue to marked areas. Reassemble and clamp. Let it dry completely.
Wall Mounting: Attach L brackets inside six cubby holes. Mark hole locations on the wall. Use wall mounting hardware. This helps you attach the rack to the wall.
Cardboard Box Cubbies
Cardboard boxes offer lightweight and customizable shoe storage. You can reinforce them for durability.
Strong Adhesives: Use strong glues like wood glue or tacky glue. Use packing or duct tape. Focus on stress points and joints.
Double Layers: Glue two or more corrugated layers together. This adds rigidity to shelves and supports.
Internal Supports: Add triangular braces at corners. This prevents wobbling.
Waterproof Coatings: Apply varnish, waterproof paint, or spray-on sealers. This protects cardboard from moisture.
Edge Binding: Wrap edges with masking tape or washi tape. This prevents fraying.
Thick Cardboard: Choose corrugated cardboard with thick flutes. Avoid thin, flimsy sheets.
Lining: Cut and insert extra cardboard pieces. Line the inside tops, bottoms, and sides of each box. This prevents sagging.
You can decorate cardboard shoe cubbies for aesthetic appeal.
Newspaper Collage: Use black-and-white newspaper print. This creates a rustic, artsy look.
Fabric Wrap: Wrap boxes with soft pastel fabrics. This creates a warm, inviting feel.
Dried Flowers: Embellish boxes with dried flowers. This adds a delicate touch.
Other Papers: Use old magazines or wrapping paper. Non-toxic craft glue works well.
Sealant: Apply an eco-friendly sealant or matte varnish. This protects the design. It extends the cubby’s lifespan.
Crate And Basket Storage
Old wooden crates or baskets make great open-concept shoe storage. You can arrange them creatively. You can buy simple wooden storage crates. Stain them for a rustic look. Then, experiment with different configurations. This creates an organized system. You can add home decor items. This enhances the rustic aesthetic.
Wall-Mounted Boxes: Mount patinated wooden boxes on the wall. Stack slippers and sneakers inside. Use the top for decorative items.
Repurposed Crates: Transform old fish crates into impressive shoe shelves. They can even hold boots.
Scrap Wood Ladder Rack
You can build a simple leaning ladder-style rack. Use leftover wood pieces. Focus on stability and design.
Wood Glue: Use wood glue extensively. It joins wood strips. It attaches slat braces to legs. It secures trim pieces. Wood glue is stronger than screws for this project.
Dowels: Use dowels with wood glue. This firmly attaches slat braces to the legs.
Finishing Nails: Use finishing nails with wood glue. They hold trim pieces. They tack dowel braces.
Fabric Pocket Hanger
You can sew or assemble a hanging fabric organizer. Use repurposed fabric. Hang it in closets or on doors.
You will need these materials:
Drop cloth or sturdy fabric like duck cloth or canvas
Seam gauge, pins, disappearing fabric marking pens
1×2 boards or a dowel (e.g., 7/16 inch)
3/4 yard of fabric for the back
Four 1/4 yard pieces of fabric for pockets
Door hooks (sturdier than adhesive-backed hooks)
You will need these tools:
Sewing machine
Light duty staple gun
Serger (optional)
General sewing supplies
How To Build A DIY Shoe Rack: Project Step-By-Step
Here is a general guide on how to build a diy shoe rack. This project step-by-step process helps you plan and execute your build.
Lay the Groundwork: Sketch your shoe rack design. Size it to fit your space perfectly.
Make the Cuts: Use a miter or table saw. Cut wood according to your plans. Measure twice for accuracy.
Assemble With Precision: Apply wood glue. Use a drill and pocket hole jig. Drive screws. Assemble a sturdy frame. Use clamps for stability.
Fine-Tune Your Shelves: Use a router. Carve slots for fixed or adjustable shelves. Secure them into the frame.
Smooth the Wood: Sand the assembled structure. Remove splinters. Create a smooth and safe finish.
Add the Finishing Touch: Apply a protective coat. Polyurethane enhances durability and appearance.
Set Up and Step Back: Place your finished shoe rack in its spot. Load it with shoes.
Tips For DIY Success
You can ensure your diy shoe rack project goes smoothly. Follow these tips for a successful build. They help you create a durable and attractive storage solution.
Space Measurement
You must measure your space accurately. This ensures your new storage fits perfectly.
Measure the available wall space for width. Make sure you have clearance, accessibility, and good ventilation.
Check for obstructions like doorways, windows, or furniture. These affect your width choices.
Measure the height from the floor to the desired top of the cabinet. Consider your room layout and any ceiling slopes.
Determine the optimal depth. This accommodates your shoes without overcrowding or blocking foot traffic.
Double-check all your measurements for accuracy. This is especially important in irregularly shaped rooms.
Allow for proper airflow around the cabinet. This is good for damp shoes.
Factor in the operational space. You need room for door swings or sliding panels.
💡 Measurement Guide:
Width: Compact spaces often use 24–36 inches. Larger spaces can be 48 inches or more. A 36-inch-wide cabinet fits a standard wall well.
Height: Taller cabinets, like in walk-in closets, are 60 inches or more. Shorter cabinets for entryways are 30–40 inches.
Depth: A standard range is 12–16 inches. Use 12 inches for compact areas or smaller shoes. Use 16 inches or more for larger storage or boots.
Safety First
You must prioritize safety when working on any building project.
Keep your work area clean and well-lit. Remove clutter, debris, sawdust, and tripping hazards.
Always wear appropriate personal protective gear. This includes safety glasses and gloves.
Inspect power cords and extension cords for damage. Use properly rated cords.
Ensure the tool’s power switch is in the OFF position before plugging it in. This prevents accidental startup.
Secure your workpiece with clamps or a vise. This frees both your hands for tool control.
Use the correct tool for the job. Do not force the tool. Let it work at its designed rate.
Keep all safety guards in place. Make sure they work correctly.
Disconnect tools when you are not using them. Unplug them before servicing or changing accessories.
Never leave a running tool unattended. Wait for it to stop completely before setting it down.
Finishing Touches
You can enhance your shoe rack’s durability and appearance.
Begin by sanding all wood surfaces. This eliminates rough edges and creates a smooth finish. Use various grits of sandpaper, from coarse to fine. This step also prevents splinters.
Apply paint for a vibrant look or stain for a natural aesthetic. Ensure enough drying time before placing shoes on the rack. A clear sealant can also highlight the natural wood.
For enhanced protection and a glossy finish, apply a coat of polyurethane. Follow the manufacturer’s drying instructions.
Consider advanced customization. You can use wood burning for unique designs. Chamfered edges give a refined look. Shou Sugi Ban creates a charred, durable finish.
Maintenance
You should maintain your finished shoe rack. Wipe it down regularly with a damp cloth. This removes dust and dirt. Reapply protective finishes as needed. This keeps your storage looking new.
You achieve a clutter-free home. You save money. These are key benefits when you build your own shoe rack. Choose from many free diy shoe rack plans. Pick a plan that fits your skill level. Even simple projects make a big difference in your space. Start your DIY project today. You will enjoy the practical and aesthetic rewards. These plans offer versatile and accessible solutions for everyone.
FAQ
What materials can you use for a DIY shoe rack?
You can use many affordable materials. Try wood pallets, PVC pipes, or cardboard boxes. Scrap wood, old crates, and fabric also work well. Choose materials that fit your budget and skill level.
What essential tools do you need for a basic shoe rack?
You need basic tools. A tape measure helps you get accurate sizes. A saw cuts your materials. A drill makes holes and drives screws. Sandpaper smooths rough edges. Always wear safety glasses.
What are the main benefits of building your own shoe rack?
You save money by building your own. You get a custom fit for your space. You can match your home’s style. You also feel proud of your creation. It is a sustainable choice too.
What is the easiest DIY shoe rack project for beginners?
A cardboard box cubby system is very easy. You reinforce and stack boxes. You can decorate them to match your room. A simple 2×4 wood rack is also beginner-friendly. It uses basic cuts and screws.


