
You know the joy of giving a gift that truly comes from the heart? A personal touch makes any present special. Did you know that 62% of Americans prefer gifts with a personal touch? They often remember a personalized gift more than a generic one. You can elevate that feeling even further when you make your own gift wrap! This guide shows you how to create charming, personalized presents with this easy diy project. Making diy polka dot wrapping paper is an incredibly easy and fun way to transform plain paper. Get ready to add a unique touch to every present!
Essential Materials for DIY Polka Dot Wrapping Paper
You don’t need a lot of fancy supplies to make your own charming diy polka dot wrapping paper. Most items are probably already in your home or easy to find at a craft store. Let’s gather what you need!
Paper and Paint Choices
First, you need paper. Think about what kind of look you want. You can use plain brown kraft paper for a rustic feel. White butcher paper also works great. For a smoother finish, consider these options:
Birch Wood Cardstock: This paper has a smooth surface. It lets your stamps look crisp and clear.
Kraft Paper: This paper is versatile. It works well with different inks and paints. It also adds a nice texture.
Parchment Paper: This is a heavier, slightly see-through paper. It’s great for stamping and adds a unique touch.
Two-Tone Cardstock: This paper has an ultra-smooth surface. It helps you get clean, sharp images when you stamp.
For paint, acrylic craft paint is perfect. It comes in many colors and dries quickly. You can also use stamp pads if you prefer.
Simple Stamping Tools
Now, for the “dots”! You can use many everyday items as stamps. Think about things with a round shape.
The eraser end of a pencil makes small dots.
A wine cork creates medium-sized dots.
The bottom of a small glass or a bottle cap gives you larger circles.
You can even cut a potato in half and use that! Just make sure it’s dry.
Workspace Protection
Stamping can get a little messy, so protect your work area. You want to keep your surfaces clean.
Lay down some old newspapers or a plastic tablecloth.
Grid paper is also helpful. It protects your desk. You can also use it to line up your stamps.
If you are worried about spills, especially on your floor, use a splash mat.
Keep your desk clear. Make sure there’s nothing around your dominant arm’s elbow. This helps prevent accidental spills.
Store your paints in screw-top containers. They are more secure than lids that just lift off. This prevents spills.
Gather these simple items, and you’re ready to start your fun diy wrapping paper project!
Quick Steps to Hand-Stamped Polka Dots
Creating your own hand stamped wrapping paper is a quick and rewarding project. You can transform plain paper into something special in as little as 30 minutes. This easy tutorial will guide you through each step.
Prepare Your Surface and Paper
First, set up your workspace. You want a clean, flat area. Lay down newspapers or a plastic tablecloth to protect your table. Next, prepare your paper. For the best results, use high-quality, smooth cardstock with a good GSM (grams per square meter). This helps prevent paint from bleeding. Make sure your paper is flat and smooth. It should be free from dust, moisture, or wrinkles. This ensures the ink sticks evenly. If you use glossy paper, specialty inks work best, and you will need more drying time. Always wipe your surfaces clean before you start stamping.
Create Your Dot Stamps
Now, gather your stamping tools. You can use many everyday items to make your polka dots.
A pencil eraser makes small, neat dots.
A wine cork gives you medium-sized circles.
The bottom of a small glass or a bottle cap creates larger dots.
Dip your chosen tool into a shallow dish of paint. Make sure you have just enough paint to cover the surface of your stamp. Too much paint can lead to messy, uneven dots.
Apply the Polka Dot Pattern
You are ready to start stamping! Practice on a scrap piece of paper first. This helps you get a feel for how much pressure to use. You want consistent dot sizes. Good lighting, like natural daylight or a bright desk lamp, helps you see any gaps or uneven spacing early on.
To apply the pattern, start from the outer edges of your paper and work your way inward. This helps you keep your spacing even and prevents smudging. Use a minimal amount of paint on your tool for each stamp. This prevents messy, uneven, or bleeding dots. If you plan to use different colors, allow 3-4 minutes of drying time between applying each color. This stops them from blending together. This whole process makes for a fun and easy diy wrapping paper project.
Allow for Proper Drying
After you finish stamping, let your hand stamped wrapping paper dry completely. This is very important to prevent smudges. Acrylic paints usually take about 30 minutes to 2 hours to dry. If you used oil paints, they can take 24 hours to several days.
To speed up the drying process without causing damage, you can use absorbent materials.
Blotter paper: This thick, unsized cotton paper absorbs water well.
Felt: Wool or synthetic felt is absorbent and reusable. It can conform to the paper’s shape.
Diatomaceous earth bath stones: These stones dry instantly and hold a lot of water. They are a sustainable option.
Make sure your dots are completely dry before you handle the paper too much. This ensures your beautiful diy polka dot wrapping paper stays perfect.
Customizing Your Polka Dot Designs
You can make your hand-stamped polka dot paper truly unique! This section shows you how to play with colors, sizes, and techniques. You will create personalized gift wrap for any occasion.
Color and Size Variations
Think about the event when you choose your colors. For baby showers, pastel polka dot paper offers a sweet and charming look. Children’s birthdays love bold and bright polka dot paper. It creates a festive atmosphere. Elegant black and white polka dot paper works well for sophisticated wedding presents. You can also try classic combinations like:
White with Gold Metallic Dots
Black with White Dots
Red with White Dots
Blue with White Dots
When you select your polka dot wrapping, consider the recipient’s preferences. For a fun look, choose bright and colorful polka dots. A more subdued color palette gives a sophisticated touch. You can also vary the size of your dots. Use a pencil eraser for tiny dots and a wine cork for larger ones. This creates visual interest.
Unique Stamping Techniques
You can do more than just simple dots! Try different stamping techniques to add texture and depth.
Ombre Stamping: Ink your stamp with a light color. Then roll a darker color onto the edge. This creates a cool shaded effect.
Tone-on-Tone Stamping: Use a color slightly darker than your paper. This gives a subtle, elegant look.
Shadow Stamping: Stamp first with white ink. Then offset it slightly and stamp again with a brighter dye ink. This creates a shadow effect.
Swipe Stamping: Swipe your inkpad across the stamp before pressing it down. This adds texture to solid images.
Stamp Layering: Start with a large image and light color. Then use smaller images and darker inks. This builds a 3D appearance.
You can even try advanced patterns like Fleur de Lis or Diamond Cut with simple tools. Mirror stamping or embossing also adds unique effects.
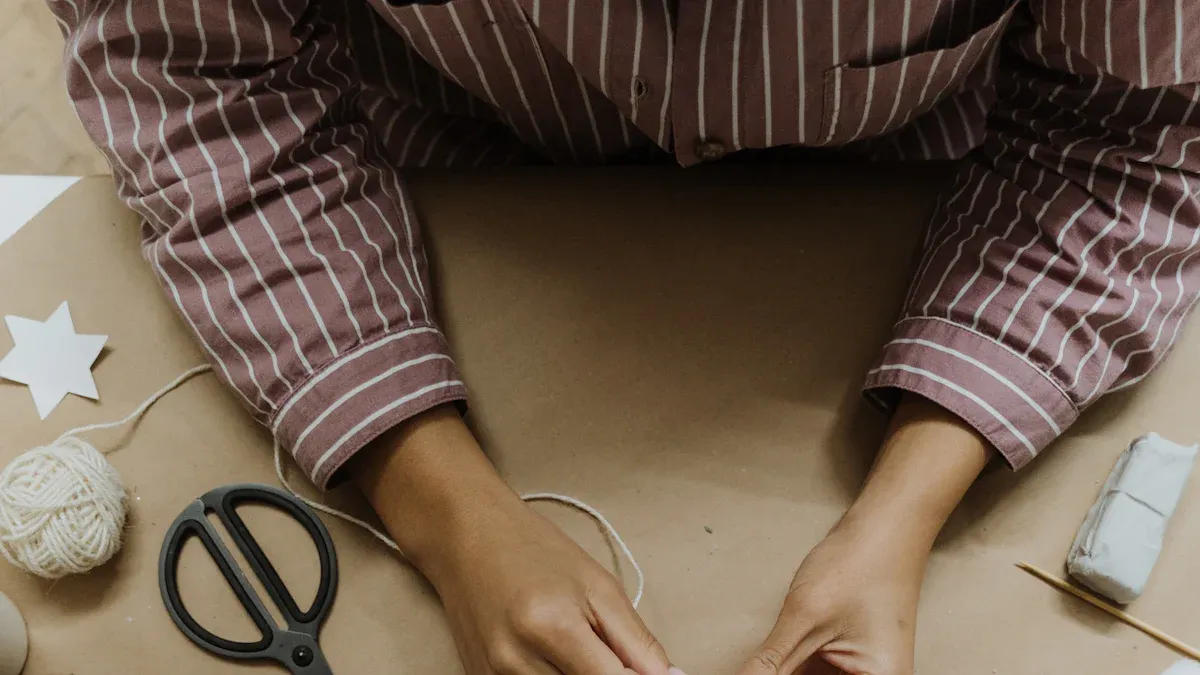
Adding Personal Touches
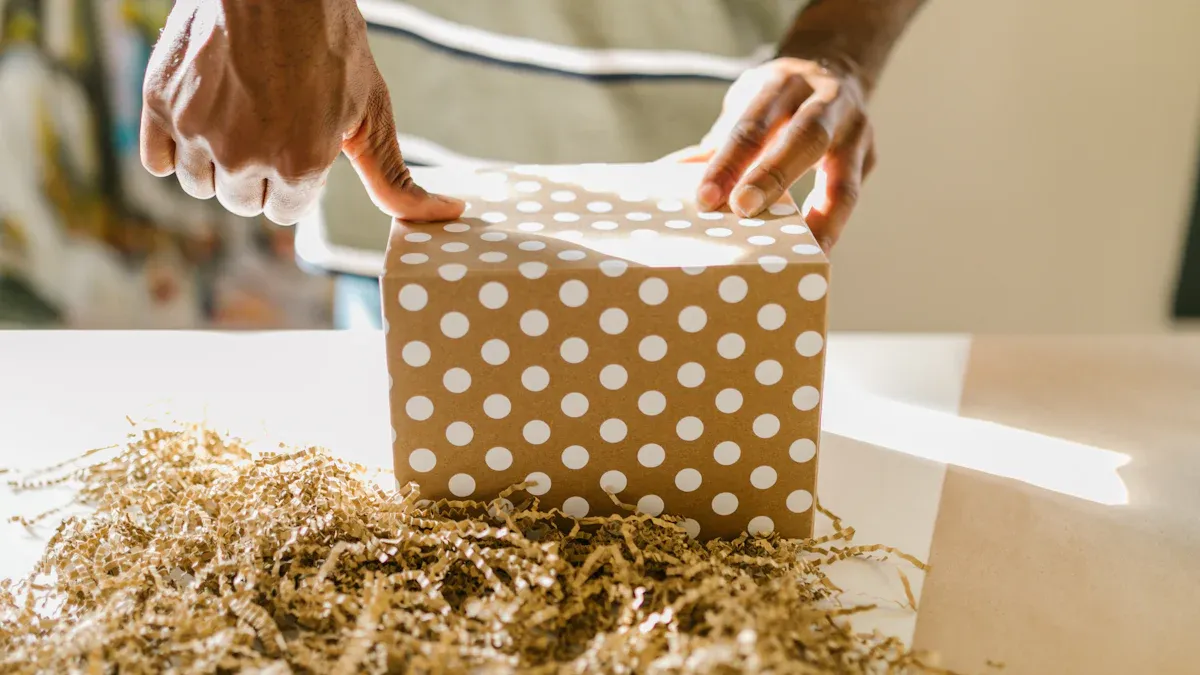
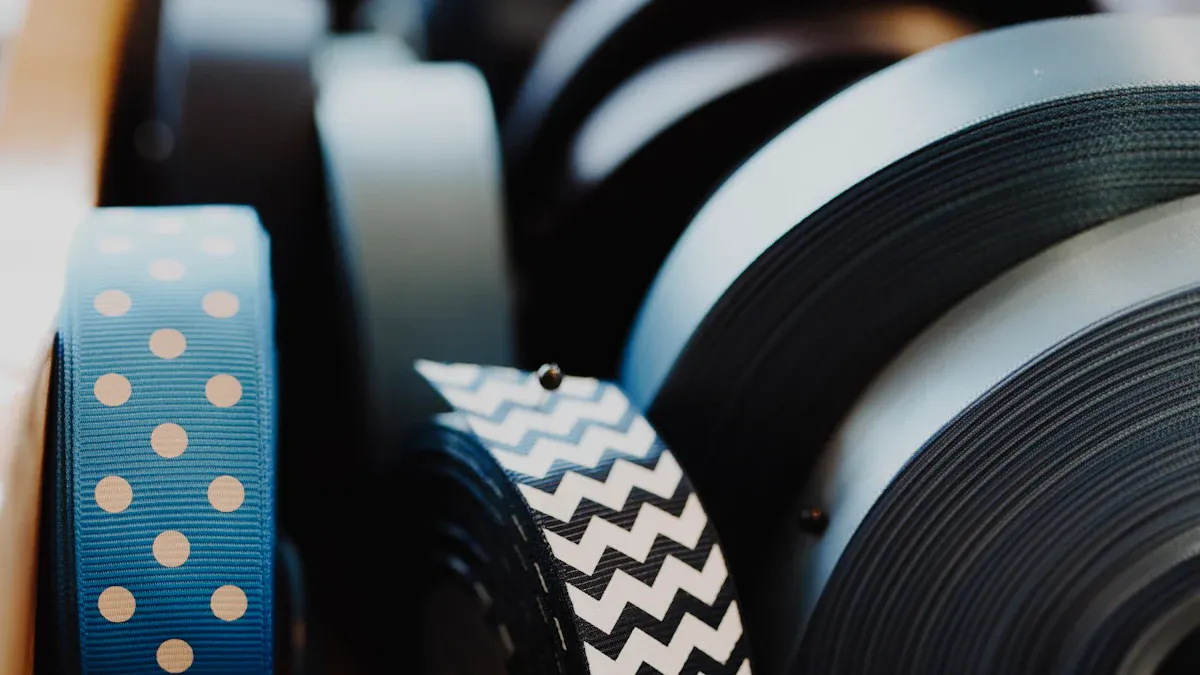
Make your diy polka dot wrapping paper even more special. Add a ribbon or bow in a complementary color. You can also create handmade cards or gift tags. Use scraps of your polka dot paper for these. Personalize the wrapping paper with the recipient’s name. This shows you put extra thought into their gift.
So, you see, making your own diy polka dot wrapping paper is easy, affordable, and totally customizable. It adds such a heartfelt touch to any gift! Engaging in creative projects like this can boost your mood and reduce stress. The simple, repetitive actions are almost meditative, offering a sense of calm. We encourage you to embrace your creativity. Try this fun diy wrapping paper project, perhaps even with your family! Share your unique creations. Experience the joy of giving with a handmade touch.
FAQ
🎨 How long does the paint take to dry?
Acrylic craft paint usually dries quickly. It takes about 30 minutes to 2 hours. Thicker paint layers need more time. You can use a fan to speed up drying. Just make sure it is on a low setting.
🖌️ Can I use any type of paint?
We recommend acrylic craft paint. It works best for this project. It dries fast and comes in many colors. Other paints might smudge or take too long to dry. You want a paint that sticks well to paper.
📜 What kind of paper works best?
Plain kraft paper or butcher paper is great. They are affordable and easy to find. Smooth cardstock also works well. Avoid glossy paper. It can make the paint smudge. You want a surface that absorbs paint nicely.
♻️ Is this wrapping paper reusable?
Yes, you can reuse it! If someone opens the gift carefully, they can save the paper. It makes a nice keepsake. You can also use scraps for other crafts. Think about making gift tags or cards.


