
Want to give your room a fresh, modern look? A diy ombre hexagon wall can transform your space! This geometric design adds incredible visual interest to any wall. You’ll love the satisfaction of this DIY project, creating a unique accent. This tutorial guides you through making a hexagon wall. You can achieve this stunning ombre effect with ease, even if you’re a beginner. It’s a perfect blend of style and simplicity for your home. This DIY tutorial helps you create a beautiful hexagon design. It’s a rewarding DIY project for a modern hexagon wall!
Why a DIY Ombre Hexagon Wall
You might wonder why you should tackle a diy ombre hexagon wall. This project offers so many fantastic benefits for your home and your wallet! It’s a rewarding diy painting project that truly transforms a space.
Modern Geometric Accent Wall Appeal
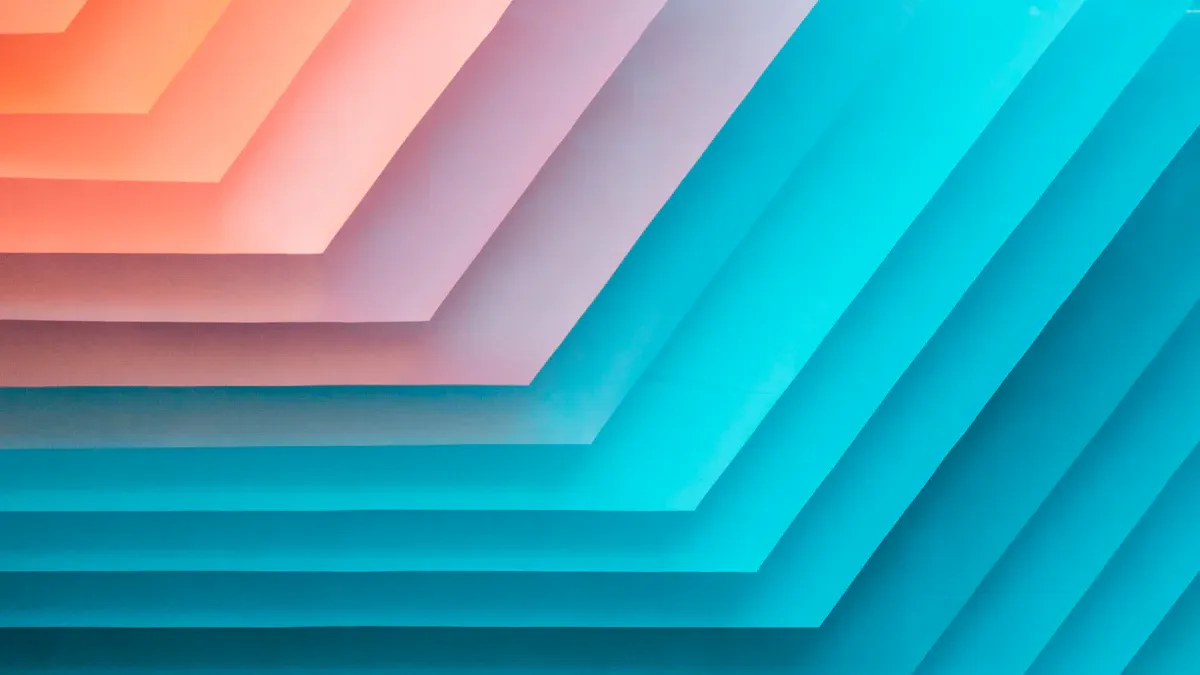
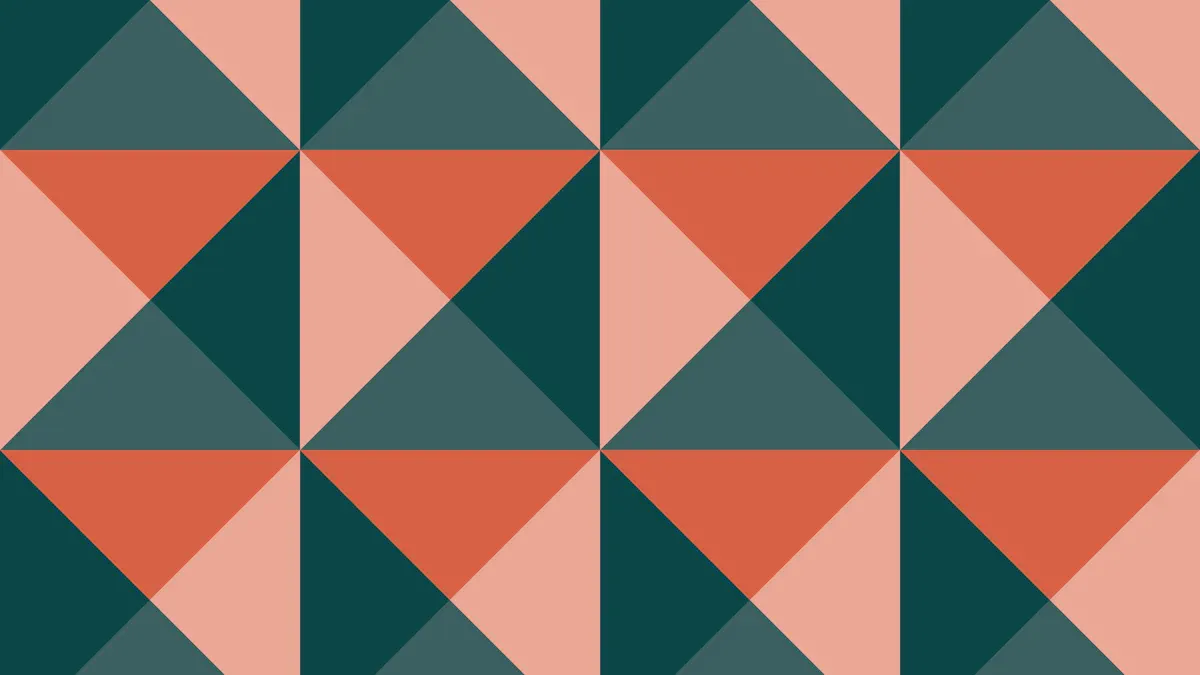
A diy ombre hexagon wall instantly elevates your room’s style. This geometric accent wall brings a contemporary and structured feel to any space. Hexagon shapes, and geometric patterns in general, exude modernity and precision. They give your wall a clean, ordered appearance. The repetition of this hexagon design adds rhythm and energy, creating a dynamic and stimulating wall. You’ll find that geometry influences your mood and behavior. A well-designed geometric wall can foster creativity and enhance productivity. This striking accent wall will definitely be a conversation starter!
Budget-Friendly Room Transformation
You don’t need to spend a fortune to update your home. A diy ombre hexagon wall is incredibly cost-effective. You use paint, tape, and a stencil to create a high-impact look. This diy project lets you achieve a designer aesthetic without the designer price tag. You can completely transform a room with just a few supplies and some effort. It’s a smart way to get a fresh, modern design.
Beginner-Friendly DIY Project
Don’t worry if you’re new to diy. This diy ombre hexagon wall is perfect for beginners! Many people find stenciling a meditative art project. It requires no natural artistic talent. You’ll feel an unmatched sense of satisfaction when you pull away the stencil to reveal the immaculate results. This geometric wall tutorial guides you through each step. You can easily create a beautiful diy painted accent wall. It’s a fun and accessible project for anyone wanting to add a unique touch to their home.
Gather Your Supplies
Before you start your amazing DIY ombre hexagon wall project, you need to collect all your materials. Having everything ready makes the process smooth and fun!
Selecting Your Ombre Paint Palette
Choosing your colors is exciting! For a smooth ombre gradient, pick 3 to 5 shades of paint. You can use latex paint and even thin it slightly with water for blending. Think about popular ombre wall designs. Many people love:
Blue
Gray
Green
Neutral
Pastel
Pink
Purple
Yellow You can also try a vibrant pink to orange to red blend, or a cool blue ombre. Your color choices will define your hexagon wall painting.
Painter’s Tape for Crisp Lines
Good painter’s tape is your best friend for a clean, crisp hexagon design. It prevents paint from bleeding under the edges. For textured walls, FrogTape Multi-Surface Painter’s Tape is a great choice. It has PaintBlock Technology. This seals the tape edges and stops paint bleed. This helps you get those perfect lines for your geometric pattern.
Hexagon Stencil: DIY or Pre-Made
You need a hexagon stencil to create your shapes. You can buy a pre-made one, or you can make your own! If you decide to make a DIY stencil, 10 mil mylar stencil material is excellent. It’s durable, easy to clean, and you can reuse it many times. This material helps you create a perfect hexagon shape every time.
Measuring Tools and Level
Precision is key for a stunning hexagon wall. You will need some essential measuring tools. A ruler helps you measure length and draw straight lines. A set square (triangle) helps you draw precise angles. A protractor is great for measuring and constructing angles. A compass helps you draw perfect circles and arcs. These tools ensure your hexagon layout is accurate.
Painting Tools: Brushes and Rollers
You need the right tools for smooth paint application. For brushes, Purdy Nylox brushes give you the smoothest finish. Purdy Clearcut brushes are great for cutting in and painting edges. For rollers, a Purdy Ultra Finish roller with a 3/8″ nap provides an amazing smooth finish. Rollers from the White Dove Series also work well for a smooth wall.
Wall Protection and Cleaning Items
Protect your floor and furniture from paint splatters. Get drop cloths or old sheets. Keep some rags or paper towels handy for quick clean-ups. You will also need soap and water to clean your brushes and rollers after you finish your DIY project.
Step-by-Step Tutorial: Create Your Ombre Hexagon Wall
You are ready to start your amazing diy ombre hexagon wall! This tutorial gives you clear instructions. Follow these steps to create a stunning geometric wall design.
Prepare Your Wall Surface
First, you need a clean canvas. A well-prepared wall ensures your paint sticks properly and looks great.
Clear the Area: Move furniture away from the wall. Lay down drop cloths or old sheets to protect your floor.
Dry Dusting: Start at the top of your wall and work your way down. Use a soft broom, a brush with a microfiber cloth, or a vacuum with brush attachments. This removes loose dust and cobwebs. Do not use water yet.
Wash the Wall: Now, you will wash the wall. Mix warm water with a mild detergent, like dish soap, in one bucket. Have a second bucket with clean rinse water.
Dip a damp sponge into the cleaning solution.
Wash the wall in small sections, working from the bottom up. This helps avoid streaks.
For stubborn stains like fingerprints or smudges, mix baking soda with warm water. You can also use a solution of dish soap, warm water, and vinegar for tougher spots. Melamine sponges work well for really tough stains.
For grease stains, use a degreaser or warm water and dish soap. Dab gently.
If you see mold or mildew, use a bleach and water solution. Make sure you have good ventilation.
Rinse Thoroughly: Use a clean sponge and clean hot water to rinse off all cleaning solutions. Change your rinse water often. This prevents residue that could stop your paint from sticking.
Dry Completely: Your wall must be completely dry before you paint. Open windows or use fans to improve airflow. You can also use clean, soft towels to remove extra moisture. This prevents issues like blistering or peeling paint.
Patch and Prime (If Needed): If your wall has holes or cracks, patch them with spackle. Sand them smooth once dry. If you are painting over a dark color or a glossy finish, apply a coat of primer. This helps your new paint colors show up true and adhere well.
Plan Your Hexagon Layout
Planning your layout is crucial for a balanced design. This step helps you decide how to make a hexagon wall that looks professional.
Visualize Your Design: Think about the overall look you want. Do you want a dense pattern or more spaced-out hexagons? Consider how the ombre effect will flow across the wall.
Find Your Starting Point: Many people start in the center of the wall. This helps you keep the design balanced. You can also start from a corner if you prefer.
Consider Spacing: Decide how much space you want between each hexagon. You can have them touching, or leave a small gap. Use a ruler to keep your spacing consistent. This creates a uniform geometric pattern.
Sketch It Out: Lightly sketch a few hexagons on the wall with a pencil. This helps you see how the pattern will look before you commit. This geometric wall tutorial encourages you to experiment!
Mark Your Hexagons
Now you will mark the shapes for your diy painted hexagons. This is where your stencil comes in handy.
Create Your Stencil: If you are making your own, draw a circle on cardboard. Use a pointed object and a marker. The distance between them is your radius. Mark this radius distance around the circle’s edge. Connect these marks to form a hexagon. Cut it out carefully.
Position the First Hexagon: Place your hexagon stencil on the wall. Eyeball the center of your planned layout. Use painter’s tape to hold the stencil firmly in place. Make sure it is level.
Mark the First Hexagon: Use a pencil to lightly trace around the inside edge of your stencil. You can also tape around the first hexagon using the stencil as a guide.
Continue Marking: Carefully remove the stencil. Align it with the first marked hexagon. You can place it directly next to it or leave a planned gap. Repeat the tracing or taping process. Continue this for all your hexagons. This is how to make a a hexagon wall with a consistent design.
Apply Painter’s Tape
Applying painter’s tape correctly gives you those crisp, clean lines for your hexagon wall painting.
Tape the Outlines: Carefully apply painter’s tape along the pencil lines you just drew. Press down firmly on all edges of the tape. This seals the tape and prevents paint from bleeding underneath.
Check for Gaps: Run your finger or a credit card along the edges of the tape. Make sure there are no gaps. This is especially important on textured walls. Good tape adhesion is key for sharp lines.
Paint Your Ombre Gradient
This is the fun part! You will bring your ombre design to life. This tutorial focuses on blending for a smooth transition.
Start with Your Shades: You have chosen 3-5 shades for your ombre. Decide if you want to go from light to dark, or dark to light.
Apply the First Color: Start with your lightest or darkest shade. Paint the hexagons in the section where this color will be most prominent. Use a roller for larger areas and a brush for edges.
Apply the Next Color: Move to the next shade in your gradient. Paint the adjacent hexagons.
Blend the Colors: This is where the magic happens!
Wet-on-Wet Technique: Apply wet paint onto a wet surface. This allows colors to blend naturally. Paint a section of one color, then immediately paint the next color right next to it. Use a clean, dry brush to gently feather the edges where the two colors meet.
Dry Brush Technique: Use a dry brush with very little paint. Gently brush over the transition area between two colors. This creates a soft, gradual change.
Layering Technique: Apply thin layers of translucent colors. Let each layer dry before adding the next. This builds up subtle color changes.
Continue the Gradient: Work your way across the wall, blending each shade into the next. Step back often to check your progress. Make sure the ombre effect looks smooth. You are creating beautiful paint on the wall!
The Big Reveal: Remove Tape
This is an exciting moment! Removing the tape correctly ensures your lines stay sharp.
Timing is Key: Remove painter’s tape when the paint is dry to the touch. Do not wait for it to fully cure. For most water-based paints, this means waiting about one to two hours. This depends on your room’s humidity and temperature.
Pull at an Angle: Pull the tape off slowly. Pull it at a 45-degree angle away from the painted surface. This helps prevent paint from peeling with the tape.
Be Gentle: If you applied multiple coats, leave the tape on until the final coat is dry to the touch. Then remove it carefully. You will see your crisp, geometric lines!
Touch-Ups and Finishing
Even with careful work, you might need a few touch-ups.
Inspect Your Work: Look closely at your diy ombre hexagon wall. Check for any paint bleeds or uneven lines.
Fix Imperfections: Use a small artist’s brush and the original paint colors to fix any small mistakes. If paint bled under the tape, you can carefully scrape it off with a craft knife or paint over it with your base wall color.
Clean Up: Clean your brushes and rollers with soap and water. Put away your drop cloths.
Admire Your Work: Step back and enjoy your new, stunning diy painted hexagons! You have created a unique and modern accent wall.
Tips for a Flawless Finish
You want your diy ombre hexagon wall to look amazing. These tips help you get a perfect finish. They make your painting project easier and more successful.
Test Paint Colors and Blending
Always test your paint colors before you start. Mix small test batches first. This lets you quickly see how colors look together. You avoid wasting a lot of paint. Use specialized spray-out cards. Evaluate how your mix compares to your vision. View it from all angles under different lights. This helps you match the exact look you want. Build up color gradually. Apply multiple light coats instead of one thick coat. This helps you achieve a smooth blend.
Ensure Tape Adhesion
Good painter’s tape is crucial for crisp lines on your wall. Use professional painter’s tapes. They seal tightly to the surface. They also remove easily without residue. Clean your wall thoroughly first. Dust or dirt stops tape from sticking well. After you apply the tape, seal its edges. Run a flexible putty knife along the side closest to the area you will paint. This stops paint from bleeding underneath. You can also apply a very thin coat of your base color over the tape edges. This creates a seal. It prevents the next paint color from seeping under the tape.
Allow Adequate Drying Time
Patience is key for a great paint job. Rushing between coats can cause problems. You might see lifting, streaks, or an uneven finish. Always check the paint can label for exact instructions. Here are general guidelines:
Paint Type | Dry to Touch Time | Recoating Time |
|---|---|---|
Latex Paint | 1-2 hours | 4 hours |
Oil-Based Paint | 6-8 hours | 24 hours |
Acrylic Paint | 1-2 hours | 4 hours |
Quick Drying | 15-30 minutes | Not specified |
For water-based paint, you can usually apply the next coat within 2 to 4 hours. Oil-based paint needs more time. Wait 24 hours before you apply the next coat.
Troubleshooting Common Issues
Sometimes, things do not go perfectly. You might see uneven paint lines or patchy coverage. Do not worry! You can fix these.
For Streaks:
Lightly sand dry streaky areas. Then repaint with consistent strokes.
Use a feathering technique. Slightly overlap strokes. Lift your brush or roller at the end to blend edges.
Invest in high-quality rollers and brushes. They suit your paint and surface.
For Uneven Coverage:
Apply a full, even second coat. This usually resolves the problem.
For very patchy areas, spot prime them first. Then repaint.
Always use quality paint. It has good pigmentation. This helps prevent uneven coverage. This tutorial helps you achieve a beautiful diy hexagon wall.
Customize Your Geometric Accent Wall
You can make your diy ombre hexagon wall truly unique. Think about these ideas to add more personality to your geometric accent wall. You have many options to create a custom design.
Varying Hexagon Sizes
Do not limit yourself to just one size of hexagon. You can create a more dynamic and interesting geometric design by using different sizes. Imagine a large hexagon as a focal point, surrounded by smaller ones. This adds depth and visual texture to your wall. You can arrange them randomly or create a pattern. This gives your diy painted accent wall a playful yet sophisticated look. It is one of many great diy accent wall ideas.
Incorporating Metallic Accents
Adding metallic paint can make your ombre wall sparkle. You can use metallic paints for some of your hexagons or as an outline. Think about popular metallic colors like traditional golds, silvers, bronzes, or copper tones.
Gold Shades:
European Gold offers warm, rich undertones. It feels inviting and traditional.
Gold Leaf gives a bright, pure metallic finish for maximum drama.
Champagne Gold has a soft, subtle sheen with pink or beige undertones. It adds sophistication without overwhelming your wall.
Application Techniques:
You can use dry brushing for an aged patina effect.
Try stenciling intricate patterns with metallic paint.
You can even do color blocking with crisp metallic lines.
For a subtle look, apply a dark glaze over gold. Then, gently wipe it away to create an aged effect.
Remember to let each layer dry completely. This prevents colors from mixing and keeps your design crisp.
Extending the Ombre Effect
Why stop at just one wall? You can extend your ombre effect beyond a single flat surface. This creates a more immersive design. You might blend complementary shades onto architectural features in your room. This adds depth and visual interest. You can also use techniques like sponging or rag rolling to carry the ombre wash onto adjacent walls or even furniture. This creates a cohesive and layered aesthetic. These ideas help you create a truly unique accent wall design.
You did it! Your new diy ombre hexagon wall is complete. This diy project is truly rewarding. It adds unique style and personality to any wall. You created a space that truly reflects your personal style, bringing lasting satisfaction. Your custom design ensures timeless beauty for your wall. Embrace your creativity and feel proud of this accomplishment. Share your finished walls with us! We love seeing your customizable design ideas.
FAQ
How long does this DIY ombre hexagon wall project take?
You can usually finish this project in one to two days. This includes prep, painting, and drying time. The exact time depends on your wall size and how many colors you use.
What if my paint bleeds under the tape?
Don’t worry if paint bleeds a little. You can fix small bleeds. Use a small artist’s brush and your base wall color to carefully touch up the edges. A craft knife can also gently scrape off dried paint.
Can I do this project on textured walls?
Yes, you can! Textured walls need extra care. Use high-quality painter’s tape like FrogTape. Press the tape down firmly. You can also paint a thin layer of your base wall color over the tape edges. This seals them before you apply your hexagon colors.
How do I choose the best colors for my ombre effect?
Think about your room’s existing decor. Pick colors that complement it. You can choose shades from the same color family for a subtle look. Or, try contrasting colors for a bold statement. Test your colors on a small area first.
Do I need to prime my wall before painting?
You should prime your wall if it’s a new, unpainted surface. Also prime if you’re painting over a very dark color. Priming helps the new paint stick better. It also makes your colors look true.


