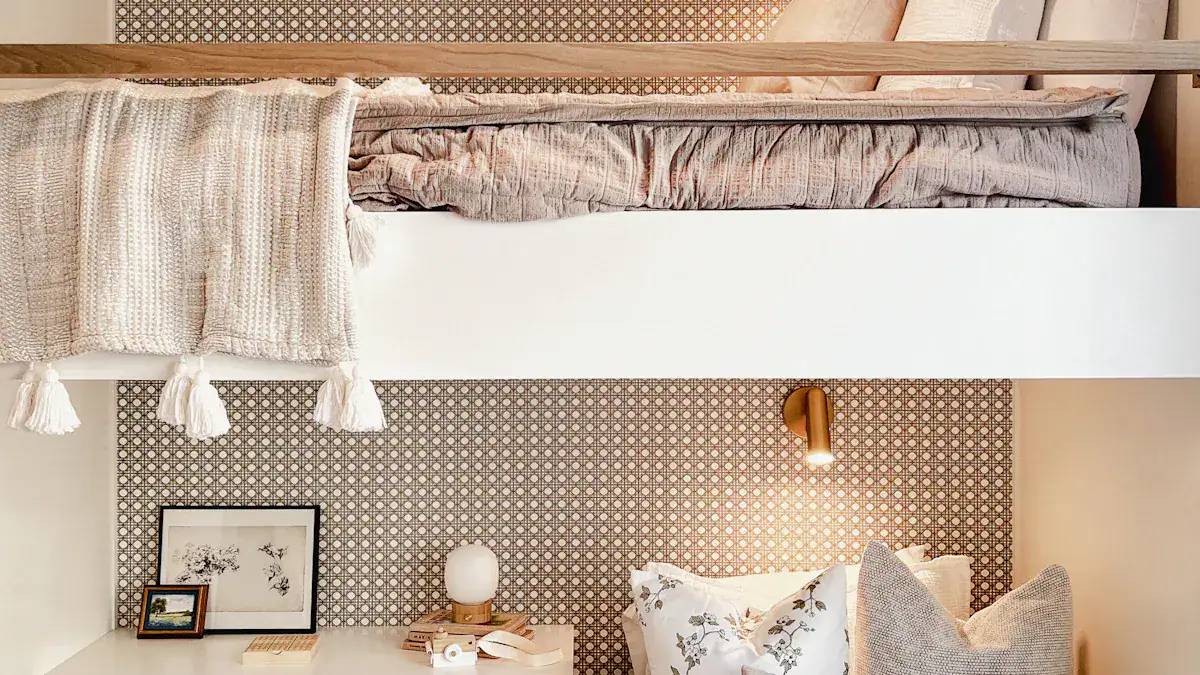
Urban living often means smaller spaces. You need furniture that works harder, especially in home offices or guest bedrooms. Global urbanization drives demand for clever solutions, as over 56% of the world lives in cities. A murphy bed desk combo offers a smart answer. This dual-purpose furniture maximizes your area. It gives you a comfortable bed and a functional desk. The unique stay-level desk feature keeps your items in place. You convert the bed without clearing your workspace. Building a diy murphy bed is a rewarding project. You save money and gain a custom hidden bed. Clear instructions make this DIY project approachable.
Key Takeaways
Plan your project carefully. Measure your space. Choose the right bed size and desk use.
Safety is very important. Securely mount the bed to the wall. Use strong materials.
Gather the right materials and tools. Select good wood. Get a reliable hardware kit.
Build the cabinet frame first. Then, assemble the bed frame. Integrate the desk carefully.
Finish and customize your bed. Prepare surfaces well. Add storage and personal touches.
Project Planning for Your DIY Murphy Bed

Space and Needs Assessment
Before you start building, plan your project carefully. First, assess your space. Measure your room dimensions. Decide where your murphy bed desk combo will go. Consider the size of the bed you need. Think about how you will use the desk. DIY plans exist for all skill levels. You can find free plans online.
Here are average dimensions for standard units:
Bed Size | Height | Width | Depth | Projection |
|---|---|---|---|---|
Queen | 75″ | 86.25″ | 46.5″ | 67″ |
Full | 69″ | 81.5″ | 46.5″ | 61″ |
Twin | 58″ | 81.5″ | 46.5″ | 50″ |
The total depth of 46.5 inches includes a 25.5-inch desk and a 21-inch bed cabinet. This helps you visualize the space it will occupy.
Design and Mechanism Choices
Next, choose your design and mechanism. Many options exist for a diy murphy bed. The mechanism controls how the bed lifts and lowers. Some common types of mechanisms include:
Piston Lift Murphy Bed Kit (P-100)
S-100 Murphy Bed Mechanism
S-200 Murphy Bed Mechanism
Total Murphy Bed DIY Kit
S-250 Murphy Bed with Desk Kit
D-200 Murphy Desk Bed Kit
Each kit offers different features. Research these options. Select a mechanism that fits your budget and skill level. A good mechanism ensures smooth operation of your murphy bed.
Safety Considerations
Safety is very important for your diy project. A wall-mounted bed must be secure. International standards guide safe furniture design. ISO 10131-1 covers critical safety aspects. These include:
Structural Integrity: The bed frame must be strong.
Wall Attachment Safety: Securely mount the unit to the wall.
Opening and Closing Mechanisms: The folding mechanism must operate safely.
Pinch Point Protection: Avoid areas where fingers can get caught.
Weight Capacity: The bed must support its intended load.
Material Requirements: Use quality, durable materials.
User Instructions: Provide clear instructions for safe use.
ISO 10131-2 outlines specific tests. These tests verify safety and performance. They include 10,000 open-close cycles with a mattress. Always prioritize safety during your build.
Materials and Tools for Your Murphy Bed Desk Combo
Lumber Selection
You need the right wood for a strong murphy bed. For a durable bed frame, use solid wood and furniture-grade plywood. Solid wood works well for components like five-piece doors, drawer fronts, and the hidden skeletal structure. Furniture-grade plywood is better for large structural panels. Solid wood can bow or warp. Plywood stays flat and is ideal for these larger sections.
Hardware and Kits
Kits often provide the mechanism, cut list, and plans. They usually do not include lumber or all tools. Hardware kits for full-size vertical murphy beds offer smooth lift mechanisms. These mechanisms are crucial for easy operation. A typical murphy hardware kit includes key parts. You will find pistons (gas springs) for lifting assistance. Heavy-duty hinges connect the bed frame to the cabinet. A locking mechanism prevents accidental opening. Choose a kit that matches your bed size and design.
Desk Components
The desk part of your murphy bed desk combo needs sturdy materials. You will need wood for the desktop and its supports. Consider the finish for your desk. It should match your room’s decor. Remember the stay-level feature. This design allows items to remain on the desk surface when you convert the bed. This makes your desk highly functional.
Required Tools
You need specific tools for this project. Power tools make the job easier and more precise. A circular saw helps cut large pieces of wood. A drill makes holes for fasteners. Forstner drill bits create clean, flat-bottomed holes. A miter saw cuts angles accurately. A nailer speeds up assembly. You will also need basic hand tools like measuring tape, a square, and screwdrivers.
Workshop Safety Gear
Always protect yourself when working. Wear safety glasses to shield your eyes. Use hearing protection when operating loud tools. Gloves can prevent splinters and cuts. A dust mask keeps your lungs clear from wood particles. Your safety is important.
Construction Guide
You are ready to build your hidden desk bed. This section guides you through each step. You will cut materials, apply edge banding, sand, and drill holes.
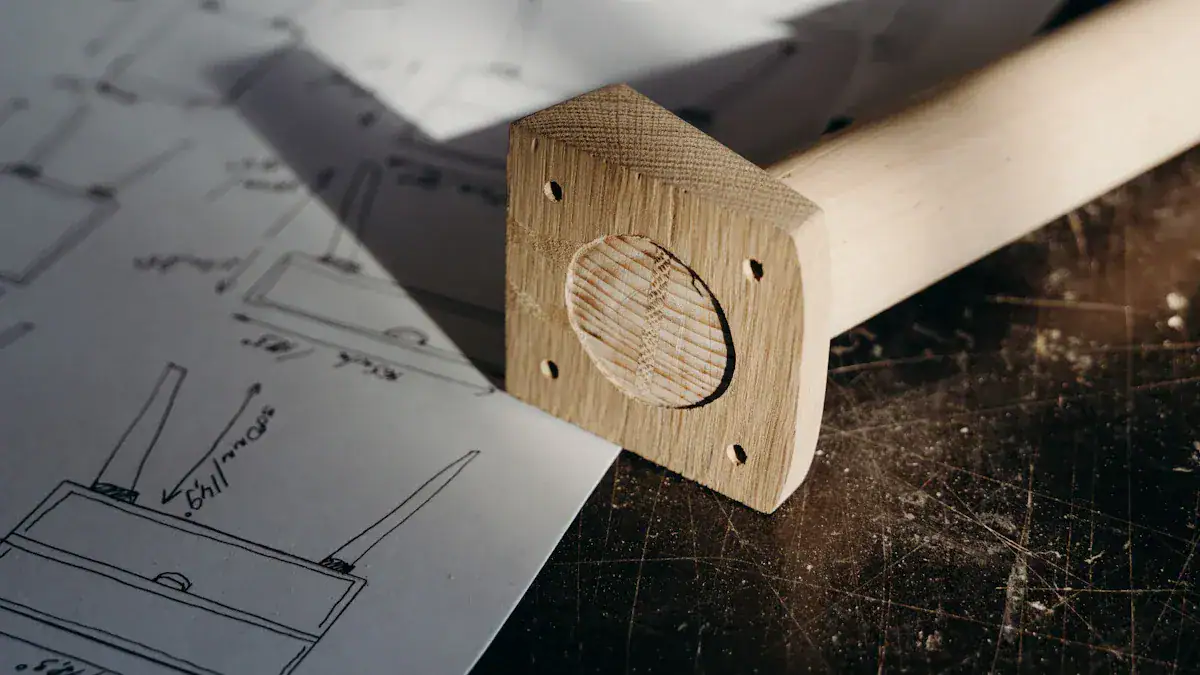
Cabinet Frame Build
First, build the main cabinet frame. This frame forms the outer shell of your murphy bed desk combo. Cut all the large panels according to your plans. Use a circular saw for long, straight cuts. Apply edge banding to exposed edges. This gives a finished look and protects the wood. Sand all surfaces smooth. Drill pilot holes for screws where indicated in your plans. Assemble the cabinet sides, top, and bottom. Use wood glue and screws for a strong connection. Ensure the frame is square. This prevents alignment issues later.
Bed Frame Assembly
You will build the bed frame next. This frame holds your mattress. Standard dimensions help you plan. For example, a queen-size vertical bed frame often measures 87-89 inches high and 64-68 inches wide. Its depth is typically 18-21 inches. The projection, when open, is about 85-87 inches. These measurements ensure your bed fits correctly.
Mattress Size | Height | Width | Depth | Projection |
|---|---|---|---|---|
Queen (Vertical) | 87 – 89 inches | 64 – 68 inches | 18 – 21 inches | 85 – 87 inches |
Queen (Vertical Wood) | 87 3/4″ | 66 1/2″ | 18 3/4″ | 86 7/8″ |
Queen (Vertical Melamine) | 87 3/4″ | 65″ | 16 5/8″ | 86 7/8″ |
Assemble the bed frame components. Use strong joinery methods. This includes pocket screws or mortise and tenon joints. Ensure the frame is rigid. It must support the mattress and a person.
Integrated Desk Construction
Now, build the integrated desk. This desk is special. It stays level when you move the bed. This design lets you keep items on the desk surface. You do not need to clear your workspace. The Leveling Desk folds under the bed. It keeps your space tidy. This design adapts from a bed to a workspace. Murphy Desk Beds offer 17 inches of vertical clearance. Studio Desks provide 8 inches. This clearance lets you keep taller items on your desk.

Cut the desk surface and its support pieces. Assemble these parts. Ensure the desk is sturdy. It must withstand daily use.
Mechanism Attachment
Attach the mechanism to the cabinet frame. This step is crucial for safe operation.
Install the mechanism using specified bolts and washers. This ensures the bed frame is centered within the cabinet.
Heavy-duty hinges and hydraulic piston systems are integral to the mechanism’s attachment. They ensure smooth and secure operation. They also prevent rapid or unexpected falling.
Attach the crown, side panels, headboard, and back stiffener to the cabinet frame. Use provided wood screws and pre-drilled holes for these parts.
Follow your kit’s instructions carefully. Proper installation guarantees smooth lifting and lowering.
Desk to Bed Frame Integration
Integrate the desk with the bed frame. This is where the “stay-level” magic happens. The desk attaches to a pivot point. This point allows it to remain horizontal as the bed moves. Follow your specific plans for this connection. Ensure the desk moves freely. It should not bind or catch. Test the movement several times.
Final Hardware
Install the final hardware. This includes handles, pulls, and any decorative trim. Attach the mattress platform to the bed frame. Ensure all screws are tight. Double-check all connections. Your hidden desk bed is almost complete.
Finishing and Customizing
After you build the main structure, you will finish and customize your Murphy bed desk combo. This step makes your project look professional. It also lets you add your personal style.
Surface Preparation
Before you apply any finish, prepare your surfaces carefully. First, fill any nail holes with wood putty. This creates a smooth surface. After filling the holes, sand the entire surface with 220-grit sandpaper. This ensures an even finish. If you use plywood, consider adding veneer edging. This applies veneer to the plywood edges. You can smooth it with sandpaper after trimming. Even if your plywood is pre-sanded, additional sanding is wise. This is especially true when you stain the wood. It helps you achieve the smoothest possible surface. It is often easier to paint and finish all wood parts before assembly. However, be ready for small touch-ups after you put everything together.
Painting or Staining
Now, choose your finish. You can paint your unit to match your room’s decor. Or, you can stain it to highlight the wood grain. Apply your chosen paint or stain evenly. Follow the product instructions for the best results.
Adding Storage
Maximize your space by adding storage. You can integrate shelving units on either side of the bed. These units can include shelves and drawers. You can customize them for standard sizes or wall-to-wall solutions. Consider pull-out nightstands or drop-down tables within these side units. Glass shelves add an elegant touch. You can also design your Murphy bed to look like a bookcase. This features built-in shelves. They transform into a stylish bookcase when you do not use the bed. Sliding bookcases, like in the Jefferson Library Bed, can also serve as nightstands. You can add doors or drawers at the bottom for hidden storage. Bi-folding bookcases, such as the Madison Bi-Fold Bed, work well for smaller wall widths.
Personal Touches
Finally, add personal touches. Choose hardware like handles and pulls that match your style. You can install LED lighting inside the cabinet. This creates a warm ambiance. Add decorative elements to make your hidden desk bed truly unique.
Troubleshooting
Even with careful planning, you might encounter issues. This section helps you fix common problems. You can solve most issues with simple adjustments.
Alignment Issues
You might find your bed does not close smoothly. Or, it might seem crooked. Lack of precision during the setup process often causes misalignment. Failing to achieve precise measurements can lead to the bed becoming stuck. It can also place undue stress on the wall. An unlevel bed also creates mechanical issues. This happens if you do not level it properly during installation. Components rubbing or colliding are clear signs you need an adjustment. This implies misalignment is the root cause. Check all your measurements again. Use a level to ensure the cabinet is perfectly plumb. Adjust the mounting hardware as needed.
Mechanism Operation
Your murphy bed mechanism should operate smoothly. If the bed feels too heavy, check the gas springs or pistons. They might need adjustment or replacement. Ensure no wires or bedding obstruct the movement. Lubricate moving parts if the mechanism feels stiff. Use a silicone-based lubricant. Never force the bed to open or close. This can damage the system.
Desk Stability
Your integrated desk should remain stable. If your desk wobbles, check all fasteners. Ensure they are tight. The pivot points for the stay-level desk feature must be secure. They should also move freely. Sometimes, uneven floor surfaces can affect desk stability. Use shims under the cabinet if needed. This ensures a solid foundation for your bed and desk.
A murphy bed desk combo offers a smart solution. It combines a comfortable sleeping area with a functional workspace. Embark on your own diy journey. You will feel a great sense of accomplishment. Many videos and instructions are available online. For long-term enjoyment, clean and oil your murphy bed hardware regularly. Replace worn parts like loose screws or hinges quickly. Avoid overloading your bed; it has a specific weight limit. This keeps your hidden bed safe and functional. Share your creations and experiences. Show how you transformed your space.
FAQ
How long does it take to build a DIY Murphy bed desk combo?
Building time varies. It depends on your skill and the complexity of your plans. Most DIYers finish in 2-4 weekends. You can speed up the process with pre-cut kits.
What is the average cost of a DIY Murphy bed desk combo?
Costs range from $500 to $2,000 or more. This depends on materials and the mechanism kit you choose. Building it yourself saves you money compared to buying a pre-made unit.
Can I use any mattress with my DIY Murphy bed?
You can use most standard mattresses. However, check your kit’s specifications for thickness and weight limits. Foam or hybrid mattresses often work best. Avoid overly thick or heavy mattresses.
Is a DIY Murphy bed desk combo safe for children?
Yes, it is safe when you build and install it correctly. Securely anchor the unit to the wall. Ensure the mechanism operates smoothly. Teach children how to use it safely. Always supervise young children around the bed.