

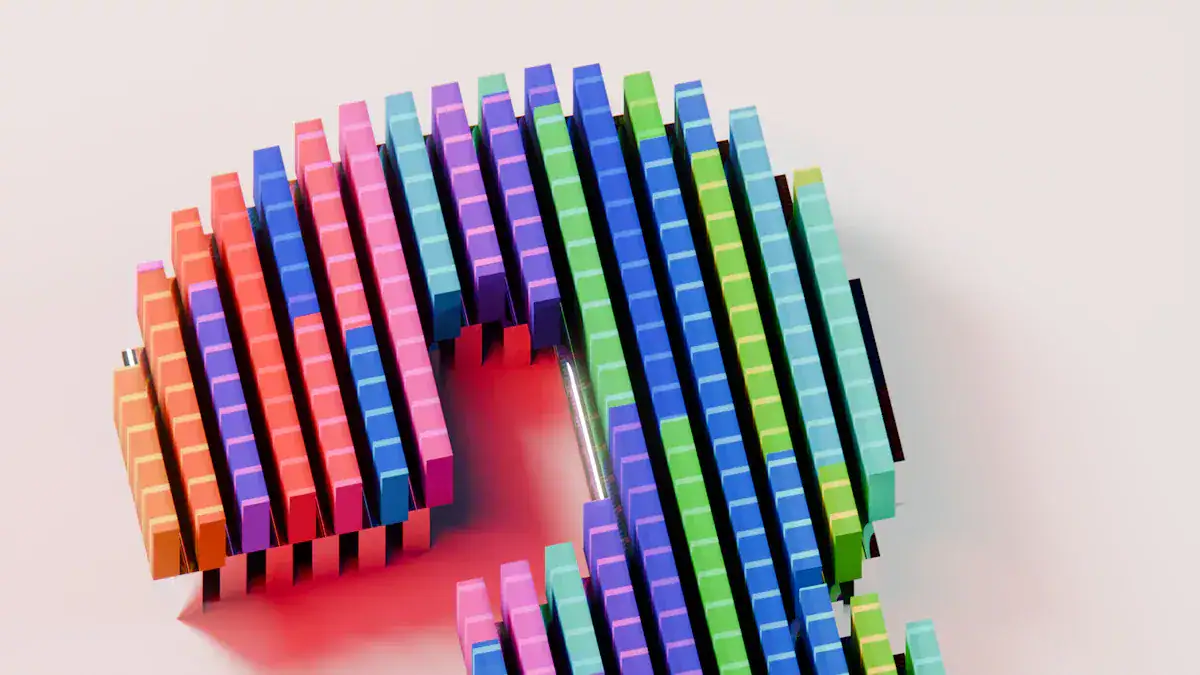
Discover the charm of diy crayon letters! This unique creation offers endless possibilities. You can make a personalized gift for birthdays, baby showers, or teachers. Or, use them as delightful nursery decor. This easy and fun diy project transforms simple materials. You turn old, broken crayons into a colorful, special letter. A handmade diy crayon letter saves you money too. You can save 60-80% compared to store-bought items. It’s a satisfying craft.
Key Takeaways
DIY crayon letters are unique gifts or decorations. They save money and use old crayons.
Making these letters is easy. You prepare crayons, arrange them in molds, and melt them in the oven.
These colorful letters make great personalized gifts. They are also good for nursery decor or learning tools.
Use good quality crayons for bright colors. Tap molds to remove air bubbles. Always be safe when working with heat.
Why Make DIY Crayon Letters
You might wonder why you should spend your time making these colorful creations. Well, making diy crayon letters offers many great benefits. They are more than just a craft project. They become cherished items.
Unique Personalized Gifts
When you make crayon letters, you create something truly special. Personalized gifts evoke strong emotions. They make recipients feel seen, valued, and appreciated. These gifts carry sentimental value. They become cherished keepsakes, strengthening your bonds with others. You show a deep understanding of someone’s personality and interests. You can tailor them to unique preferences. This shows you took time to understand what they like. Personalized gifts are one-of-a-kind. They stand out from generic presents. They create lasting memories. Studies show that personalization makes a gift more meaningful. It raises recipients’ self-esteem. They feel more cherished. This unique emotional response even generates ‘vicarious pride’ in the recipient.
Cost-Effective Crafting
Making your own diy crayon letter is also very budget-friendly. The average cost of materials for a DIY Crayon Monogram is about $15. You can buy crayons for around $0.50 per pack. You might need five packs for an 8-inch letter. This is much cheaper than buying similar items in stores. You save money and get a custom item.
Creative Kids’ Decor
These colorful letters are perfect for decorating. You can use them in nurseries, playrooms, or classrooms. Imagine spelling out a child’s name above their bed. Or, you can create fun words for a playroom wall. They add a bright, playful touch to any space. They are a simple way to personalize a room.
Recycle Old Crayons
Do you have a pile of broken crayons? Don’t throw them away! This project is a fantastic way to recycle them. You transform old, unused crayon pieces into something new and beautiful. It is an eco-friendly craft. You give those forgotten crayons a new purpose.
Materials for Your DIY Crayon Letter Project
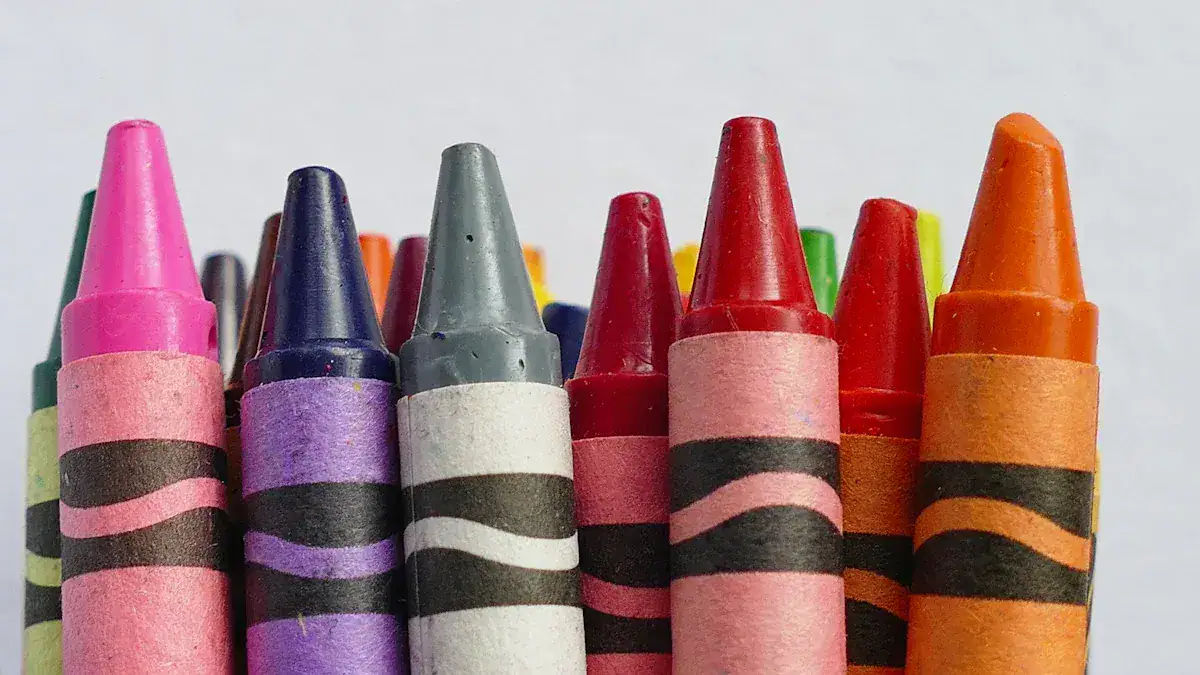
Ready to start your colorful adventure? Gathering your materials is the first step for this fun diy project. You will find most of these items easily. Some you might already have at home!
Crayons: New or Broken
You need crayon power! You can use a mix of new and old crayon pieces. Don’t throw away those broken bits. They are perfect for this diy crayon letter craft. Collect a variety of colors. This lets you create vibrant and unique designs for each letter.
Silicone Letter Molds
A good silicone letter mold is key to success. You want a mold that is flexible and durable. Look for silicone with a Shore hardness between 15A-25A. This ensures the mold is flexible enough for easy demolding without losing its shape. Platinum-cure silicone is also a great choice. It can extend the lifespan of your mold by three times. Make sure your silicone can handle high heat, over 200°C. This is crucial for melting the crayon safely. Molds like the 26 Cavities Letter Silicone Molds from Xiamen Zhongying or the Large Letter Molds from Huizhou Jiaxin Rubber Co., Ltd. are excellent options. They offer great detail and easy release.
Basic Baking Supplies
You will need a few kitchen basics. Grab a baking sheet. This provides a stable surface for your silicone molds in the oven. You also need an oven, of course, to melt your crayon pieces. Parchment paper is optional. It makes cleanup easier if any crayon overflows.
Tools for Crayon Prep
Before melting, you need to prepare your crayon pieces. A craft knife or a box cutter works well for this. You will use it to remove the paper wrappers from your crayons. A cutting board protects your surfaces while you cut and break the crayons into smaller pieces.
How to Make Crayon Letters
Making your own diy crayon letters is a fun and rewarding process. You will love seeing your colorful creations come to life. Just follow these simple steps to make crayon letters.
Prepare Your Crayons
First, you need to get your crayons ready. This means removing all the paper wrappers. Sometimes, those wrappers can be stubborn! Here’s a neat trick: try soaking your crayons in water. Warm water works best. Crayola brand crayons often peel the quickest this way. Their wrappers become soft and float right off in about 10 minutes. For off-brand crayons with plastic-like labels, a rotary paper trimmer can help. You can carefully slice along the label’s side, making it easier to peel. Once unwrapped, break your crayons into small pieces. Smaller pieces melt more evenly and quickly. If you have large crayon chunks, break them down with your hands or a knife. This ensures a smooth melt for your letter.
Arrange Molds and Colors
Now for the fun part: arranging your colors! Take your silicone mold and start placing the crayon pieces inside. Think about the final look you want. Do you want a rainbow effect? Or maybe a mix of warm or cool colors? You can layer different colors or mix them randomly for a marbled look. For a vibrant letter, consider how different colors will blend. You can create depth by using varying shades of the same color. Fill each cavity of your silicone mold with crayon pieces. Don’t overfill them, but make sure you have enough to create a solid letter.
Melting Crayons in Oven
It’s time to melt your crayon pieces! Preheat your oven to 275 degrees Fahrenheit. Place your silicone mold, filled with crayons, onto a baking sheet. This makes it easy to move in and out of the oven. Put the baking sheet on the middle rack of your preheated oven. Bake for about 10 to 12 minutes, or until the crayons are completely melted. Keep an eye on them! If you notice uneven melting, it might be because some pieces are larger than others. Next time, break them into even smaller pieces. You want a smooth, liquid pool of color in each mold.
Cool and Demold Letters
Patience is key for this step. Once your crayons are fully melted, carefully remove the baking sheet from the oven. Let the molds cool completely. This is very important! Do not try to demold them while they are still warm. The crayon will break or lose its shape. You might even want to let them cool for several hours, or even overnight. Once they are completely cool and solid, gently pull the silicone mold back. The crayon letters should pop right out. Large and thick letters are usually less prone to breaking during this process.
Finishing Your Crayon Letters DIY
You’ve almost got your diy crayon letter finished! After demolding, check your letters for any rough edges. You can carefully trim these with a craft knife if needed. For extra durability and a slightly glossy finish, you can apply a clear sealant. This step is optional, but it can protect your beautiful new letters. Now you have a unique, handmade letter ready for gifting or decorating!
Creative Uses for DIY Crayon Letters
You have made your beautiful diy crayon letters. Now, what can you do with them? These colorful creations offer so many possibilities. You can use them for gifts, decorations, or even learning tools.
Personalized Gifts for All Ages
Your handmade diy crayon letter makes a truly thoughtful present. You can give them for many special occasions. Think about birthdays, baby showers, or even back-to-school gifts. Teachers especially love these unique items. For example, a “Personalized Rainbow Crayon Letter with Frame” is a perfect gift for teachers. Everyone in the teaching profession, even retiring teachers, will love receiving these thoughtful gifts. They are suitable for teacher appreciation, end-of-year celebrations, or retirement parties. You can create name crayons for a child’s birthday. Or, you can make a single initial for a friend. These personalized gifts show you put extra care into your present.
Nursery and Playroom Decor
These vibrant crayon creations are perfect for brightening up any room. You can use them as charming decor in a nursery or playroom. Imagine spelling out a child’s name on a wall. You can also create fun words or monograms. A popular idea is to create a diy crayon initial art piece. You can display this art in a shadow box. A 12 x 12 inch scrapbook shadow box works well for this. This turns a simple letter into a framed masterpiece. It adds a personal touch to any space.
Educational Learning Tools
Did you know your crayon letters can also help kids learn? They are fantastic educational tools. You can use them to teach letters and colors. Children can practice spelling their names or simple words. These colorful letters also help with phonics. You can incorporate them into play. Holding and manipulating the letters helps develop a child’s pincer grip. It also strengthens their hand muscles. These letters allow for creative exploration. Kids can use them in sensory bins or for imaginative play.
Unique Party Favors
Are you planning a party? Your handmade crayon letters make unique party favors. Guests will love taking home a personalized initial. You can make a letter for each child attending a birthday party. Or, you can create a special initial for a baby shower guest. These favors are memorable. They are also a fun reminder of your special event.
Tips for Best Crayon Letters DIY Results
You want your diy crayon letter to look amazing, right? Getting perfect results takes a little know-how. Here are some tips to make your diy project a success.
Achieving Vibrant Colors
You want bright, bold colors in your finished letter. To get this, use good quality crayons. Crayola brand crayons often give the best color payoff. You can also layer colors. Put a dark color at the bottom of the mold. Then add lighter colors on top. This creates a nice depth. Avoid mixing too many colors in one spot. This can make your crayon look muddy. Stick to two or three colors that blend well.
Preventing Air Bubbles
Sometimes, tiny air bubbles appear in your melted crayon. You can avoid this. After you fill your molds, gently tap the baking sheet on your counter. This helps trapped air rise to the surface. You can also use a toothpick to pop any visible bubbles before baking. A lower oven temperature for a longer time also helps. This allows the wax to melt slowly. It gives air more time to escape.
Handling Crayon Wrappers
Removing wrappers can be tricky. You already know about soaking them. For stubborn wrappers, try a small craft knife. Carefully score the wrapper lengthwise. Then, you can peel it off easily. Make sure all paper is gone. Even small bits of paper can burn in the oven. This leaves dark specks in your beautiful letter.
Safety First Practices
Safety is important for this diy craft. Always use oven mitts when handling hot baking sheets. The melted crayon is very hot. It can cause burns. Supervise children closely if they help. Make sure they understand the heat danger. Work in a well-ventilated area. This helps with any wax fumes. Let your letters cool completely before you touch them. This prevents burns and keeps your finished letter from breaking.
You just learned how simple and fun it is to make your own diy crayon letters. This diy project offers so much! You get personalization, affordability, and beautiful decor. You can easily make crayon letters for any occasion. Each letter becomes a unique gift or a charming piece for your home. Don’t be afraid to experiment with colors and combinations. Create your own amazing diy crayon letter today! Share your colorful letter creations with us, or start your next creative diy adventure.
FAQ
What kind of crayons work best for this project?
You can use any crayons you have! Old, broken crayons are perfect for this project. New crayons also work great. Just make sure you remove all the paper wrappers before you melt them in your silicone mold.
What if my crayon letters have air bubbles?
Tap your baking sheet gently on the counter before you bake it. This helps trapped air escape. You can also use a toothpick to pop any visible bubbles. Melting crayons at a slightly lower temperature for a bit longer also helps reduce bubbles in your finished letter.
What are the best uses for these crayon letters?
They make fantastic personalized gifts for anyone! You can also use them as colorful decor for a nursery or kids room. Kids love learning their ABCs and colors with them too. They are super versatile!
What’s the best way to clean my silicone mold?
After your mold cools completely, you can usually just peel out any leftover crayon bits. For a deeper clean, wash it with warm, soapy water. Make sure your mold is completely dry before you use it again for your next colorful creation.

