
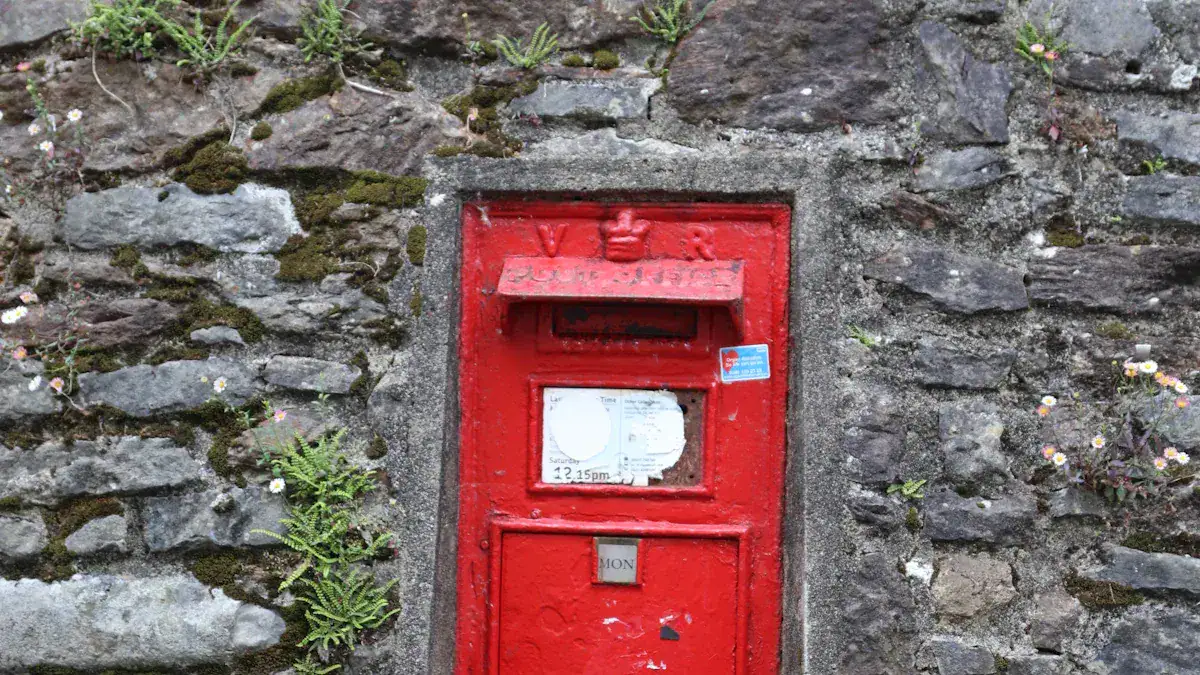
Imagine the satisfaction of enhancing your home’s curb appeal with a custom-built, sturdy post box. A well-constructed brick mailbox lasts for decades, offering lasting beauty. Enhanced curb appeal can boost your home’s value by approximately 7%, with some landscaping improvements adding 5.5% to 12.7%. This comprehensive step-by-step guide helps you build a brick mailbox yourself, potentially saving you over $300. You will learn how to execute successful diy brick mailbox plans, ensuring a durable and attractive addition to your property.
Key Takeaways
Building a brick mailbox makes your home look better. It also saves you money and lasts a long time.
Always check local rules and HOA guidelines before you start building. This avoids problems later.
A strong foundation is very important. Use concrete with rebar to make your mailbox sturdy.
Lay the first row of bricks perfectly straight and level. This helps the whole mailbox stand strong.
Clean and check your mailbox often. Fix any cracks right away to keep it looking good and lasting long.
Why Build a Do-It-Yourself Brick Mailbox
Building your own brick mailbox offers many advantages. You gain a strong, attractive feature for your home. This project provides long-term benefits. It also saves you money.
Durability and Longevity
A brick mailbox is a very strong choice. It stands up to bad weather. It resists damage from accidents or vandalism. Unlike standard mailboxes, brick does not rust, fade, or lean. Your brick mailbox will stay attractive for many years. It is a valuable investment. It will likely be the last mailbox you ever need.
The way you build it helps it last. Matching the mortar to the brick prevents cracks. Good drainage channels stop water from causing decay. Regular care also keeps it strong. The mortar’s ability to stick to brick is important. It also needs to handle small brick movements without cracking.
Curb Appeal and Property Value
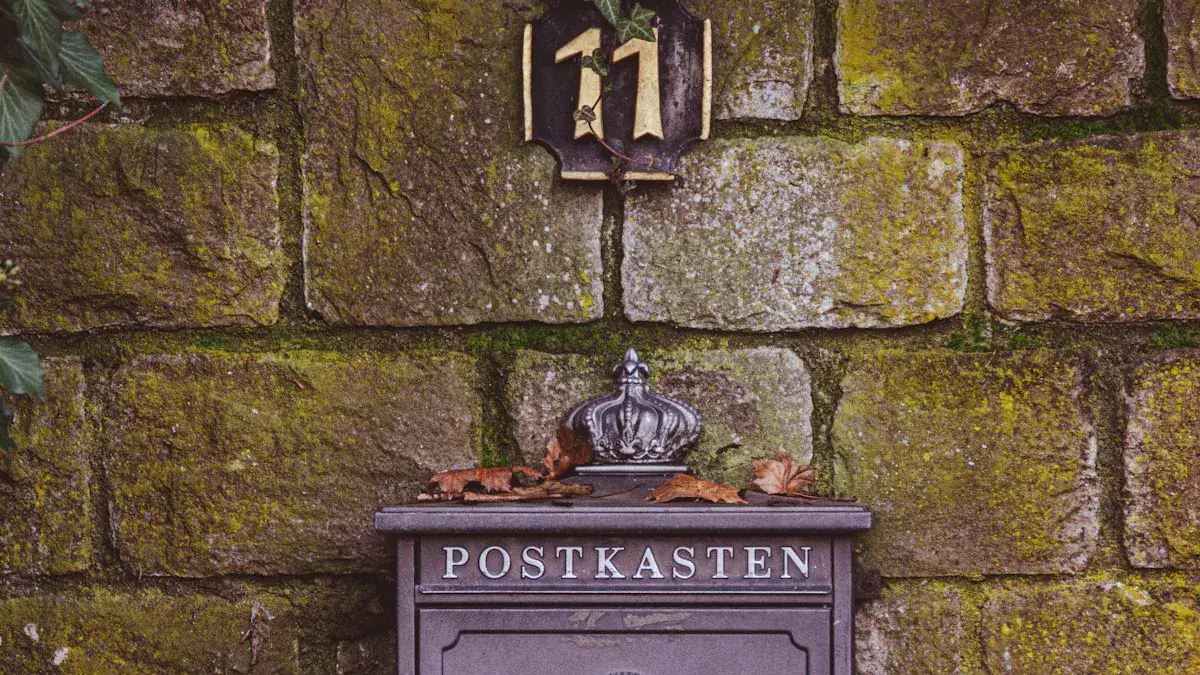
A brick mailbox makes your home look much better. It shows quality and care. This can increase your home’s value. It gives a great first impression to visitors. A classic design adds to your home’s overall appeal. It offers both beauty and security for your mail.
Customization Options
You can make your brick mailbox unique. You can choose many design elements. For example, you can add a steeple top. This matches your home’s roofline. You can also add a planter box for flowers. Bricks can stick out or indent to create patterns. You can display your address with a cast stone number block. You can also use a brass number plate.
Many styles exist. You can choose a traditional look. You can also pick a modern design. Some mailboxes have newspaper holes. Others have locking security features. You can even choose a colorful brickwork design. This lets you build a brick mailbox that perfectly fits your home’s style. A do-it-yourself brick mailbox allows for endless personal touches.
Planning Your DIY Brick Mailbox
Careful planning makes your brick mailbox project successful. You need to think about rules, where it will go, and what you will use. This step helps you avoid problems later.
Local Regulations and HOA Rules
Before you start your diy brick mailbox plans, you must check local rules. Research local building codes. These codes have requirements for your project. You also need to contact your local post office. Make sure your planned mailbox meets their requirements.
Many communities have Homeowner Associations (HOAs). These groups set rules for homes and residents. They often have rules about mailboxes, signs, and flags. Even if the USPS approves your mailbox, you must also follow HOA rules. HOAs create mailbox rules to keep the community looking good. They protect property values and ensure safety. These rules often tell you the style, color, size, and where to put your mailbox. This helps create a uniform look. HOAs might also say what materials you must use, like metal or wood. They can require a certain height and distance from the curb. You also often need to keep your mailbox in good condition. This means no rust, dents, or peeling paint.
You might need to use centralized mailboxes approved by USPS. Your mailbox placement should allow easy access for everyone, including those with disabilities (ADA-compliant). Your box must meet USPS requirements for posts and installation. For many homes, you might consider multi-unit mailboxes for easier delivery.
Location and Design Choices
Think about where you will put your new mailbox. A simple 16-inch square masonry structure is a good starting point for your design. This size works well for most homes. Consider how the mailbox will look with your house. You want it to match your home’s style and colors. Think about how cars will approach it and how the mail carrier will reach it easily.
Materials and Tools
You need specific materials and tools to build a brick mailbox. Gathering everything beforehand saves time.
Here are the essential materials:
Bricks: You will need about 200 8-inch bricks. Good choices include Andersonville, Pinehurst, and Hampton bricks.
Mortar: Use premixed mortar. You will need about 6 bags (60lb each) of Quickrete Mortar Mix (with sand).
Concrete: For the foundation, use concrete with a compressive strength of 3000 psi at 28 days. It should have 4% to 6% air entrapment. The slump should be 3.50 to 4.50, following 301 standards.
Reinforcement: Use wire mesh or fiber-reinforced concrete for the foundation. Include transverse (crosswise) 1-inch or 2-inch rebar within the concrete form. Also, add at least one vertical piece of rebar in the center.
Mailbox Insert: Choose a sturdy mailbox insert that fits your design.
Flashing: This protects against water if your design needs it.
Capstone: This is the top piece that finishes your masonry mailbox.
Your foundation size depends on its thickness. Here is a guide:
Thickness (h) | Width (w) min | Depth (d) min |
|---|---|---|
4″ | 47″ | 47″ |
5″ | 44″ | 44″ |
6″ | 42″ | 42″ |
7″ | 40″ | 40″ |
8″ | 39″ | 39″ |

You also need these tools:
Measuring Tape
Masonry Trowel
Tamper
Jointer
Level
Framing Square
Stiff Bristled Brush
Shovel
Wheelbarrow
Masonry Hammer
Brick Tongs (recommended)
Masonry Saw (optional)
Safety Gear (gloves, eye protection)
How to Build a Brick Mailbox: Step-by-Step
You are ready to begin building your brick mailbox. This section provides a clear, step-by-step guide for the construction process.
Foundation Preparation
You begin your project by preparing the foundation. First, you excavate a 12-inch deep area. Make this area 42 inches square. If an old mailbox exists, remove it and its concrete base first. Next, you compact the soil. You add a base layer and level it. This creates a stable base.
Before stabilization, you must assess the soil. Look at its type, makeup, and strength. This helps you choose the right method. You can collect soil samples. These samples show moisture content, density, and strength. Tests like Proctor compaction help you understand the soil. Clay soils might need chemicals. Sandy soils benefit from compaction.
You need to prepare the soil. Remove any debris. Break up large clumps. Level the surface to prevent weak spots. Check and adjust the moisture content. Clay should be damp, not soaked. Add water if it crumbles. Let it dry if it sticks to your tools. You can add amendments if needed. Mix in sand for better drainage. Use lime for stabilization.
Avoid overcompacting. This seals the surface. It blocks drainage and traps water. Do not ignore moisture levels. This leads to soil that will not hold together. It can also turn to mud. Use the right equipment. Clay soils need impact force. Tools like jumping jacks or vibrating rollers work best. Vibratory plate compactors alone are not enough.
For compaction, work in 4 to 6-inch layers. This avoids trapping air voids. Make multiple passes. Roll or tamp each layer 5-6 times. This ensures optimal compaction. You can test the compaction. Use a Proctor test. Or, step on the soil. This helps you find soft areas. These areas need more passes.
Now, you pour concrete for the footing. Use concrete with a compressive strength of 3000 psi at 28 days. It should have 4% to 6% air entrapment. The slump should be 3.50 to 4.50, following 301 standards. You can use wire mesh or fiber-reinforced concrete. This reinforces the foundation. Include transverse (crosswise) 1-inch or 2-inch rebar within the concrete form. Also, add at least one vertical piece of rebar in the center. Allow sufficient time for the concrete to set. A week works for standard concrete. Fast-drying concrete takes 1-2 days.
Thickness (h) | Minimum Width (w) | Minimum Depth (w) |
|---|---|---|
4″ | 47″ | 47″ |
5″ | 44″ | 44″ |
6″ | 42″ | 42″ |
7″ | 40″ | 40″ |
8″ | 39″ | 39″ |

Laying First Brick Course
After the concrete sets, you lay the foundation. You will use two layers of cement blocks. Secure them with mortar. The first course of bricks is very important. It sets the alignment for the entire wall. It must be perfectly level and plumb. Professionals use a string line and a level. This ensures accuracy. Careful attention to this first course prevents problems later.
You start with a dead-level footing. Spread mortar that clings like peanut butter. Build solid corner leads. Keep every course aligned with the string. Check level and plumb on each brick.
Spread the bed joint properly. Scoop a trowel of mortar. Hold the blade at about 30 degrees. Spread a 1-inch-thick ribbon. This ribbon should be the length of three bricks. Feather the far edge down to about ⅜ inch. Then, slice a shallow furrow down the center. The taper lets excess mortar squeeze out. It does not lift the brick. The furrow creates suction. This locks the brick in place.
Butter and place each brick. Pick up the first brick. The frog or holes should face up. Butter the head (end) with a ½-inch smear of mortar. Set it on the bed. Place it about ¼ inch short of its final spot. Press down. Slide it snug against the string line. The sideways slide collapses air pockets. It sets the joint width at a perfect ⅜ inch. Repeat this for the next brick. Keep light pressure on the line. Do not push it out of alignment.
After every brick, tap the top gently. Use the trowel handle. Tap until the bubble centers. Check across the width with a short level. This prevents a “see-saw” effect. Slice off excess mortar that squeezes out. Flick it back onto the board immediately. After three to four bricks, place a 24-inch level along the run. Sight down the mason’s line. If a brick sits high, lift and scrape. If it sits low, add a touch of mortar. By the time you reach the end of the course, the wall should be dead-level and dead-plumb. All joints should gauge out to the story pole.
To achieve maximum wall strength, you must stagger brick joints. Position the end of each brick in a new course. It should sit directly in the middle of the brick below it. This technique distributes weight. It enhances the overall strength of the wall. For walls spanning horizontally, running bond patterns are much stronger. Stack bond construction is about 30% weaker in flexural strength.
Building Walls and Reinforcement
You continue building the lower half of the mailbox structure. Use bricks. Dry-fit them first. Then apply mortar. Incorporate rebar for structural integrity. Rebar or wire mesh reinforces the mortar and structure. You build the brick wall layer by layer. Steel rebar and wire mesh reinforce the concrete base. They also reinforce the overall brick structure. This prevents cracking in the concrete. It enhances the project’s long-term durability. Rebar cages are bent, tied, and inspected. This ensures structural integrity and long-term performance.
A crucial detail: the mailbox opening. It should be between 41 to 45 inches from the ground. This ensures accessibility. You can use hot glue for temporary fastening of bricks. This helps during construction. It peels off easily later.
Mailbox Insert Installation
Once you complete the bottom part, you insert the actual mailbox. This can be a metal or plastic box. Place it at the correct height. Secure it with mortar. Then, continue laying brick layers around it.
You can mount the mailbox to a wooden platform. This works for hollow brick columns. Rest the mailbox on a pre-built wooden platform. Use lag bolts and washers to secure it. The mailbox typically has four mounting holes in its base. You can also set it on a bed of wet mortar. If you hollowed out the area, create a bed of wet mortar. Set the mailbox onto this mortar bed. The mortar cures and holds it securely. Use cedar shims for stabilization. These shims ensure the mailbox is centered. They keep it equidistant from the surrounding brickwork. This provides additional stability and security.
Finishing Touches and Cleanup
You finish the structure. Close the top with concrete blocks or a pre-formed capstone. Secure it with mortar. If your design needs it, add flashing. This protects against water.
Now, you tool the mortar joints. Scoop mortar onto a hawk or trowel. Hold it to the joint. Use a tuck pointer to press the mortar in. If mortar gets on the brick, let it dry slightly. Then, gently scrape it away. Use a stiff margin trowel.
“Slick” the joints. After repointing a section, use a slicker or brick jointer. This flattens the joints. It creates a smooth, finished look. This blends with the existing wall. Various jointer types are available. These include convex, v-shaped, and grapevine.
Clean and blend. Use a wet bucket brush. Make horizontal sweeping motions over the finished patch. This cleans away excess mortar. It blends the new mortar with the old. This creates a seamless finish. Brush lightly. Avoid pulling out the new mortar.
Mist the patch daily with water for three to four days. This ensures slow drying. It reduces cracking. If a film develops, clean the bricks. Use a brick and stone cleaner. Follow the manufacturer’s instructions. Scrub with a long-handle acid brush. Do not apply more than twice. Wear rubber gloves and eye protection. This step-by-step guide helps you build a brick mailbox that is both sturdy and attractive. You now know how to build a brick mailbox with confidence. This masonry mailbox will enhance your home for years.
Avoiding Mistakes and Maintenance
You build a sturdy brick mailbox. Now, you must maintain it. You also need to know common mistakes. This helps you keep your mailbox strong and beautiful.
Foundation and Mortar Errors
Many problems start with the foundation or mortar. An inadequate foundation causes your mailbox to lean. You need a significant concrete foundation. This supports the structure indefinitely. Poor workmanship also causes issues. You see large, inconsistent gaps in mortar. Bricks might have visible interior holes.
Common Construction Errors:
Rusted Mailbox Receptacles: Use a quality, long-lasting insert. Avoid thin sheet metal or plastic boxes.
Leaning Brick Mailboxes: Build a new mailbox with a significant concrete foundation.
Poor Workmanship: Avoid large, inconsistent mortar gaps or visible interior brick holes.
Inaccurate Foundational Layer: Use precise measurements and tools like spirit levels.
Incorrect Mortar Consistency: Mix mortar to a workable consistency.
Inadequate Mortar Curing: Protect fresh masonry from sun and rain. Keep it moist for at least 7 days.
Incorrect mortar mixing also causes problems. Using the wrong mortar type leads to weak bonds. Incorrect mix ratios weaken the mortar. Too much or too little water causes cracks. Improper mixing time creates weak spots. Working in extreme weather also harms the mortar. Dirty tools or surfaces weaken adhesion. These issues cause cracks and structural instability.
Maintaining Level and Plumb
You must keep your brickwork level and plumb. Poor alignment compromises stability. It also affects how your mailbox looks. You use specific tools for this. A level ensures the wall is horizontal. A plumb bob checks vertical alignment. String lines guide you in maintaining straightness. You check each course against a gauge board. This ensures consistent height. You verify the wall’s straightness. You focus on the face of the bricks.
Regular Cleaning and Inspection
You should regularly inspect and clean your mailbox. This prevents grime buildup. It also helps you find damage early.
Maintenance Schedule:
Regular Inspections: Check for damage, rust, or loose parts.
Seasonal Cleanings: Clean to prevent grime buildup.
Plant Trimming: Trim plants around the mailbox.
First, prepare for cleaning. Cover nearby plants. Inspect for damage before you clean. High-pressure water on a damaged structure causes more harm. Use a stiff-bristle brush to remove loose dirt. Apply a cleaning solution. Focus on stained areas. You can use vinegar and baking soda. Carefully power wash the mailbox. Avoid damaging the bricks. Rinse off all cleaning solution. Let the mailbox dry. Then, check for areas needing more attention.
Crack Repair and Repointing
Cracks and deterioration happen over time. Mortar joints can crack or go missing. This compromises wall stability. Efflorescence, a white powdery residue, indicates water movement. Spalling bricks mean the faces flake off. This happens from freeze-thaw cycles.
You fix these issues with repointing. Repointing removes damaged mortar. You replace it with new mortar. This restores structural strength. First, identify the problem. Look for gaps or crumbling mortar. Understand the root cause. Remove old mortar to a depth twice the joint width. Clean the joints thoroughly. Choose the correct mortar type. Mix it to a peanut butter-like texture. Dampen brick joints. This prevents rapid drying.
You now understand the rewarding process of building a do-it-yourself brick mailbox. Use these comprehensive diy brick mailbox plans. You can confidently build a brick mailbox. This creates a sturdy, attractive, and functional post box. Remember careful planning, proper execution, and regular maintenance. These steps ensure a successful, durable post box. Your new diy brick mailbox plans will bring lasting beauty. Enjoy your beautiful, custom-built brick mailbox for years to come! 🏡
FAQ
What is the correct height for a mailbox opening?
The mailbox opening should be between 41 to 45 inches from the ground. This height ensures easy access for mail carriers. You must follow these guidelines for proper mail delivery.
What kind of foundation does a brick mailbox need?
You need a concrete foundation. It should be 12 inches deep and 42 inches square. Use concrete with 3000 psi strength. Include wire mesh or rebar for reinforcement. This prevents leaning and ensures stability.
What is repointing, and why do you do it?
Repointing is removing damaged mortar and replacing it with new mortar. You do this to restore structural strength. It prevents further deterioration. This process keeps your brick mailbox strong and looking good.
What are the benefits of using rebar in your mailbox?
Rebar provides structural integrity. It reinforces the concrete foundation and the brick structure. This prevents cracking. It also enhances the project’s long-term durability. Your mailbox will stand strong for many years.


