
You will find immense joy in attracting bluebirds to your yard. These beautiful birds need safe nesting sites. Their natural homes are disappearing. Studies show that installing nest boxes significantly increases cavity-nesting bird populations. One study saw a 500-550% rise in bird densities after nest box installation; Western Bluebirds used many of these boxes. This guide offers free bluebird house plans. You will get detailed instructions, material lists, and placement tips to build an effective birdhouse. Building this birdhouse is achievable for all skill levels.
Key Takeaways
Build a bluebird house with the right design. This includes a 1 9/16-inch entrance hole and proper inside space. This design keeps bluebirds safe and helps them nest.
Use strong, safe materials like cedar wood. Gather tools like a saw and drill. Always wear safety glasses and gloves when you build.
Follow step-by-step instructions to cut wood, drill holes, and put the house together. Make sure to add a hinged front panel for easy cleaning.
Place your bluebird house on a pole, not a tree. It should be 4 to 6 feet high. Add a baffle to stop animals from climbing up. Choose an open area with scattered trees.
Clean the birdhouse after each nesting. This removes old nests and keeps bluebirds healthy. Use non-toxic paint on the outside only, in neutral colors.
Effective Bluebird House Plans Design
Building a successful bluebird house starts with smart design. You want to create a safe and inviting home for bluebirds. These plans follow guidelines from the North American Bluebird Society (NABS). They meet the nesting needs for Eastern, Western, and Mountain Bluebirds. A well-designed birdhouse protects young birds and encourages successful breeding.
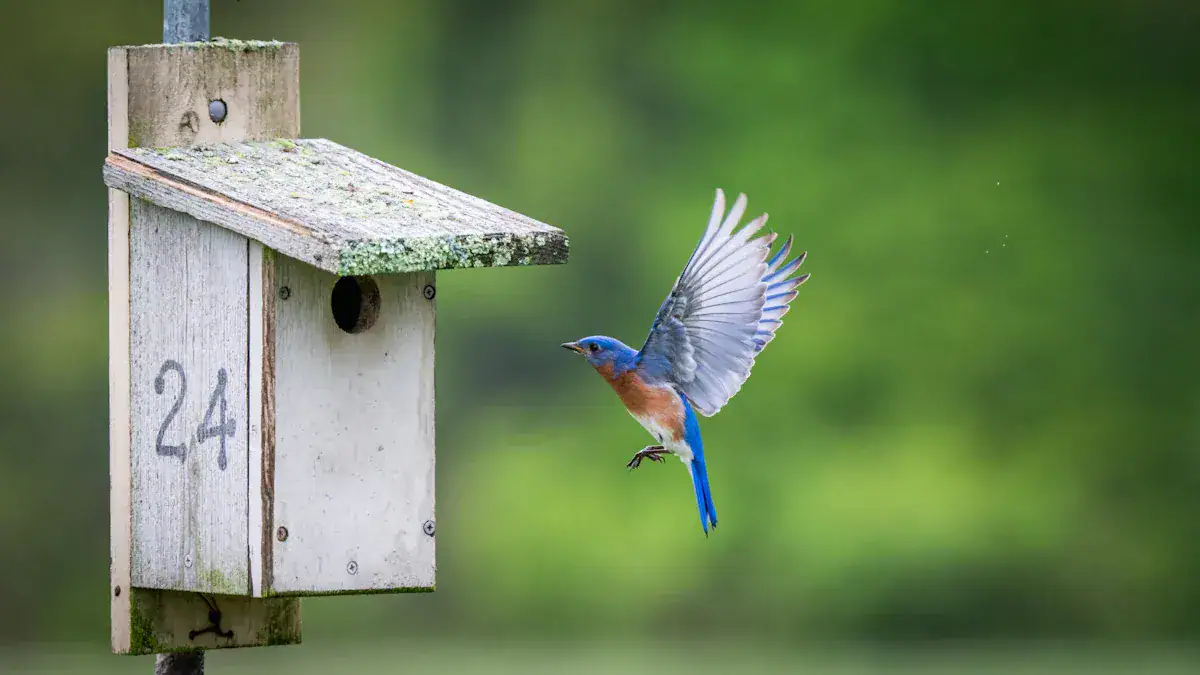
Optimal Entrance Hole Size
The entrance hole size is very important. It allows bluebirds to enter but keeps larger, unwanted birds out.
Eastern Bluebirds: Need a 1 1/2″ diameter entrance hole.
Western Bluebirds: Also need a 1 1/2″ diameter entrance hole, though they might prefer a slightly larger one.
Mountain Bluebirds: Require a 1 9/16″ diameter entrance hole.
Dr. Lawrence Zeleny set the standard 1 1/2-inch entrance hole in 1970. However, this size did not work well for Mountain Bluebirds. They had low occupancy rates and worn feathers. Later research showed that larger entrance holes led to more Mountain Bluebird nests. Western Bluebirds also preferred a larger hole, even if they did not strictly need it. NABS now suggests a 1 9/16-inch hole. Use this size if you live where Mountain Bluebirds are present or where their range overlaps with Eastern or Western Bluebirds. This size helps the larger Mountain Bluebirds and still keeps starlings out.
Proper Interior Dimensions
The inside of your bluebird house must offer enough space for a nest and growing chicks.
Here are the recommended floor dimensions:
Bluebird Species | Floor Dimensions (inches) |
|---|---|
Eastern Bluebirds (wooden) | 4 x 4 or 5 x 5 |
Eastern Bluebirds (circular) | 4 (diameter) |
Western or Mountain Bluebirds | 5 x 5 or 5.5 x 5.5 |
A good starter birdhouse, like the Woodlink Brand BB3 model, has an interior floor of 4.5 inches by 4.5 inches. This size works well for many bluebirds.
The interior height from the floor to the ceiling also matters. It should be at least 8 inches for bluebird nesting success. A height between 10.5 and 12 inches is even better. Do not go higher than 12.5 inches. Bluebirds may not like it, and smaller birds like chickadees definitely will not. If you plan to install a nest box camera, aim for an interior height of 10.5 inches at the tallest point. This height works for slanted roofs. An 8-inch height is too small for a camera. The drop from the entry hole to the floor should stay around 6 to 7.25 inches within this height.
Specification | Eastern Bluebird | Western/Mountain Bluebird |
|---|---|---|
Min. Interior height | 8 – 11 inches | 8 – 11 inches |
Essential Ventilation and Drainage
Good airflow and dry conditions are critical for healthy bluebird chicks.
Your birdhouse needs ventilation holes. These holes prevent overheating, especially in hot summer weather. Place ventilation holes near the top or bottom of the birdhouse. Good ventilation helps control the inside temperature. This creates a comfortable space for the birds. For very hot areas, use 3/4-inch lumber. Also, make sure the roof overhangs on all sides. These extra steps help keep the birdhouse cool.
Drainage holes are also very important. They stop water from collecting inside the birdhouse. This keeps the nest dry and comfortable for the birds. Add at least four drainage holes to the floor of your birdhouse. Make these holes 3/8″ to 1/2″ in diameter. You can also cut away the corners of the floorboard. This creates effective drainage.
Built-in Predator Protection
Protecting bluebird nests from predators is a key part of your bluebird house plans. Many animals try to reach eggs or young birds.
You can add hole reducers or hole guards. These metal pieces fit around the entrance hole. They stop predators from widening the hole. They also deter larger birds. Tube-like birdhouse bird guardians around the entrance hole prevent raccoons, squirrels, and cats from entering. Bluebirds may accept these guardians more easily if they are already attached to the nest.
Different types of baffles also work well.
Cone-type baffles improve nesting success.
Stovepipe baffles also lead to more successful nesting.
Entrance hole extenders, which are wooden block hole guards, also help.
Using multiple predator guards, like a cone baffle and a hole extender, results in more successful nesting than using just one.
Other effective deterrents include:
A wobbling PVC baffle deters many climbing mammals.
An 8-inch metal stovepipe baffle topped with hardware cloth deters both climbing mammals and snakes.
Carpet tack-strips can deter snakes and other animals.
Special plastic strips keep ants out of nests.
For a robust stovepipe baffle, you will need:
Galvanized stove or vent/duct pipe: It should be 8 inches in diameter (wider is better) and 24 inches long. Galvanized pipe resists rust better than black matte. Seamless pipe is best for deterring snakes.
A circle of 1/2-inch hardware cloth: (1/4-inch works better for small snakes) that is 1 inch larger than the stovepipe.
Two hanger iron straps (plumbers tape): Each 7 inches long, to keep the stovepipe from hitting the pole.
Two No. 8 B32 x 3/4 inch machine screws and nuts.
Materials and Tools for Your Build
You need the right materials and tools to build your bluebird house. This section lists everything you will need.
Recommended Wood Types
You need to choose the right wood for your bluebird house. The best wood types are durable and safe for birds. Weather-resistant wood provides long-lasting outdoor use. Untreated cedar is an excellent choice. It naturally resists moisture and insects. This makes it durable and pest-resistant. Cedar is strong and weather-resistant. It stands up to rain, wind, and sun without rotting or warping. Natural cedar lasts a long time and handles weather well. It also has a rough surface for birds to stand on. Solid Western Red Cedar Wood, with 13/16″ thick walls and a 1″ thick roof, offers heavy-duty construction. Treated premium pine (3/4″ thick) also withstands elements. It ensures longevity and resists warping or rotting. While pine, plywood, and other woods can work, cedar and redwood are ideal for a bluebird house. Some people avoid aromatic (red) cedar. They worry about oils irritating nestlings. It is best not to put cedar shavings inside a birdhouse.
Complete Material List
You will need specific materials for your build. A 6-foot dog ear fence picket is a common starting point. You can also build your birdhouse from a single 1 x 6 x 55-inch piece of lumber. You will need 12-1 ¼ inch deck screws. These screws hold the pieces together firmly. Wood glue adds extra strength to the joints. You also need hinges for the clean-out door. Predator guards are important for safety. These include copper guards around entrance holes. They help keep predators like raccoons or cats away.
Essential Tools for the Job
Gather your tools before you start. You will need a saw to cut the wood pieces. A drill is essential for making pilot holes and driving screws. A measuring tape ensures accurate cuts. A pencil helps you mark your cuts. You might also need a screwdriver for some parts.
Safety Gear Checklist
Always prioritize safety. Wear safety glasses to protect your eyes from wood dust and splinters. Gloves protect your hands. A dust mask is also a good idea when cutting wood.
Building Your DIY Bluebird-Approved Birdhouse
You are ready to build your diy bluebird-approved birdhouse. This section provides detailed, step-by-step instructions. You will construct nest box that bluebirds will love.
Preparing Wood Pieces
First, you need to prepare your wood. Lay out your chosen lumber. This could be a 1 x 6 x 55-inch piece or a 6-foot dog ear fence picket. Use your measuring tape and pencil to mark all the cuts. Double-check your measurements. Accuracy ensures all pieces fit together correctly. This step is crucial for a sturdy birdhouse.
Cutting and Drilling
Now, you will cut and drill your wood pieces. Follow these instructions carefully.
Cut the Panels: Use your saw to cut the marked pieces. You need a front, back, two sides, a roof, and a floor.
Front Panel: Cut one piece to 5.5 inches wide by 9 inches long.
Back Panel: Cut one piece to 5.5 inches wide by 12 inches long.
Side Panels (2): Cut two pieces. Each should be 5.5 inches wide. The length will be 10 inches at the front edge and 11 inches at the back edge. This creates a sloped roof.
Roof: Cut one piece to 7 inches wide by 7 inches long.
Floor: Cut one piece to 4 inches wide by 4 inches long (for Eastern Bluebirds) or 5 inches wide by 5 inches long (for Western/Mountain Bluebirds).
Drill the Entrance Hole: Locate the center of your front panel. Measure down 6 inches from the top edge. Use a 1 9/16-inch hole saw to drill the entrance hole. This size accommodates all bluebird species.
Drill Ventilation Holes: Drill two small 1/4-inch ventilation holes near the top of each side panel. You can also drill them under the roof overhang. These holes allow air circulation.
Drill Drainage Holes: Drill four 3/8-inch drainage holes in the floor piece. You can also cut off the corners of the floor for drainage.
Drill Pilot Holes: Drill small pilot holes where you plan to insert screws. Pilot holes prevent wood splitting. They also make assembly easier.
Assembling Side Panels
You will now assemble the main body of your birdhouse.
Attach Side Panels to Back: Apply wood glue along the edges of the back panel where the side panels will attach. Align one side panel with the back panel. Ensure the bottom edges are flush. Secure the side panel using exterior screws. These fasteners offer long-term durability. Proper type nails, such as ring shank, spiral, or coated nails, also work well. Avoid using brad nails or staples as primary fasteners. They do not provide enough holding power for a durable birdhouse. Repeat this process for the other side panel.
Check for Squareness: Make sure the panels form right angles. This ensures a stable structure.
Attaching Roof and Floor
Next, you will add the roof and floor to your birdhouse.
Attach the Floor: Apply wood glue to the bottom edges of the assembled side and back panels. Place the floor piece onto these edges. Ensure it fits snugly. Secure the floor with exterior screws.
Attach the Roof: Position the roof piece over the top of the assembled structure. Make sure it overhangs on all sides. This provides protection from rain and sun. Secure the roof using exterior screws. You can also use hinges if you want a liftable roof for cleaning.
Installing Front Panel and Door
Finally, you will install the front panel and create a clean-out door. This allows easy access for maintenance.
Install the Front Panel: The front panel should be hinged for easy cleaning. Attach two small hinges to the bottom edge of the front panel and the bottom edge of the birdhouse. This creates a hinged door.
Add a Latch: Install a simple latch or hook-and-eye closure at the top of the front panel. This keeps the door securely closed. You can also use a single screw at the top that you can loosen to pivot the front panel open.
Add Predator Guard (Optional but Recommended): If you are following these bluebird house plans, consider adding a metal hole guard around the entrance. This protects against predators.
Placement and Maintenance for Success
You have built your birdhouse. Now, you need to place it correctly and care for it. This helps attract bluebirds and keeps them safe.
Finishing Considerations
Think about finishing your birdhouse. You want to protect the wood. You also want to keep bluebirds safe. Use non-toxic finishes only on the outside. Good choices include water-based latex or acrylic paint. Milk paint is also safe. Natural oils like linseed oil or tung oil work well. If you use wood stain, make sure it says “non-toxic” for animals. Always let the finish dry completely before you put the birdhouse up. This stops birds from getting sick. Do not paint the inside or the entrance hole. Choose neutral colors like brown, green, or gray. These colors help hide the birdhouse from predators. Light colors are good if the birdhouse gets a lot of sun. They reflect heat and keep the inside cool.
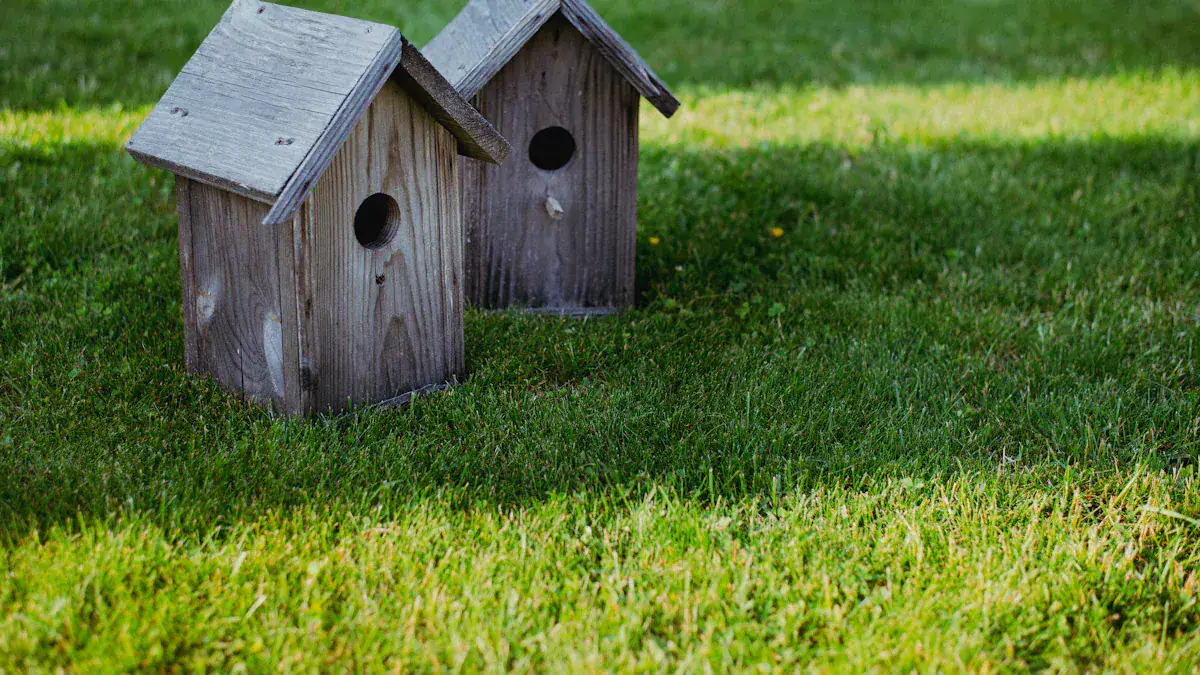
Mounting Best Practices
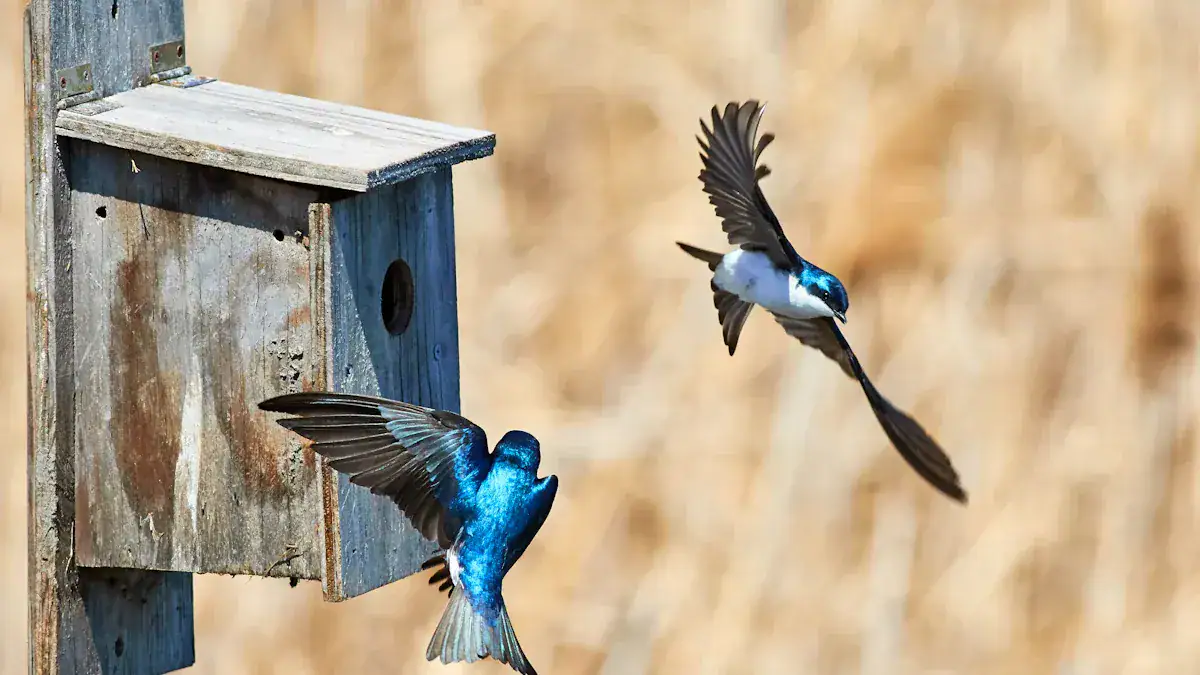
Mounting your birdhouse correctly is very important. Do not attach it to a tree. Trees make it easy for predators to reach the nest. Instead, mount your birdhouse on a sturdy pole. Place it four to six feet off the ground. Some suggest 5.5 feet or higher. This height helps keep predators away. Always add a baffle guard below the birdhouse. A stovepipe baffle is very effective. It stops climbing animals like raccoons and snakes. You can also add a predator guard to the entrance hole. This makes your bluebird house plans even safer.
Ideal Location for Bluebirds
Bluebirds like specific places. They prefer open areas with scattered trees. Look for low ground cover. Edges of forests, meadows, and pastures are good spots. They use fences or low branches to watch for food. Avoid dense forests or busy city areas. Mountain Bluebirds like open areas with short grasses and shrubs. They also like prairie edges or clearcut areas. Your birdhouse should be in a quiet, sunny spot. This gives bluebirds safety and easy access to food.
Seasonal Cleaning and Care
Cleaning your birdhouse keeps bluebirds healthy. The North American Bluebird Society says to clean it after each nesting. This means removing the old nest. Take out any unhatched eggs or young birds that did not fly away. This cleaning gets rid of parasites. It also makes bluebirds want to nest there again. If you cannot clean it after every nest, clean it at least once a year. Do this in the fall or early spring. Check for pests like ants. You can use axle grease or Tanglefoot on the pole to stop ants. Mites are usually not a big problem. Cleaning the birdhouse after the babies leave will remove them.
Building this birdhouse truly helps local bluebird populations. You provide a safe home for them. Please share your completed birdhouse projects and any bluebird sightings with our community! This project is a great start. You can tackle many more DIY wildlife projects. Explore more resources on bluebird conservation. Learn how you can further protect these beautiful birds.
FAQ
What color should you paint your bluebird house?
You should choose neutral colors. Brown, green, or gray work well. These colors help the birdhouse blend in. Light colors are good for sunny spots. They reflect heat and keep the house cool. Always use non-toxic paint on the outside only.
🌳 Can you put your bluebird house on a tree?
No, you should not put your bluebird house on a tree. Trees make it easy for predators to reach the nest. Instead, mount your birdhouse on a sturdy pole. Place it four to six feet off the ground. Always add a baffle guard below the birdhouse.
🧼 How often should you clean your bluebird house?
You should clean your bluebird house after each nesting. Remove the old nest and any unhatched eggs. This gets rid of parasites. It also encourages bluebirds to nest there again. If you cannot clean it after every nest, clean it once a year. Do this in the fall or early spring.
🐦 What if other birds use your bluebird house?
Sometimes other birds try to use bluebird houses. The specific entrance hole size helps deter larger birds. You can also add a metal hole guard. This prevents other birds from widening the hole. Monitor your birdhouse. You can gently remove nests from non-native species.


