
You want to be ready for anything. Building a homemade diy water filter offers a valuable skill for self-sufficiency and emergency preparedness. This simple project helps improve water quality. Understand this is not a replacement for advanced purification. You will gain cost savings and learn important skills. This guide shows you the materials and construction for your diy water filters. It also covers crucial safety steps. You will learn to make a basic filter for your water needs.
Key Takeaways
Build a DIY water filter for emergencies. It helps you get cleaner water when other options are not available.
A homemade filter removes large particles. It does not remove tiny germs like viruses or bacteria. You must boil filtered water to make it safe to drink.
Use safe materials for your filter. Do not use instant light charcoal or sand from the highway. These can add chemicals to your water.
Change your filter layers often. Replace them when water flows slowly or looks cloudy. This keeps your filter working well.
Why Build DIY Water Filters?
You gain many benefits when you learn to build your own water filter. These skills help you in different situations. You prepare for unexpected events. You also save money.
Emergency Preparedness
You need clean water in an emergency. A homemade water filter becomes very valuable when you cannot find clean drinking water. It is useful when you do not have a manufactured filter system. Imagine a situation where regular water sources are gone. For example, characters in “The Walking Dead” built a DIY water filter from a plastic bottle, sand, and rocks. They used it to clean cloudy stream water. This method helps you get safer water when other options are not available. You create an essential emergency water filter.
Cost-Effective Solution
Building diy water filters can save you money. Commercial filters can be expensive. You can improve your water quality without spending a lot. This is a good option if you are on a budget. However, you should know some things. DIY filters might not remove all contaminants as well as store-bought ones. Initial savings are good. But, you might face health issues if the filter does not work well. You may also need to replace homemade filter layers often. This adds up over time. A quality commercial system might save you money in the long run. It lasts longer and needs less maintenance.
Educational Benefits
You learn important skills when you build a water filter. You understand how physical filtration works. You see how different materials clean water. This project teaches you about water safety. You gain practical knowledge. This knowledge helps you feel more prepared. You also learn to be resourceful.
Understanding DIY Filter Mechanics
You build a DIY water filter to remove particles from water. This process is called physical filtration. It helps make a dirty water sample look clearer.
Filtration Principles
Physical filtration works by capturing unwanted particles. This involves three main steps: capture, attachment, and separation. You use different materials to achieve this. Mechanical straining is one way. This screens out particles larger than the filter’s openings. It is like a sieve. Particles also get stuck in the small spaces between filter materials. This is retention in intergranular spaces. Even tiny particles can get caught as they move through the filter. They touch the material and stick. This is attachment. Low water flow helps particles stick to the filter material. As more particles build up, the spaces get smaller. This can push some attached particles further into the filter. Sometimes, they can even pass through into the filtered water.
Layer Functionality
Each layer in your DIY water filter has a specific job. Different materials contribute to cleaning the water. For example, activated charcoal helps remove bad smells and tastes. It can also remove some pollutants from a dirty water sample. However, activated carbon has limits. Its surface and pore structure are not always good for removing phosphorus. Adding activated carbon can also affect the tiny living things in the water. It can also change the water’s pH balance. Sand layers, both fine and coarse, filter out smaller particles. Gravel and pebbles remove larger debris. These layers work together to improve the water’s appearance.
System Limitations
You must understand what your homemade water filtration system cannot do. These filters are not complete purification systems. They cannot remove all water contaminants. For example, they do not remove viruses or bacteria. These tiny organisms are too small for the filter layers to catch. Your filter also cannot remove dissolved chemicals. It will not remove heavy metals. You need other methods to make water safe from these contaminants. A DIY filter improves the water’s clarity. It does not make the water safe to drink on its own. You must always treat the water further.
Materials for Your DIY Water Filter
You need specific materials to build your own diy water filter. These items are easy to find. They help you create a basic filter system.
Container Choices
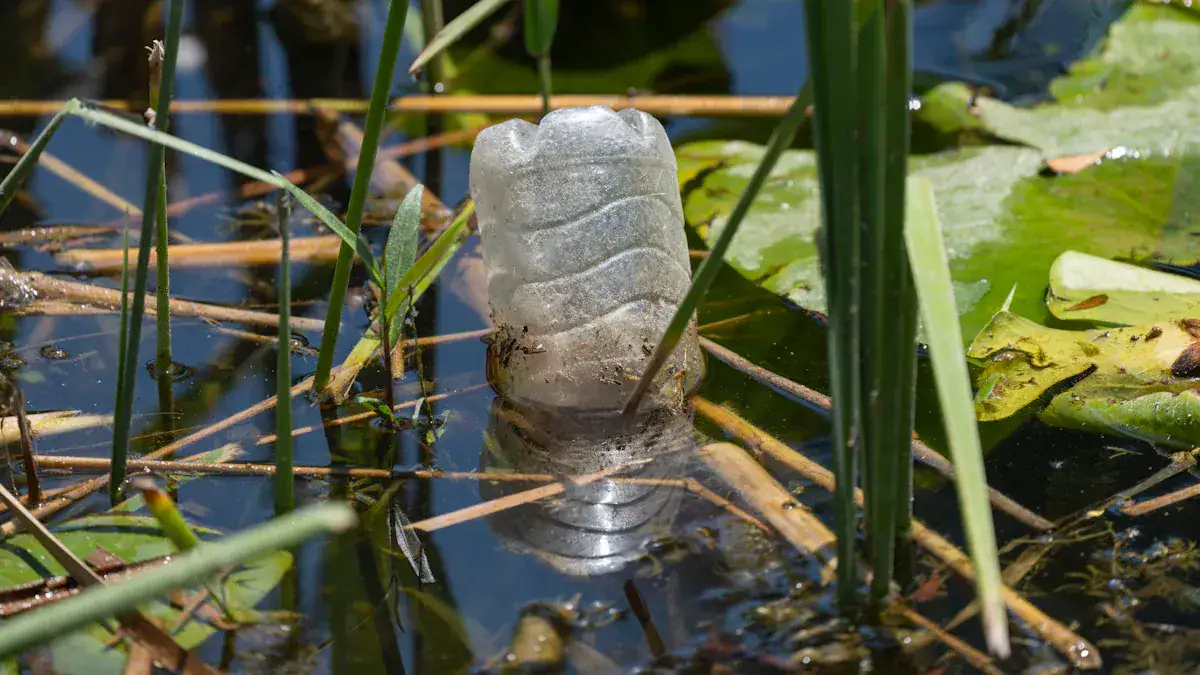
You need a container to hold your filter layers. A large plastic bottle works well. You can use a two-liter soda bottle. You cut off the bottom of this bottle. This creates an opening for adding materials. You then invert the bottle. A clean bucket also works as a container. You can drill holes in the bottom of a bucket. This allows water to drip through. You also need a separate collection container. This container catches the filtered water.
Filtration Layers
You build your filtration system with several layers. Each layer helps remove different particles from the water. You stack these materials inside your main container. You place them from the bottom to the top of your inverted bottle.
Cotton: You place a substantial amount of cotton at the bottom of the bottle. You spread it flatly. This layer prevents other materials from passing through. You can also use a clean cloth or cotton balls. A coffee filter works too.
Sand: You pour sand directly on top of the cotton. You spread it evenly. Fine sand helps filter out smaller particles.
Charcoal: You add crushed charcoal on top of the sand. You ensure it spreads evenly. Activated charcoal helps remove odors and tastes. It can also absorb some impurities.
Gravel, Rocks, and Pebbles: You layer these materials on top of the charcoal. You start with small gravel. Then you add rocks. Finally, you add pebbles. You make sure each layer spreads evenly. These larger materials remove bigger debris. They also support the layers below them.
Essential Tools
You need a few basic tools to assemble your filter. These tools help you prepare your container and materials.
Knife: You use a knife to cut the bottom off your plastic bottle. You can also use it to crush charcoal.
Scissors: Scissors also work for cutting the plastic bottle. They are useful for cutting cloth or cotton.
Drill: You might need a drill. A 7/16” drill bit helps you make holes in a bucket if you choose that as your container.
How to Make a Water Filter: Step-by-Step
You can build a basic water filter with simple materials. These step by step instructions guide you through the process. You will learn how to make a water filter that helps improve water quality.
Prepare the Container
First, you prepare your container. This is a crucial step for your filter. If you use a plastic bottle, cut off its bottom section. This creates a funnel shape. This opening allows you to add your filter materials easily. You can also use scissors or a knife to remove the bottom of the bottle. If you do not have a cap, cut off the top of the bottle instead. Then, poke several small holes in the bottle’s new bottom. You also need to create a small drain hole in the bottle cap. Use scissors or a knife for this. This hole lets the filtered water drip out.
Layer the Materials
Next, you layer the materials inside your container. These layers perform the actual filtration. Follow these instructions carefully for the best results.
Straining Fabric: You place a straining fabric at the bottom of your container. This is the first layer. You can use a fine cloth, a coffee filter, or cotton stuffing. This layer filters out larger particles. You can also use grass clippings and fine sand for this initial straining.
Pulverized Charcoal: Add about three inches of pulverized charcoal. This layer removes impurities and improves the water’s taste. Break down campfire or BBQ charcoal into the smallest possible particles. Do not use instant light charcoal. If you have one, cover this layer with another coffee filter. This prevents displacement.
Fine Sand: Pour a two to three-inch layer of fine sand. This sand filters out smaller particulates. Do not use Highway Department sand.
Coarse Sand or Small Pebbles: Add a two to three-inch layer of coarse sand or very small pebbles. This layer provides further filtration.
Additional Fine Sand: Include another two to three-inch layer of fine sand. This ensures multiple stages of particle filtration.
Gravel or Small Rocks: Finally, add a two to three-inch layer of gravel or small rocks. This layer prevents the water from displacing the sand layers when you pour it.
Optional Top Strainer: You can add a porous cloth, like a bandana or cheesecloth, on top. This strains large debris. It also prevents sand displacement.
Set Up for Filtration
Now, you set up your filter for use. These step by step instructions help you get ready to filter water.
You hold your assembled filter over a second, clean container. This container will collect the filtered water. Slowly pour the untreated water into the top of your filter. Pour slowly to avoid disturbing the layers. This also prevents spilling unfiltered water. The water will drip through the layers. It will collect in your clean container below. This process of filtration takes time. You will see the water become clearer. Remember, this filter improves clarity. It does not make the water safe to drink on its own.
Using and Maintaining Your DIY Water Filter
You have built your diy water filter. Now you need to know how to use it and keep it working. Proper use ensures you get the best possible clean water.
Filtration Process
You begin the filtration process by pouring untreated water into your filter. Hold your assembled filter over a second, clean container. This container will collect the filtered water. Pour the untreated water slowly into the top of your filter. This prevents disturbing the layers too much. It also stops unfiltered water from spilling into your collection container. Expect the water to drip slowly. This slow dripping means the filter layers are working.
Post-Filtration Treatment
Your homemade filter improves water clarity. It does not make the water safe for drinking on its own. You must always treat filtered water further. This kills harmful germs. Boiling water is the safest and most cost-effective method. You must boil water at a rolling boil for at least one minute. If you are above 6,500 feet, boil it for three minutes. This temperature kills viruses, parasites, and bacteria. Boiling does not remove chemicals.
You can also use other methods. UV light treatment uses ultraviolet light. This light damages the DNA of harmful germs. It disinfects the water. UV light works well against many microorganisms. However, it does not remove all organisms like Giardia lamblia cysts. Disinfectant tablets, like Aquatabs, also work. First, run water through your water filtration system. This removes large debris. Then, add one Aquatabs tablet to the filtered water. Follow the product instructions. Wait 30 minutes. This contact time kills harmful pathogens. Now the water is potable and safe for drinking.
Filter Maintenance
You need to maintain your filter for it to work well. Replace the layers when filtration slows down. You also replace them if the water quality gets worse. Several signs tell you when to change your filter layers.
Metallic Taste or Unpleasant Odor: A metallic taste means minerals build up. A bad smell shows the filter no longer removes chemicals well.
Decreased Water Pressure: The water flows much slower. This often means clogged connections from salt and mineral deposits.
Black Mold: You see black mold in the filtered water. This is a serious sign of fungal growth. You must replace the filter immediately.
Cloudiness: The filtered water looks cloudy or milky. This means dissolved pollutants are still present. Your filter is not working effectively.
Safety and Important Considerations
You must understand the limitations of your homemade water filter. You also need to know how to use it safely.
Not a Purifier
You must understand a homemade filter is not a purifier. It removes larger particles. It does not eliminate all harmful contaminants. A water filter and a water purifier have key differences.
Feature | Water Filter | Water Purifier |
|---|---|---|
Contaminant Removal | Sediment, chlorine, lead, bacteria | Viruses, bacteria, chemicals, broader range |
Technologies Used | Physical barrier, chemical, biological | UV light, reverse osmosis, advanced filtration |
Virus Removal | No | Yes |
Installation | Easy | Complex |
Cost | More affordable | More expensive |
Maintenance | Regular cartridge replacement | Long-lasting components, less frequent replacement |
Electricity | Not typically required | Often required |
This table shows a filter removes some contaminants. A purifier handles a broader range of contaminants, including viruses.
Boiling is Crucial
You must always boil filtered water. This step makes water safe for drinking. Boiling kills viruses and bacteria. Your DIY filter does not remove these tiny organisms. Boiling ensures the water becomes potable. You need potable water for safe drinking.
Source Water Quality
The quality of your source water matters. A DIY filter works best with visibly dirty water. It removes sediment. Do not use highly contaminated water sources. Avoid water with chemical spills or industrial waste. Your filter cannot remove these dangerous contaminants.
Material Sourcing
You need safe materials for your filter. Use food-safe containers.
Food-Safe Container: Use a plastic bottle or a similar food-safe container.
Straining Fabric: Utilize clean cotton, cheesecloth, or a coffee filter. Grass clippings can also be used, but ensure they are not poisonous or unidentified weeds.
Charcoal: Use charcoal from a campfire or BBQ. Do not use match/instant light charcoal as it contains chemicals.
Sand: Use both fine and coarse sand. Avoid Highway Department sand due to potential road salt and chemical contamination.
Gravel/Pebbles: Include a layer of gravel or small pebbles.
These materials help you build an effective filter. They ensure your filtered water is as clean as possible before boiling.
You now understand how to build diy water filters. This skill improves basic water quality. It is vital for emergency situations. Remember, your diy water filter is not a complete purification system. You must always boil the filtered water for safety. Practice building your emergency water filter. This builds practical knowledge. Always use clean materials. Avoid highly contaminated water sources. These diy water filters offer a simple way to get cleaner water in an emergency.
Always use clean materials. Avoid highly contaminated water sources. This ensures your filter works best.
FAQ
What kind of water can you filter with a DIY system?
You can filter visibly dirty water. This removes sediment and larger particles. Do not use water with chemical spills. Avoid water from industrial waste. Your filter cannot remove these dangerous contaminants.
How often should you change the filter layers?
You should change the layers when water flows slowly. Replace them if the water quality gets worse. A metallic taste or bad smell means you need new layers. Cloudiness in filtered water also signals a change is due.
What if your filtered water still looks cloudy?
Cloudy filtered water means your filter is not working well. Dissolved pollutants are still present. You need to replace your filter layers. Ensure you have enough of each material. Always boil cloudy water before drinking.
Can you use any type of charcoal for the filter?
No, you cannot use any type of charcoal. You must use charcoal from a campfire or BBQ. Do not use instant light charcoal. It contains chemicals. These chemicals can contaminate your water.


