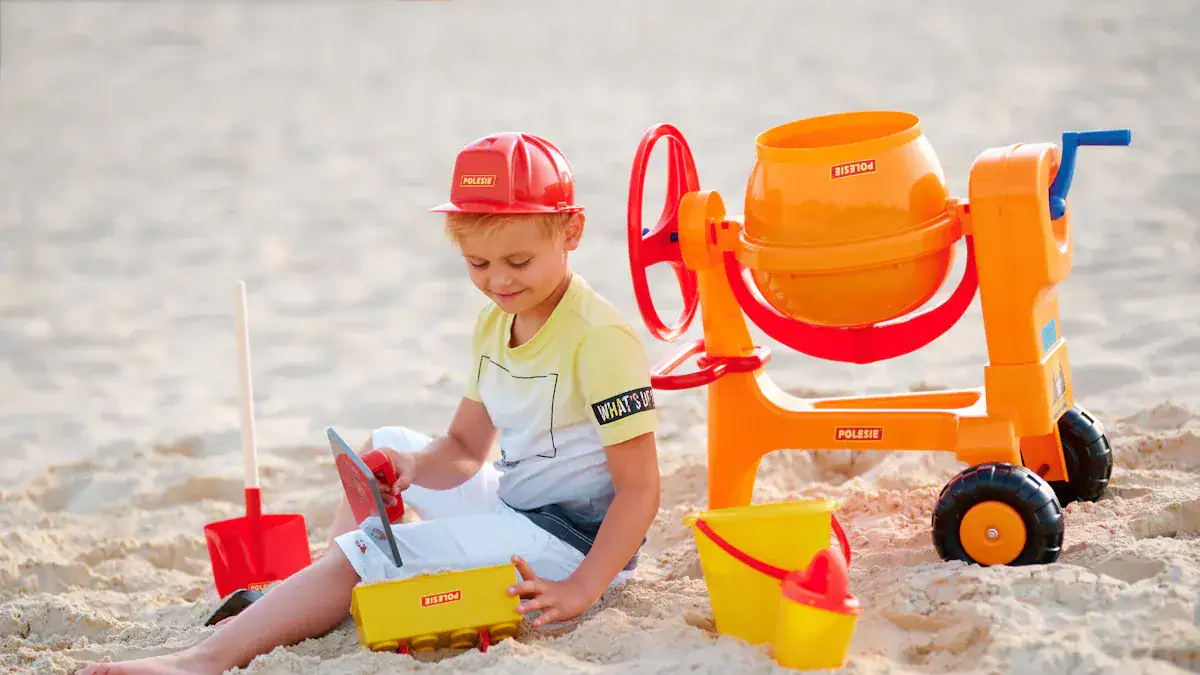
A sandpit offers immense joy and crucial developmental benefits for kids. You do not need a large budget for this fun addition to your yard. Free sandbox plans make building one achievable and affordable. This guide helps you find and utilize these free plans to create a safe, durable, and fun sandbox. Building it yourself is a truly rewarding project.
Key Takeaways
Building your own sandpit saves money and lets you create a custom play area for your kids.
Before you build, pick a shaded spot, choose safe materials like cedar wood, and plan for a good size.
You can find many free plans for simple square sandpits, ones with seats, or designs that use recycled items.
To build a sandpit, prepare the ground, assemble the frame, add a liner, and then fill it with play sand.
Keep your sandpit safe and clean by raking the sand often, covering it when not in use, and checking it for wear.
Why Build Your Own Sandpit
When you decide to build a sandbox, you gain many advantages. Making your own sandpit offers benefits beyond just a play area. You create a special place for your children.
Cost Benefits
You save money when you build your own sandpit. Free sandbox plans eliminate design expenses. This allows for low-cost construction. You can use readily available materials. For example, common lumber like 7″ x 1.5″ boards works well. This keeps your project budget friendly.
Custom Design
You can tailor the sandpit to your exact needs. Design the size and features to fit your specific space. You can also match it to your children’s play style. This means your sandpit will be unique. It will perfectly suit your backyard and family.
Safety Assurance
You control the materials that go into your sandpit. This gives you peace of mind. You can choose non-toxic options for every part. For the sand, select washed sand from a reputable source. Brands like Safe Sand White Playsand or Sandtastik Sparkling Play Sand are good choices. River sand or beach sand also work as safe alternatives. For the structure, use naturally rot-resistant wood like cedar or redwood. You can also use composite or recycled plastic borders. If you use other wood, seal it with an ECO-SAFE Wood Treatment. This treatment is non-toxic and safe. Use landscape fabric or window screen fabric as a liner. This helps with drainage and keeps the sand clean.
DIY Satisfaction
Building a sandpit yourself is a rewarding experience. You get to create something with your own hands. This project is engaging for you as a parent. You will feel proud watching your children enjoy the play space you built. It creates lasting memories for everyone.
Before You Build: Key Considerations
Before you start building your sandpit, you need to plan carefully. Thinking about these key points helps you create the best play space.
Site Selection
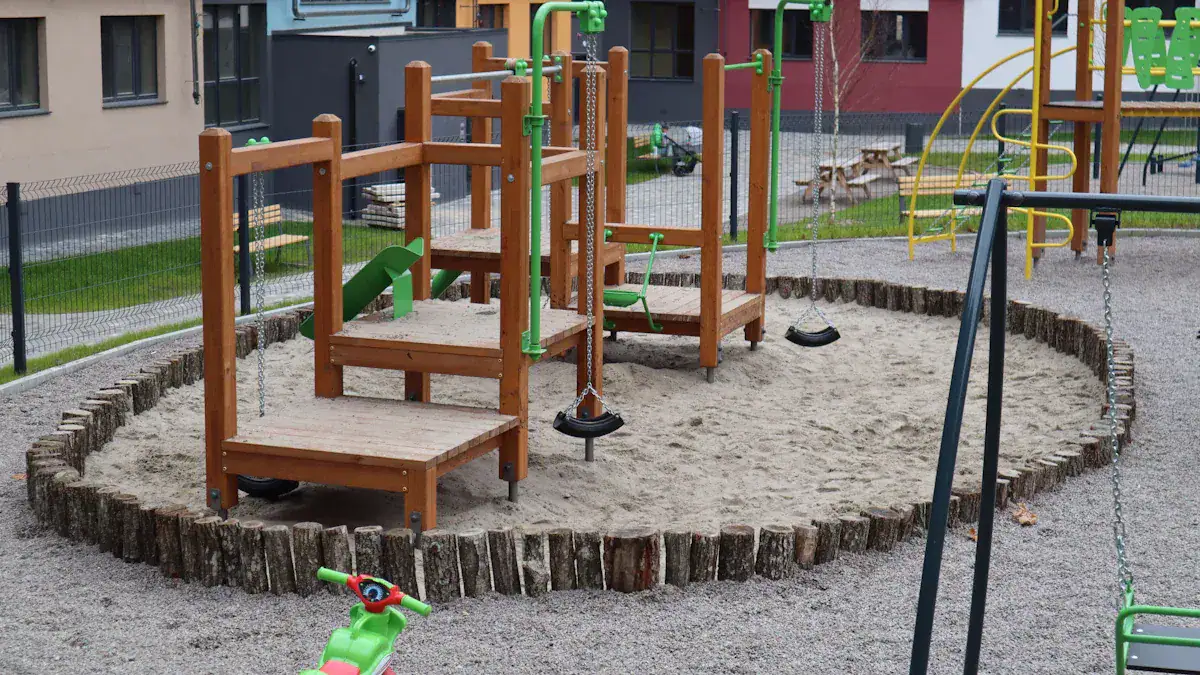
Choose the right spot for your sandpit. Consider sun exposure. Children should play in shaded areas, especially between 10 a.m. and 2 p.m. This is when UV rays are strongest. You can use umbrellas or canopies for shade. Even on cloudy days, UV rays can cause sunburn. Always apply broad-spectrum sunscreen with SPF 30 or higher to exposed skin 15-30 minutes before play. Reapply it every two hours. Also, check the ground for good drainage. You do not want water to sit in the sand. Place the sandpit where you can easily supervise your children.
Dimensions and Form
Think about the size and shape of your sandpit. Match it to your available yard space. Also, consider how many children will play in it. A 6×6 ft sandbox might feel too small quickly. An 8×8 ft size often works better for longer use. For children aged 3-5 years, a sand depth of 4-6 inches is recommended for play.
Material Choices
Select materials that are safe and durable.
Material Type | Durability (Lifespan) | Safety Features |
|---|---|---|
Traditional Wood (Cedar/Redwood) | 10-15 years | Vulnerable to warping, splitting, rot; splinters over time |
Composite Wood | 25-30 years | Resists rot, warping, insect damage; won’t splinter |
Cedar or redwood are good wood choices. They naturally resist rot. Composite wood is another excellent option. It lasts longer and does not splinter. You will also need a liner for the bottom. Landscape fabric works well. Think about a cover to protect the sand when not in use.
Safety Planning
Always prioritize safety. Make sure all edges are smooth. Sand any rough spots on wood. Use non-toxic finishes if you paint or seal the wood. Proper sand depth is also important. A depth of 18-24 inches is considered best practice. This allows children to dig without reaching the bottom. Some experts even recommend a minimum sand depth of 450mm for safety.
Free Sandbox Plans: Designs for All
You can find many free sandbox plans. These plans suit different skill levels and needs. You will find a design that works for you.
Simple Square Designs
A basic square sandbox is a great starting point. This classic design is perfect for beginners. It requires minimal cuts. You can easily find the materials. You will need lumber, screws, and landscape fabric. Basic tools like a saw, drill, and measuring tape are also necessary.
For a basic square sandbox, you might need these materials:
Side boards (Redwood): 10 pieces, 6-foot boards, 1 by 8 inch
Interior posts (Redwood): 8 pieces, 15-inch posts, 4 by 4 inch
Top rim (Redwood): 4 pieces, 6-foot boards, 1 by 3 inch (two boards need about 3 inches cut off)
Outdoor wood screws: A box of 50 or 100
Wood filler putty: 1 small tin
Outdoor primer: 1 quart
Outdoor paint: 1 quart
Sandbox sand: 24 bags, 50 pounds each
Other common materials include deck screws, timber/wood screws, cedar boards, and landscaping fabric. You will use tools like a circular saw, miter saw, and table saw.
Seating Integration
Adding built-in seating makes your sandbox more comfortable. These designs often include integrated benches. Some even have hinged lids. These lids can convert into seats. This adds convenience for children and adults.
Common designs include a sandbox with built-in seats or a covered sandbox with built-in seats. One clever design uses decking boards. You screw three boards down at one end. You join the next three boards on the underside with a seat batten. Hinges connect these sections. This allows them to fold backward into a seat. You join the final decking boards to backrest supports. You hinge them from the underside. You repeat this process on the other side. This creates two integrated bench seats. Many resources offer detailed sandbox plans with a bench and lid. These often include a free PDF download, material list, drawings, and measurements. A popular design features seats that fold to cover the sand. This keeps neighborhood animals out.
Protective Covers
A good cover protects your sandbox from weather and animals. You can find plans for hinged or removable covers. Some covers even convert into benches.
Here are some easy-to-use cover designs:
Hinged Tops that Convert to Benches: This innovative design opens up to form small benches. When closed, it creates a small wooden deck.
Tarps: Inexpensive blue tarps work well. You can secure them with bungee cords to eyelets or fence staples. This also helps keep the sand damp.
Plywood Covers: Cut plywood into two pieces. This makes removal easier for children. Add cabinet handles for lifting. Paint both sides and edges to make them last longer.
You can also use rope handles for easy lifting. Bungee cords or Velcro straps secure the cover tightly. Magnetic closures offer easy opening and closing. Hinges with lid supports make opening and closing smoother. Spring-loaded hinges can even close the cover automatically.
Creative Upcycling
You can create a unique sandbox using upcycled items. This is an eco-friendly option. It often works well for smaller spaces.
One idea is to repurpose an old desk into a sandbox table. This creates a fun, elevated play area. Another creative project involves covering a sandpit with wooden pallets and wire fencing. You can then top it with wood chips to create a stable driveway. If you use recycled tires, you will need simple tools. Heavy-duty scissors or a utility knife can cut the tire. You might also use a saw, drill, or Dremel for other parts of the project.
How to Build a Sandbox: General Steps
Building your own sandbox is a rewarding project. You can complete many DIY sandbox projects in as little as one day. Follow these general steps to create a fun play area.
Preparation
Before you start building, gather everything you need. Refer to your specific plan’s lists for exact items. For a typical sandpit build, you will need essential tools and materials.
Construction Base: You might use a sandpit construction kit or sawn planks of wood.
Finishing: Have sandpaper ready if your wood needs smoothing.
Assembly Tools: A cordless electric screwdriver with various bits, a folding rule, and a spirit level are very helpful. A tacker, like a Novus J-105 electronic tacker, can also be useful.
Drainage: You will need gravel or bricks for the base.
Lining: Sandpit fleece or landscape fabric is essential.
Filling: Make sure you have enough play sand.
If you are building a wooden sandpit, you will need specific materials and tools. Materials:
13 round wooden posts or stakes (10 cm diameter)
2 planed-edge boards (at least 20 cm wide)
Wood screws
Play sand
Sandpit geotextile
Tools:
Chainsaw
Staple gun
Cordless screwdriver
Metre rule
Sawhorse
Screw clamps
Next, prepare your site. Level the ground and ensure proper drainage.
Mark the layout: Use a tape measure, white marking paint, stakes, and mason’s line. Outline an area that extends 6 inches beyond your desired sandpit edge. Plan for a 1-inch slope for every 8 feet for good drainage.
Excavate and clear the site: Clear away grass, rocks, and any debris. Dig down about 8 inches. Use a shovel or a mini excavator to remove soil evenly. Check your progress with a level. Compact the soil with a plate compactor or hand tamper. This prevents future settling. Rake the area smooth and add a slight grade for drainage.
Create the Base: Add a layer of gravel or crushed stone. Spread a 4-6 inch layer evenly. This provides drainage and stability. Compact it thoroughly with a tamper or plate compactor. This removes air pockets and prevents sinking. Compact the gravel multiple times. Check for levelness with a long level. Add more gravel and re-compact if you find low spots.
Add a Layer of Sand for the Leveling Bed: Spread a 1-inch layer of sand over the compacted gravel. Use a rake to distribute the sand evenly.
Screed the sand layer: Use two long pipes and a straight edge. This creates a uniform, level surface. Avoid walking on the sand after screeding.
Construction
Now you can start building the frame. First, cut your lumber according to your plan dimensions. Use a saw to make precise cuts.
Next, assemble the frame. Secure the corners with screws or brackets. You have several options for securing the corners:
Nail each corner. Use 2½-inch or 3-inch galvanized nails. Drive three nails into each corner.
Cut a 4-by-4-foot post into 12-inch lengths. Install one in each corner. Place it inside the frame. Nail it with three nails through each side of the frame. Make sure each corner forms a 90-degree angle.
Cut four right-angle triangles with 14-inch legs. Place one in each corner. Align it with the 90-degree frame. Nail it into place. These triangles can also serve as small seats.
After assembling the frame, add the liner. Staple landscape fabric or sandpit geotextile to the bottom of the frame. This prevents weeds and keeps the sand clean.
If your design includes seating or a cover, install these next. Follow the specific instructions in your plan. For example, if you are building a sandbox table, you might attach legs and a tabletop. If you are wondering how to build a sandbox table, many plans show you how to integrate these features. A sandbox table often includes a lid that can convert into a play surface.
Finishing Touches
The final step is to fill your sandbox with sand. Use play sand, not construction sand. Play sand is washed and safe for children. Fill the sandbox to the recommended depth. If you built a sandbox table, ensure the sand depth is appropriate for its design. A sandbox table provides an elevated play experience.
Sandpit Maintenance and Safety
You must keep your sandpit safe and clean. This ensures your children have a healthy play space. Regular care also makes your sandpit last longer.
Routine Cleaning
Clean your sandpit often. Daily raking and sifting breaks up sand clumps. This keeps the sand fresh. It also helps remove unwanted items. Teach your children simple hygiene rules. They should not throw sand outside the pit. They should put away toys. Always wash hands after playing. You can disinfect the sand. Mix half a cup of bleach with one gallon of water. Spray this solution evenly over the sand. Let the sand dry completely. Use a rake for larger debris like toys or sticks. A mesh sieve helps with smaller items like leaves. You should replace the sand periodically. Do this if it becomes compacted or discolored. Replace it at least once a year.
Protection Measures
Cover your sandpit when not in use. This prevents contamination from insects and animals. It stops parasites like Toxoplasma gondii from cat feces. Use a cover made of permeable woven material. Avoid rigid covers or plastic tarps. These can cause bacteria and mold growth. Make sure the sand is dry before covering it. Choose a cover that is easy to put on and take off. This helps you use it consistently. A mesh top prevents water from collecting. This makes the cover lighter. A weighted sandbox cover stays in place on windy days.
Longevity Tips
Inspect your sandpit regularly for wear and tear. Look for splinters and rough areas. Check for loose fasteners. Watch for mold, mildew, or rot. Severe cracking and decay from moisture are also signs. You can extend the life of your wooden sandpit. Choose rot-resistant wood like cedar. Apply a high-quality sealant or stain. Do this annually, ideally in spring. Clean and dry the wood before sealing. Tighten loose screws or bolts at least twice a year. Fill any loose fixtures with wood putty. Remove leaves and dirt promptly. Use a gentle soap and water solution for cleaning. Dry wooden parts thoroughly after cleaning. This prevents mold.
Building your own sandpit offers great rewards. You save money, customize the design, and create immense joy. You now have the information to start your project with confidence. Embark on this DIY adventure. You will build a fun play space. This creates lasting memories for your children.
FAQ
What kind of sand should you use?
You should use play sand. It is washed and safe for children. Avoid construction sand. It contains silica dust. This dust can harm lungs.
How often should you clean the sand?
You should rake the sand daily. Sift it weekly. This removes debris. It keeps the sand fresh. You should replace all sand annually.
Can you build a sandpit on uneven ground?
No, you must level the ground first. Proper drainage is important. An uneven base can cause water to collect. This leads to mold.
What if you do not have much space?
You can consider a smaller design. An upcycled tire sandbox works well. A sandbox table is another option. It provides an elevated play area.