
Building diy round coffee tables is an exciting project. You can easily create a custom piece for your home. Many free plans exist to guide you through the process. This diy endeavor is very rewarding. You will build a beautiful and functional coffee table. Even with limited woodworking experience, you can succeed. These free plans make the diy round coffee table project simple. You can complete your new table quickly. Your unique coffee table will enhance your space. You will enjoy your new coffee table.
Key Takeaways
Building your own round coffee table saves money. You can customize its size and style. This project helps you learn new skills.
Gather essential tools and materials first. You will need a way to cut circles. Safety gear protects you during the build.
Many free plans are available online. Look for plans with clear instructions. Choose a plan that matches your skill level.
Follow general steps for building your table. Prepare your workspace. Cut the top carefully. Build a strong base. Sand and finish for a lasting look.
Measure and cut with care. Be patient during each step. Test finishes on scrap wood. This helps you avoid common mistakes.
Why DIY a Round Coffee Table?

Building your own coffee table offers many advantages. You gain more than just a piece of furniture. You create something unique and personal. This project brings several benefits to you and your home.
Cost Savings
You can save a lot of money when you build your own table. DIY furniture projects are almost always cheaper than buying from a store. You can often save 70%, 80%, or even 90%. For example, a diy table might cost you about $80 for wood. A similar table from a retailer could cost $800 to $1000. This does not even include shipping or sales tax. You can stick to your budget easily with diy projects.
Customization Options
You get full control over your diy round coffee table design. You can easily change the height by adjusting leg length. You can also change the diameter by cutting the top to your desired size. You have choices for how you build it. You can use half laps or wood screws for the legs. You can cut the round top with a router, jigsaw, or band saw. You can even choose a square or triangular top instead. You decide on the finishing touches. You can leave screw holes visible or cover them with putty. You can also use figure 8 fasteners or simple screws to attach the top. These options make your table truly yours.
Skill Development and Satisfaction
Engaging in diy projects offers many personal rewards. You can express your creativity. This gives you a sense of purpose. Finishing a diy project provides a real achievement. This boosts your self-esteem. It also improves your problem-solving skills. You learn to overcome challenges. Studies show that crafting can reduce mental distress. It also increases life satisfaction. This diy work promotes mindfulness. It helps you relax.
Unique Aesthetic Appeal
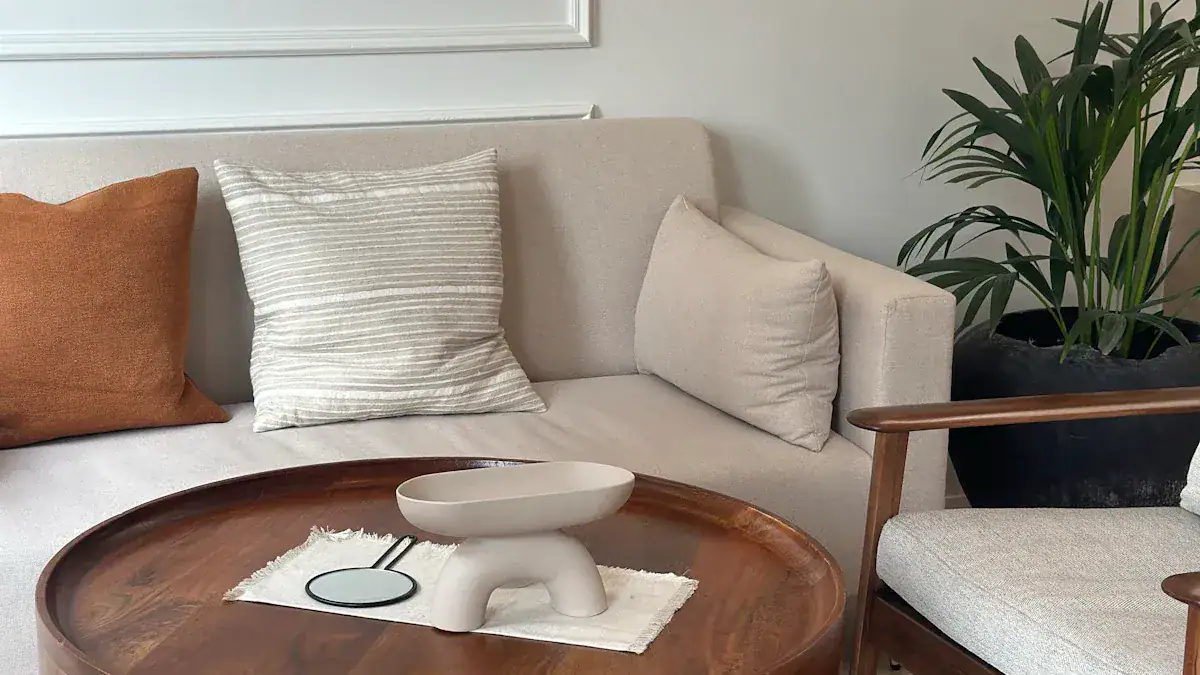
A diy round coffee tables adds a special touch to your home. Round tables bring softness and balance to a room. They break up straight lines and sharp corners. This creates a more harmonious look. They fit well with many styles, like Bohemian or modern. Round tables also make social interaction better. Everyone feels included. There is no “head” of the table. This helps people engage equally. Your coffee table becomes a visual anchor. It defines spaces without harsh divisions.
Essential Tools and Materials
You need the right tools and materials to successfully build your diy coffee table. Gathering these items before you start saves time. This section tells you what you need.
Basic Woodworking Tools
You will use several tools for your diy project. A jig saw or router helps you cut the circular table top. A miter saw makes precise cuts for legs. You also need a drill/driver for fasteners. A sander prepares your wood for finishing. Clamps hold pieces together while glue dries. For specific joinery, consider Kreg® tools. These include a Kreg® Pocket-Hole Jig 720PRO and Zinc Pocket-Hole Screws.
Safety Gear Essentials
Protect yourself during your build. Safety goggles or glasses shield your eyes from debris. Use earplugs or earmuffs to prevent hearing damage from loud tools. A dust mask or respirator filters out wood dust. Cut-resistant gloves protect your hands from splinters. Steel toe boots guard your feet from falling objects. A leather apron prevents clothing from catching in power tools.
Tabletop Material Options
You have choices for your table top. Plywood is a popular option. It offers strength due to its layered construction. Plywood is also less prone to water damage than MDF. You can stain plywood to achieve a desired wood finish. It holds screws securely. However, plywood can be more expensive. Its visible edges require finishing, like edge banding. Plywood also tends to splinter when you cut it. This makes smooth, round cuts challenging.
Base and Leg Material Choices
The base and legs support your table. You can choose different materials.
Material | Characteristics |
|---|---|
Steel | – Strong, allowing for minimalist designs. |
Wood | – Can enhance the appeal with innovative designs. |
Wood dowels or lumber are common choices for a wood base. Metal pipes also offer a modern look. Choose a material that fits your budget and style.
Finishing Supplies
Finishing protects your table. It also enhances its appearance. Sandpaper creates a smooth surface. Wood glue and screws secure your joints. For a durable coffee table surface, consider polyurethane. You can apply it with stains. Lacquer is another durable option. It resists water and staining. For excellent protection, apply 5-6 coats of a wiping varnish like Arm-R-Seal. Do not use wax for protection.
Finding and Choosing Your Free Plans
You need good guidance for your diy project. This section helps you find the best free plans for making a round diy coffee table. You will learn what makes a good plan. You will also understand how to pick one that fits your skills.
Where to Locate Free Plans
Many online resources offer free plans. You can start your search with online diy communities. Woodworking blogs often share detailed tutorial guides. YouTube also provides many video tutorial options. Pinterest is a great visual resource for diy coffee table ideas.
Kregtool.com is an excellent source. They offer “Free woodworking plans” on their website. You can explore these plans by space. This includes areas like the living room or outdoor living. You can also search by type, such as decor or gifts. Kregtool adds new plans weekly. Popular plans include raised garden beds and kitchen islands. You can find specific free plans like a “Modern Farmhouse Square Coffee Table” or a “Tiered Corner Plant Stand Tower.”
Ana White is another fantastic platform. It has shared simple woodworking plans since 2009. This site helps you build affordably. It offers beginner-friendly plans. Ana White features a “Plan Catalog.” This catalog has many free plans. You can find projects categorized by type. These include home decor and living room table designs. You can also sort by room or difficulty. Examples of free plans include a “2×4 Outdoor Side Table” and a “Farmhouse Table.” Ana White also offers collections of free plans. These include “30+ FREE Outdoor Chair Plans” and “20+ Amazing Free Bed Plans.” This community has over 50,000 reader-submitted photos. It has a strong social media presence.
Crafty Amigo also provides free plans. They offer 3D design software. This software is user-friendly for all skill levels. You can design, share, and clone projects. The platform gives you a parts list. It also provides exact measurements. You can use standard hardware store parts for your designs. You can share your designs with friends. They can then edit or build them.
What Makes a Good Plan
A good plan makes your diy project easier. Look for clear instructions. The plan should include a complete material list. A cut list tells you exactly what pieces to cut. Diagrams or blueprints help you visualize the steps. A good plan indicates the skill level required. Some plans even come with how-to videos. These videos provide a visual tutorial. They guide you through each step.
Evaluating Plan Complexity
You must match plans to your skill level. Consider your available tools. Some plans are “super-easy to build.” These are great for beginners. Other designs are more complex. A double lift-top circular coffee table requires advanced skills. Choose a round coffee table tutorial that fits your experience. Do not pick a plan that is too hard. This ensures a successful diy experience.
Popular Free Plan Styles
Many styles of diy round coffee table plans exist. You can find a simple pedestal table. Hairpin leg designs offer a modern look. Cross-base table designs provide stability. Drum style coffee table plans create a solid appearance. Fluted round coffee tables add texture. Modern round coffee tables often feature clean lines. You can find an easy diy tutorial for almost any style.
DIY Process: General Steps
Building your own coffee table involves several key stages. This tutorial guides you through the general process. You will learn how to build table components and assemble them. These steps apply to most diy plans you choose.
Preparation and Workspace Setup
A well-prepared workspace makes your diy project smoother. First, read your chosen plans thoroughly. Understand all the instructions. Gather all your materials and tools.
Consider your workshop layout. Assess your available space. This could be a garage, basement, or shed. Divide your workshop into key zones. You need areas for tool storage, a workbench for assembly, cutting, sanding, and finishing. Place tools efficiently. Position power outlets conveniently. Plan where you will store materials.
You need essential tools. For beginners, a table saw or circular saw is crucial. Hand saws, a power drill, and sanders are also must-haves. Do not forget clamps, chisels, and planes. Balance power tools with hand tools for versatility.
Set up your workbench. Choose a workbench that has the right height, size, and stability. Incorporate vises or dogs for holding wood. Optimize your lighting. Use task lighting, overhead lights, and natural light. Ensure an ergonomic setup. Consider adjustable seating and anti-fatigue mats. Place tools within easy reach.
Organize your tools. Wall-mounted storage like pegboards or French cleats keeps things tidy. Magnetic strips and shelves also work well. For small workshops, use space-saving ideas. A fold-down workbench or ceiling storage can help. Mobile storage options are also useful. Rolling tool cabinets or utility carts move easily.
Control dust in your workshop. Shop vacuums with dust separators are good options. Central dust collection systems or air filtration units also help. Prioritize safety. Always wear eye protection, hearing protection, and dust masks. Use work gloves. Keep push sticks and featherboards handy for saws. Ensure good ventilation. Open windows or use exhaust fans. Store finishes and solvents properly.
Cutting the Perfect Round Top
Creating a perfectly round table top is a key step for your round coffee table tutorial. Several methods help you achieve this.
Router with a Trammel: Attach a trammel to your router. This pivots around a central point. You cut a perfect circle. This method works for many circle sizes. It produces a clean edge.
Table Saw with a Jig: Build a custom jig. It has a runner that fits your miter slot. It also has a pivot point for your wood. Rotate the wood against the blade. Make multiple passes to form the circle.
Band Saw with a Jig: Use a jig with a pivot pin on your band saw. This method is fast and easy. You can rotate the wood smoothly. It creates the circle with little effort. It might leave a rougher edge.
Jigsaw with a Trammel: Adapt a trammel for your jigsaw. This is a cost-effective method. The trammel holds the jigsaw securely. This ensures a precise circular cut. Make sure your jigsaw fits the trammel well.
Template with a Router: Use an existing round object as a template. Secure the template to your wood. Use a flush trim bit on a router. This cuts your new piece to the template’s exact shape. Remove most waste with another tool first.
CNC Machine: A CNC machine offers the highest precision. It cuts circles with extreme accuracy. It is safe and leaves very clean edges. It does not require a hole in your table top. This option is more expensive and needs learning.
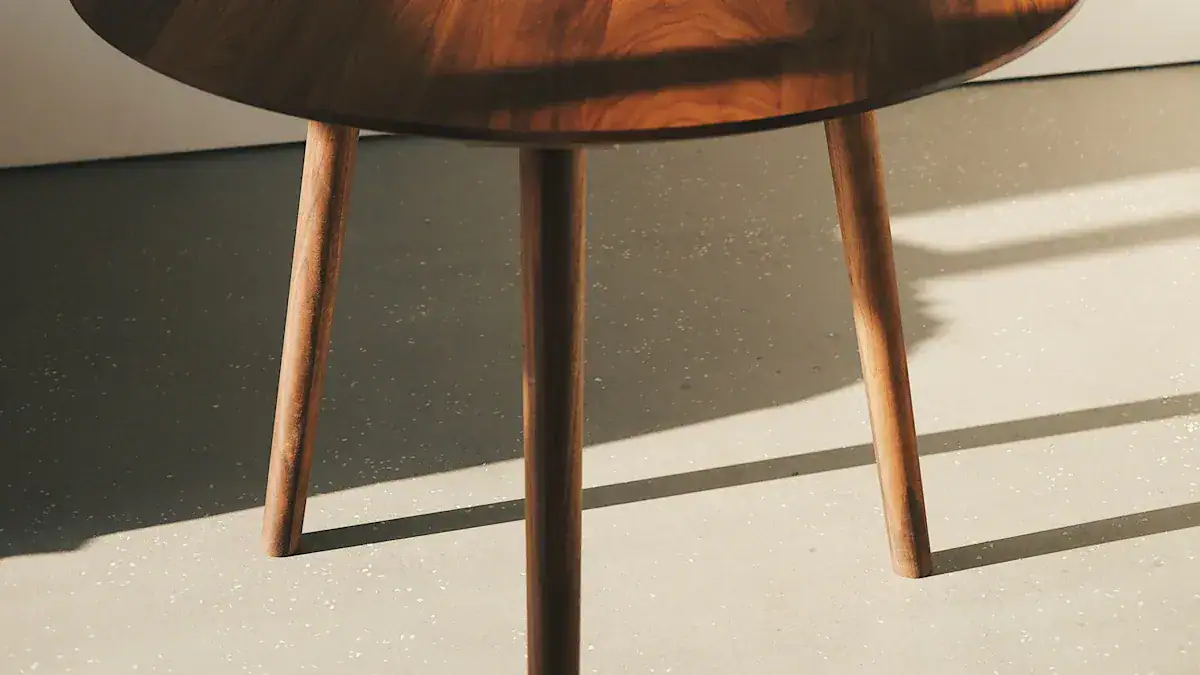
Building the Base or Legs
The base supports your table. Your chosen plans will guide you. Here are some common construction techniques for your coffee table base.
One method involves stacking plywood strips. Cut 2.5-inch wide maple plywood strips. Make them your desired height. Glue them in sections, for example, three strips at a time. Clamp them to dry. Then, shape the base. Mark and cut curved ends with a band saw. Cut out material where the table top will sit. Assemble the base ends. Apply glue between each plywood board. Clamp the base ends to dry overnight. Add a center brace. Cut a leftover piece of plywood. Glue two pieces together for a thicker brace. Cut slots in each base end. Use a Japanese pull saw, chisel, and hammer for these slots. Glue the center brace into the slots. This connects the two base ends.
Another technique uses aprons and legs. Prepare your apron pieces. Cut them to the required size. Drill 1 ½-inch pocket holes at both ends of each apron piece. Drill ¾-inch pocket holes on one edge of each apron. Attach the aprons to the legs. Center the apron pieces on each turned leg. Secure them with 2 ½-inch pocket hole screws and wood glue.
You can also use No. 2 pine lumber. Cut all pieces to length with a miter or table saw. Drill angled holes with a pocket-hole jig. Use 1 ¼-inch pocket screws. Assemble the base. Glue and pocket-screw the legs, rails, and crosspieces together. Attach faux-tenon blocks for decoration. Align them with the leg angle. Secure 1×4 slats on shelf cleats with glue. Leave a ½-inch gap between them.
For an easy diy tutorial, consider a 2×4 X-base. Use standard 2x4s. Cut three pieces of 2×4. Assemble them with 1 ½-inch pocket holes and 2 ½-inch pocket hole screws. This forms the main X. Cut and assemble two “half Xs” using the same pocket hole technique. Attach the two half Xs to the main X. Use pocket holes and screws to complete the base. Fill pocket holes with putty or wood glue and pocket hole plugs. This is a simple way how to build table legs.
Secure Assembly Techniques
Attaching the table top to the base securely is crucial. Your plans will provide specific instructions. Use wood glue and screws for strong joints. Clamps hold pieces together while glue dries. For some designs, you might use metal brackets or specialized fasteners. Ensure all connections are tight and stable. This prevents wobbling.
Sanding and Finishing for Durability
Sanding prepares your table for a beautiful finish. It removes mill marks, dents, and gouges. Start with a coarse enough grit. This quickly addresses imperfections. Then, use progressively finer grits. Each finer grit removes scratches from the previous one. You typically sand up to 150, 180, or 220 grit.
Here is a common grit progression:
80 grit: Start with this for hardwoods. It removes shallow scratches.
120 grit: Use this as a starting grit for softwoods.
150 grit: Prepare surfaces for polyurethane and enamel paints.
180 grit: Smooth surface irregularities and raised wood grains. Prepare for latex and acrylics.
220 grit: Use for wood stain preparation or before finishing.
320 grit: Sand between coats or for wet sanding.
400 grit: Prepare for finishing oils or smooth top coats. This can be a final finishing grit.
600 grit and up: Use for plastics, metals, fine wet sanding, or polishing.
After sanding, apply your finish. This protects your coffee table and enhances its look.
Prepare the surface: Clean and sand the wood. Make sure it is ready for stain.
Stir and test: Stir the stain thoroughly. Test it on a small, hidden area or scrap wood.
Apply the first coat: Use a brush, rag, roller, or sprayer. Apply an even coat. Let the wood absorb it. Wipe away any excess.
Apply subsequent coats: Let the first coat dry completely. Repeat the application if you want a darker color.
Apply finish: Wait 24-48 hours after staining. Then apply a sealer or topcoat. Catalyzed lacquer is an option. Allow it to fully cure.
Always follow the manufacturer’s instructions for stain. Ensure the wood is clean and dry. Do not let stain dry on the wood surface. This prevents clear finish adhesion. Remove unabsorbed stain with a dry cloth. Wipe in the direction of the wood grain. This avoids swirl marks. Remember, stain adds color but not protection. Apply a clear finish after the stain dries. This protects both the stain and the wood.
Tips for Success and Avoiding Pitfalls
You can make your diy project a success. Avoid common mistakes. This advice helps you achieve a great outcome.
Precision in Measuring and Cutting
Always measure twice. Then, cut once. This principle saves you time and materials. Use accurate tools for your measurements. Calipers are essential for precision. Vernier calipers are very accurate. Dial calipers offer quick visual comparisons. Digital calipers are easy to use and highly accurate. Micrometers provide super accurate measurements. They are useful for metal components. Dial indicators help you set up equipment. They ensure your table saw or planer is precise.
The Importance of Patience
Do not rush your steps. Rushing often leads to problems. These issues might not appear right away. They can take days or weeks to show up. Skipping drying times can cause finishes to bubble or crack. You might apply uneven coats of paint or varnish. You could overlook small flaws. These flaws will worsen over time. It is better to step away from your table project if you feel frustrated. Rushing can turn your project into “fancy firewood.”
Proper Clamping Techniques
Strong joints are crucial for your table. Adjust clamping pressure based on your wood type. Softwood needs less pressure than hardwood. Tighten clamps until a small amount of glue oozes out. This shows enough pressure. Wipe away extra glue for easier cleanup. Use multiple clamps. This distributes pressure evenly. A thin glue line makes the strongest bond. Ensure your joints fit well. Apply the right amount of glue. This creates a continuous layer.
Testing Finishes on Scrap Wood
Always test your finishes. Use a piece of scrap wood from your project. This gives you accurate results. Let the finish cure for at least two weeks. Do this in a warm room. This ensures you see the true qualities of the finish.
Troubleshooting Common Issues
You might face some problems. Uneven cuts can happen. Ensure your table saw’s fence is parallel to the blade. You can use a jointer to straighten an edge. A hand plane also works. For a wobbly coffee table base, you have options. You can shorten the longer legs. Wooden wedges or shims can fix unevenness. Self-adhesive felt pads work for minor height differences. Adjustable leveling feet offer precise adjustments. Wood movement is another concern. Solid wood expands and contracts. This can cause gaps or push frames apart. Kiln-dried wood helps. Metal clips or floating screws allow for movement. Plywood for your table top avoids these issues. If you have finish imperfections, you can fix them. Use a finish “shaver” for bumps. Scuff sand around gaps. Then apply more finish. For major flaws, remove the finish with solvent or stripper. Then reapply it.
You now understand the benefits of building diy round coffee tables. You save money and create a custom table. Many free plans and tutorial guides await you. These resources make your diy round coffee table project achievable. You will feel great satisfaction creating a unique coffee table. Start your diy journey today. Explore the numerous free plans and tutorial options. Your personalized coffee table will enhance your home. You can confidently tackle this diy project.
FAQ
What wood works best for a round coffee table top?
You can use several wood types. Plywood is a popular choice. It offers strength and stability. You can also use MDF for a smooth finish. Solid wood provides a premium look. Reclaimed wood adds unique character. Choose wood that fits your budget and desired style. 🌳
What is the easiest way to cut a perfect circle for the top?
You can use a router with a trammel. This method creates a very clean edge. A jigsaw with a trammel also works well. It is a cost-effective option. You can also use a template with a flush trim bit on your router. This ensures accuracy. 📏
What types of legs can I use for my DIY coffee table?
You have many choices for legs. Hairpin legs offer a modern, minimalist look. A simple pedestal base provides classic stability. Cross-base designs add visual interest. You can also use wood dowels or metal pipes. Choose legs that match your style. 🦵
What finish provides the most durability for a coffee table?
Polyurethane offers excellent protection. You can apply it over stain. Lacquer is another durable option. It resists water and stains well. For superior protection, use a wiping varnish like Arm-R-Seal. Apply multiple coats for the best results. ✨
What tools are absolutely essential for this project?
You will need a way to cut circles, like a jigsaw or router. A drill/driver is crucial for fasteners. A sander prepares your wood for finishing. Clamps hold pieces during assembly. Measuring tape and safety gear are also must-haves. 🛠️
