
Your workshop needs a versatile wooden mallet. It prevents damage where a metal hammer would mar your projects. Building your own is deeply satisfying and cost-effective; some projects take under an hour. Even beginners with limited tools can do it. These diy wooden mallet plans teach you to construct a durable, effective soft hammer. You will use this mallet for precise tasks like joinery, furniture making, and cutting dovetails.
Key Takeaways
A wooden mallet protects your woodworking projects and tools from damage.
Building your own mallet saves money and gives you a sense of accomplishment.
Use strong hardwoods like maple or oak for a durable mallet head and handle.
Follow steps to prepare wood, shape the head and handle, and glue them together.
Clean your mallet and apply oil regularly to keep it in good condition.
Why Build a Wooden Mallet
Soft Hammer Benefits
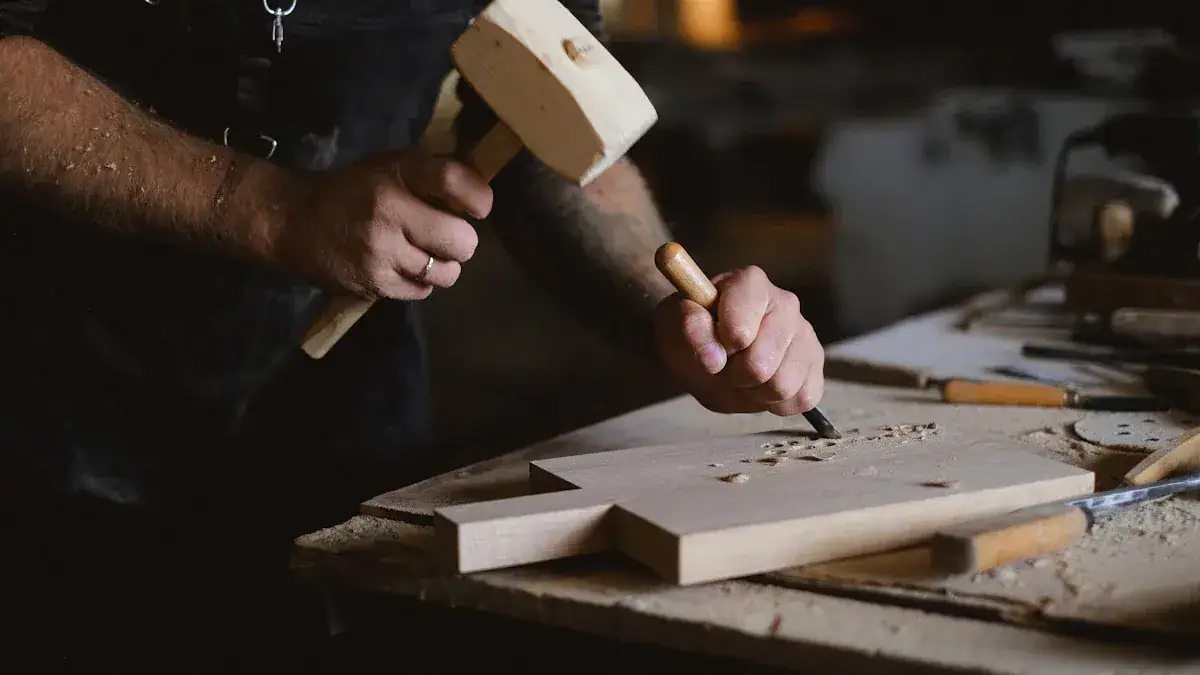
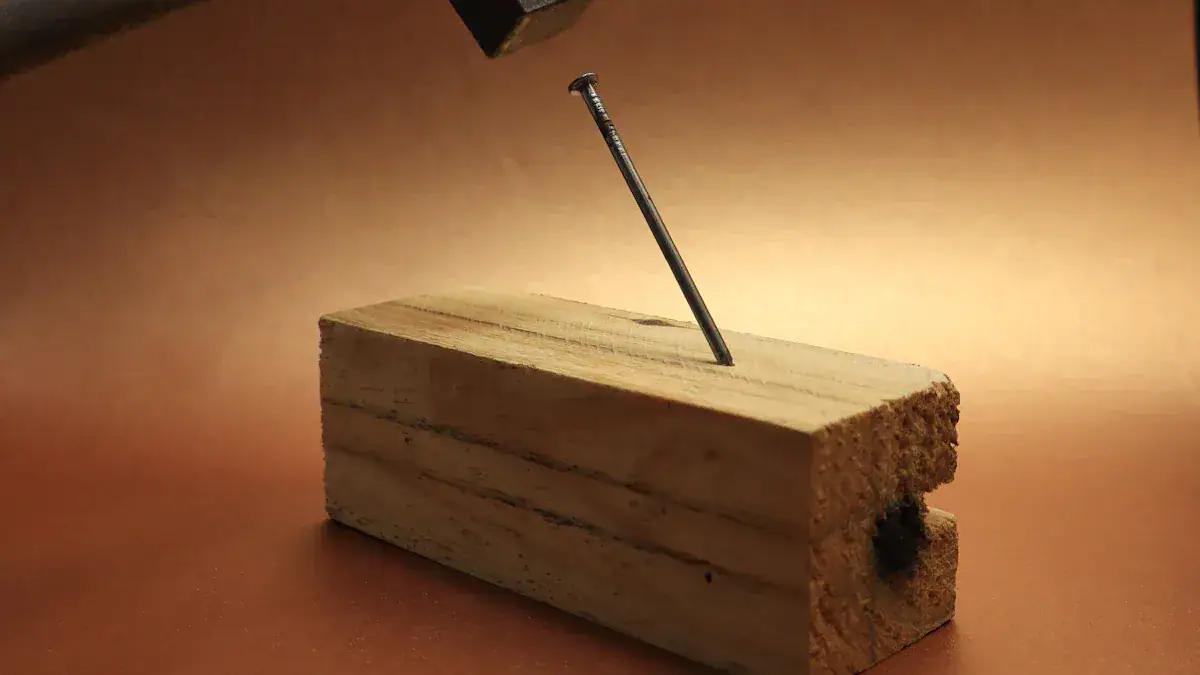
You might wonder why you need a mallet in your workshop. A metal hammer can easily dent wood surfaces. This makes metal hammers unsuitable for assembling delicate joinery. Metal hammers also damage the wooden handles of chisels and other tools over time. A wooden mallet prevents these problems. Mallets are generally superior for woodworking tasks. They minimize the risk of damaging your material. A metal hammer’s hard, focused impact causes dents, marks, and splintering. A mallet has a large, soft head. This design delivers force without a sharp, damaging impact. It acts as a gentle soft blow hammer. You can tap pieces together without causing harm. This controlled force helps you work with precision. It protects both your workpiece and your other tools.
Common Uses
This tool becomes essential for many tasks in your woodworking projects. It is crucial for chisel work. You ensure precise depth control for each cut. A hardwood mallet prevents denting and breaking the ends of chisel handles. It reduces impact stress on your tools. You can strike the chisel effectively without damaging your tool. This type of hammer is also excellent for assembling furniture. Use it when working with materials prone to denting. It is perfect for tapping joints together. You can also use it to seat dowels, adjust parts without leaving marks, or even tap wedges into place.
DIY Satisfaction
Building your own tools brings a special kind of satisfaction. You create something useful with your own hands. This project is also very cost-effective. You save money by making your own tool instead of buying one. You gain a valuable item for your workshop. You also get a strong sense of accomplishment. This handmade tool will serve you well for years. It will be a testament to your craftsmanship.
Mallet Materials and Tools
Wood Selection
You need the right wood for your mallet. Hardwoods are best. Consider maple, oak, or hickory. These woods are very durable. You can even use scrap wood like ash from a backyard or a wooden pallet mallet. For the most durable wooden mallet head, laminated compressed hardwood is an excellent choice. It is much tougher than solid wood options.
Head and Handle Dimensions
Start with rough dimensions for your mallet. For the head, a block around 3x3x5 inches works well. A handle can be about 1.5×1.5×12 inches. You can adjust these sizes later to fit your hand and needs.
Adhesives and Finishes
Strong glue is important for your mallet. Polyurethane glues, like PL Premium, are incredibly strong. The wood often fails before the glue bond. Waterproof wood glue is also very strong for tight wood-to-wood connections. Resorcinol glue is another secure option. It binds intimately with the wood.
Adhesive | Wood-to-Wood Bond Strength (lbs) |
|---|---|
Loctite PL Fast Grab Premium | 115 |
Liquid Nail’s Fuze It All Surface | 100 |
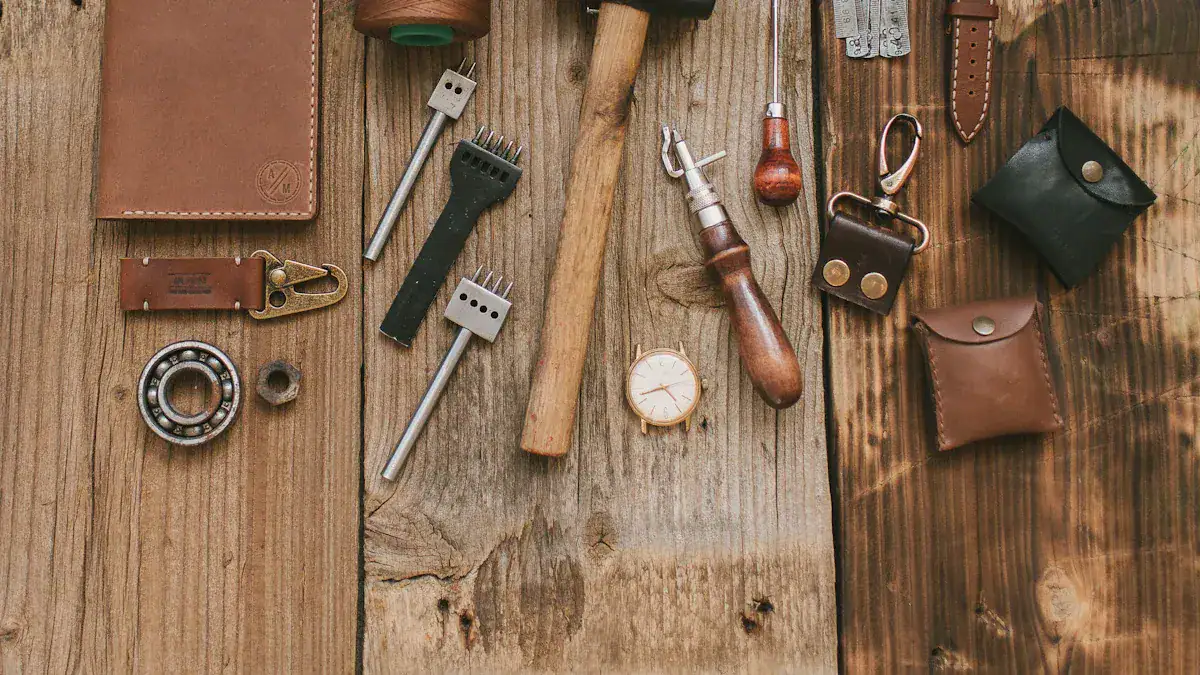
Measuring and Marking Tools
Accurate marks are key. You need good measuring and marking tools.
Marking gauges help you make precise lines.
A carpenter’s pencil, sharpened to a chisel edge, is durable.
A divider or compass is crucial for layout tasks.
A marking knife creates permanent cut lines. These lines help you guide your tools.
Cutting Tools
You need tools to cut your wood blanks. A hand saw or miter saw works well. A band saw is also useful. For making cylindrical shapes, a turning roughing gouge is very efficient. It helps you prepare wood blanks for handles.
Shaping Tools
Shaping the mallet head requires specific tools.
Use a drill with a 5/8 inch spade bit. Remove material from the middle of the head.
Drill at a slight angle. Follow the side’s angle. Drill about halfway through. Turn the wood and repeat.
Begin chiseling. Define your boundaries with knife lines. Then dig into the wood.
Chisel harder once lines are set. Complete one side, then switch.
Check for high spots with a small ruler as you finish.
Assembly Tools
You need tools to join the head and handle.
A marking knife helps you mark precisely.
A brace with a 1/2″ bit is useful.
You will need 12 mm (1/2″) and 16 mm (5/8″) chisels.
Wood glue and clamps are essential for a strong bond.
DIY Wooden Mallet Plans: Construction Steps
Building your own mallet is a rewarding process. These diy wooden mallet plans guide you through each step. You will create a durable and effective tool.
Prepare Wood Blanks
First, prepare your wood blanks. You need pieces for the head and the handle. If you use smaller wood pieces, you can laminate them. Cut these smaller pieces to appropriate lengths. Make them slightly longer than your desired final size. Apply glue, ensuring good coverage. Avoid excessive squeeze-out. Sprinkle table salt on the glue. This prevents the pieces from slipping. Use plenty of clamps. Aim for 40 pounds of pressure per square inch. Let the blank sit for 4 to 6 hours. Overnight is ideal.
After removing the clamps, square off the ends of the mallet head blank. Use a miter saw for this. Then, use a table saw to further square the blank. This creates a perfect square. For both the head and handle blanks, find and mark the center. Use a square or straight edge. Draw lines from corner to corner.
Shape Mallet Head
Now, shape the mallet head. You will create a mortise for the handle. Use the handle itself as a template for the angle. Mark the width on the bottom of the head. Lay the handle across the head. Center it by measuring from both ends. Trace the layout lines.
For the mortise, use a combination square. Measure, mark, and verify center lines on the top and bottom of the mallet head. Transfer the handle’s width and depth to the head. Remember, these distances will differ for the top and bottom. This is because the handle tapers. Use the final reference line from the handle’s bottom. Use metal dividers to accurately transfer measurements. Move them from the handle’s center line to the mallet head. Lightly cut the start of each mortise with a chisel. Stay inside the marked lines. Verify that your auger bit will cut within these lines.
Secure the mallet head with clamps. Attach it to a bench top fence. Use a 5/8-inch auger bit. Make sure it is smaller than your layout lines. This ensures a tight fit. Bore the first holes into the top of the head. Drill just over halfway through each time. Angle the drill bit off 90 degrees. The auger’s bottom should head toward the center line. This follows the handle’s taper. The second hole should cant even more inward. Bore the bottom of the head with the opposite angle. Set the auger bit to cut from the center axis outward. This follows the tapered handle.
After boring and removing debris, carefully chop away waste. Use a chisel. Start from the inside. Gradually move towards the layout cut lines. Flip the head as needed. Chop until the mortise cut-outs meet. Refine the squareness and taper of the mortise channel. Focus on preserving the stock at the top and bottom mortise openings. Trim the top and bottom openings. Make them parallel to each other. Sight down the hole. Compare cut-lines. Be careful not to chop beyond the initial layout cuts.
Shape the Handle
Next, shape the handle. Create a taper for the handle. For example, a 15-inch long handle can be 1 ½ inches wide at the top. It can be ¾ inch at the bottom. This creates a ¾-inch taper from end to end. This taper helps wedge the handle securely into the mallet head. It prevents the handle from flying off.
Chamfer the edges. Apply a chamfer to the four corners where your hand will grip the handle. Also, chamfer the edges at both the bottom and top of the handle. This step is personal. It ensures a comfortable grip. You hold the mallet close to the head.
Now, create the tenon on the handle. Lay out the tenon centered at the end of a test piece. Make it 1-5/8 inches long from the end. Make it 1-1/4 inches wide. Make it ½ inch thick. With the wide face lying flat on the table saw, set the dado stack height to the layout line. Rest the blank against the miter gauge. Cut along the end. Then flip and do the same on the other face. Test this tenon in the mortise. Adjust the blade height as needed for a snug fit.
Once the fit is correct, align the shoulder mark to the dado stack. Position the flip stop at the end of the blank. Make cuts on each face. Then do the same for the handle blank. Cut away extra material between the shoulder and end. Repeat this process. Cut the tenon to its final width. The handle blank stands on its edge. Adjust the blade height as needed. Lay out two lines on the tenon cheek. Make them 1/16 inch on each side of the center. At the bandsaw, cut a kerf on each side of the centerline. Use a stop block. This ensures you do not cut into the handle’s shoulders. This creates two tenons. Create a wedge from contrasting stock. Make it precisely the same width and length as the tenon. It should fit snugly in the relief cut. Shape a slight taper at one end. This wedge will spread the tenons during glue-up. This ensures a secure fit.
Dry Fit and Adjust
Before permanent assembly, dry fit the head and handle. This ensures a snug fit. If the handle fits too snugly on the non-tapered sides of the mortise, you can shave it slightly. Use a plane for this. This is easier than paring away at the inside faces of the mortise. To achieve a snug fit, carefully pare down the tenon of the handle. Continue until it fits tightly into the mallet. A proper fit shows no visible gaps at the base of the mallet. You should see approximately 1/8 inch of space on either side of the tenon at the top opening.
Secure Glue Up
Apply wood glue to the tenon and inside the mortise. Ensure good coverage. Insert the handle into the head. Tap it gently with another hammer or a soft block. This ensures it seats fully. If you created a wedge, insert it into the kerf of the tenon. Tap it down firmly. This spreads the tenons. It locks the handle into place. Clamp the assembly securely. Wipe away any excess glue squeeze-out with a damp cloth. Allow the glue to dry completely. Follow the glue manufacturer’s instructions.
Final Shaping and Sanding
After the glue dries, refine the contours of your wooden mallet. Use rasps and files to smooth any rough edges. Shape the handle for maximum comfort. Sand all surfaces. Start with a coarser grit sandpaper. Gradually move to finer grits. This creates a smooth finish. Pay attention to areas your hand will touch.
Apply Protective Finish
Finally, apply a protective finish. This protects the wood. It enhances its appearance. For an oil finish, flood the oil onto the wood. Ensure the surface remains wet. This is especially important in areas that absorb quickly. After 10 minutes, wipe off any unabsorbed oil. For a smoother finish, repeat the process. Sand the oily wood with fine wet-and-dry sandpaper. This creates a slurry that fills pores.
If you use Danish oil, apply it liberally to the wood. Let it soak for 15 minutes. Reapply more Danish oil. Wipe off the surface. For a thicker, more durable finish, apply one coat per day. For liquid or paste wax, rub the wax onto the surface. Use an applicator like a Scotchbrite™ pad or fine steel wool. Wipe off the wax with paper shop towels. For a dull sheen, wipe off immediately. For more shine, let it dry. Then buff with a soft cloth.
Mallet Tips and Customization
You can make your mallet even better. These tips help you optimize its performance and look.
Wood Grain Orientation
The way wood grain runs affects your mallet’s strength. For tool handles, choose wood with straight grain patterns. This makes the handle stronger. It also stops the wood from splitting. The wood grain must run parallel to the handle’s length. You should see straight lines from the head to the knob. Look at the top where the handle meets the head. Growth rings should appear as vertical lines. They should be perpendicular to the striking face. Grain running diagonally creates a weak point. This makes handles break easily. A wooden mallet made from flat-sawn wood can fail. Its growth rings can separate. Quarter-sawn grain is much stronger. It will not separate. You can laminate wood to create vertical grain around the perimeter. This makes a more durable tool.
Sizing and Weight
Think about the tasks you will do. You can make your mallet different sizes. A heavier mallet gives more force. A lighter one offers more control. Choose a size and weight that feels right for your hands. This helps you work better.
Personal Touches
You can add personal touches to your mallet. Consider adding a lanyard hole. This helps you hang your tool. First, drill a hole at the base of the grip. Then, insert a grommet into the hole. Secure the grommet with super glue gel. You can also make a special diy dead-blow mallet. This type of mallet has a hollow head filled with material like lead shot. It prevents bounce-back. To make a diy dead-blow mallet, you cut wood to size. You turn the handle and head on a lathe. You hollow out the head. Then, you add lead shot and glue caps in place. Finally, you assemble and finish it.
Mallet Maintenance
Proper care keeps your mallet working well. Clean it after each use. Use a soft brush or dry cloth. Apply natural oils like linseed oil every few months. This stops the wood from drying and cracking. Check for damage regularly. Look for cracks or loose joints. Store your mallet in a dry, cool place. Keep it away from sunlight and moisture. This ensures your tool lasts a long time.
You have now successfully built your own wooden mallet. These diy wooden mallet plans provided clear guidance. This project offers immense satisfaction. Your handmade mallet is an indispensable, versatile, and effective soft hammer tool for any workshop. We encourage you to embark on this rewarding project. You will create a durable and effective mallet that serves you well for years.
FAQ
What is the best wood for a mallet?
Hardwoods work best for your mallet. Maple, oak, or hickory are excellent choices. These woods offer great durability. You can also use laminated compressed hardwood for the mallet head. It is very tough.
How long does it take to build a wooden mallet?
Building a wooden mallet can be quick. Some projects take less than an hour. The time depends on your tools and experience. You can finish it in a single afternoon.
Can I use a metal hammer for woodworking?
You should avoid using a metal hammer for most woodworking. It can easily dent or mar your wood projects. A metal hammer also damages chisel handles. Use a wooden mallet instead. It provides a softer, controlled impact.
How do I maintain my wooden mallet?
Clean your mallet after each use. Use a soft brush or dry cloth. Apply natural oils like linseed oil every few months. This stops the wood from drying out. Store it in a dry, cool place.
What if my mallet head becomes loose?
A loose mallet head needs attention. You can often fix it by re-wedging the handle. Apply more wood glue to the tenon. Reinsert the wedge firmly. Clamp it until the glue dries completely.
