
Imagine a box holding a secret, its opening hidden by clever design. You can build such a mystery with your own hands. Creating a diy puzzle box offers a unique creative outlet. This project provides a rewarding experience as you craft something tangible. The satisfaction comes from solving the puzzle of its construction. This guide gives you comprehensive plans, materials, tools, and step-by-step instructions. Anyone can start this woodworking journey, regardless of skill.
Key Takeaways
Puzzle boxes are clever containers. They hide secrets with unique opening methods.
Plan your puzzle box carefully. Choose good wood and tools. Always work safely.
Cut wood precisely. Build the secret parts. Put the box together with care.
Test your box often. Make sure all parts move smoothly. Fix any sticking issues.
Make your box special. Add engravings or unique finishes. This makes it your own.
Understanding Puzzle Boxes
Puzzle boxes are more than just containers. They are clever creations that hide their contents behind a mystery. You must solve a puzzle to reveal the inner secret compartment. This makes them intriguing and fun.
History and Appeal
People have enjoyed puzzle boxes for a long time. Different cultures created them for various reasons.
Civilization | Object Type | Historical Origin | Cultural Significance/Purpose |
|---|---|---|---|
Japan | Puzzle Boxes (Himitsu-Bako) | Late Edo period, Odawara district, Kanagawa | Treasured traditional art form, beautifully crafted by artisans, entertaining nature |
Netherlands | Secret compartments in furniture | 1760s | Designed to protect valuables from thieves |
Rome | Secret compartment rings | 200 BC | Locket-like rings with hidden compartments, often maneuvered by a lever or clasp |
You might wonder why these boxes are so appealing. Many reasons make them fascinating:
Exclusivity: Owning a unique puzzle box can make you feel special. Collectors often seek rare items.
The Unboxing Ritual: Opening a puzzle box is an experience. People enjoy sharing this journey with others.
Uncertainty and Novelty: You do not know what is inside or how to open it. This newness excites your brain.
Completion: People like to finish things. Solving a puzzle box gives you a sense of accomplishment.
Scarcity: Limited edition boxes feel more valuable. This makes you want them more.
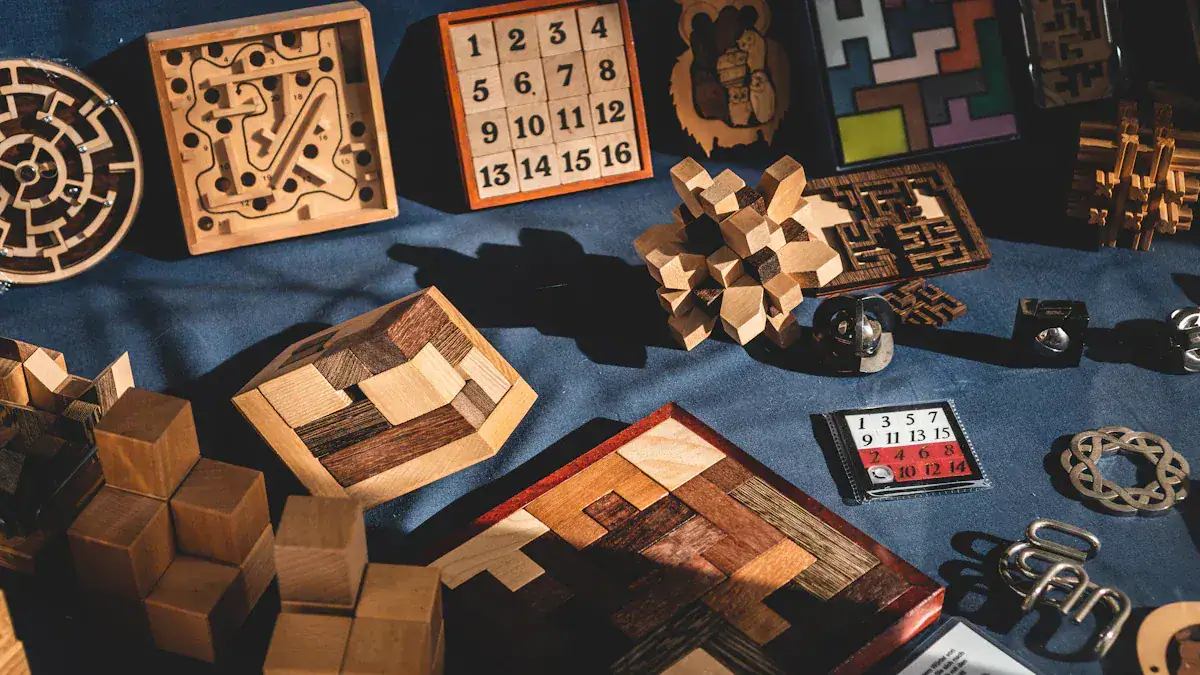
Common Opening Mechanisms
The real magic of a puzzle box lies in its hidden opening mechanism. These clever designs keep the contents safe. Here are the main types you will find:
Slide Puzzle Box: You access hidden areas by moving panels or tiles in a certain order. These can be simple or very complex.
Mechanical Puzzle Box: These use gears, levers, or other parts. You perform a sequence of actions to open them.
Combination Puzzle Box: You need a specific code or combination to unlock the hidden secret compartment.
Some boxes use very specific steps to open. For example, a sequential move mechanism might involve:
Pushing a key holder gently until it closes.
Pushing down the top right part of the box.
Pushing up the top left part of the box.
Other boxes use hidden magnets. A magnetic locking mechanism might require you to:
Place magnets in a specific way.
Use a push pin magnet to attract another magnet from the outside.
Manipulate magnets based on a sequence of lines you see through a tiny hole.
These hidden methods make puzzle boxes a true delight to discover.
Planning Your Wooden Puzzle Box
Before you begin cutting wood, careful planning ensures your project’s success. You need to think about your design, gather your materials, and prepare your workspace. This phase sets the foundation for a beautiful and functional diy puzzle box.
Design Choices
You can choose a simple design or a complex one. Some puzzle boxes require many steps, like 30 moves, to open. Consider your skill level and the time you have. A simpler design might involve a single sliding panel. A complex one could feature multiple hidden latches and sequential movements.
When you design your box, balance cleverness with durability. Overly complicated designs can make the box fragile. They can also frustrate the user. You want a challenging box, but it must also be reliable. Test your design ideas often. This helps you find and fix problems like parts that do not line up.
Choose high-quality, stable materials. Hardwoods work best for durability and looks. Softwoods can warp. This can ruin your hidden compartments. Make sure your hidden compartments blend in seamlessly. Use techniques like concealed joints. Subtle carving can also help. This keeps the secrets truly hidden.
Expert techniques improve your craftsmanship. Mortise and tenon joints make the structure strong. You can use subtle magnetic latches or pressure sensors. These create almost invisible mechanisms. They ensure your box lasts a long time. Plan carefully and test rigorously. This makes sure your hidden compartments endure. Think about humidity and temperature. Protective finishes also help keep the box in good condition.
You can combine complex lock mechanisms with artistic details. Add carved designs or inlaid patterns. This turns your puzzle box into a piece of art. You can even find inspiration from origami or tessellations for new structural ideas.
Essential Materials List
Selecting the right wood is crucial for your wooden puzzle box. Different woods offer various benefits.
Wood Type | Durability/Strength | Workability (Best Use) |
|---|---|---|
Basswood | Low | Detailed cuts |
Baltic Birch | High | Frequent handling |
Maple | High | Precision designs |
Mahogany | High | Decorative pieces |
Walnut | High | Display puzzles |
Basswood: This wood is soft and has a fine grain. You can make precise cuts and detailed designs with it. It is light and easy to handle. However, it is not very durable and can dent easily.
Baltic Birch Plywood: This wood is strong and stable. Its layers give it structural integrity. It handles frequent use well. It resists warping, but it is heavier than basswood.
Maple: Maple is a dense, hard wood. It is very durable and gives a smooth finish. It is perfect for intricate laser-cut patterns. It offers precision and stability. Maple can be more expensive and harder to cut.
Mahogany: This wood is strong and stable. It is resilient and easy to work with. It suits detailed and ornate designs. Mahogany costs more and can be challenging to cut.
Walnut: Walnut is robust. It ensures durability, especially for display pieces. It is durable but expensive and heavy.
Birch: Birch has a fine grain and a light color. It is strong and resists bending. This makes it good for intricate designs. It offers durability and a smooth surface.
Plywood: Plywood is versatile and strong. Its multi-layered construction provides stability. It resists bending.
Bamboo: Bamboo is eco-friendly, light, and strong. It offers durability and a unique look.
Besides wood, you will need:
Wood glue: Choose a strong wood glue for lasting bonds.
Sandpaper: Get various grits, from coarse to fine, for smooth finishes.
Finishes: Varnish, oil, or wax will protect your box and enhance its appearance. Varnish is good for protecting surfaces that you touch often.
Recommended Tools
You need a few basic tools for this project.
Saws: A hand saw or a small table saw helps you cut your wood pieces.
Drills: A hand drill or a power drill creates holes for pins or other parts.
Clamps: Clamps hold pieces together while the glue dries.
Measuring tools: A ruler, tape measure, and square ensure accurate cuts.
Hand Planes: These are useful for small components. Even inexpensive ones work well if you keep them sharp.
Lathe or Drill with Sandpaper: You can use these to shape friction pins.
For more intricate designs, you might consider specialized tools:
Soldering equipment: If your design includes electronic components, you will need soldering tools. This ensures precise electrical connections.
Laser Cutting Method: This method offers great precision for shaping puzzle pieces. It is costly and slow for mass production. However, its accuracy is excellent for complex parts.
Die Cutting Method: This uses hydraulic presses and steel rule dies. It is less precise than laser cutting but good for high-volume work. The steel rule die has blades cut by lasers. This ensures accuracy for puzzle cutting.
A Hydraulic Press provides a stable structure. It has a large worktable. It applies strong pressure to cut intricate shapes.
A Steel Rule Die uses laser-cut plywood. It has precisely cut blades embedded in it. This ensures accurate cuts.
Safety Precautions
Safety is very important when you work with wood. Always protect yourself from potential hazards.
Essential Personal Protective Equipment (PPE):
Safety goggles or a face shield: These protect your eyes from wood chips, dust, and debris. A wood chip from a table saw can travel very fast. It can cause serious eye injury. Wear safety glasses with side shields. For high-power machines, use safety glasses with a face shield. If you wear prescription glasses, get prescription safety glasses with side shields.
Dust mask or respirator: These prevent you from breathing in fine sawdust and allergens. Your respiratory system is sensitive. Lightweight masks filter most dust. More effective options filter over 99% of dust. For paint or varnish fumes, use a cartridge-type mask. Always wear your mask during dusty work. Change filters when breathing becomes hard.
Hearing protection: Loud tools like routers and table saws can damage your hearing. Use earplugs or earmuffs.
Work gloves: These protect your hands when you handle rough wood. Do not wear gloves near spinning blades.
Non-slip footwear: This helps you keep your balance and prevents slips.
Tool Safety Tips:
Always read the manual for each tool.
Keep your blades sharp and clean.
Use push sticks or featherboards. These keep your hands away from blades.
Unplug power tools before you change blades or bits.
Never bypass safety features. This includes guards or riving knives.
Dust Safety Tips:
Work in a well-ventilated area.
Use a shop vacuum or dust collection system with power tools.
Wear a respirator or dust mask, especially when you sand.
Clean up dust regularly. Sweep and vacuum to prevent buildup.
Specific Tool Precautions:
For Bandsaws: Always wear safety goggles, hearing protection, and use the dust collection system. Secure loose clothing, hair, and jewelry. Clean your work area. Only saw wood that is free of dirt, paint, nails, or warps. Make all adjustments before you turn on the machine. Never open wheel enclosure doors during operation. Adjust the upper guide post to be no more than 1/4 inch above your work. If the blade does not track right, stop the machine and get help. Keep your fingers clear of the exposed blade. Never put your fingers in line with the blade. Avoid backing out of saw cuts. This can pull the blade off the wheel. If a blade breaks, step back, turn off the saw, and report it.
For 12″ Compound Miter Saws: Always wait for the blade to stop completely before you lift the saw handle. Never leave the tool running unattended. Turn off the power and wait for it to stop. Do not use electric tools near flammable liquids. Do not use them in gassy or explosive areas. Motors can spark and ignite fumes.
Building Your DIY Puzzle Box
Now you are ready to bring your design to life. This section guides you through each step. You will cut the wood, build the mechanism, and assemble your unique diy puzzle box.
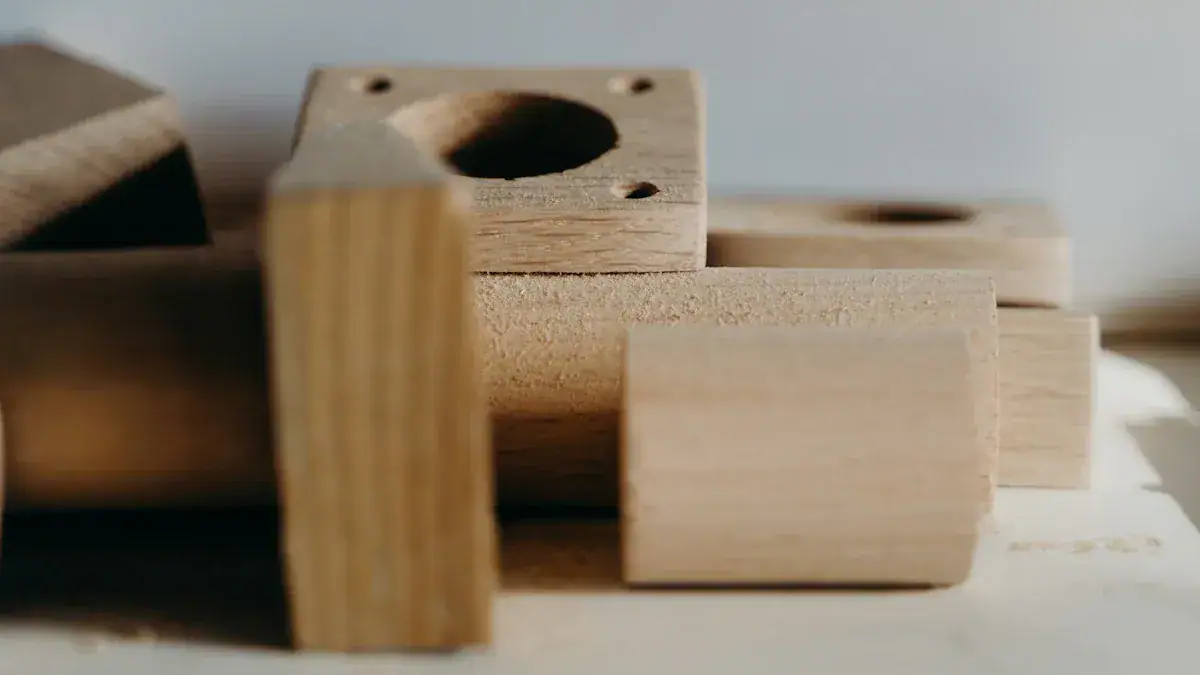
Cutting Components
Precise cuts are the foundation of a functional puzzle box. Every piece must fit perfectly. Even a tiny piece of sawdust can cause problems. Humidity can also warp your wood. You need constant diligence.
To achieve precise cuts, use custom-built crosscutting sleds on your table saw. Do not rely on rip fences or miter gauges for this project. Advanced sleds use machined aluminum plates and ground steel rods. These features ensure smooth motion and minimal deviation. You can also use special cutting jigs and fixtures. A CNC power feed unit helps make precise and repeatable cuts. Always calibrate your equipment regularly. This includes your crosscutting sled and blade angle. You want accuracy down to one thousandth of an inch. Use toggle clamps to hold your wood pieces securely. This ensures consistent results and keeps you safe. Shim spacers and adjustable blocks help you fine-tune the length of your cuts. This ensures every part of your wooden box fits exactly. You will cut the main housing, the panels for your secret compartment, and any other internal pieces.
Crafting the Secret Mechanism
This is where the magic happens. You will build the hidden system that makes your box a puzzle. For a smoothly operating mechanism, critical tolerances are very important. Even a washer that is just 0.1 mm too thick can stop a reveal from working. A hole that is “too perfect” might accidentally create a shortcut. This would ruin the puzzle’s design.
You need precise tuning of tolerances and clearances. Refine your surface preparations and stop points carefully. This ensures the mechanism is logical, durable, and repeatable. Accuracy and reliability are key. Industrial-grade equipment, like high-definition SLA printers, can help. These ensure smooth mechanism operation. Advanced metal additive manufacturing, such as Selective Laser Melting (SLM), can create complex designs. These designs have mobile or interlocking components. They demand precise control of tolerances and expert design. Even a tiny difference can cause a satisfying movement or a frustrating jam. Dimensional accuracy is vital for moving parts. You need careful modeling and reliable, high-precision printing equipment. If you design sliding panels or rotating parts, use CAD software. This ensures smooth movement without clogging. It also helps create an unsolvable yet solvable locking sequence for your secret compartment. Some designs might need non-3D printed items, like small metal pins or springs, to work correctly.
Assembling the Outer Box
Now you will put together the main structure of your box. Apply wood glue to the edges of your cut pieces. Make sure you apply enough glue for a strong bond, but not so much that it squeezes out excessively. Carefully align each piece. Use clamps to hold them firmly in place while the glue dries. Check that all corners are square. This ensures your box will be sturdy and look good. Allow ample time for the glue to cure completely. This creates a strong, lasting structure for your puzzle.
Integrating the Mechanism
Once the outer box is solid, you will install your secret mechanism. Carefully fit the moving parts into their designated spaces. Ensure they move freely without sticking. This step often requires patience and small adjustments. Test the mechanism as you integrate it. Make sure each step of the opening sequence works as planned. The goal is a smooth, reliable operation. The mechanism should blend seamlessly into the box. This keeps the secret compartment truly hidden.
Finishing Touches
The final steps involve making your box look great and last a long time. Start by hand-sanding all the puzzle pieces. This ensures smooth, splinter-free edges. It also creates a polished finish. This step is crucial for both quality and appearance. It helps with seamless assembly. It also creates a furniture-grade finish. After sanding, apply a protective finish. You can use three coats of imported tung oil. This enhances durability. Sand each coat of tung oil with steel wool. This achieves a high-quality, furniture-grade finish. It also makes the wood’s natural grain and color stand out. For a sustainable and safe option, choose natural finishes like non-toxic oils or paints. These contribute to both aesthetic appeal and durability. This final step of finishing your box protects your hard work and makes your diy puzzle box a true treasure.
Testing Your Secret Compartment Box
You built your puzzle box. Now, ensure it works perfectly. This phase confirms your hard work. It makes sure your hidden treasures stay secure.
Mechanism Testing
Test your opening mechanism repeatedly. Each step of the sequence must work smoothly. Parts should move without sticking. You want reliable operation every time. This confirms your secret compartment box functions as intended.
Common Issues and Solutions
You might find some issues. A common problem is a very tight fit. A piece might feel glued. It needs “a little encouragement” to move. This shows parts are sticking. You also face dexterity challenges. You must manipulate pieces at precise angles. This makes assembly hard.
Here are some solutions:
Sand and Smooth: Sand moving parts. This includes sliding pieces and button mechanisms. It helps them slide easily. Sand box edges too. This ensures the lid opens smoothly.
Deepen Etched Areas: Mechanisms like the catch slider can get stuck. Deepen etched rectangles. Use sandpaper or a dremel. This gives enough clearance.
Adjust the Catch: The catch slot might be tight. Remove material from its lower edge. Do this until the box locks properly. You should hear a click.
Align Carefully: Align hinge slots and the catch slot during assembly. Misalignment makes the box hard to open or close.
Check Ball Movement: Test ball movement before gluing layers. Ensure it moves freely. Remove more material if it gets stuck. This ensures your secret compartment works.
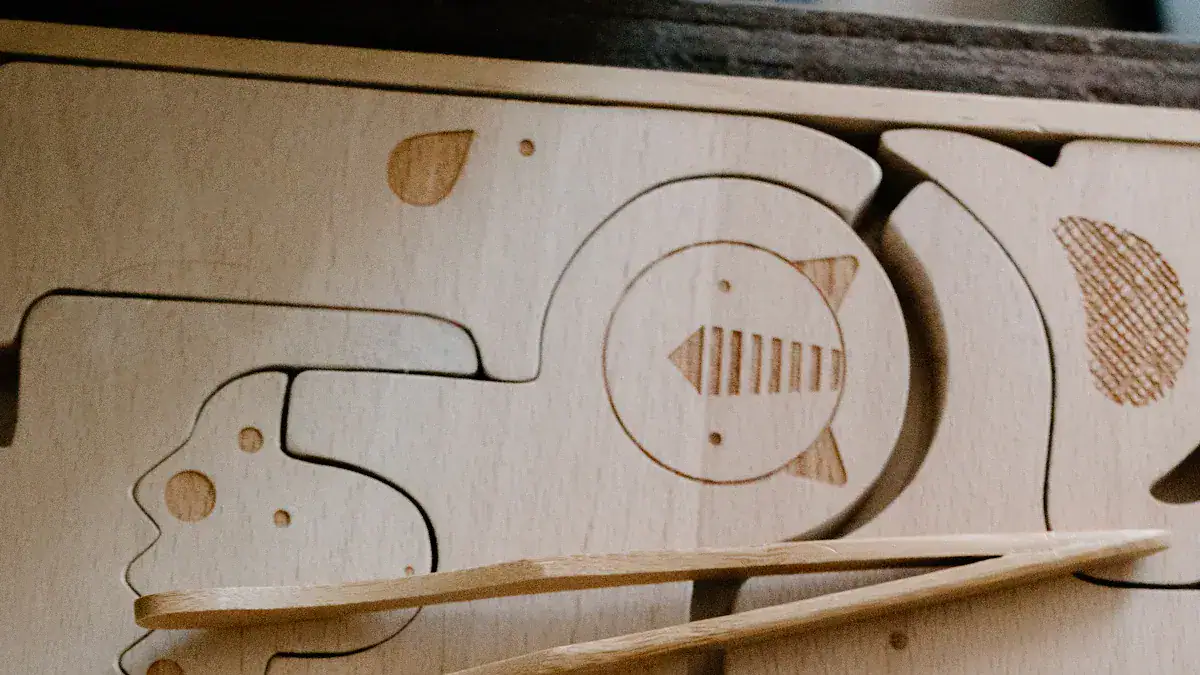
Personalizing Your Box
Make your box unique. Add custom engravings. These can be initials or a special date. A meaningful quote also works. You can use high-quality wooden boxes. Add intricate inlays or carvings. Use woods like mahogany or walnut. Try unique finishes. Monochrome designs or geometric patterns add interest. Textured surfaces give depth. Engraving cuts deeper lines. Etching creates fine details. These personal touches enhance your secret compartment box.
Advanced Ideas
You can explore more complex designs. Experienced builders create intricate mechanical puzzles. They use electronic lock systems. Some integrate microcontrollers like Arduino. These create digital puzzles. They even add timed challenges. Consider layered locking mechanisms. You can also build sophisticated mechanical traps. Look at examples like the Trinity Metal Puzzle. The PLD Puzzle Box also offers inspiration. These ideas push your skills further.
You have now built your own secret opening puzzle box. Feel the satisfaction and accomplishment. This guide showed you craftsmanship and clever design. Your unique creation blends skill with cleverness.
💡 Share your amazing diy puzzle box with others! Continue exploring woodworking and puzzle-making. Find more guidance on YouTube tutorials or Instructables.
Enjoy creating something intriguing with your own hands. Your wooden puzzle box is a testament to your skill.
FAQ
What is the best wood for a puzzle box?
You can choose different woods. Mahogany and walnut offer durability and beauty. Basswood works well for detailed cuts. Baltic birch plywood provides strength and resists warping. Select wood based on your design needs.
How do I make sure my mechanism works smoothly?
You must sand all moving parts. This includes sliders and buttons. Test the mechanism frequently during assembly. Make small adjustments. Ensure parts move freely. This prevents sticking and ensures smooth operation.
Can I personalize my puzzle box?
Yes, you can personalize your box. Engrave initials or special dates. Apply unique finishes like oils or waxes. Consider intricate inlays or carvings. These touches make your puzzle box truly unique. You create a special treasure.
What if my puzzle box gets stuck?
If your box gets stuck, sand the moving parts. This helps them slide easily. You can deepen etched areas if needed. Check the alignment of all components. Misalignment often causes sticking. Patience helps you fix it.

