
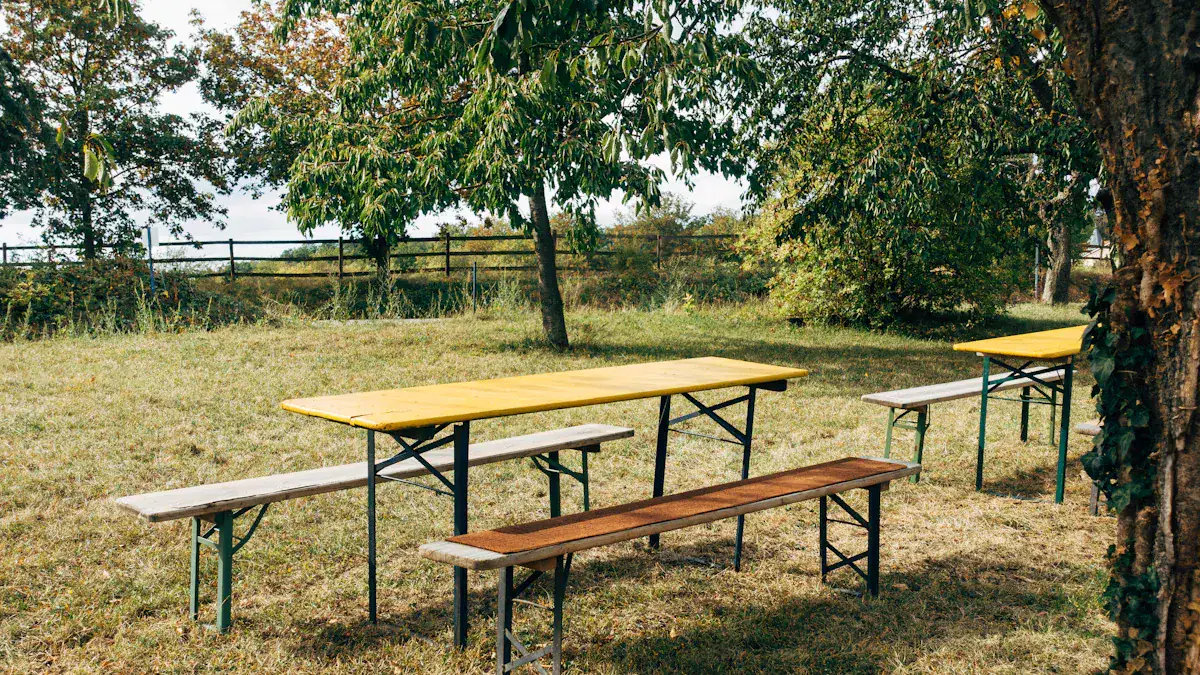
Imagine a versatile piece of furniture perfect for your backyard, camping trips, or any outdoor gathering. A foldable picnic table offers incredible convenience for small spaces. This guide provides easy diy plans for a folding picnic table bench, making this rewarding diy project achievable for anyone. You save money too; materials for a diy folding bench might cost around $60, while a similar kit sells for $179. This convertible picnic table truly offers a dual purpose picnic table experience. It acts as both a dining surface and a comfortable picnic table and bench. Its dual function makes it ideal for limited outdoor areas. You get a custom solution with this diy convertible table and diy folding bench project, all from a simple step-by-step plan. This folding design truly maximizes value.
Key Takeaways
Build a foldable picnic table bench to save money and space. This DIY project costs less than buying a kit. It offers a table and a bench in one.
Gather the right materials and tools. Choose pressure-treated wood for outdoor use. Use a miter saw and drill for precise cuts. Always wear safety gear.
Measure and cut wood carefully. Double-check all measurements before cutting. Sand all wood pieces for a smooth finish. This makes your table strong and safe.
Assemble the bench frames and tabletop panels. Use strong joints like mortise and tenon. Attach slats with screws. Pre-drill holes to prevent wood splitting.
Install hinges and support arms for folding. Test the table’s folding action. Make sure it moves smoothly. Apply a protective finish to the wood. This makes your table last longer.
Materials and Tools
Building your own foldable picnic table bench starts with gathering the right supplies. You need to pick out good lumber and hardware. You also need the right tools and safety gear.
Lumber and Hardware
For your outdoor picnic table, choosing the right wood is key. Many people like pressure-treated wood. It resists rot and insects. This wood is also very strong. It can last for more than a decade outside if you seal it well. It is also much cheaper than cedar. However, pressure-treated wood can get marked easily. It also has a knotty look. You will need to do some regular maintenance.
You will also need hardware for the folding parts. Hinges are very important. They let your table convert easily. Standard hinges create a smooth rotation. This is perfect for opening and closing. Each hinge has a “leaf.” This is a flat plate that attaches to the wood. A “knuckle” or “barrel” is the hollow part. The “pin” goes through the knuckle. This pin holds the leaves together. It creates the pivot point for movement. You can secure hinges with screws, welding, or bolts.
Essential Tools
Having the right tools makes this project much easier. You will need some power tools. A miter saw helps you cut boards precisely. A drill is essential for making holes and driving screws. For smoothing rough boards, a thickness planer is useful. If you need to cut curved shapes, a bandsaw comes in handy.
You also need some hand tools and jigs. A pocket hole jig helps you connect parts from underneath. Clamps are great for holding pieces together. They are especially useful when parts won’t stand on their own.
Safety Gear
Safety is always first when you work with tools and wood. Protect your eyes with safety goggles. Regular glasses are not enough. They can shatter. Wear earplugs or earmuffs to block loud noise from power tools. This prevents hearing damage. A face shield protects your whole face from flying splinters.
You should also wear a respirator or dust mask. This protects your lungs from sawdust. Cut-resistant gloves keep your hands safe from cuts and splinters. Wear proper clothing too. Avoid loose clothes, neckties, and jewelry. Steel toe boots protect your feet from falling objects. A durable work apron is also a good idea. It protects you from injuries and holds your tools. These simple steps keep you safe while you build your amazing diy plans project.
Cutting and Preparation
You need to get your wood ready before you start building. This part is very important. Precise measurements help your folding mechanism work perfectly.
Accurate Measurements
Always measure twice before you cut. This simple rule saves you from big mistakes. Double-check all your measurements. This ensures everything lines up correctly. It stops you from wasting wood. You also avoid an ill-fitting structure. Consider buying 10-15% extra lumber. This buffer helps if you make a cutting mistake. It also covers any wood defects. You will not need to run back to the store mid-project. When you have a cutting list, always cut the longest pieces first. Use the longest available wood lengths. You can then cut smaller pieces from the leftover wood. This uses your material well. It also reduces mistakes on important long parts.
Precision Cuts
You want your cuts to be straight and square. This makes your table strong. A quality miter saw helps a lot. It sets exact angles. It also makes consistent cuts. This precision is key for your project. You can use stop blocks for multiple pieces of the same length. This makes every piece identical. It removes variations from individual measurements. Make sure all your joints are square. This prevents an uneven or wobbly table. Use a framing square to check angles. The Five-Cut Method is a great way to ensure square cuts. It involves making several cuts and rotations on a panel. You then measure the offcut to check for errors. This method helps you achieve perfect squareness.
Sanding and Smoothing
You want a smooth, splinter-free finish for your outdoor furniture. Start with coarse sandpaper. Use 60-grit sandpaper first. Sand along the wood grain. Do not stay in one spot too long. Then, move to 80-grit sandpaper. This refines the surface. It removes marks from the coarser grit. Finish with 120-grit sandpaper. This creates a super-smooth surface. It helps your stain absorb evenly. Always sand with the wood grain. Overlap your passes slightly. This ensures even coverage. Keep your movement consistent. This avoids an uneven finish. These steps make your diy plans project look professional.
Building Your Convertible Folding Picnic Table
Now you have all your wood cut and sanded. It is time to put everything together. This is where your diy folding bench starts to take shape.
Assembling the DIY Folding Bench Frames
You will build two identical bench frames. These frames form the base of your convertible folding picnic table. When you build these frames, you want them to be super strong. This ensures your table lasts a long time. For example, a mortise and tenon joint is like a puzzle piece that locks together. It offers superior strength, especially under pressure. This makes it great for furniture that gets a lot of use. Pocket-hole joints are also a good choice. They create strong connections and are very durable. If you add wood glue, they stand up well to tough conditions. For a really secure and durable connection, you can even use dovetail joints. These interlocking pieces are extremely secure, even without extra fasteners. Choose the joint method that works best for your skill level and tools.
Constructing Tabletop Panels
Next, you will build the separate panels that make up your tabletop. You want these panels to be sturdy and flat. Start by laying out your wide top boards, then a narrow top board, and then another wide top board. Leave about a 1/4-inch gap between each board. This gap allows for wood movement. Now, mark 1 inch from each end of your table top support pieces. Also, mark 1 inch from the top edge. Apply wood glue to the narrow side of these support pieces. Then, attach them to your top boards. Secure these supports with 2 1/2-inch screws. Use about 2 to 4 screws per board.
To keep your tabletop panels flat and prevent warping over time, proper joinery is very important. For large tabletops, you can use breadboard ends. These help keep the top flat while still letting the wood expand and contract. Fasteners like figure-8s or slot-and-button joinery also work well. They secure the panels to a sturdy frame. This allows for wood movement without the panel lifting. Remember, wood always tries to reach a balance with the air around it. This means it will swell and shrink with humidity changes. Finishes can slow this down, but they do not stop it. You might hear about alternating growth rings to prevent warping, but this is actually a myth. Focus on good construction methods instead.
Attaching Slats
Now you will attach the wooden slats to both your bench frames and your tabletop panels. This step makes your foldable picnic table functional. Use deck screws to attach the tabletop slats to their frames. Make sure you space them evenly. You can use small dowels or scrap wood as spacers. This helps you keep a uniform distance between each slat.
Before you drive any screws, always pre-drill pilot holes. This is a very important step. Pre-drilling prevents the wood from splitting. This is especially true when you are screwing close to the edges of the boards. If you use nails, make sure they are blunted, not sharp. This also helps prevent splitting. For securing slats, use ¾-inch brass or stainless-steel screws. Drive them through each rail into the slat ends. For vertical slats in notches, use weatherproof glue and exterior-grade screws. For regular pine, 1-1/4″ screws work well. If you use thicker cedar, go for 1-1/2″ screws. For attaching the main top boards to cleats, use 3″ exterior screws. Drive them through the cleats into the undersides of each board. For the outer boards, use 3-1/2″ screws driven through diagonal pilot holes in the end pieces. Always use high-quality wood and seal it before any cracks appear. This protects your wood and makes your project last longer.
Integrating the Folding Design
You have built the main parts of your foldable picnic table. Now, you will bring it all together. This section focuses on the clever design that lets your table transform. You will install the hinges and support arms. Then, you will test the whole system.
Hinge Placement
Hinges are the heart of your table’s transformation. They allow it to convert from a bench to a table. You should use four 3-inch utility hinges for this project. These hinges are strong. They can handle the movement and weight. You attach them at the junction where the tabletop meets the seat. This placement is key. It lets the seat lift up. It also lets the tabletop rotate. This rotation forms the back of the bench. The hinges must be strong enough. They need to withstand the flipping action. They also need to hold the weight of the wood.
When you install the hinges, make sure the drop leaf is perfectly flush. It should be even with the main surface when you extend it. You can use temporary supports or jigs. These tools help you keep everything aligned. This is important for drilling and installation. Mark the exact spots for your screws. Use the hinge itself as a guide. Always pre-drill screw holes. This stops the wood from splitting. It is especially important for hardwoods. Pre-drilling also makes for a cleaner assembly. Mount the hinges securely. Attach them to wood that is strong enough. It needs to handle repeated folding and the weight. Make sure your screws go into solid wood. Avoid overtightening the screws. Use hand tools instead of power drills. This prevents stripping screws. It also protects the hardware. Controlled tightening keeps the wood strong. It also keeps the hinge working right.
Support Arm Installation
After you install the hinges, you need to add the support arms. These arms are crucial. They hold the table in its open position. They also allow it to fold down. You will attach these arms to the underside of the tabletop. They will also connect to the bench frame. When you extend the table, the support arms lock into place. This creates a stable surface. When you want to convert it back to a bench, you release the arms. This lets the tabletop pivot down. Make sure these arms move freely. They should not bind or stick. This ensures a smooth transition every time.
Testing the Fold
Now comes the exciting part: testing your foldable picnic table. Carefully try to fold and unfold your table. You want to ensure smooth operation. You also want to check for stability. Does it move easily? Does it feel sturdy in both positions?
Sometimes, you might run into small issues. Do not worry. These are common. You can fix most of them easily.
Loose Hinges or Latches:
Symptoms: The table might feel wobbly. You might hear a clunking sound. This happens when you move it.
Fixes: Tighten the bolts or nuts on the folding mechanism. Check your plans for specific instructions. You want to remove any play. Do not overtighten them. The latch should close firmly.
Stiff or Stuck Hinges:
Symptoms: The table is hard to fold or unfold. It needs a lot of force.
Fixes: Clean the hinge parts. Use a degreaser and a brush. Then, apply a good lubricant. A silicone-based spray works well. Avoid heavy oils. They can attract dirt.
Creaks and Squeaks:
Symptoms: You hear annoying noises. These come from the joints.
Fixes: Find the exact spot of the noise. Flex each joint. Clean any dry or dirty surfaces inside the hinge. Apply a thin layer of grease. You can also use an anti-seize compound. Check for worn parts. You might need to replace small bushings or pins.
Misaligned Locking Pins:
Symptoms: The locking pins do not engage smoothly.
Fixes: Look for damage or dirt. Clear any obstructions. You might be able to adjust them slightly. If parts are bent, you might need new ones.
Take your time with this step. Make any necessary adjustments. This ensures your table works perfectly.
Finishing and Final Assembly
You have built a fantastic foldable picnic table! Now, you need to protect your hard work. You also need to make sure it is safe and ready for use.
Protective Finishes
You want your table to last for many years. Protecting the wood from weather is very important. You can choose from many outdoor finishes. Polyurethane is a great choice. It protects your wood from harsh weather and moisture. This stops rot and makes your table last longer. Polyurethane also keeps the natural look of the wood. It fights wear and tear from rain and sun. Products with UV inhibitors protect against sun damage. This keeps your wood strong. A good polyurethane coating can last for years, even in bad weather. You will not need to touch it up often.
You should also think about the environment. Many finishes have Volatile Organic Compounds (VOCs). These can affect air quality. Water-based finishes usually have lower VOCs. They are safer for you and the environment. Look for products that say “zero-VOC” or “low-VOC.” These products meet strict standards. They often work just as well as older types. Natural oils and waxes are also good. They have almost no smell. They are less likely to cause allergies.
Before you apply any finish, prepare the wood. Clean it well to remove dirt. Sand the wood with medium-grit, then fine-grit sandpaper. Always sand with the wood grain. This makes a smooth surface. It helps the finish stick better. Make sure the wood is completely dry. Then, apply your stain in thin, even coats. Wipe off any extra stain. After that, apply a clear sealer. Water-based sealers dry fast. Oil-based sealers offer deeper protection. Apply several thin coats of sealer. Let each coat dry completely.
Secure Connections
Now, you need to check every screw and bolt. You want your table to be super strong. Go over every connection point. Make sure all fasteners are tight. You can use a marker to draw a line across the bolt, nut, and steel. This shows you the starting position. Then, tighten the nut a little more. This ensures a snug fit. You want to bring all the steel parts into firm contact. This makes your table stable. Always verify that all parts are in their correct positions. This step is crucial for safety.
Final Adjustments
You are almost done! Now, you need to make sure your table is level. Check it in both the bench and table positions. Does it wobble? If so, you might need to adjust the legs. You can add small shims under the feet if needed. Make sure the folding action is still smooth. It should move easily without sticking. Your outdoor table should feel stable and secure. This ensures everyone can enjoy it safely.
You now have a fantastic foldable picnic table! It offers amazing practicality and a space-saving design. Imagine the pride you will feel using your handmade item in your backyard. You built a fantastic diy folding bench with these easy diy plans. We encourage you to share your completed projects with us! This project is rewarding. You can do it. Find detailed diy plans to start your build. You can download the plan today and begin your project. Download the plan and enjoy your new creation!
FAQ
Can I use different types of wood for this project?
Yes, you can! Pressure-treated pine is great for outdoor use. Cedar or redwood also work well. They naturally resist rot. Just remember, different woods have different costs and looks.
How long does it take to build this picnic table?
Building this table usually takes one to two weekends. This includes cutting, assembly, and finishing. Your speed depends on your experience. It also depends on how much time you have each day.
Do I need special tools for this DIY project?
You will need basic power tools. A miter saw and a drill are essential. Hand tools like a tape measure and a square are also important. You can often rent bigger tools if you do not own them.
Can I leave my foldable picnic table outside all year?
You can leave it outside. However, a good protective finish is key. Consider covering it during harsh weather. This will help your table last much longer. It keeps it looking great too.
Is this project suitable for a beginner woodworker?
Absolutely! These plans are designed for beginners. We break down each step. Take your time. Follow the instructions carefully. You will build a fantastic table. You will feel proud of your work.


