
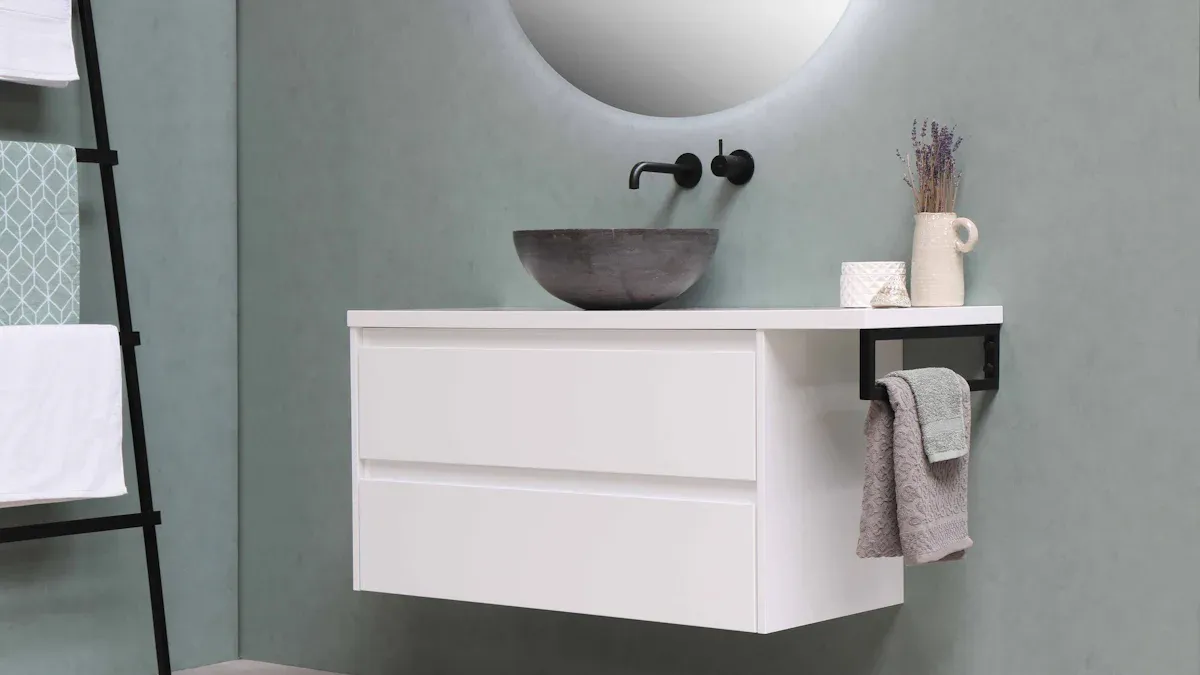
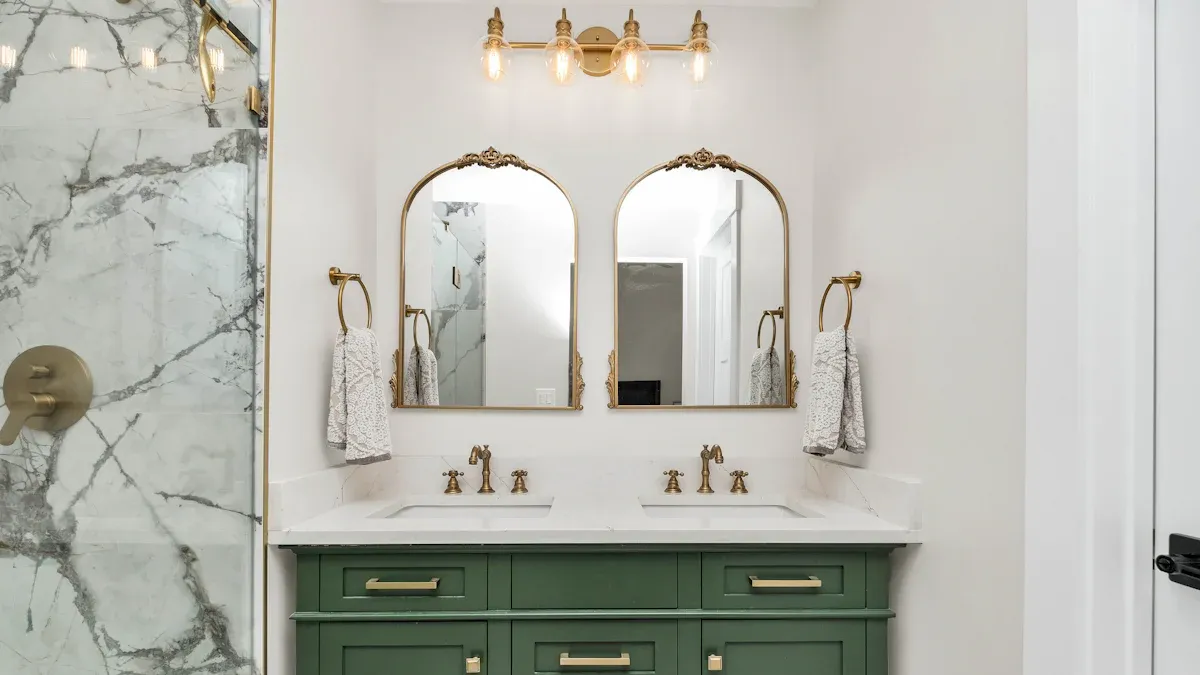
A fresh coat of paint on a bathroom vanity can dramatically transform your entire bathroom’s look. You update your space without a full renovation. A DIY project offers immense satisfaction and saves you money. We show you how to paint a bathroom vanity for a professional, durable finish that withstands bathroom conditions. This DIY vanity paint job ensures lasting quality.
You will learn to paint bathroom vanity cabinets effectively, achieving a truly durable finish from your painting bathroom vanity cabinets project.
Why Durability Matters for Bathroom Vanities
Bathroom Environment Challenges
Your bathroom is a tough place for paint. It constantly battles unique conditions. High humidity and frequent temperature changes challenge any finish. A single 10-minute hot shower releases over a gallon of water vapor into the air. This causes bathroom humidity to often exceed the Environmental Protection Agency’s (EPA) recommended 30-50% range. You must maintain indoor humidity between 30–50 percent. Upgrade your ventilation when levels go higher. These moisture fluctuations can make paint crack, peel, or blister if you do not prepare it correctly.
Your vanity also faces harsh chemicals. You use many cleaning agents in a bathroom. These include 2-Butoxyethanol, found in multipurpose cleaners, and ammonia, present in glass and fixture polishes. Chlorine, used in toilet bowl cleaners and mildew removers, also poses a threat. Other common chemicals are sodium hypochlorite (bleach), hydrochloric acid, and quaternary ammonium compounds. These substances can break down a paint finish over time.
Benefits of Proper Preparation
Proper surface preparation is the cornerstone of a successful and durable paint job. It accounts for approximately 80% of its quality and longevity. Paint needs to form strong bonds with the surface. For this bond to be effective, your surface must be clean, free of contaminants, and structurally sound. You need a smooth surface with a profile for paint to grip. It must also be dry and appropriately primed.
Neglecting these conditions compromises adhesion. This leads to premature paint failure. You might see peeling and flaking within months. Bubbling and blistering can occur from trapped moisture. Poor preparation can reduce your paint’s lifespan by 50% or more. You ensure a long-lasting, beautiful finish when you take the time to prepare your vanity correctly.
Essential Supplies for Painting Bathroom Vanity Cabinets
Gathering the right supplies makes your painting project smooth and successful. You need specific tools and materials to achieve a durable finish.
Tools for Disassembly and Prep
You start by taking your vanity apart. You will need a screwdriver or power drill to remove hardware and doors. An adjustable wrench helps with plumbing connections. A utility knife is useful for cutting caulk. Always wear safety goggles and gloves to protect yourself. A bucket is handy for catching water. You might also want a pry bar, hammer, and chisel for stubborn parts. After disassembly, clean the surfaces thoroughly. First, remove all hardware and doors. Then, sand the vanity surfaces to smooth out imperfections. Next, clean the surface with a general cleaner, then use a degreaser to remove dirt and oils. Rinse off any residue and let the vanity dry completely, ideally overnight.
Choosing the Right Primer for Adhesion
Primer is crucial for durability. It creates a strong bond between the vanity and your paint. You can choose from primer-sealers like Bins or Kilz. These work well on various surfaces. Consider primers compatible with your vanity’s material, whether wood, metal, or laminate. Tinting your primer to match your topcoat color can also improve coverage. Shellac-based primers, like Zinsser BIN, offer superior adhesion. They hold up best under heavy pressure, even on glossy surfaces. Water-based primers, such as Zinsser 123, also perform well. However, shellac primer provides a stronger bond for very glossy surfaces. Selecting the ideal paint and primer ensures your finish lasts.
Selecting Durable Paint Types
For painting bathroom vanity cabinets, you need tough paint. Oil-based enamel paints offer the most durable finish. They resist water and create a hard, smooth surface. This makes them ideal for high-traffic areas. These paints are extremely tough and wear-resistant. They form a protective layer that adheres strongly to wood. Latex options, like Benjamin Moore’s Advance, also work effectively. Alkyd-based paint cures to a very hard finish. Valspar Cabinet and Furniture Paint can sometimes be used without sanding. Sherwin-Williams Gallery Series is another good choice, especially for lighter colors with the right primer. An acrylic enamel paint provides excellent durability and a smooth finish.
Brushes, Rollers, and Sprayers
Your choice of application tool affects your finish. High-quality brushes give you precision for edges and details. Small foam rollers create a smooth, even surface on flat areas. For the smoothest, most professional look, consider using a paint sprayer. This requires more setup but can yield excellent results.
Protective Gear
Protect yourself during the painting process. Wear disposable gloves, such as latex or nitrile, to keep paint off your hands. Painters goggles protect your eyes from splashes and fumes. A paint suit can keep your clothes clean.
Your Step-by-Step Guide to Painting a Bathroom Vanity
This section gives you the core instructions on how to paint a bathroom vanity for a durable finish. Follow these steps carefully for the best results.
Disassembly and Deep Cleaning
First, you must prepare the bathroom vanity surface. This means taking it apart.
Disconnect the vanity from the wall.
Remove the faucets.
Disconnect the plumbing. Make sure you close the water valves first.
Take off the vanity countertop.
After disassembly, you need to clean everything very well. This deep cleaning removes dirt, grime, and any residue.
Use mild soap or a general cleanser for everyday dirt and stubborn stains. This works well on natural wood finishes too.
A disinfectant is good for areas that might have germs or bacteria.
Vinegar, diluted with water, can clean laminate finishes. It also helps with stubborn stains and disinfects white vanities.
Bleach is another option for laminate finishes.
If you have a granite or stone countertop, use a specific granite cleaner.
Rinse off any cleaning residue. Let the vanity dry completely, ideally overnight. This ensures no moisture remains before you move to the next step.
Repairing and Sanding Surfaces
Now, inspect your vanity for any damage. You need to fix these spots before sanding.
For scratches on laminate:
Clean the area with a damp cloth and mild cleaner. Dry it thoroughly.
Use a laminate touch-up marker. Follow the grain or pattern of the laminate.
Buff lightly with a clean cloth. You can add furniture polish if the area looks dull.
For chipped areas:
Clean and dry the chipped spot.
Mix and apply 2-part epoxy putty. Slightly overfill the chip.
Once the putty sets, use a sharp knife or sandpaper. Level the putty flush with the surface.
Disguise the repair with a touch-up marker or laminate paint.
For surface scratches:
Gently buff the surface with a soft cloth. Use a mild abrasive cleaner or toothpaste.
Apply a polishing compound or furniture polish. This adds shine and fills the scratch.
For tougher marks, use a wax repair stick. This fills and blends the scratches.
After repairs, it is time to sand. Sanding helps the paint stick better.
Begin with 120-grit sandpaper. This roughens the surface of the vanity cabinet and body.
Follow up with 220-grit sandpaper. This ensures proper paint adhesion.
For advanced refining and smoothing minor imperfections, use fine-grit sandpaper (180-240). This prepares the surface for primer.
For a very smooth, polished surface, use extra-fine grit sandpaper (320 and higher). This is your final sanding phase for a flawless finish.
After sanding, wipe away all dust with a tack cloth. A clean surface is vital for a good paint job.
Applying Primer for Longevity
Primer is your secret weapon for a long-lasting finish. It creates a strong bond between the vanity and your paint. Use a brush to edge a coat of primer on all exposed areas. Then, use a roller to finish the larger flat surfaces. Allow two to three hours for drying between coats. If needed, apply a second coat of primer. Let it dry completely.
Painting Techniques for a Smooth Finish
Achieving a smooth, professional finish requires good technique. This is how to paint a bathroom vanity without brush marks.
Work in a clean, dust-free area. This prevents imperfections from settling on your wet paint.
Use a high-quality synthetic bristle brush for detailed areas. An angled sash brush works well.
For smooth surfaces, use a small foam roller or a fine-finish mohair roller. These rollers lay down paint very smoothly.
Apply paint in long, even strokes. Maintain a ‘wet edge’ to avoid lap marks. Do not press too hard; this can cause bubbles.
Avoid overworking the paint. Apply it evenly, then leave it alone. This prevents brush and roller marks.
Apply two or three thin, even coats of paint. Thin coats dry faster and reduce drips. They also create a smoother finish.
Lightly sand with 220-grit sandpaper between coats. This smooths out any brush strokes or imperfections. Remove dust with a tack cloth.
Use a paint conditioner, like Floetrol for latex paint or Penetrol for oil-based paint. This improves paint flow and reduces brush marks.
For crevices, use an angled Purdy Nylox Paint Brush. For larger surfaces, use a Purdy White Dove 1/4″ nap mini roller. The soft bristles and low nap ensure a smooth finish.
Immediately after painting crevices with a brush, go over the area with a roller. This smooths the finish and ensures uniformity.
For detailed areas, you want an even paint application.
Utilize high-quality, self-leveling cabinet paint. This gives a smooth, professional finish.
Employ an angled, new brush for small areas. Use a microfiber roller for panels.
Apply multiple light coats. Allow each to dry and cure completely between applications. This creates a smoother, harder finish.
Completely remove all hardware, such as knobs and hinges, before painting. This ensures a more polished and custom appearance. This diy vanity paint job will look great.
Multiple Coats and Drying Times
You need multiple coats for optimal durability.
Apply a first coat of paint. Allow it to dry fully.
Add two additional coats. This protects the surfaces from daily use.
Apply thin coats of paint. Allow each coat to fully dry before applying the next. This prevents drips and ensures a high-quality finish.
Consider lightly sanding between top coats. This removes paint buildup or imperfections. It helps achieve a smooth, factory-like finish.
Allow two to three hours for drying between coats. This is a crucial step for painting your vanity.
Reassembly of the Vanity
After all the painting is done, you must let the paint cure. This takes time.
Allow painted drawers and cabinets to dry completely for one to two days. This is important before you touch them too much.
Reinstall all hinges. Make sure you screw them back into their labeled positions.
Slide the drawers back into their original places.
This completes your diy project. You now know how to paint a bathroom vanity with a durable finish.
Curing, Maintenance, and Long-Term Care
Understanding Paint Curing
You must understand the difference between paint drying and paint curing. Paint drying happens when the solvent leaves the paint. The paint feels dry to your touch. However, the paint can still get damaged from pressure, washing, or wiping. Paint curing is a chemical process. Pigments and binders join together. This creates a strong, flexible film. Fully cured paint can handle washing, small scratches, and bumps. This process can take weeks. Paint feels dry when solvents evaporate. It reaches its hardest point when it is 100% dry. This usually takes three to four weeks.
Full paint cure can take a week or even longer. You can reattach drawers and cabinet fronts after three days. Reattaching them sooner risks sticking and peeling. Handle your vanity gently for the first few weeks after you put it back together. This allows for complete curing. After the second coat, let doors and drawer fronts dry for at least two to three days before you put them back. Complete paint curing can take one to two weeks. You must handle the vanity carefully during this time.
Cleaning Your Painted Vanity
Clean your painted vanity carefully. Use only mild cleaners and soft cloths. Blot, do not scrub, to keep the painted finish. Avoid abrasive pads and harsh scrubbing. These can chip the paint. Do not use cleaners with ammonia, bleach, or strong acids. These can dull the paint or make it peel. Abrasive scrubbers like steel wool are too rough. Do not use them. Do not soak cabinets or leave them wet for long periods. Water can seep into seams. This causes paint bubbling or cracking.
Protecting Your Finish
You can protect your painted vanity. Apply a sealant after the paint dries. This makes the paint job last longer. It guards against water damage and wear. Clean your vanity gently and regularly. Use a soft cloth and mild soap with water. Avoid harsh chemicals. They can strip or dull the finish. Keep leftover paint for touch-ups. Small touch-ups prevent bigger repaints later. Choose mildew-resistant paints for humid bathrooms. This helps with longevity.
Apply a clear topcoat. Polyurethane or polyacrylic can protect against moisture and wear. Polycrylic is water-based. It does not yellow easily. Control moisture levels. Use an exhaust fan often, especially when showering. This reduces humidity. Wipe cabinets weekly with a soft, damp cloth. This prevents soap scum and mold. Address chips and scratches right away. Lightly sand the area. Apply primer if you see bare wood. Touch up with original paint. This stops more damage or water. Wipe up water splashes quickly. This prevents standing water from seeping through the paint.
You can also use cabinet door bumpers. Place rubber, felt, or silicone bumpers on the inside corners of cabinet doors and drawers. This reduces impact. It prevents scratches from closing. Seal your cabinets. Apply a clear, durable sealer. Let it cure fully. This makes it more resistant to scratches and moisture.
You have learned how to paint bathroom vanity cabinets for a durable finish. This DIY project involves careful preparation, proper priming, and precise painting techniques. You gain immense satisfaction transforming your space. A well-executed DIY effort adds long-term value to your home.
Tackle this rewarding task with confidence. Patience and proper technique ensure lasting results when you paint the vanity. You can achieve a professional look when you paint a bathroom vanity. This guide helps you paint bathroom vanity cabinets effectively.
FAQ
What is the best paint for a bathroom vanity?
Oil-based enamel paints offer the most durability. They resist water well. Latex options like Benjamin Moore Advance also work. These paints create a hard, smooth surface. They stand up to bathroom conditions.
How long does paint need to dry before reassembly?
Allow painted drawers and cabinets to dry for one to two days. This is before you reassemble them. Full paint curing takes longer. Handle your vanity gently for several weeks. This ensures complete curing.
Do I have to sand my vanity before painting?
Yes, you must sand your vanity. Sanding creates a surface profile. This helps the primer and paint stick better. It prevents peeling and ensures a smooth finish. Always wipe away dust after sanding.
Can I use any cleaner on my painted vanity?
No, you cannot use any cleaner. Use only mild cleaners and soft cloths. Avoid harsh chemicals like ammonia or bleach. These can dull the paint. They can also make it peel. Blot, do not scrub.

