
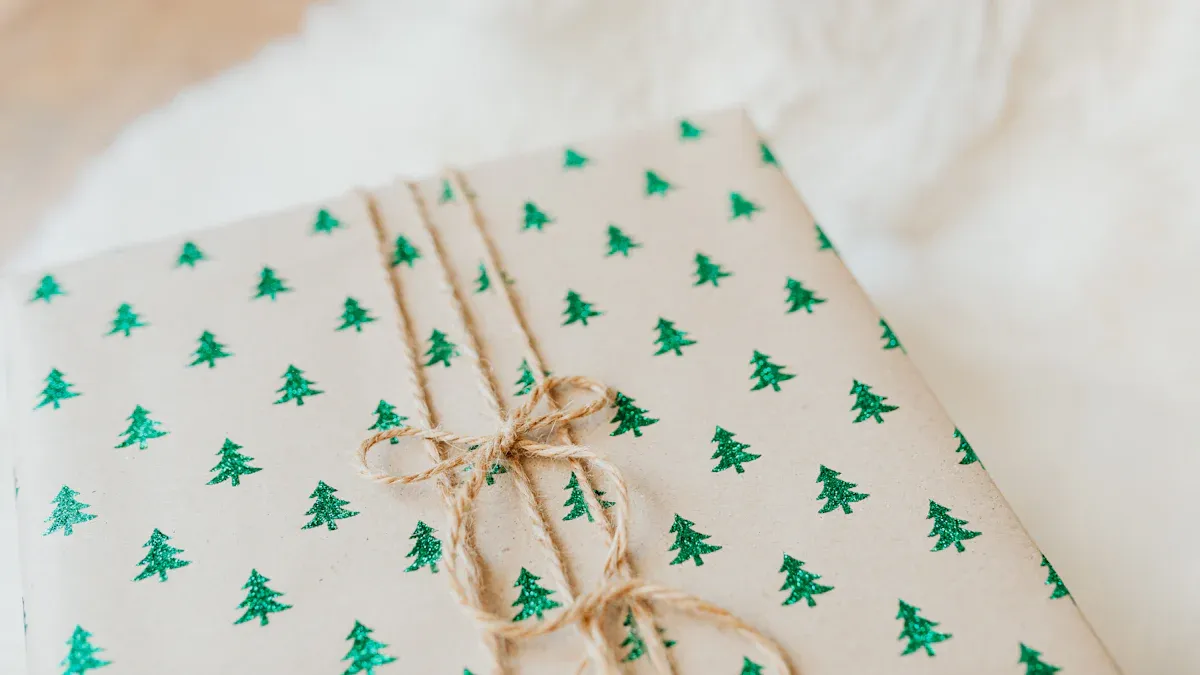
Do you love giving a gift with a truly personal touch? DIY homemade wrapping paper elevates any present! Making your own wrap offers unique designs and saves you money. Wrapping a gift with simple materials like kraft paper can cost significantly less than store-bought options.
For instance, kraft paper costs about 60% less per inch! This creative diy project is also fun and sustainable. Get ready to explore five easy homemade wrapping paper ideas and fantastic gift wrapping ideas. You will learn unique ways to wrap gifts. Unleash your inner artist and make every gift memorable with these simple diy techniques to wrap your gifts!
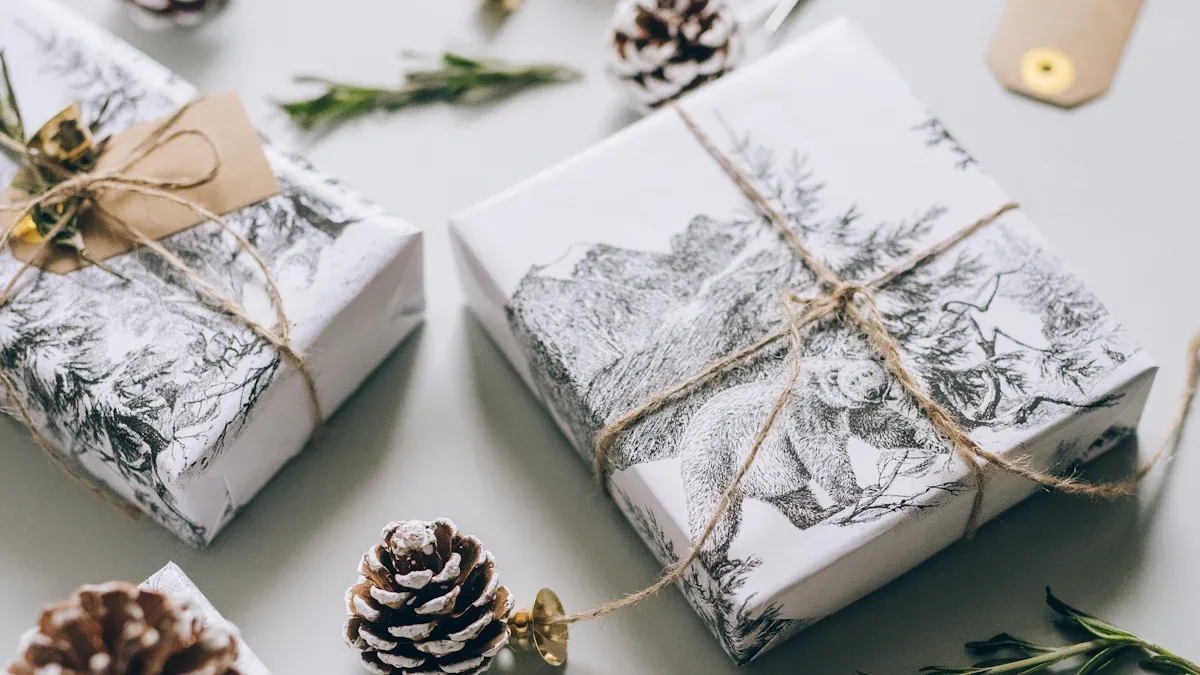
Stamped Kraft Paper: A Classic DIY
You can transform simple Kraft paper or brown parcel paper into stunning custom gift wrap. This classic creative diy method adds a personal touch to any gift. Plain wrapping paper also works wonderfully as a base for this technique. Imagine the delight when someone receives a gift wrapped just for them!
Gather Your Stamping Supplies
You will need a roll of Kraft paper or plain wrapping paper. Next, gather your stamps. You can buy pre-made stamps with various designs, or you can get truly creative with everyday items like potato halves, bottle caps, or even popsicle sticks. Choosing the right ink is key to prevent smudging on your gift wrap. Consider these options:
Dye-Based Inks: These dry fast, perfect for porous surfaces like Kraft paper. They help you avoid smudges.
Pigment-Based Inks: These offer vibrant colors and are water-resistant, though they dry slower. They are great for a rich look.
Chalk Inks: These also dry quickly and resist water, giving a soft, matte finish. Pick a few ink pads in colors that complement your gift’s theme.
Simple DIY Stamping Steps
First, lay your paper flat on a protected surface. Make sure it is smooth. Apply ink evenly to your chosen stamp. You want good coverage without too much excess. Press the stamp firmly and consistently onto the paper. Apply even pressure. Lift straight up to avoid smudges on your gift wrap. This careful motion ensures a crisp image. Repeat your pattern across the entire sheet of paper. You can create a uniform design or a more random, artistic look.
Leave space for drying between stamps, especially if you use slower-drying inks. This prevents colors from bleeding. For a truly unique gift wrap, consider making your own stamps. You can carve designs from rubber blocks. First, sketch your design on scrap paper. Then, transfer it to the rubber block. Carefully carve away the parts you don’t want to stamp. Use small carving tools for details. Test your stamp on scrap paper to check the design. This homemade touch makes your gift wrap extra special. Experiment with different ink colors to match your gift’s theme. This simple diy technique creates beautiful, personalized gift wrap ideas. You will love how your gifts look when you wrap them this way.
Botanical Pressed Paper: Nature’s Touch
You can create a truly unique diy homemade wrapping paper with nature’s beauty. Think about using pressed flowers, leaves, or small sprigs. These elements give your homemade wrap an elegant, organic look. This can be a beautiful homemade wrapping paper idea for any occasion.
Collecting Natural Elements
You can find many natural elements to make your gift wrap special. Look for violas, cedar, eucalyptus, dried flowers, herbs, pine cones, and strawflower heads. Violas add texture and layering. Cedar and eucalyptus bring a lovely scent. Dried flowers and herbs from your summer garden make beautiful accents. Pine cones can add a rustic touch. Strawflower heads create charming garlands. When you collect these items, choose ones that are relatively flat or easy to press. Avoid anything too thick or wet.
Crafting Your Botanical Wrap
Once you have your natural treasures, you need to press them. You have a few options for this diy step:
Traditional Methods: Place specimens between absorbent paper sheets. Put them in a flower press or a heavy book. Make sure no items overlap. Apply pressure and let them dry for 2-3 weeks.
Fast Microwave Method: Use a microwave flower press or make one with ceramic tiles and cardboard. Place specimens between paper sheets. Zap them for short intervals (e.g., 20 seconds on medium). Let them cool, then repeat until dry.
Fast Iron Method: Put specimens between paper sheets. Warm a dry iron on low. Gently press the paper with the iron, moving it slowly. Check every 20 seconds until dry.
After pressing, you can arrange your dried elements on plain paper. This creates beautiful homemade wrapping paper ideas. For securing them, use the right adhesive. Lineco Neutral pH Adhesive works well for most flowers. Perfect Paper Adhesive (PPA), Matte is great for delicate petals. Golden Acryl Med, Heavy Gel Matte is for heavier flowers. You can also use basting adhesive. It is acid-free and helps keep colors vibrant. Hold the spray can 24 inches away for a light mist. This method helps hold the herb in place. Your finished botanical wrap will make any gift feel special. It’s a wonderful way to personalize your gift wrap. This creative diy project results in a stunning, natural wrap. You will love how this natural wrap enhances your present.
Watercolor Wash: Artistic Homemade Wrap
You can turn plain paper into a beautiful, artistic statement with watercolor washes. This design uses butcher paper as a base. You can also use tempera paints or watercolors for a soft, artistic effect. This creative diy project makes your gift truly special.
Preparing Your Canvas
First, pick your paper. Butcher paper works well for a large, inexpensive canvas. For the best results, use quality watercolor paper. It absorbs paint well. Paint on the textured side of the paper. To stop warping, tape the paper down to a surface. Keep it taped until it dries completely. You can also use tissue paper for a soft, artistic look. A light wash creates a gentle backdrop. More saturated colors can make a bold statement. Be careful with tissue paper, though. It absorbs a lot and can tear easily during the process.
Applying Watercolor Techniques
Now, let’s add some color to your homemade wrap! You can try different wash techniques to create unique patterns.
Ombre Effects:
Gradient Wash: This technique uses one color to make a beautiful ombre effect. Start with lots of paint on your brush. Apply a stroke. Then, add water to your brush. Mix it into your paint puddle. Apply the next stroke, making it lighter. Keep doing this. You might need to blend the paint from light to dark afterward.
Variegated Wash: This blends two or more colors. It gives you a seamless background. First, wet your entire paper. Apply a strong first color. Then, add water to lighten it for the next lines. Introduce a second strong color from the other side. Repeat until the colors mix. Blending helps you get a smooth transition.
You can also try abstract splatters for a playful look. Just load your brush with paint and tap it over the paper. This creates a fun, random pattern. Let your paper dry completely before you use it to wrap your gift. These ideas will give your gift a unique, artistic touch.
Fabric Scrap Furoshiki: Sustainable DIY
You can embrace a beautiful Japanese tradition with Furoshiki, the art of fabric wrapping. This method uses fabric scraps or bandanas to create stunning, reusable gift wrap. Furoshiki wrapping originated in ancient Japan. Its name means ‘bath spread,’ reflecting its first use for carrying clothes to public bathhouses. Over time, these cloths became artistic items, used for wrapping gifts, food, and daily essentials. Today, Furoshiki offers an eco-friendly alternative to disposable wrapping paper. It aligns perfectly with sustainability efforts and the ‘reduce, reuse, recycle’ principle. This creative diy approach makes your gift truly special and reduces waste.
Selecting Your Fabric Scraps
Choosing the right fabric is key for your Furoshiki wrap. You can use many different materials. Historically, people used cotton and linen because they were affordable and durable. Silk was for more luxurious uses. For modern, sustainable options, consider recycled polyester, made from plastic bottles. You can also repurpose materials like vintage scarves, tea towels, or fabric scraps. These choices promote sustainability and add unique flair to your homemade wrap.
The size of your fabric matters for your gift. Here are some common sizes:
Small (45-50 cm / 18-20 inches square): Perfect for wrapping small gifts, lunch boxes, or books.
Medium (70-90 cm / 28-36 inches square): Versatile for larger gifts, scarves, or even tablecloths.
Large (over 100 cm / 40 inches square): You can use these for picnic blankets or very large items.
A good rule of thumb for wrapping gifts is to ensure the fabric’s diagonal length is about three times the longest length of the item you want to wrap. This helps you have enough fabric for secure folds.
Mastering the Furoshiki Fold
You can master several basic Furoshiki techniques that eliminate the need for tape. These methods make your gift wrap reusable and elegant.
Here is a simple technique for wrapping a box-shaped gift:
Lay your fabric flat with the print side down.
Place your box in the center of the fabric.
Bring two opposite sides of the fabric up and over the top of the box. Make them meet in the middle.
Fold down any excess fabric for a clean line.
Repeat with the remaining two sides. Ensure a snug fit around the box.
Tie a decorative knot with the loose fabric at the top. This secures your gift.
For beginners, wrapping a box or book is a great starting point. This quick fold uses a single knot for a neat finish. The flap can hang down or you can tuck it under the knot. This sustainable diy method makes your gift presentation beautiful and thoughtful. You will love how easy it is to wrap your presents this way.
Personalized Newspaper: Upcycled Creative DIY
You can transform ordinary newspaper into truly unique gift wrap. This section focuses on giving old news a new life. It’s a fun and creative diy project.
Choosing Your Newspaper Base
Start by selecting your newspaper. Look for pages with interesting fonts, images, or even comic strips. This makes your gift wrap special. Upcycling newspaper for gift wrap is an eco-friendly method. It helps reduce waste by reusing materials you already have at home. This practice also lessens the environmental impact of traditional wrapping paper. The United States alone produces 4.6 million pounds of wrapping paper each year. Half of that ends up in landfills. This creative approach helps address the demand for new paper. New paper contributes to deforestation and pollution, especially during holidays.
Adding Personal Touches
Now, make your newspaper wrap pop! You can add splashes of color with paint or markers. Cut out letters from old cards for personalization. Attach unique elements like Scrabble letters or personalized wood slices as tags. These ideas make your gift stand out.
Consider these embellishments for your creative wrap:
Buttons: Add buttons for decoration.
Small Toys: Incorporate small toys.
Feathers: Use real feathers or make your own.
Bells: Attach bells for a festive touch.
Stars: Decorate with stars on wire or stiff string.
Collage: Create a recycled tissue paper collage.
String: Keep it simple by tying packages with string.
Ribbons: Use colored ribbons, like sage green stitched ribbon.
Pleats: Introduce small pleats. This adds a feature and helps disguise the gift. Newspaper can be thin.
Gift Bag: Make a handmade gift bag from newspaper. Add a thin card for stability.
Doilies: Decorate gift bags or wrapped items with doilies.
Paper Flowers: Make your own paper flowers out of newspaper. Paper rosettes from 12×12 inch paper cut into 6-inch strips also make great additions.
You’ve explored five amazing creative diy gift wrap designs! These easy diy homemade wrapping paper ideas are simple, personal, and good for the planet. Giving a gift wrapped with your own hands brings so much joy. It shows extra love and effort. Now, try these homemade ideas for your next gift. Share your creative wrap on social media! You can post your beautiful wrap projects on platforms like Instagram, TikTok, or YouTube. Tell us your favorite diy wrapping tips or new ideas you’ve tried in the comments below. Your unique wrap will impress everyone.
FAQ
Can I use any paper for DIY gift wrap?
You can use many types of paper! Kraft paper, butcher paper, and even newspaper work great. For watercolor designs, try thicker paper. Tissue paper also works for a delicate touch. Choose paper that fits your creative vision.
How do I make my homemade wrap look neat?
Smooth your paper before you start. Use sharp scissors for clean cuts. When stamping, press firmly and lift straight up. For Furoshiki, practice your folds. These steps help you get a polished look.
Are these DIY wrapping ideas truly eco-friendly?
Yes, many are! Using newspaper, fabric scraps, or natural elements reduces waste. You reuse materials instead of buying new. This helps the environment. It makes your gift thoughtful and sustainable.
Can kids help with these DIY gift wrap projects?
Absolutely! Kids can enjoy stamping, splattering watercolors, or collecting natural items. They can also help decorate newspaper wrap. It is a fun, creative activity for the whole family. Let them express their creativity!


