
You want a fresh look for your home, right? Your fireplace is often the star of your living room. A stunning transformation doesn’t need a huge budget or professional help. A diy fireplace remodel makes this possible. You can personalize your space and save money with diy updates. This is a truly rewarding diy project. Get ready for practical, budget-friendly advice. You’ll find an easy weekend upgrade for your fireplace and hearth that’s truly budget-friendly. You’ll love your refreshed fireplace.
Planning Your Budget Fireplace Remodel
Assessing Your Current Fireplace
Before you jump into a diy fireplace remodel, you need to look closely at your existing fireplace. What condition is it in? A thorough inspection is crucial, especially for older homes. You should check for structural issues. A qualified inspector can examine the exterior chimney, the firebox, and the smoke chamber. They also look at the flue lining and check for water damage or cracks.
Here are some common problems you might find:
Exterior Chimney Cracks: These let water in, causing more damage.
Mortar Joint Deterioration: Loose mortar means moisture issues or movement.
Water Damage: Look for white stains (efflorescence), rust, or water marks on nearby walls. A damaged chimney cap often causes this.
Damaged Damper System: Does your damper open and close easily? Rust or a poor seal can cause problems.
Smoke Entering Your Living Space: This is a serious sign. It could mean blockages, downdrafts, or flue sizing issues.
Outdated or Damaged Fireplace Surround: Cracks or discoloration can point to heat damage or safety code issues.
Addressing these problems first ensures your remodel is safe and lasting.
Setting a Realistic Budget
Now, let’s talk money. You want to remodel my fireplace on a budget, so setting clear financial limits is key. Think about what you can realistically spend. Your material choices will greatly impact your overall budget.
Here’s a quick look at some material costs per square foot:
Material | Cost Per Square Foot |
|---|---|
Brick siding/veneers | $3 – $10 |
Concrete | $5 – $25 |
Tiles | $1 – $40 |
Wood paneling | $2.50 – $40 |
Stone veneers | $11 – $18 |
Genuine Stone | $60 – $70 |
Brick veneers are much more affordable than natural stone. Wood mantels also cost less than stone options. Plan for unexpected costs, too. Add a small buffer to your budget for those surprises.
Gathering Design Inspiration
You’re ready to redesign a fireplace! Start collecting fireplace remodel ideas. Look at magazines, Pinterest, and home design websites. What styles do you like?
Popular design styles include:
Modern: This style features sleek lines and minimal decoration.
Traditional: You’ll see classic details, carved mantels, and decorative tiles here.
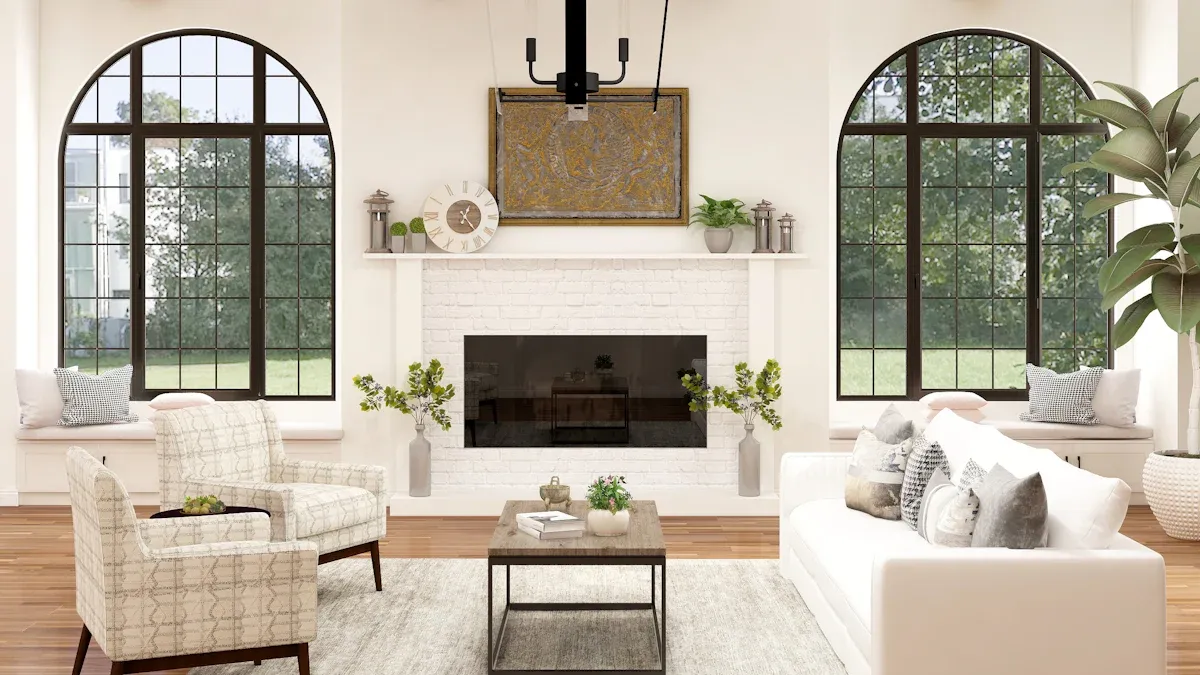
Minimalist: This focuses on simplicity, clean design, and neutral colors.
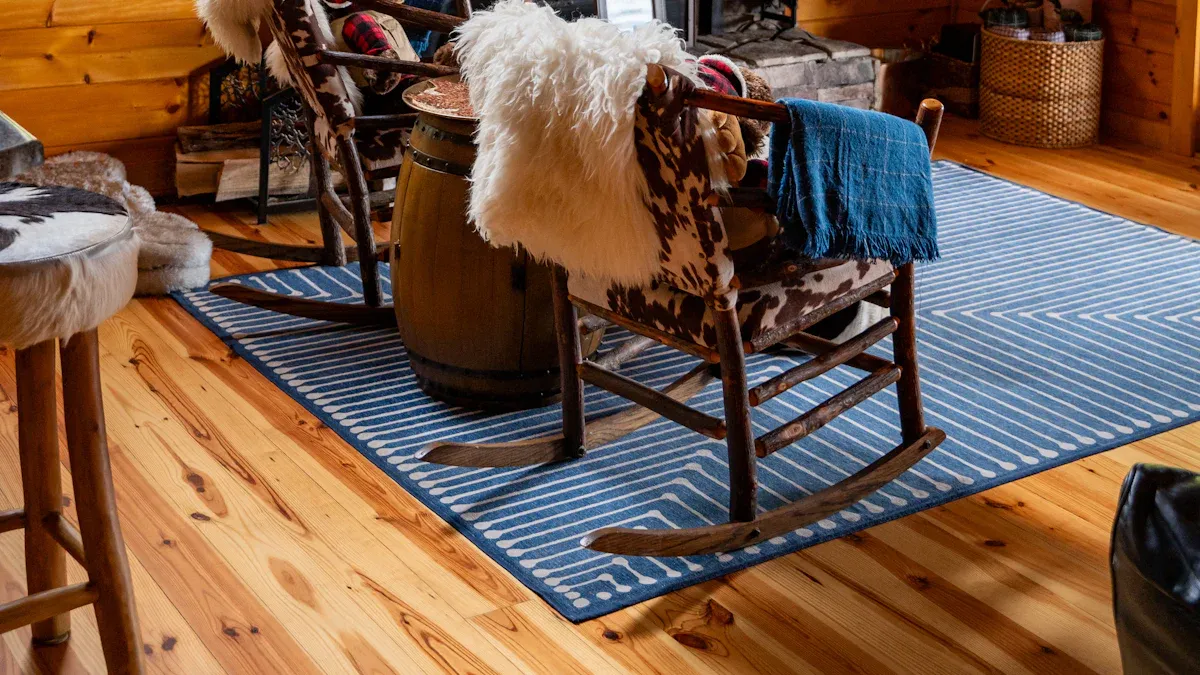
Rustic: This style uses rough stone or reclaimed wood for a cozy feel.
Industrial: Expect exposed metal and wood for a raw, unfinished look.
Think about how your new fireplace will fit with your home’s overall look. This helps you choose materials and colors that work well together.
Budget Fireplace Remodel Ideas
You want to give your fireplace a fresh look without spending a fortune. This section gives you practical fireplace remodel ideas that are truly budget-friendly. You can transform your space with smart choices and a little elbow grease. Let’s explore how you can modernize an existing fireplace and make it shine.
Paint Power: Easy Fireplace Update
Painting your fireplace is one of the quickest and most impactful ways to update it. You can completely change the look of brick or stone with a fresh coat of paint. For brick, consider high-heat paint if you plan to paint inside the firebox or very close to the opening. Otherwise, regular interior paint works well for the surround.
Tip: Chalk paint offers a beautiful, matte finish and often requires minimal prep work.
You can also try the German Smear technique for a rustic, old-world feel on brick. This involves applying a thin, diluted mortar wash over the brick, then wiping some away. It softens the brick’s appearance and gives it a charming, aged look. This simple paint job can make a huge difference.
Affordable Fireplace Tiling Options
Tiling your fireplace surround can add texture and style. You don’t need expensive tiles to get a high-end look. Look for clearance sales at home improvement stores or check discount tile outlets. Ceramic, porcelain, and even peel-and-stick tiles offer great budget-friendly options.
Here’s how some popular tile types compare for your fireplace:
Feature | Porcelain Tile | Natural Stone Tile |
|---|---|---|
Appearance & Variation | Uniform, can mimic stone well; consistent finishes. | Highly variable, rich character, each piece unique. |
Durability / Wear Resistance | Very high: low porosity, scratch/stain/impact resistance. | Varies by stone type; may scratch, etch, or chip. |
Moisture / Heat / Chimney Issues | Excellent: low water absorption; stable under heat. | Needs careful attention: may absorb moisture, crack/blemish with extreme thermal changes. |
Maintenance | Low-maintenance: typically no sealing needed; easy to clean. | Higher maintenance: sealing, special cleaning, ongoing care may be required. |
Installation Ease & Cost | Easier installation due to uniformity; more DIY-friendly. | More complex: needs skilled installer, careful layout, possible additional labor cost. |
Cost & Value | Generally lower initial cost; good value. | Higher cost; luxury aesthetic can increase home value. |
Ideal Use for Fireplace/Backsplash | Very suitable: durable, low upkeep. | Suitable for high-end look, with readiness for maintenance and cost. |
Porcelain tile is a type of ceramic tile. Manufacturers make it from refined clay baked at very high temperatures. It absorbs less than 0.5% of water, making it very dense. This low porosity, consistency, and lower maintenance make porcelain a durable and cost-effective choice for your fireplace.
For an even easier option, consider peel-and-stick tiles. Make sure the product you choose is rated for fireplace surrounds. This means it can handle heat and stick well to the surface. Porcelain or stone-look porcelain peel-and-stick options offer good durability. Avoid softer natural stone peel-and-stick unless the product specifically says it’s for fireplaces.
Refacing with Reclaimed Materials
You can give your fireplace a unique character by refacing it with reclaimed materials. This is a fantastic way to add warmth and history. You can reface your fireplace with materials like pallet wood, salvaged barn wood, or even faux stone panels.
Where can you find these treasures?
Factories
Old Barns
Retired Ships
Stock Farms
Warehouses
Wine Casks
Pallets
Salvaged wood, like barn wood, works well for many home projects. You can use disassembled barn siding for cabinets or antique timber for a mantel. A diy fireplace remodel using these materials adds a rustic touch.
Mantel Makeover Ideas
Your mantel is a key feature of your fireplace. You can transform it without buying a brand new one. Repurpose an old beam or build simple DIY floating shelves.
Building a simple floating mantel can be very affordable, often around $50 if you have basic tools. Here are some ways to do it:
Rustic Look: Use knotty pine wood. You can distress the wood with a chisel and chains to create indentations. This gives it a rustic appearance. Nail pieces together after making 45-degree angled cuts. Fill nail holes with wood filler and sand smooth. Then, apply two coats of wood stain.
Sturdy Construction: Use 1x4x6, 1x8x8 (two pieces), and 2x4x8 wood boards. Assemble the mantel box by gluing and nailing boards together. Use a nail gun to secure them. Add wood glue and nail end caps. Fill nail holes and gaps with wood filler. Sand and stain for your desired finish.
Clean Lines: Use pine boards. A chop saw helps you make mitered corners for a simple, streamlined look. Use a Kreg pocket hole kit to hide screws, so you won’t see any fasteners.
Hearth Updates
Don’t forget your hearth! You can update it without major demolition. A concrete skimcoat is an easy and effective method. It costs under $100 and gives your hearth a clean, modern, and minimalist look. It will appear as if it was always designed that way.
Here’s how you can do it:
Prepare the work area: Clean the hearth thoroughly. Lay down drop cloths and tape off the fireplace insert to protect it.
Apply the concrete: Mix the concrete skimcoat according to package directions. Apply it evenly to the hearth surface and sides using a trowel.
Seal the surface: Once the skimcoat is dry, apply a sealant. This protects the surface from staining and adds shine. Allow the sealant to dry completely.
You will need materials like Henry Feather Finish Patch & Skimcoat, a concrete trowel, a bucket for mixing, concrete sealer, a paintbrush, drop cloths, and masking tape. This simple remodel can make a big impact on your budget.
Step-by-Step DIY Guides
You are ready to roll up your sleeves and get to work! This section gives you clear, step-by-step instructions for some popular budget-friendly diy fireplace remodel projects. You can achieve amazing results with these guides.
How to Paint Your Brick Fireplace
Painting your brick fireplace is a fantastic way to update its look. Here is how you can do it right:
Prepare Your Area: First, protect your space. Lay down a drop cloth or plastic sheet to cover your floor. Use painter’s tape around the edges of your fireplace, including the mantel and any trim. This keeps your lines clean.
Clean the Brick Thoroughly: This step is super important for good adhesion.
Grab a wire brush and scrub the bricks. You want to remove any dirt, soot, or loose mortar.
Next, mix a trisodium phosphate (TSP) solution. Always follow the manufacturer’s instructions for mixing.
Put on protective gear like gloves and eye protection. Use a sponge to apply the TSP solution to the brick. Scrub vigorously to get rid of soot, oils, and any remaining dirt.
Rinse the surface thoroughly with clean water. Let it dry completely. This might take a day or two.
Prime the Brick: Once the brick is dry, apply a high-quality bonding primer. Look for one specifically made for brick or masonry.
Use a paintbrush for all the crevices and detailed areas.
Then, use a paint roller for the larger, flat surfaces. Apply one even coat.
Let the primer dry completely. You might need a second coat if the brick is very dark or stained.
Apply Your Paint: Now for the fun part!
Choose the right paint: If you are painting near new tiles, pick a can version of high-heat paint instead of spray paint. This prevents accidental overspray.
Ventilate well: Oil-based high-heat paint can have a strong smell. Open windows and use fans to keep the air moving.
Protect everything: Use painter’s tape to cover grout and any other surfaces you do not want painted. This paint is tough to remove once it is on.
Use the right tools: A cheap, disposable brush works well for applying the paint, especially on metal surfaces.
Know its limits: This paint is for surfaces that get hot, like your fireplace surround. Do not use it on surfaces in direct contact with flames, such as inside the firebox.
Installing Peel-and-Stick Tiles
Peel-and-stick tiles offer a quick and easy way to update your fireplace surround. You can do this!
Clean Your Fireplace Surround: Make sure the surface is super clean. It needs to be free of dust and debris for the tiles to stick well.
Plan Your Tile Layout: Before you peel off any backing, lay out your tiles. This helps you figure out the best pattern and where you will need to trim. Try to center your pattern if you need to trim tiles.
Place Your First Tile: Peel the backing off your first tile. Stick it down, making sure it is perfectly straight. All your other tiles will line up with this one, so take your time. You can adjust it a little if needed before it fully adheres.
Build Out Your Pattern: Work outwards from that first tile. Peel and stick each tile, taking your time to rotate them so the patterns match up correctly.
Trim Edges: You will need to cut tiles where they meet edges or walls.
Score tiles multiple times with a rotary cutter blade along a ruler. Then, snap them apart.
For intricate cuts, you can make paper templates first. Trace the template onto the tile and trim carefully.
When cutting with a utility knife, use heavy, even pressure in one smooth line for a clean cut. Always use a fresh blade and a protective mat.
Fill In Gaps: For any remaining small areas, find the pattern match. Turn the tile upside down, mark the cut line where it overlaps, trim it, and then slide it into place.
Trim Around Obstacles: If you have a mantel, grates, or baseboards, you will need to cut tiles to fit. Create paper templates to make precise cuts. Trace the template onto the tile and trim. Do not force tiles if they are too tight; trim tiny slices until they fit perfectly.
Ensure Adhesion: Press down firmly on each tile with a cloth. This ensures maximum adhesion, especially for any folded edges. If some edges pull up, you can score them or use construction adhesive for extra security.
Safety Note: Remember, peel-and-stick tiles have temperature limits. Many brands, like Smart Tiles, should not go over 120°F (49°C). Avoid direct contact with heat sources or open flames.
Building a Simple Floating Mantel
A floating mantel adds a sleek, modern touch to your fireplace. You can build one yourself!
Check Clearances and Codes: Before you start, check your local building codes. Also, look at your fireplace or insert manual for clearance rules. Gas fireplaces often have specific requirements. Always follow the manufacturer’s clearances to avoid safety issues.
Gather Your Materials: You will need a few key pieces:
Wall Support Board: A 2×4 board secured into wall studs with 3-inch screws. Its height depends on your desired mantel height.
Mantel Construction: Pieces for the front, top, bottom, and sides of your mantel box. You will cut these with 45-degree bevels for clean corners.
Internal Supports: A few 2x4s or 2x3s cut to fit inside your mantel. These help hold the beam together while glue dries.
Fasteners: 3-inch screws for the wall support, 1.5-inch nails for the mantel to the support, wood glue, and Kreg screws for internal supports.
Finishing Materials: Wood putty, wood filler, sandpaper (220 grit), and your chosen stain or paint.
Tools You Will Need: Grab a stud finder, drill (with a masonry bit if you have brick), long wood screws or lag bolts, a spirit level, measuring tape, wood shims, and safety gear.
Install the Wall Support (Ledger):
Use your stud finder to locate at least two wall studs where your mantel will go.
Secure a 2×4 ledger board into these studs using 3/8-inch lag bolts with washers. Predrill pilot holes to prevent wood splitting.
Use a spirit level to make sure this board is perfectly straight. For hollow walls, use heavy-duty toggles like Snaptoggle anchors.
Assemble Your Mantel Box:
Cut your front, top, bottom, and side pieces with 45-degree bevels.
Apply wood glue to the edges and assemble the box. Use clamps to hold it while the glue dries.
Add your internal supports inside the box, securing them with glue and Kreg screws.
Attach the Mantel:
Slide your assembled mantel box over the installed ledger board.
Apply construction adhesive behind the mantel for extra adhesion.
Use 1.5-inch nails to secure the mantel to the ledger board from the top.
Use shims if needed to ensure the mantel is perfectly level.
Finish It Up:
Fill any nail holes or gaps with wood putty or stainable wood filler.
Sand the entire mantel smooth with 220-grit sandpaper.
Apply your chosen stain or paint. For a durable finish, seal it with two coats of polyurethane.
Tools & Materials for Your DIY Fireplace Remodel
You are ready to start your diy fireplace remodel. Having the right tools and materials makes all the difference. You can save money and work safely.
Must-Have Basic Tools
You do not need a huge workshop for most budget-friendly projects. Here are some basic tools you will likely need:
Tape Measure: For accurate measurements.
Level: To ensure everything is straight.
Utility Knife: Great for cutting materials like peel-and-stick tiles or caulk.
Caulk Gun: For sealing gaps and finishing edges.
Drill: Essential for many tasks, like installing a new mantel.
Screwdrivers and Pliers: Always handy to have around.
Sanding Block or Electric Sander: For smooth finishes.
Paint Brushes and Rollers: If you plan to paint your fireplace.
Finding Affordable Materials
Finding materials that fit your budget is key. You do not have to buy everything new. Many places offer great deals on salvaged or gently used items. You can check out:
Habitat for Humanity ReStores: These nonprofit stores sell new and used building materials at low prices.
Local salvage yards or stores: Places like EW Salvage in the Pacific Northwest offer a wide range of reclaimed items. You can find vintage doors, windows, and architectural antiques.
Online marketplaces: Websites like Craigslist, Nextdoor, and Freecycle often have free or cheap building materials. You can find lumber, bricks, or even flooring.
ReuseWood.org: This site helps you find various wood products near you.
Friends and family: Ask around! People often have leftover materials from their own projects.
Tear-down sites: Sometimes, you can ask contractors if you can take reusable items from their demolition projects.
Safety First Considerations
Your safety is most important during any diy project. Always take precautions.
Wear safety gear: This includes gloves, eye protection, and a mask. Gloves protect your hands from cuts and chemicals. Eye protection keeps dust and debris out of your eyes. A mask helps you avoid breathing in dust or paint fumes.
Ensure proper ventilation: When painting or using adhesives, open windows and use fans. This keeps the air fresh and reduces exposure to fumes.
Read instructions: Always read the instructions for any tools or materials you use.
Work carefully: Take your time. Do not rush. This helps prevent accidents.
Finishing Touches & Styling Your Hearth

You have transformed your fireplace! Now, let’s make it truly shine. These finishing touches will complete your living room‘s new focal point.
Decorating on a Budget
You can decorate your mantel and hearth without spending a lot. Use neutral colors like white, gold, or cream. This creates an elegant feel. Add plants of different shapes and sizes. You can put them on the mantel or even inside the fireplace opening. Large plants like monstera or Boston fern look great. Art also makes a strong focal point. Hang one large piece or layer several smaller ones on the mantel. A mirror can make your space look bigger. It also helps spread light around the room. You can lean it against the wall on a wide mantel. Layering artwork or using seasonal decorations like garlands also adds charm.
Seasonal Styling Tips
Changing your decor with the seasons keeps your fireplace fresh. You do not need to buy new items every time. Shop your home first! Look for things you already own. For summer, use blue hydrangeas and greenery. This gives a fresh, natural feel. You can clip hydrangeas from your garden for free. Repurpose items you have. Maybe use a mirror with a wreath, or put hydrangeas in a pitcher. A small decorative bird or a clock can also add a nice touch. On the hearth, a rope basket or a vintage bird cage filled with mossy orbs looks lovely.
Maintaining Your Remodel
You want your newly remodeled fireplace to stay beautiful. Regular cleaning helps a lot.
After Each Use: Remove loose ash from the hearth and firebox opening. Use a soft-bristled brush and dustpan.
Weekly: Dust the entire fireplace surround. A dry microfiber cloth works well.
Monthly: Wipe the surface with a damp cloth. For greasy spots, use a pH-neutral stone cleaner.
Annually: Do a deep clean. Check if your stone needs sealing.
To check if your stone needs sealing, pour a small amount of water on it. If the water beads up, your stone is fine. If it soaks in and darkens the stone, you need to seal it. Make sure the stone is clean and dry before you apply the sealer. Follow the manufacturer’s instructions. Apply it evenly, let it sit, then wipe away any excess. This simple care keeps your budget remodel looking great for years.
You can truly achieve a beautiful fireplace remodel on a budget. We showed you how paint, affordable tiles, reclaimed materials, and smart mantel upgrades make a big difference. Embrace your DIY spirit! You will feel proud of your transformed hearth.
A refreshed fireplace changes your home’s ambiance. Enjoy the satisfaction of a successful, budget-friendly project.
FAQ
What kind of paint works best for a brick fireplace?
You should use high-heat paint for areas near the firebox. For the rest of the brick surround, regular interior paint works well. Chalk paint gives a nice matte finish. Always clean and prime the brick first for the best results.
What are some truly budget-friendly materials for a fireplace update?
You can find great deals! Look for clearance tiles, especially ceramic or porcelain. Reclaimed wood, like pallet wood, offers a unique look. Faux stone panels are also affordable. Don’t forget paint; it’s a powerful, low-cost option.
What safety steps should you always take during a DIY fireplace remodel?
Always wear safety gear. This means gloves, eye protection, and a mask. Make sure your work area has good ventilation, especially when you paint or use adhesives. Read all product instructions carefully. Work slowly and avoid rushing.
What should you do if your fireplace has structural problems?
You must address structural issues first. A qualified inspector can check for cracks, water damage, or loose mortar. Fix these problems before you start any cosmetic remodel. Your safety is most important.

