
A freshly painted door transforms any room. You gain immense satisfaction from seeing a smooth, professional finish. Many people choose to paint an interior door themselves. In fact, in 2024, 33% of homeowners are undertaking interior painting as a DIY project, making it a popular choice for refreshing their homes.
Achieving this look requires more than just applying paint. You need careful preparation and specific techniques. This guide will demystify the process for painting interior doors. You will learn how to paint a door and avoid common mistakes, ensuring a beautiful, lasting result.
Essential Tools and Materials
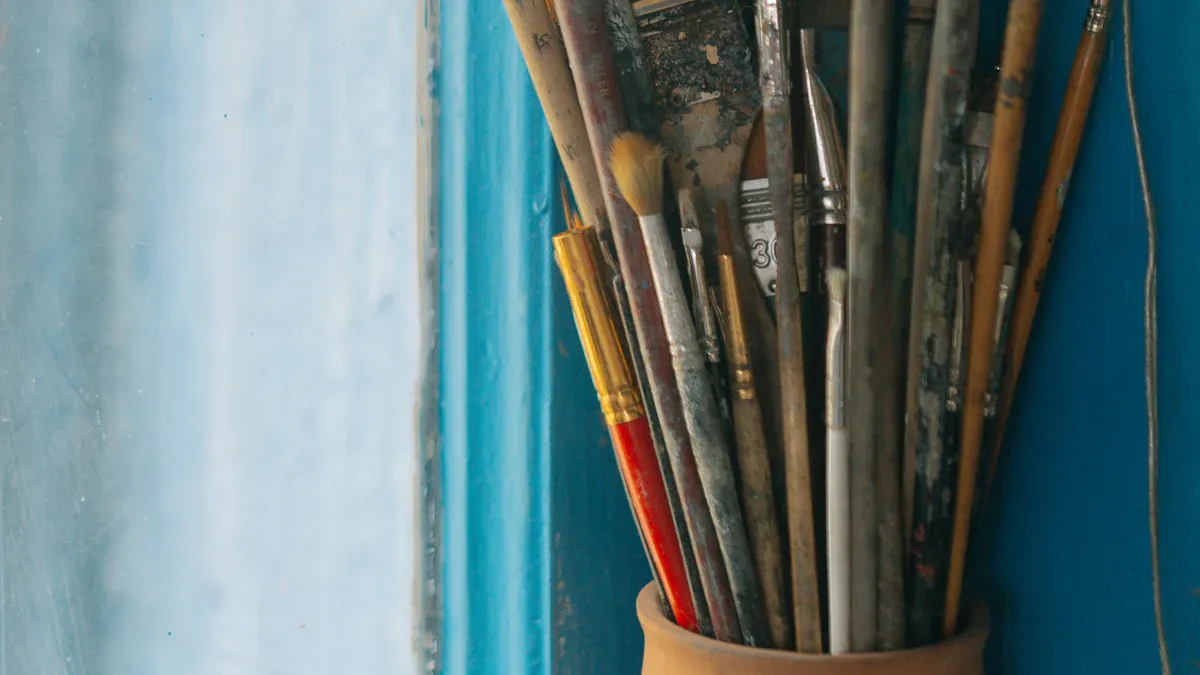
Before you begin painting, you must gather your painting tools. Having the right supplies makes all the difference for a smooth, professional finish. You need quality materials to achieve the best results.
Choosing the Right Paint Type
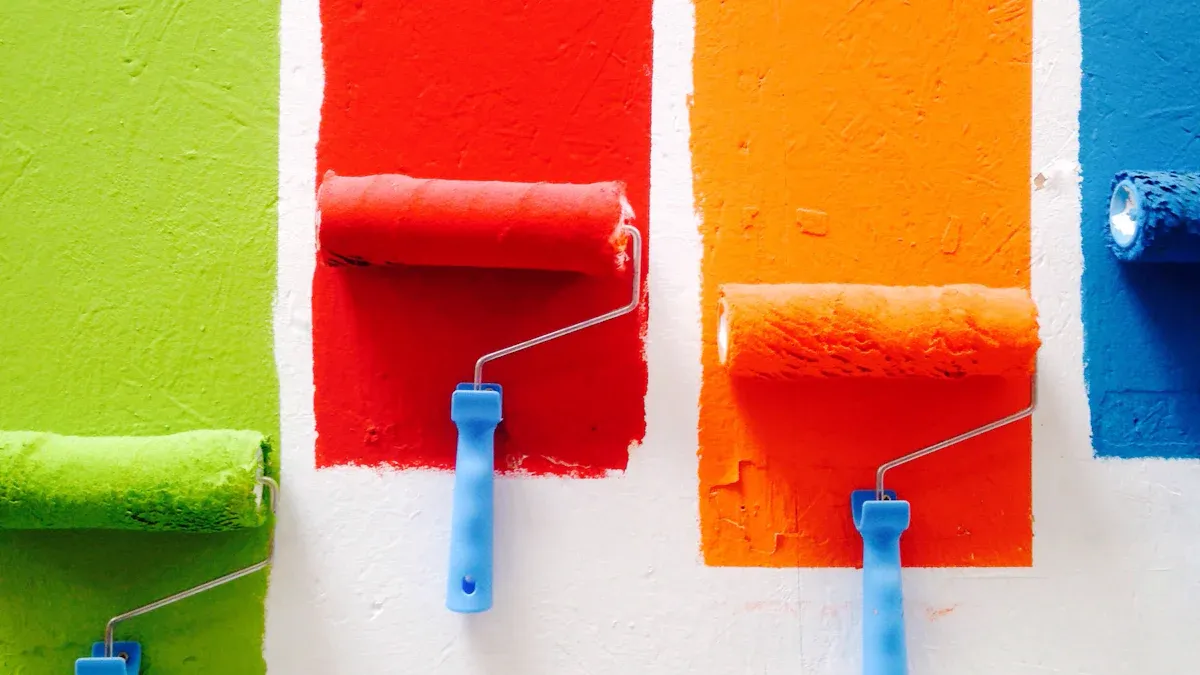
Selecting the correct paint is crucial for durability and appearance. For interior doors, you want a paint that withstands daily use and offers a beautiful finish. Many experts recommend semi-gloss or satin finishes. These sheens are easy to clean and provide a subtle luster. When considering the best paint for interior doors, you have a few options. Water-based (latex) paints dry quickly and have low odor. Modern acrylic enamel paints offer excellent durability, mimicking oil-based paints with easier cleanup. Oil-based paints provide an exceptionally smooth finish and superior durability, but they have a stronger odor and longer drying times.
For the best paint for interior doors, consider specialized formulas. Benjamin Moore Advance paint is a top choice. It cures to a hard, furniture-quality finish. This paint is also self-leveling, which helps brush marks disappear as it dries. This contributes to a very smooth finish. Regular latex paint may chip in high-traffic areas, so investing in waterborne alkyd paint is worthwhile for better durability. You should choose from the best paints and sheens available for your project.
Brushes and Rollers for Smooth Application
The right applicators help you achieve a flawless surface. For flat door surfaces, use roller covers with smaller nap sizes. A 1/4-inch nap roller is ideal. These short-nap rollers provide excellent coverage without adding unwanted texture. Woven fabrics like microfiber and mohair are best for an exceptionally smooth finish. They also prevent lint from getting into your paint. For detailed areas and edges, use a high-quality angled brush.
Prep Essentials: Sandpaper, Tape, Cleaner
Proper prep work is key to a lasting finish. You will need sandpaper to create a smooth surface. Use 150-grit sandpaper for filling gouges or imperfections with wood filler. Sand these areas until they are smooth. Then, use 220-grit sandpaper for lightly sanding the entire door. This creates an ideal surface for paint adhesion. Painter’s tape helps you mask off areas you do not want to paint. For cleaning, use a mild cleaner. Nextzett Cockpit Premium is effective. Apply the cleaner, agitate the surface with a boars hair brush, and then wipe immediately with a microfiber towel. This method removes dirt without leaving residue.
Primers and Fillers for Imperfections
Primers and fillers prepare your door for paint. Use wood filler to repair any dents, holes, or cracks. A good primer ensures paint adhesion and a uniform finish. It also helps block stains. Choose a stain-blocking primer for the best results.
Door Prep for a Smooth Finish
Proper preparation is the most critical step when you paint an interior door. It ensures your paint adheres well and gives you that smooth, professional finish you want. You must take your time with each step to achieve the best results.
Remove All Hardware
First, you need to remove all hardware from your door. This includes door knobs, hinges, and any latches or kick plates. Removing these items allows you to paint the entire door surface without interruption. You also avoid getting paint on your hardware. Keep all screws and parts together in a small bag or container. This makes reassembly much easier later.
Clean the Door Thoroughly
After removing the hardware, you must clean the door thoroughly. This step removes dirt, grease, and grime that can prevent paint from sticking. For optimal cleaning, you can use a powerful cleaner like Zap-It! Chalk & Grime Buster. This cleaner effectively removes oxidized paint, grease, and grime, making your prep work faster.
Here is a detailed cleaning process:
Pre-Rinse the Area: Use a power washer to pre-rinse the door surface. Spray in a back-and-forth motion. Keep the nozzle perpendicular to the door. Be careful not to let water get behind the door frame.
Apply Cleaner: After the door dries, apply Zap-It! using a medium brush and pole. Scrub the door vigorously. Focus on profiles, inside corners, seams, and areas around the top, bottom, and lock. Use a coarse scotch-brite pad for hard-to-reach spots.
Rinse and Inspect: Use the power washer to rinse off all cleaner, dirt, and paint residue. Inspect the door to ensure it is clean, dull, and scratched. Repeat the process if any areas remain glossy. The goal is a uniformly clean and dull surface.
Before repainting, check your door for failing paint like peeling or cracking. You must fix these issues. Painting over bad paint will not solve the problem. It can even make it worse. You can also perform adhesion testing, like a Simple Tape Test, to check how well paint will stick. This helps ensure a durable finish.
Repair Imperfections with Filler
Now, you will repair any dents, holes, or cracks. This is where you use wood filler.
Survey the Damage: Identify and mark all holes, wood rot, or other blemishes. Make sure you have at least six inches of clear space around them.
Remove Damaged Wood: Carefully use a saw or chisel to remove any compromised wood. Do not damage the door’s structure. For larger damage, add new wood to create a stable base for the filler.
Prepare Wood Filler: Mix the wood filler thoroughly. Follow the manufacturer’s instructions. Do not mix too much at once. It can harden quickly.
Apply Filler: Use a scraper to fill the damaged areas generously. Ensure no gaps remain. Level the filler with the door frame for a smooth finish. Let it harden. This can take 30 minutes to 6 hours, depending on the product.
Sand the Area: Once the filler hardens, smooth the area with 150 to 200 grit sandpaper. This prevents scratch marks. Reapply filler if any spots are not fully filled.
Let it Dry: Ensure the wood filler fully dries. This gives it maximum strength.
Reexamine: If the filler is lower than the surrounding wood, apply another thin coat. Repeat the sanding process until the surface is smooth and even. You might need more sanding if the filler dries unevenly or too high.
Thorough Sanding for Adhesion
After repairs, you need to thoroughly sand the entire door. This step is crucial for paint adhesion. Sanding creates a slightly rough surface. This rough surface gives the primer and paint something to grip onto. Use 120-grit sandpaper for any areas with deeper imperfections. Then, use 220-grit sandpaper for a final, light sanding over the entire door. This creates an ideal surface for painting. You want the surface to feel perfectly smooth to the touch. After sanding, wipe down the door with a tack cloth to remove all dust.
Mask Off Adjacent Areas
Finally, you need to mask off any areas you do not want to paint. This includes door frames, walls, and floors. Use high-quality painter’s tape for clean lines.
Here are the best practices for masking:
Paint Base Coat First: If you are painting a pattern or two colors, paint your base coat first.
Apply Tape: Apply painter’s tape in the desired pattern or along the edges of the door frame.
Seal the Tape: Paint over the edges of the tape with your base coat color. This creates a seal. This step is crucial for preventing paint bleed under the tape.
Apply Second Color: Paint your second color or the main door color.
Remove Tape: Peel off the tape while the paint is still wet, if possible. This helps create a crisp line.
For bare wood, you can apply a clear Polycrylic over the tape edge before painting. This also helps prevent bleed. Taking the time to prep your door for painting correctly will save you time and frustration later. It ensures a beautiful, long-lasting finish.
Priming for Optimal Adhesion
Priming your interior door is a crucial step. Do not skip it. Primer creates the best surface for your paint. It ensures a professional and long-lasting finish.
Why Priming is Essential
Priming is essential for several reasons. It prepares your door for paint.
Enhanced Adhesion: Primer creates a uniform surface. Paint sticks better to this surface. This prevents peeling or cracking.
Surface Protection: Primers act as a barrier. They protect the door from stains and moisture. This extends the life of your paint job.
Improved Durability: A well-primed surface ensures a stronger bond for the paint. This leads to a more resilient finish. You will need fewer touch-ups.
Uniform Appearance: Primers cover imperfections. They also hide color variations. This provides a consistent base for an even and smooth finish.
Prevention of Paint Issues: Priming helps prevent common problems. These include peeling, blistering, and flaking. It ensures better paint adhesion.
Sealing Porous Surfaces: Doors often have wood. Priming seals the wood surface. This allows for even paint application. You get a professional look.
Stain Blocking: Some primers block stains. They stop watermarks or smoke damage from bleeding through your final paint coat.
Enhanced Color Coverage: Priming provides a neutral base. This improves the paint’s ability to cover old colors. You need fewer paint coats.
Increased Paint Longevity: Primer creates a strong bond. This helps paint withstand daily use. Your finish lasts longer.
Cost Efficiency: Priming is an extra step. However, it reduces the need for more paint coats. You also avoid frequent repaints. This saves you time and money.
Primer Application Techniques
Apply primer with care. Use a thin, even coat. Do not overload your brush or roller. Apply primer to the entire door surface. Use a roller for flat areas. Use a brush for detailed sections and edges. Ensure full coverage. Avoid drips or runs.
Drying and Light Sanding Primer
Allow the primer to dry completely. Modern primer technologies dry much faster. This includes both oil and latex-based products. These newer formulas allow for quicker topcoat application. They still ensure proper adhesion. For interior door primers, a typical drying time is 2 hours. This allows enough time for the primer to dry. After the primer dries, lightly sand the primed surface. Use 220-grit sandpaper. This creates maximum smoothness. Wipe away all dust with a tack cloth.
Painting Techniques for a Professional Look
You have prepared your door. Now, you are ready to paint. Proper painting techniques are key to achieving a professional, brush-mark-free finish. Take your time and follow these steps for the best results.
Work in Sections: Panels, Rails, Stiles
Painting a door requires a systematic approach. You should work in sections. This helps you manage the paint and avoid missed spots. Follow this order for a smooth, even coat:
Brush Around the Panels: First, work paint into the corners and grooves of any recessed panels. Smooth out the paint as you go. Wipe away any excess paint around the panel edges.
Roll, Then Brush the Panels: Quickly coat the flat surfaces of the panels with a small roller. Then, immediately smooth the paint with a brush. Be careful not to touch the surrounding profiles.
Roll the Rails and Stiles: Next, roll the horizontal rails (the cross pieces) and then the vertical stiles (the side pieces) of the door. Coat no more than one-quarter of the door at a time. Then, brush out the paint. Avoid slopping paint over the edges around the panels.
Brush With the Grain: Brush across the joints where door parts meet. Then, drag the brush in a straight line along the intersection. This makes brush marks look like wood grain.
Applying Thin, Even Coats
Applying thin, even coats is one of the most important steps when you paint an interior door. Do not try to cover everything in one thick layer. A single thick coat can lead to drips, runs, and an uneven texture.
Applying two to three thin coats of paint gives you better coverage and durability. This is much better than one thick coat. Thin, even coats help you get a flawless, smooth finish. They prevent streaks, roller marks, or brush lines. This creates a professional, high-quality look. Consistent layers also improve paint adhesion and durability. This stops peeling, running, or dripping. It also ensures even coating in detailed designs and hard-to-reach areas. Thin coats mean a perfectly smooth finish. They eliminate visible marks or streaks. This results in a flawless surface. This method also allows for quicker coverage of large areas. You get more consistent coverage. This ensures a uniform paint layer across the entire surface. It prevents over-application or unevenness. You also use less paint. A finer application mist means less paint is absorbed. This makes it more economical. Finally, consistent, even layers lead to better paint adhesion. This reduces chipping or peeling over time. This increases durability and protection.
The ‘Wet Edge’ Method
The “wet edge” method is a technique professional painters use. It helps you avoid lap marks. Lap marks happen when you paint over partially dried paint. To use this method, always work from an unpainted area into a freshly painted, still-wet area. This keeps the paint edge wet. It allows new paint to blend seamlessly with the previous section. This creates a continuous, smooth finish.
Rolling and Brushing Techniques
The right tools and techniques make a big difference. The smoothness of paint coverage depends on the applicator you use. Choose high-quality brushes and rollers.
For flat surfaces, use a roller. Then, “lay off” the paint. This means you lightly brush over the rolled area with a soft brush. This eliminates roller marks. It helps you achieve a smoother finish.
Here are specific techniques for rolling and brushing to minimize texture:
Apply a generous amount of paint. Use a 2.5-inch flat synthetic brush to cover all areas.
Immediately roll over the brushed-on paint. Use a 4-inch high-density foam roller. This eliminates brush strokes. Apply normal pressure on the first pass.
For the second pass with the roller, use a very light touch. This evens out the paint and reduces texture.
Sand between each coat. This further minimizes texture and helps you get a smooth finish.
Keep the roller drier. This prevents more texture and air bubbles. If it gets too wet, offload some paint on a paper plate.
This “brush-and-roll paint technique” or “brush-on-roll-off method” helps eliminate ugly brush strokes. Professional painters use it for high-end doors and cabinets. It helps them achieve a smooth finish.
Feathering Strokes for Seamless Finish
Feathering your strokes helps you blend paint seamlessly. When you finish a section, lift your brush or roller gently. Do not stop abruptly. This creates a soft edge. This soft edge blends easily with the next section. It prevents harsh lines or ridges. This technique is especially useful when you paint a door with panels.
Adhere to Drying Times Between Coats
Patience is a virtue when painting. You must allow each coat to dry completely before applying the next. Rushing this step can lead to peeling, bubbling, or an uneven finish. Always check the paint can label for specific drying and recoat times. These times are based on manufacturer testing.
Here are general drying times for different paint types:
Latex Paint: Dries to the touch in 1-2 hours. Wait at least 4 hours before applying a second coat.
Oil-Based Paint: Dries to the touch in 6-8 hours. It needs at least 24 hours before recoating.
Acrylic Paint: Dries to the touch in 1-2 hours. Allow at least 4 hours before adding another coat.
Semi-Gloss Paint: Needs around 2-3 hours drying time before it feels dry.
Glossy Finishes: Typically require about three hours of drying time before a second coat can be applied.
Interior Paint (general): Dries in one hour. You can recoat in two hours.
Water-Based Front Door Paint: Dries in 30 to 45 minutes. You can recoat in one hour.
Always refer to the labels on paint cans for specific dry and recoat times. This ensures the best results for your painting interior doors project.
Finishing Touches and Reassembly
You are almost done. Now, you will complete the final steps. These steps ensure your door looks perfect and lasts a long time.
Inspect and Correct Imperfections
After your final coat dries, you must inspect the door. Look for any imperfections. You might find some issues.
Imperfection | Cause | Correction |
|---|---|---|
Cracking, Flaking, Clumping | Insufficient surface prep, over-thinning paint, applying paint too thinly or too thickly, inadequate dry time, age | You must remove cracked or flaking paint. Use a scraper or wire brush. Sand and feather the edges. Clean and prime the area. Repaint problem spots. Allow full drying time between coats. |
Peeling | Improper prep and application, moisture | You must address the underlying cause. Moisture is a common enemy. |
You must remove any cracked or flaking paint. Use a scraper or wire brush. Sand the edges smooth. Clean the area. Then, prime and repaint the spot.
Apply Final Paint Coat
You have inspected your door. Now, you can apply the final coat. To ensure paint quality, you need at least two coats of regular paint. One coat is usually not enough. Two coats create a thicker, longer-lasting protective layer. This gives you optimal coverage and increased durability. A second coat of paint ensures full opacity. It also provides longer wear and complete protection. Skipping this step can lead to faded color or an uneven look.
Allow for Full Curing Time
Your paint may feel dry to the touch. However, it is not fully cured. Drying time means the solvent evaporates. This forms a film. This film is still vulnerable. Curing time is a chemical process. Pigments and binders fuse together. This creates a resilient film. It reaches maximum hardness. This process can take weeks.
Paint Type | Dry Time | Cure Time |
|---|---|---|
Water Based/Latex | 1-2 hours | 21-30 days |
Oil Based | 6-8 hours | 3-7 days |
Chalk Brand Paints | 30-60 minutes | 30 days |
You must allow the paint to cure fully. This prevents damage.
Reinstall Door Hardware
You must wait for the paint to cure before reinstalling hardware. Paint needs to cure, not just dry. This allows it to reach maximum hardness. For water-based paints, this can take 14-30 days. If you reassemble too soon, you risk several problems. You might get paint transfer between the door edge and trim. Paint can rub off from use. You could also scratch your door hardware during reinstallation. You want to avoid these issues.
You now understand how to paint an interior door. Patience and attention to detail are very important. Proper preparation, quality tools, and correct application techniques are crucial. These steps give you a professional finish when you paint an interior door. You can now paint a door with confidence. Your painting interior doors project will achieve beautiful, lasting results. Share your newly painted doors with us!
FAQ
What type of paint should you use for interior doors?
You should use semi-gloss or satin paint. Water-based acrylic enamels like Benjamin Moore Advance offer durability and a smooth finish. These paints withstand daily use. They are also easy to clean. They provide a professional look.
How long does paint take to dry on a door?
Latex paint dries to the touch in 1-2 hours. You can recoat it in about 4 hours. Oil-based paint takes 6-8 hours to dry to the touch. It needs 24 hours before recoating. Always check your paint can for specific times.
Do you need to prime an interior door before painting?
Yes, you should prime your door. Primer ensures better paint adhesion. It creates a uniform surface. Primer also blocks stains. It helps your paint last longer. Priming gives you a smoother, more professional finish.
How many coats do I need for a smooth finish?
You typically need two to three thin, even coats of paint. One coat is usually not enough. Multiple thin coats provide better coverage. They also increase durability. This method helps you achieve a flawless, professional look.

