Transform your space with a stunning diy herringbone accent wall! This herringbone feature wall adds sophisticated style, instantly turning any room into a focal point. You can absolutely tackle this diy project, even if you’re new to home improvements. It offers a high-impact design upgrade without breaking the bank. Imagine the satisfaction of creating such a beautiful wall with your own hands. This guide makes the herringbone pattern process straightforward, proving this diy herringbone accent wall can be one of the easiest you have done.
Planning Your DIY Herringbone Accent Wall
You might think a diy herringbone accent wall is simple, but careful planning is crucial. This step helps you avoid unexpected challenges. It prevents the project from becoming trickier than anticipated. Good planning saves you time and frustration.
Choosing the Right Wall
First, pick the perfect wall for your herringbone project. Consider a wall that naturally draws attention. Is there a wall in your living room or bedroom that feels a bit plain? That’s a great candidate! Think about the wall’s size and shape. A flat, unobstructed wall is easiest. Avoid walls with too many windows or doors if this is your first time. You want your new accent wall to be a true focal point.
Designing Your Herringbone Pattern
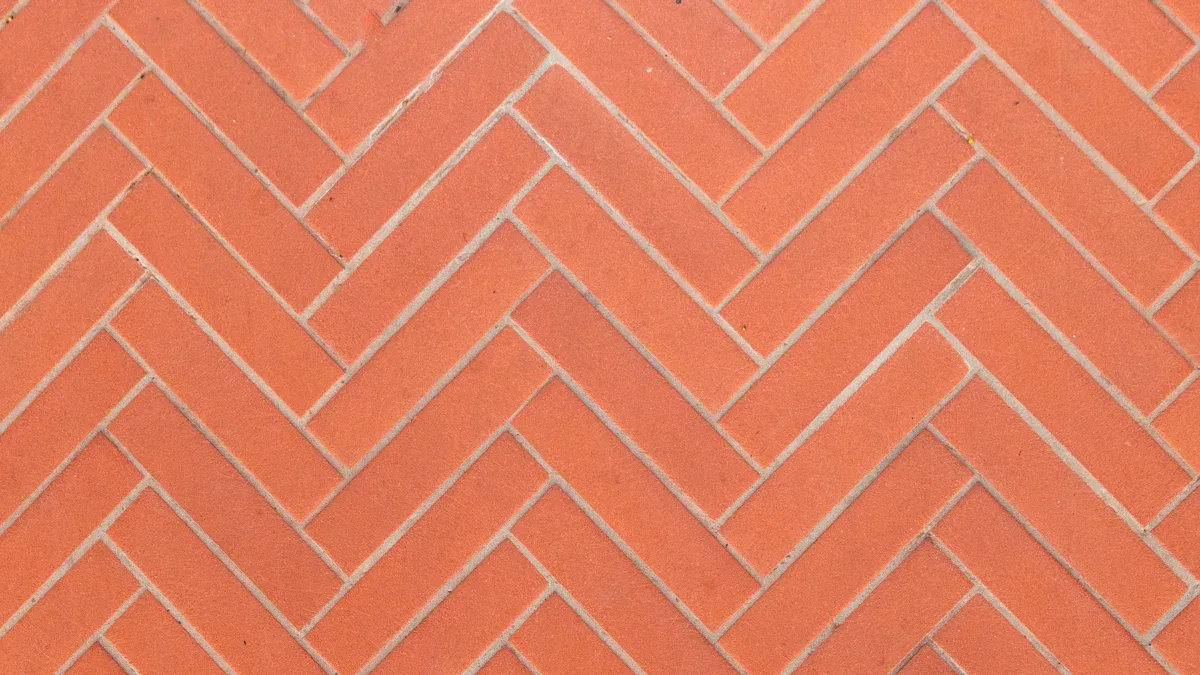
Now, let’s design your herringbone pattern. Visualize how the pattern will look in your room. Consider the overall aesthetics. Do you want a classic look or something more modern? You can easily assemble a beautiful statement wall using moulding. There are many popular herringbone pattern variations. For example, you could try:
Contemporary White Herringbone Tile: This choice offers a high variation glaze. It complements both modern and colorful styles.
Full-Color Variation Tile: Imagine an ombre design with bold glaze colors. This creates a moody, bohemian feel.
Scandinavian Herringbone Shower Wall: All-white tiles create subtle shade shifts. This gives a chic, dynamic look.
These tips help you decide on the best design for your space.
Calculating Materials
Accurate material calculation is key. You need to know how much wood to buy. The standard formula for calculating the length of an individual wood strip is: [width of board (W) x 0.3536] – [width of herringbone piece (y) x 0.7071] = length of herringbone piece. Remember, ‘W’ is the overall width of your wall.
You also need to account for overage. This means buying extra material for cuts and mistakes. Here are some tips for overage:
Minimal Waste: For simple layouts, add 2-3% extra.
Balanced Design: For a typical square room, aim for 14.5-15.5% overage.
Aesthetics First: If design is your top priority, plan for 25.5-26.6% extra.
Worst-Case Scenario: Always default to 30% waste if wall dimensions vary greatly.
Ordering a bit more than you think you need is always a smart move.
Essential Tools and Materials
Getting the right tools and materials makes all the difference for your herringbone project. You want to set yourself up for success. Having everything ready helps you work efficiently. It also ensures a professional-looking finish for your accent wall.
Must-Have Tools for Success
You need a few key tools to build your herringbone wall. For cutting wood strips, power tools save you time and effort. A table saw is essential. It cuts wood planks to size with accuracy. This is especially true when you need to adjust plank dimensions. It offers speed and precision. A jigsaw is also useful. You can make freeform cuts around things like door trim. This ensures your planks fit flush without gaps. Consider a Metabo HPT Compound Miter Saw or a Goplus Table Saw for these tasks.
For precise measurements, you will need some hand tools. Grab a good measuring tape, like a Stanley FatMax. A chalk line helps you mark long, straight lines. A standard level, at least 24 inches long, ensures everything is plumb. For marking the starting point of your herringbone pattern, a laser level is highly recommended. It gives you perfect lines every time. These tips help you keep your project accurate.
Selecting Wood for Your Herringbone Wall
Choosing the right wood is fun! Plywood is a common choice for herringbone patterns. It is versatile and cost-effective. You can cut it into strips to create your design. If you want a rustic look, consider options like Weaber Weathered Wall Boards. These are great for a barn wood accent wall. Think about the style you want. A herringbone board and batten wall might use thicker wood for the battens. This creates a different visual effect.
Adhesives, Fasteners, and Finishes
You need strong adhesives to attach your wood to the wall. Some people found PL Premium Quick Grab problematic. It sometimes bonded only with the paint, pulling it off the wall. Loctite Power Grab is a suggested alternative. Make sure your adhesive bonds directly to the drywall. This prevents the paint from peeling off. You might also use small finish nails or screws for extra security. After installation, you can paint or stain your new wall. This protects the wood and matches your room’s decor.
Installing Your Herringbone Feature Wall
Now for the exciting part: bringing your design to life! This is where your careful planning pays off. You will transform your plain wall into a stunning focal point.
Wall Preparation and Layout
Before you start attaching anything, you need to prepare your wall. This means clearing the space and getting rid of old trim.
First, remove any existing trim, like crown molding or baseboards. You want a clean slate. To do this without damaging your wall, score the caulk joining the trim to the wall. Use a sharp razor blade. Cut as parallel to the wall as you can. This stops the caulk from ripping the drywall paper. A putty knife can also help break adhesion. Next, pry the edge of the trim away from the wall. Use an old putty knife to protect the wall. Slide it behind the trim, over a wall stud. Then, gently pound a crowbar between the trim and the putty knife. A trim-pulling tool is even better. It spreads the force and prevents drywall damage. Move the tool along the board. Pry the trim from the wall at each stud location. If caulk still holds, slice it with a razor blade before fully removing the trim. This prevents drywall paper tears.
While you work, protect your floors and furniture. Lay down drop cloths. Set up a debris collection station for removed trim and nails. Make sure you have good ventilation. Open windows and use fans. Always wear safety glasses, work gloves, and a dust mask. Watch for hidden electrical wires or pipes. Use a stable ladder for high trims. After removing the trim, patch any holes or cracks with spackling compound. Sand it smooth. Then, lightly sand patched areas and apply primer. Clean your work area thoroughly.
Next, you need to find and mark your wall studs. This ensures a secure installation. You can use a stud finder. This device scans for density changes and tells you when it finds a stud. Place it on the wall, slide it horizontally until it beeps or lights up, and mark the spot. Another trick is to shine a flashlight at an angle along the wall. You might spot subtle bumps or dimples where screws or nails attach to a stud. These often line up vertically with the studs. A strong magnet can also help. Move it across the wall until it sticks or pulls, showing a stud. Electrical outlets are usually on studs. Find an outlet, remove the cover, and see which side the stud is on. Then, measure 16 inches (or 24 inches in older homes) in either direction to find more studs. You can also gently knock on the wall. Hollow sounds mean no stud, while a dull thud means a stud is there.
Finally, establish your pattern’s starting point. This is crucial for a symmetrical design. Measure the length and width of the area where your herringbone pattern will go. Mark the halfway points on each side. Use a chalk line or a laser level to create a crosshair where these marks meet. This intersection is the precise center for your herringbone pattern. It ensures a balanced layout. Taking your time with this step is essential. It forms the foundation for your entire installation.
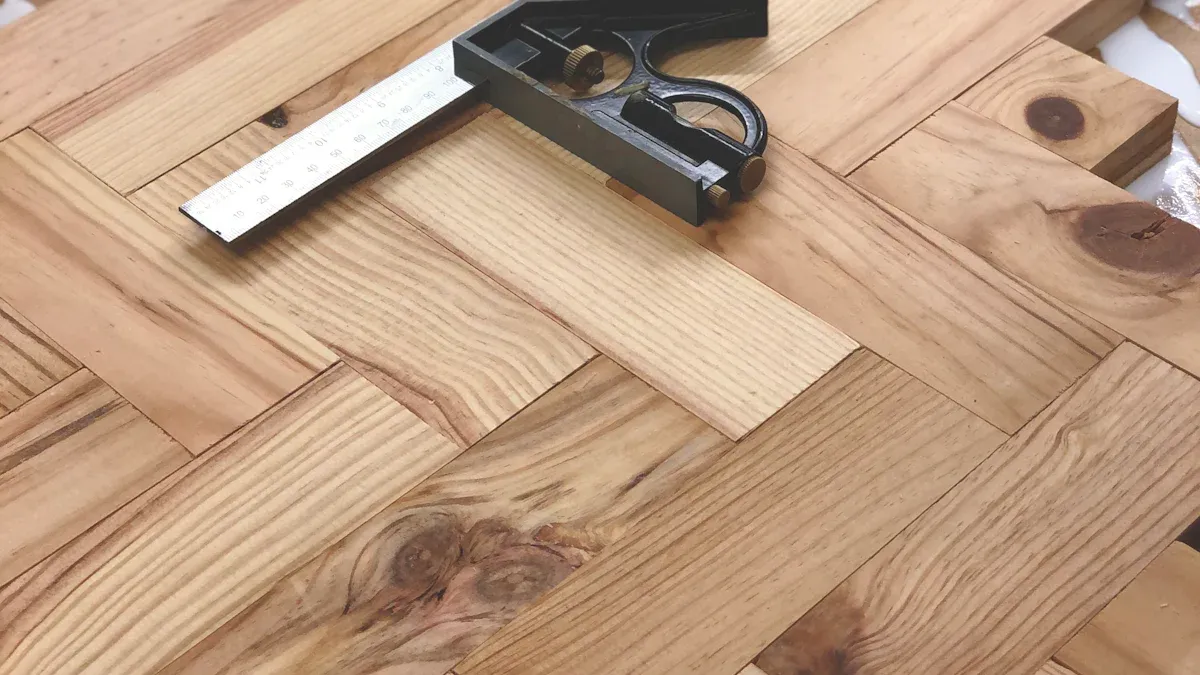
Cutting and Attaching Wood Strips
Now, let’s get those wood strips onto your wall! You want to make sure your herringbone looks amazing.
First, match wood strips from different packages. This ensures a nice distribution of wood structures. Lay out some strips on the floor. Maybe about 3 square meters. This helps you visualize and confirm your desired pattern. It’s like a dry run for your feature wall.
When you are ready, apply the wooden tiles piece by piece to the wall. Start from the bottom and work your way up. Place each wooden tile in the correct position. Make small corrections by sliding it if you need to. Press the product firmly. This ensures a good bond with the wall. Work upwards, layer by layer, until you cover the desired surface. This method helps you keep your pattern straight and even.
Handling Obstacles and Corners
You will likely encounter obstacles like electrical outlets. Don’t worry, you can handle them!
Here are some tips for cutting around outlets:
Mark Your Panel: Install panels leading up to the outlet. Mark the outlet with paint, chalk, or caulk. Press a new panel against the wall to transfer the mark. Use painter’s tape to outline the mark for a reliable cutting line. Then, make the cut as marked and install the panel.
Measure Your Panels: Measure the distance from the floor to the bottom of the outlet. Mark it on the back of your panel. If other panels surround the outlet panel, install them first. This makes measuring easier. Measure the distance from the wall to the edge of the outlet on each side. Draw the square or rectangle on the back of the panel using these measurements. Double-check everything before you cut.
To make the cut, use a drill to create a pilot hole inside your marked outline. Insert a jigsaw blade into the pilot hole. Cut along the outline. A pro tip: cut slightly inside the lines. You can always remove more material with sandpaper if needed. After cutting, dry-fit the panel against the wall. This ensures a perfect fit. For a cleaner finish, consider using electrical outlet surrounds. These cover cut edges. If your panel is thicker, use outlet extenders or spacers for a flush fit.
Finishing Your DIY Herringbone Wall
You’ve built a beautiful herringbone accent wall. Now, let’s make it perfect! Finishing touches are important. They ensure your wall looks professional and lasts a long time.
Achieving a Smooth Surface
A smooth surface is key for a great finish. You need to fill any nail holes or small gaps. Woodfiller Quick is a great choice. It’s a powder form filler designed for indoor use. It fills knot holes, cracks, and nail holes easily. It dries fast and you can sand it smooth. You can also use water-based, solvent-based, or latex wood fillers. For a custom match, try a DIY sawdust and glue mixture.
Next, you’ll sand your wood strips. This removes rough spots and prepares the wood for paint. Here are some tips for sanding:
Start with coarse-grit sandpaper (60–80 grit). This removes imperfections.
Move to medium-grit sandpaper (100–120 grit). This smooths the surface further.
Finish with fine-grit sandpaper (180–220 grit). This creates a polished feel.
Always sand along the wood grain. This prevents scratches.
Clean the surface after each sanding stage. Use a damp cloth to remove dust.
You can wrap a sanding strip around the wood. Hold both ends and move it back and forth, like shining a shoe. This helps you apply even pressure.
Priming and Painting Techniques
Priming is a crucial step. It helps your paint stick better and gives you a uniform color. Apply a good quality primer to your entire accent wall. Once the primer dries, you can start painting. Use a brush for edges and corners. A roller works well for larger, flat areas. Apply thin, even coats. Let each coat dry completely before adding another. This prevents drips and ensures a smooth finish.
Protecting Your New Accent Wall
Protecting your new wall ensures its beauty lasts. For dry, climate-controlled rooms, use a sealant like Seal & Fill Multi-Purpose Kitchen & Bath Caulk. It’s low-odor and paint-ready quickly. For areas needing a slightly glossier finish, Painter’s Pro Quick Dry Siliconized Acrylic Caulk works well. If your wall is in a humid area, use Pro Seal Max Window & Door Sealant. It’s water-ready immediately.
For a durable topcoat, water-based polyurethane is excellent. It offers great protection. You can also use wax for a specific aesthetic, but it must be the last coat. Avoid oil-based topcoats. They can create a yellow haze on painted surfaces.
Regular maintenance keeps your wall looking fresh. Dust your panels weekly with a microfiber cloth. This prevents dust buildup. For cleaning, mix one teaspoon of mild soap with a quart of warm water. Dampen a soft cloth and wipe the panels. Always dry immediately with a clean cloth. This prevents water spots. Inspect your wall for any damage during cleaning. Hardwoods like oak resist wear better than softwoods. Protect your wall from UV rays too. Keep curtains closed or use UV film on windows.
You just finished your amazing diy herringbone accent wall! It truly transforms your room. Feel proud of your hard work and the beautiful focal point you created. Embrace your creativity. Enjoy your newly transformed space. Keep up with simple maintenance. This project can inspire many more DIY adventures. You built a fantastic diy herringbone accent wall. What will you create next?
FAQ
What is the main difference between a standard herringbone accent wall and a herringbone board and batten wall?
A standard herringbone wall uses wood strips in a V-pattern. A herringbone board and batten wall adds vertical and horizontal trim pieces. This creates a framed, textured look. You get a unique herringbone board and batten design. It offers more dimension than a flat herringbone board and batten wall. A herringbone board and batten wall is very stylish.
What tools are essential for this DIY tutorial?
You will need a miter saw for precise cuts. A stud finder helps locate wall studs. A level ensures straight lines. Measuring tape and a pencil are also crucial. These tools make your herringbone project easier.
Can I create a herringbone board and batten wall in a small room?
Yes, you can! A herringbone board and batten wall works well in smaller spaces. Choose thinner wood strips and battens. This prevents the wall from feeling too heavy. A herringbone board and batten design adds character without overwhelming the room.
How do I ensure my herringbone board and batten pattern is symmetrical?
You should find the exact center of your wall first. Use a laser level to mark your starting point. This ensures your herringbone board and batten pattern spreads evenly. Careful measurements prevent a lopsided look.
What kind of wood works best for a herringbone board and batten wall?
Plywood is a versatile and cost-effective choice. You can cut it into strips. For a rustic feel, consider weathered wood boards. The best wood for your herringbone board and batten wall depends on your desired aesthetic.