
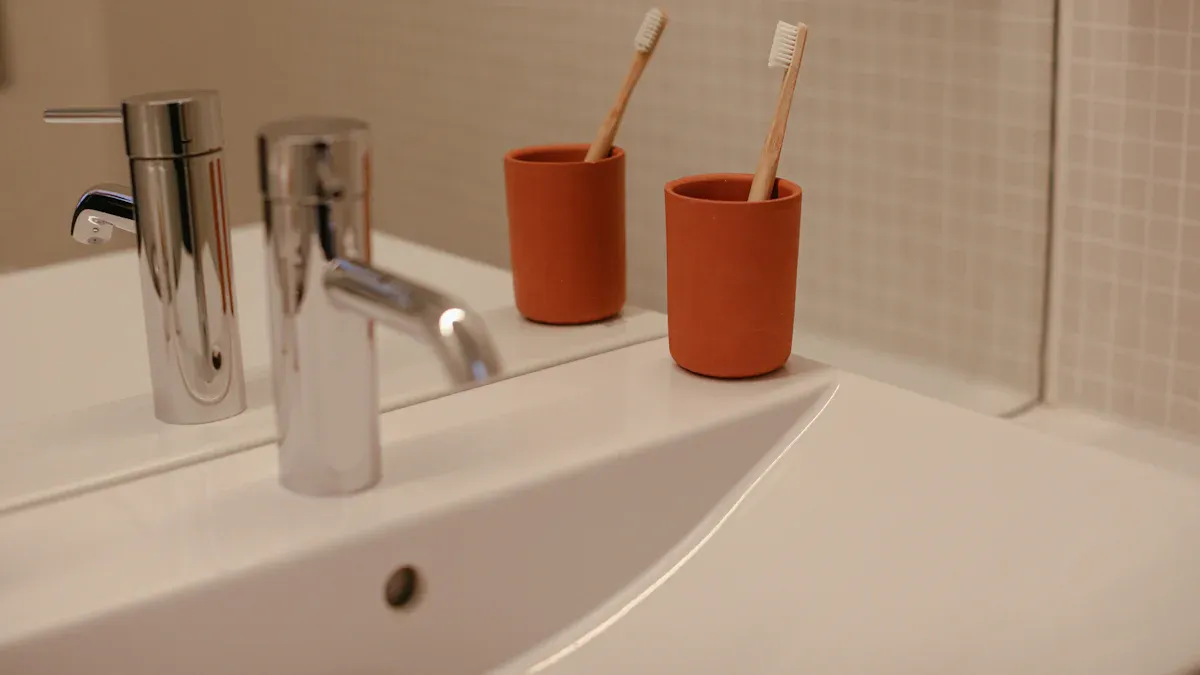
You want to update your bathroom, but a full renovation feels overwhelming. You’re not alone; 53% of homeowners are prioritizing bathroom remodels for 2025. Painting old metal accessories is an easy diy project that offers a huge transformation. This diy tutorial will show you how to paint bathroom accessories. You will learn to achieve a durable, professional finish.
You can use spray paint to refresh your space. A fresh coat of paint on bathroom fixtures can truly update your bathroom’s look. Knowing how to properly spray paint gives you control.
Why Paint Bathroom Accessories?
You might wonder why you should bother painting your old bathroom hardware. There are several great reasons! This simple diy project offers big rewards.
Cost-Effective Bathroom Refresh
A full bathroom renovation costs a lot. You can save money by painting your existing accessories. Buying new towel bars, toilet paper holders, or cabinet pulls adds up quickly. Painting them gives you a fresh look without the high price tag. It’s a budget-friendly diy bathroom makeover. You get a big impact for little cost. This is an easy and cheap transformation for your space.
Matching New Decor
Did you recently update your bathroom walls or towels? Your old, tarnished hardware might not match anymore. Painting your accessories lets you coordinate them perfectly with your new decor. You can choose any color or finish. This helps you achieve a cohesive look. It’s a simple way to update your bathroom’s style.
Extending Hardware Life
Metal hardware in a bathroom faces a lot of moisture. This can lead to rust or wear over time. A fresh coat of paint protects these items. It creates a barrier against humidity and water. This extends the life of your fixtures. You don’t need to replace them. Instead, you give them a new protective layer. You can even spray paint cabinet hardware to match. This helps you keep your favorite pieces longer.
Essential Supplies for Painting Metal
Before you start to paint bathroom accessories, you need the right tools. Gathering everything beforehand makes your project smooth. You will get a professional finish.
Cleaning and Prep Materials
First, you need to clean your hardware. Grab a good degreaser. This removes all the grime and soap scum. You can also use mild dish soap and warm water. A clean surface helps the paint stick better. Don’t skip this step!
Abrasives for Surface Prep
Next, you need to rough up the surface a bit. This helps the primer and paint adhere. Fine-grit sandpaper (120-180 grit) works well for smoothing edges. It also prepares the surface. If you have heavy rust or old paint to remove, start with 60-80 grit sandpaper. Steel wool can also help with stubborn spots.
Primers for Metal Adhesion
A good primer is key for metal. You need a metal etching primer. This type of primer bites into the metal. It creates a strong bond for your topcoat. Zinc-rich primers are also excellent. They prevent rust in damp bathroom environments. This step ensures your paint lasts a long time.
Choosing the Right Paint
Now for the fun part: choosing your paint! You need durable paint for bathroom fixtures. Look for performance enamel, epoxy, or specialty metal paint. Epoxy paint and alkyd enamel paint offer long-lasting protection. They guard against leaks and rust. These are perfect for metal bathroom accessories. You want a paint that can handle moisture.
Protective Topcoats
After painting, you need to seal your work. A clear protective spray or sealant adds an extra layer of defense. This topcoat protects your new paint job. It makes your hardware more resistant to scratches and moisture.
Safety Gear and Tools
Safety first! When you spray paint, you create fumes. Always wear a respirator mask. This protects your lungs. Safety glasses shield your eyes. You should also use gloves to keep your hands clean. Lay down drop cloths to protect your work area. A well-ventilated space is also a must for spray paint projects.
Step-by-Step Guide to Spray Paint Bathroom Fixtures
You are ready to transform your old hardware! This tutorial will walk you through each step. You will learn how to spray paint your bathroom accessories like a pro. Remember to work in a well-ventilated area. Lay down drop cloths to protect your surfaces.
Remove and Disassemble Hardware
First, you need to take off all the hardware from your bathroom walls or cabinets. This includes towel bars, toilet paper holders, and cabinet pulls. If any pieces come apart, disassemble them. For example, a towel bar might have separate brackets and a rod. This makes it easier to clean and paint every surface. You want to get paint into all the nooks and crannies.
Clean and Degrease Thoroughly
Cleaning is a crucial step. You must remove all dirt, grime, soap scum, and oils. Even invisible oils from your hands can stop paint from sticking. Use a good degreaser. Sculpt Nouveau Metal Cleaner and Degreaser is great for removing rust, dirt, oil, and grease from most metal surfaces. It prepares surfaces for finishing without leaving residue. It even has corrosion inhibitors. For bathroom fixtures, Eco-Power Bath & Bowl Cleaner is effective. It quickly dissolves dirt and stubborn soap scum without scrubbing. It is gentle on sinks, showers, tubs, and tiles. Make sure your hardware is completely dry before moving on.
Sand and Roughen the Surface
Now, you need to create a surface the paint can grip. This is called creating a “tooth.” Sanding helps the paint adhere effectively. Start by removing any loose rust or old, flaking paint. You can use a wire brush or 80-120 grit sandpaper for this. You want to see bare, shiny metal. For stubborn rust, a wire wheel can help. After removing rust, use fine-grit sandpaper (120-180 grit) to scuff up the entire surface. This roughens it just enough for the primer to bond. Thorough cleaning and degreasing are critical before sanding. This maximizes paint adhesion and longevity.
Apply Metal Etching Primer
A good primer is your secret weapon for a lasting finish. You need a metal etching primer. This primer creates a strong bond between the metal and your paint. It also offers rust protection. Stir your primer well for 2-3 minutes. Scrape the bottom and sides of the can. Keep stirring every 15-20 minutes during use. This keeps protective compounds suspended.
When you apply the primer, aim for thin, even coats. If you are using a spray can, hold it 8-12 inches from the surface. Apply in smooth, overlapping passes. You want the primer to appear slightly translucent when wet. If you see significant metal color variation after the first coat, apply a second thin coat. Don’t apply one thick coat. For interior metal, one coat is usually enough. For exterior metal, apply two coats of primer. Work in temperatures between 50-90°F. Humidity should be below 85%. Ideal conditions are 65-75°F with 40-60% humidity.
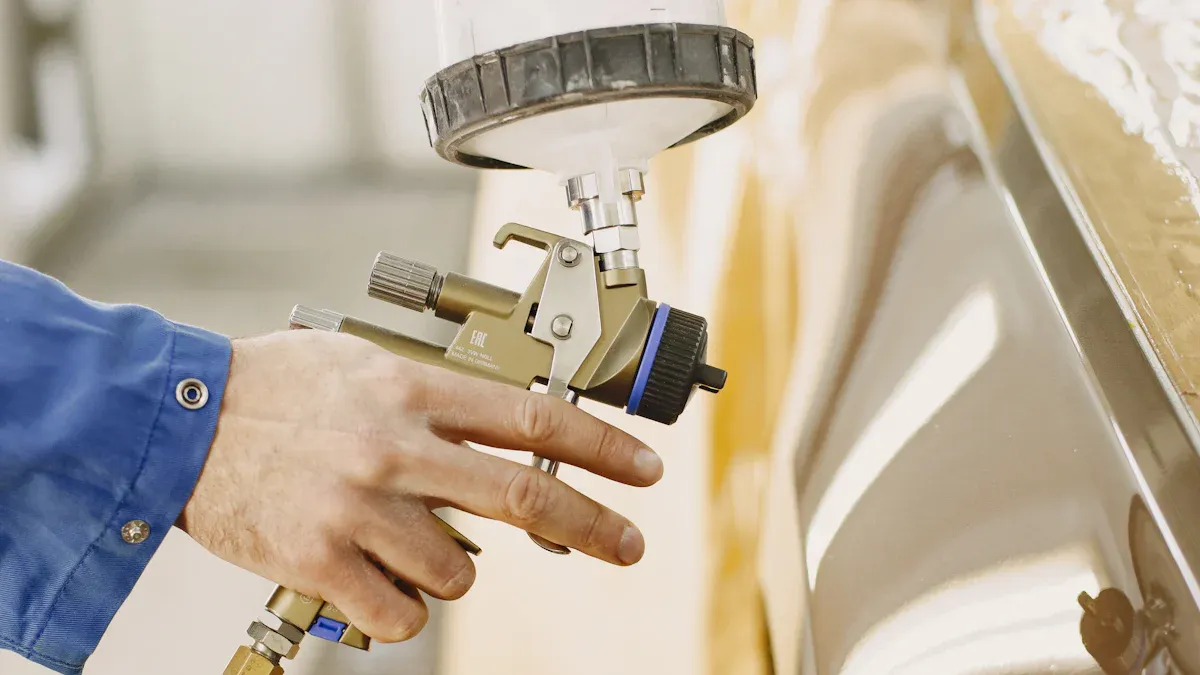
Apply Paint in Thin Coats
This is where your hardware gets its new look! When you spray paint, remember that multiple thin layers are key. This prevents drips and ensures uniform coverage. It also makes the paint more durable. Maintain a distance of 10-12 inches from the object when spraying. This distance helps create a thinner paint coat. It significantly reduces the likelihood of drips.
Begin spraying away from the object. Move the spray across it in a smooth, continuous motion. Stop spraying only after the nozzle has moved past the object’s edge. This prevents paint from building up too thickly at the start or end. Apply multiple thin coats. Allow each coat to dry for 30-45 minutes before applying the next. This helps you achieve complete coverage without excessive paint buildup. This easy tutorial for spray painting will give you a smooth finish.
Cure and Seal for Protection
You have painted your bathroom accessories! Now, you need to let them cure. Curing is different from drying. Drying means the paint feels dry to the touch. Curing means the paint has fully hardened and reached its maximum durability. This process takes time.
Paint Type | Minimum Cure Time |
|---|---|
Oil-based | 7 days |
Water-based | 14 to 30 days |
Enamel | 7 to 14 days |
Acrylic | 14 to 30 days |
Latex | 14 to 30 days |
Allow adequate drying time between coats. This enhances the paint’s durability. For instance, using three thin coats on glass can prevent runs and ensure longevity. Skipping this process might result in visible brush strokes. After the paint has cured, you can apply a clear protective spray or sealant. This adds an extra layer of defense. It makes your hardware more resistant to scratches and moisture. You have successfully completed this spray painting hardware tutorial! You can even spray paint cabinet hardware using these same steps.
Selecting Paint for Bathroom Environments
Choosing the right paint for your bathroom accessories is very important. The bathroom is a tough environment for any paint. You have high humidity, water splashes, and frequent cleaning. You need a paint that can stand up to all of that.
Understanding Enamel and Epoxy
When you pick a paint for metal in your bathroom, you will often hear about enamel and epoxy paints. These are not just any ordinary paints. They are specially made to be tough and durable.
Enamel Paint: Think of enamel paint as a hard, protective shell. It dries to a very smooth, hard finish. This makes it resistant to chips and scratches. Many enamel paints are oil-based. They offer excellent adhesion and durability on metal surfaces. You can find enamel paints in spray paint cans, which makes application easy.
Epoxy Paint: Epoxy paint is even tougher. It often comes in two parts that you mix together before use. This creates a chemical reaction. The result is an incredibly strong, waterproof coating. Epoxy paint is super resistant to chemicals, moisture, and abrasion. It’s an excellent choice for high-wear items or areas that get very wet. You can find epoxy in spray paint form too, but it might be less common than enamel.
Both enamel and epoxy paints create a strong barrier. They protect your metal accessories from the harsh bathroom conditions.
Moisture and Rust Resistance
Your bathroom is a humid place. This means moisture is always a concern. Metal accessories can rust quickly if they are not protected. You need a paint that actively resists moisture and prevents rust.
Look for paints specifically labeled as “rust-inhibiting” or “rust-preventative.” Many metal etching primers also offer rust protection. Epoxy paints are naturally very good at creating a waterproof seal. This stops moisture from reaching the metal underneath. When you choose your paint, always check its resistance to moisture and rust. This ensures your newly painted hardware lasts a long time.
Finish Options and Sheen
The look of your painted accessories depends on the finish and sheen you choose. The sheen refers to how shiny the paint looks when it dries. You have several options:
Matte/Flat: This finish has no shine at all. It gives a very modern, understated look. However, matte finishes can be harder to clean. They might show fingerprints more easily.
Satin: Satin has a soft, subtle sheen. It’s a popular choice because it hides imperfections well. It is also easier to clean than matte. This color option works well for many styles.
Semi-Gloss: This finish has a noticeable shine. It reflects more light. Semi-gloss is very durable and easy to clean. It’s a great choice for bathroom accessories that need frequent wiping.
Gloss: A high-gloss finish is very shiny and reflective. It creates a bold, polished look. Gloss finishes are the most durable and easiest to clean. They can show imperfections more easily, though.
Think about the overall style of your bathroom. Then pick a color and sheen that complements it. A consistent color and finish throughout your accessories will make your bathroom look cohesive.
Tips for a Flawless Spray Paint Finish
Achieving a perfect finish on your bathroom accessories takes a little know-how. These tips for successful spray painting will help you get professional-looking results.
Proper Ventilation and Setup
Safety comes first when you spray paint. Always work in a well-ventilated area. This means you should remove the hardware from your bathroom. Then, place it on a drop cloth in a garage with open doors, or even outdoors on a calm day. This setup protects your lungs from fumes and keeps your home clean.
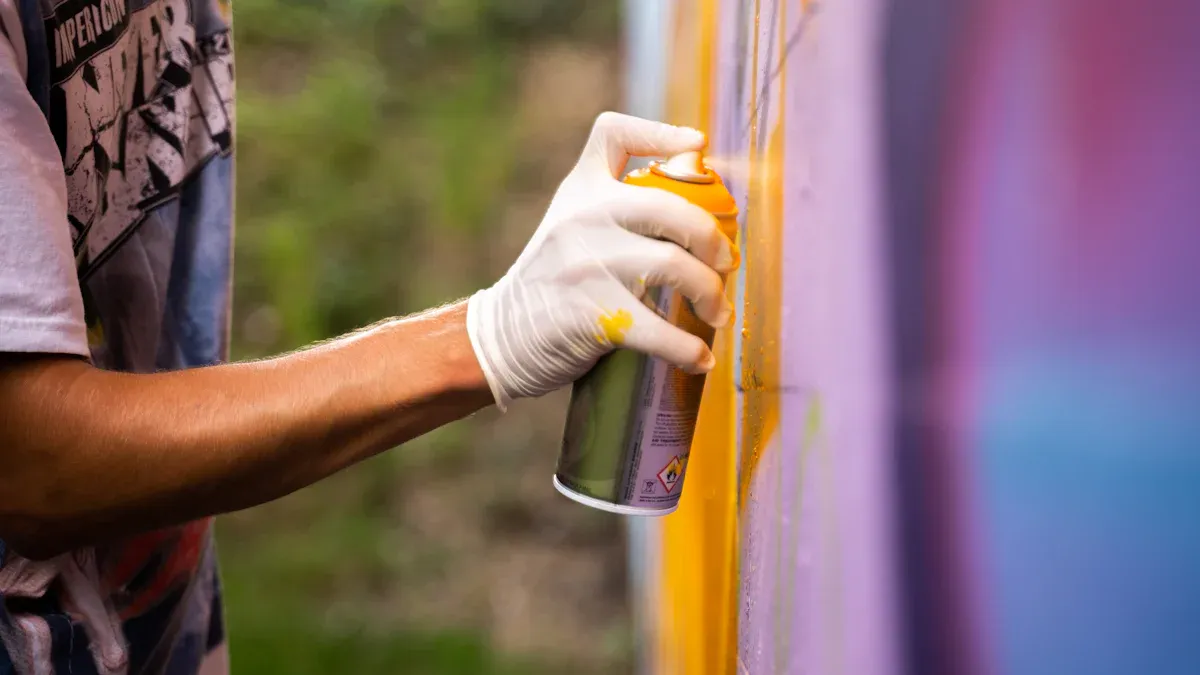
Mastering Spray Application
You want an even, smooth finish. Practice makes perfect!
Hold the can about 6-8 inches from the hardware.
Use smooth, sweeping motions. Move the can steadily back and forth.
Do not aim directly at your work. Start spraying just before the item and stop just after it. This prevents paint buildup.
Apply thin, even coats of paint. Do not try to cover everything in one go.
Shake the can vigorously for 45-60 seconds before you start. Shake it for 5-10 seconds every minute during use.
Preventing Drips and Imperfections
Drips and runs are common spray paint problems. You can avoid them easily. Do not use only one thick coat. This often causes drips and unevenness. Instead, build up multiple light layers of paint. Give each coat enough drying time. Holding the sprayer too close also causes drips. Keep that 6-8 inch distance. Moving the sprayer too slowly also leads to drips and runs. Keep a consistent speed.
Patience Between Coats
Waiting is hard, but it is crucial. Applying the next coat too soon causes problems. It can lead to uneven drying and coverage. Here are typical dry times between coats:
Paint Type | Dry Time (between coats) |
|---|---|
Latex-based | 1-2 hours |
Acrylic | 1-2 hours |
Aerosol | Up to 8 hours |
Oil-based | 6-8 hours |
Concrete | 24 hours |

Crucial Full Cure Time
Drying is not the same as curing. Paint feels dry to the touch quickly. But it needs more time to fully harden and become durable. This is the cure time. For extra durability, you can cure some painted fixtures in an old toaster oven for an hour. This helps the paint bond even stronger.
Common Painting Mistakes to Avoid
Even with the best intentions, you can make mistakes when painting. Knowing these common pitfalls helps you avoid them. You will get a better result for your bathroom accessories.
Skipping Proper Preparation
You might feel tempted to rush the prep work. Don’t do it! Skipping proper preparation steps before painting metal bathroom hardware causes big problems. Your paint may peel, crack, bubble up, and flake. This happens because the paint won’t stick well to the surface. Dirt, dust, or loose paint can cause this. If you do not clean and sand metal surfaces to remove rust, the paint won’t adhere. Not using a good metal primer also leads to a poor quality and short-lived paint job.
Using Incorrect Primer or Paint
Choosing the wrong products can ruin your project. Using incorrect primer or paint types on bathroom metal accessories leads to quick corrosion. You might see flaking or peeling. The metal structure can deteriorate and weaken. This can even compromise structural integrity due to rust pockets. Always pick primers and paints made for metal and bathroom conditions.
Applying Overly Thick Coats
You might think one thick coat of spray paint will save time. It won’t! Applying overly thick coats has many negative effects. It is hard to apply thick paint evenly. This leads to uneven coats, brush marks, or roller streaks. These issues hurt the final appearance. Thicker layers of paint also take much longer to dry. This increases the risk of dust or dirt sticking to the surface. Gravity can cause thick paint to run or sag, especially on vertical surfaces. This results in an unprofessional and uneven finish.
Insufficient Drying Time
Patience is key. Applying a second coat of spray paint before the first has dried enough causes problems. You might see peeling, clumping, and bubbling. This also results in an uneven color. It compromises the appearance. This can lead to costly repairs later. Insufficient drying prevents proper curing. Curing is essential for the paint to reach maximum strength.
Painting in Humid Conditions
The bathroom is humid, but you should not paint in humid conditions. High humidity causes slower drying times. It can also lead to blistering and peeling. You will get poor adhesion. Mildew growth can even happen. Humidity interferes with the paint’s ability to adhere properly. This leads to peeling, flaking, or delamination. You might also see water spots. The paint can remain tacky or gummy. This results in a softer, less durable finish.
You can truly achieve a stunning transformation for your bathroom. Painting old metal accessories gives them a fresh, new look. Remember, proper preparation, choosing the right products to paint bathroom accessories, and patience are key for a lasting finish. This simple diy project offers a huge update. You will love the results. Tackle this diy task. It is one of the best simple diy bathroom ideas. You will feel great about your refreshed space!
FAQ
What kind of paint is best for bathroom accessories?
You need durable paint. Choose performance enamel, epoxy, or specialty metal paint. These paints resist moisture and rust. They create a hard, protective finish. This helps your accessories last longer in the humid bathroom environment.
How long does the paint last on bathroom hardware?
Your paint job can last for years. Proper preparation is key. Use the right primer and paint. Allow full cure time. This ensures maximum durability. Skipping steps shortens the paint’s life.
Can you paint plastic bathroom accessories?
Yes, you can paint plastic accessories. You need a special primer for plastic. Then, you can use the same durable paints. Always clean and lightly sand the plastic first. This helps the primer stick well.
What if you get drips or runs when painting?
Don’t worry if you get drips. You can fix them. Let the paint dry completely. Then, lightly sand the drip smooth. You can then reapply a thin coat of paint. This helps you achieve a flawless finish.

