
Dreaming of a fresh bathroom look but dreading a full bathroom remodel? You don’t need to tear everything out! Painting a faucet offers a surprisingly simple and impactful diy solution. This cost-effective and customizable approach delivers an amazing diy faucet transformation. You can quickly update your space without breaking the bank. This guide will show you how to paint a faucet step-by-step, ensuring you can confidently paint your faucet for a professional, lasting finish.
DIY Faucet Transformation: Is It Durable?
You might wonder if a painted faucet can truly last. It’s a fair question! With the right preparation and materials, your diy painted faucet can withstand daily use. You can enjoy its fresh look for years.
Faucet Painting Longevity
The durability of your painted faucet depends on several factors. Think about the quality of your paint and primer. Proper surface preparation also plays a huge role. A well-prepped faucet with high-quality, durable paint can resist chipping and fading. It will look great for a long time. You need to follow all steps carefully for the best results.
Assessing Your Faucet’s Condition
Before you grab your paintbrush, take a good look at your existing faucet. Is it mostly cosmetic wear? Are there just some scratches or a dull finish? Then painting is a perfect solution. However, check for deeper issues. Does your faucet leak? Is there significant rust or corrosion? These problems might mean painting isn’t enough. You should address them first.
When to Consider Replacement
Sometimes, painting isn’t the best option. If your faucet has severe leaks, deep pitting, or structural damage, you should consider a full replacement. Painting won’t fix these functional problems. Also, if you’re planning a major bathroom remodel, you might want to upgrade your fixtures entirely. A new faucet could offer better water efficiency or a different style. This decision depends on your budget and the faucet’s overall health.
Essential Supplies for Your Painted Faucet
You need the right supplies to make your faucet transformation a success. Gathering everything beforehand makes the process smooth. You will work efficiently and get great results.
Tools for Disassembly and Prep
You need specific tools to safely take apart your faucet. These tools also help prepare it for painting.
Water Shut-Off Wrenches: Use these to turn off the water supply. This stops water flow to your faucet. They also prevent overtightening and damage.
Faucet & Sink Combination Tools: These are very versatile. You can use them under the sink. They help with installing, removing, and adjusting faucets. They also work for supply lines and valves.
Faucet Handle Pullers: Sometimes faucet handles get stuck. These pullers help you remove stubborn handles. They have adjustable arms for various handle sizes.
Faucet Wrenches: These wrenches grip and turn locknuts. They fit around supply lines. You can remove or install different nuts with them.
Basin Wrenches (Sink Wrenches): These have a long body and a pivoting head. This helps you reach nuts under the sink. You can loosen or tighten mounting nuts for faucets and water supply lines.
Choosing Paint and Primer
Selecting the right paint and primer is crucial. This ensures your painted faucet lasts. You want good adhesion and durability.
Primer: Start with a good primer. Metal etching primer is excellent for adhesion. It helps the paint stick to metal surfaces. Water-based primers work well on non-ferrous metals. Many faucets are brass or stainless steel. Bonding primers are also great for smooth surfaces like stainless steel.
Paint: Choose a durable paint. Performance enamel or acrylic paint are good choices. These paints stand up to moisture and wear. You can pick any color. Maybe you want a sleek matte black finish. This can give your bathroom a modern look. This DIY project to paint a faucet is much easier than a full bathroom remodel.
Protective Gear and Cleanup
Safety first! Protect yourself and your workspace.
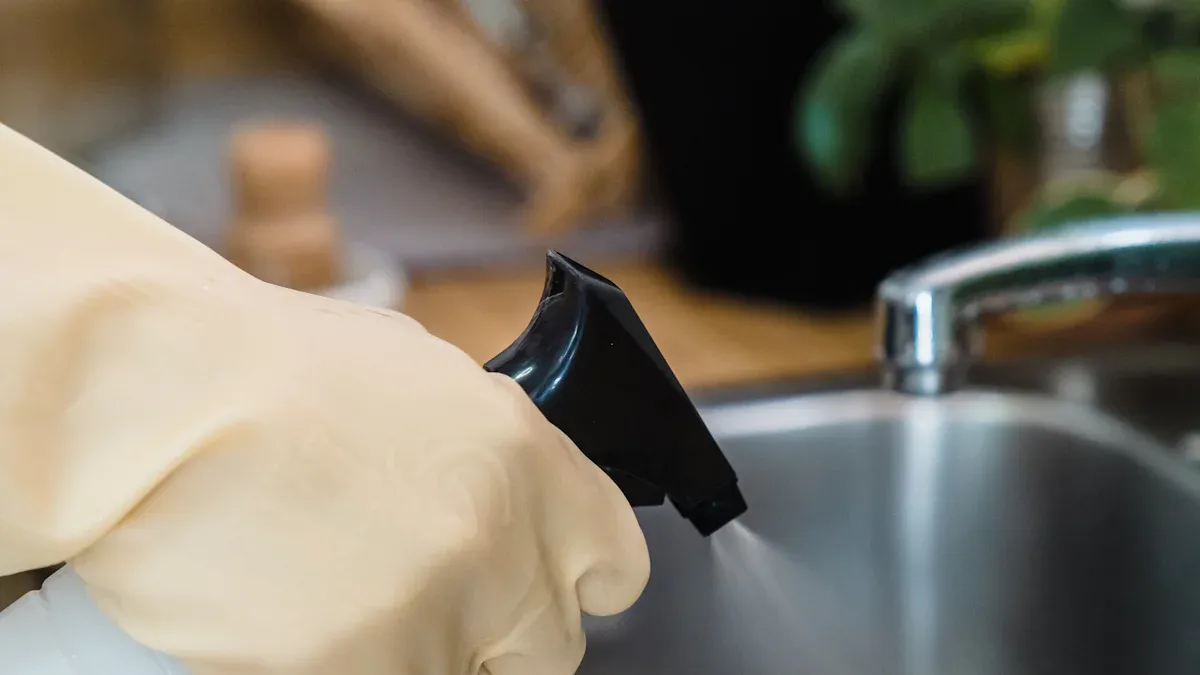
Protective Gear: Wear safety glasses. Use gloves to keep paint off your hands. A respirator or mask is important. It protects you from paint fumes.
Cleanup Supplies: Keep rags handy. Have paint thinner or cleaner ready. This helps with any spills or drips. It also cleans your tools.
Easy Painted Faucet Tutorial: Step-by-Step
Ready to transform your bathroom? This easy painted faucet tutorial walks you through the process. You will achieve a professional-looking finish. Follow these five easy steps for a successful diy faucet transformation.
Preparation is Key: Clean, Sand, and Tape
Proper preparation is the most important step. It ensures your paint sticks well and lasts a long time. You need to clean, sand, and tape your faucet carefully.
First, you must clean and degrease the faucet surface thoroughly. You can use products like Heirloom Traditions Deglosser/Degreaser or Heirloom Traditions Surface Prep. These are excellent degreasers.
To clean your faucet:
Apply the degreaser/deglosser to all faucet surfaces using a sponge.
Let the product sit for a little over a minute.
Scrub the surfaces with the scrubby side of the sponge.
Dry the surfaces with a soft cloth after scrubbing.
Next, you need to sand the faucet. Sanding removes grime and creates a surface the primer can grip. You want to create a slightly rough texture.
Here’s how to sand your faucet for the best results:
Start with 80-grit sandpaper. This removes any rust, scale, or old paint residue.
Move to 120-grit sandpaper. This levels the surface and smooths out deeper scratches.
Finish with 220-grit sandpaper. This gives you a smooth, primer-ready finish.
Remember, priming over 80-grit scratches is not a good idea. The primer might not hide them completely. Finishing with 220-grit balances smoothness with good adhesion for your primer. For an even finer finish, you can use 320 to 400-grit sandpaper. This is great for flattening the surface before priming. After sanding, clean the surface again. Vacuum any dust, then wipe it down with a solvent.
Finally, tape off any areas you do not want to paint. Use painter’s tape around handles, drains, or any parts you want to keep unpainted. This gives you clean, sharp lines.
Applying Primer for Adhesion
Now that your faucet is clean and sanded, it is time for primer. Primer is like a sticky base coat. It helps your paint bond strongly to the metal. You need a good primer for a durable painted faucet.
Metal etching primer is a great choice for adhesion. It helps the paint stick to metal surfaces. Water-based primers work well on non-ferrous metals, like brass or stainless steel, which many faucets are made from. Bonding primers also work wonders on smooth surfaces.
Apply the primer in thin, even coats. Avoid applying too much at once. This can cause drips. Follow the product instructions for drying times.
Primer drying times can vary:
Water-based primers usually dry to the touch in 30 minutes to an hour. They fully cure in about three to four hours.
Oil-based primers need one to three hours to dry to the touch. Full curing can take up to 24 hours.
Shellac-based primers typically dry within 30 minutes to an hour.
Environmental conditions also play a big role. Higher temperatures and lower humidity help primer dry faster. Cooler temperatures and high humidity slow it down. Good ventilation also speeds up drying.
How do you know if your primer is dry enough?
Touch test: Lightly press with your fingertip. If it feels tacky or cool, it needs more time.
Scratch test: Gently run a fingernail over the surface. If it leaves a mark or feels soft, it is not fully dry.
Tape test: Place and peel off masking tape. If primer comes off, it needs more drying time.
The Art of Painting: Multiple Thin Coats
Once your primer is completely dry, you can start painting! This is where your faucet truly transforms. The key here is multiple thin coats, not one thick one.
You should apply 2 to 3 coats of acrylic paint. Acrylic paint is durable and stands up well to moisture.
To prevent drips and uneven coats:
Shake your spray can well before you start. This ensures smooth paint flow.
Hold the can at a safe distance from the faucet. An angle helps distribute the paint evenly.
Use consistent sweeping motions. This creates thin, even layers.
Work in a clean area with minimal dust.
Apply thin layers of paint. This is crucial for a smooth finish.
Allow ample drying time between each coat. This prevents the paint from becoming gummy or uneven.
Test the nozzle and paint on a scrap piece first. This helps you get a feel for the spray.
Avoid overloading your brush or roller if you are not using spray paint. Dip brushes only a third of the way. Tap off any excess. Roll off surplus paint from rollers using a paint tray. Maintain a consistent painting speed. Do not move too quickly or too slowly.
Applying a Durable Topcoat
You are almost done! After your final paint coat is completely dry, you need to apply a durable topcoat. This step protects your beautiful new finish. It adds an extra layer of durability against water, scratches, and daily wear.
Use a water-based polyurethane for your topcoat. Apply it in thin, even coats, just like your paint. This clear coat will seal and protect your painted faucet. It also helps maintain its shine. Follow the product instructions for drying times between coats and for full curing. This final layer is essential for the longevity of your painted faucet tutorial project.
Curing and Finishing for Lasting Durability
You have painted your faucet. Now, you need to ensure it lasts. Proper curing and finishing steps are crucial. They protect your hard work.
Drying and Curing Times
Drying and curing are different. Drying means the paint feels dry to the touch. Curing means the paint has fully hardened. It reaches its maximum durability. This process takes longer. Always follow the manufacturer’s instructions for your specific paint.
You can speed up curing. Use a box fan to move air around the painted faucet. Do not place it where air can cause ripples or blow dust. A warm, sunny environment helps. Think of a greenhouse effect. Some people even bake spray-painted fixtures. You can use an old toaster oven for an hour. Set it to a low temperature, like 100-120°F. This increases durability. Avoid thinning your paint. Thicker paint often cures better.
Reassembly and Final Touches
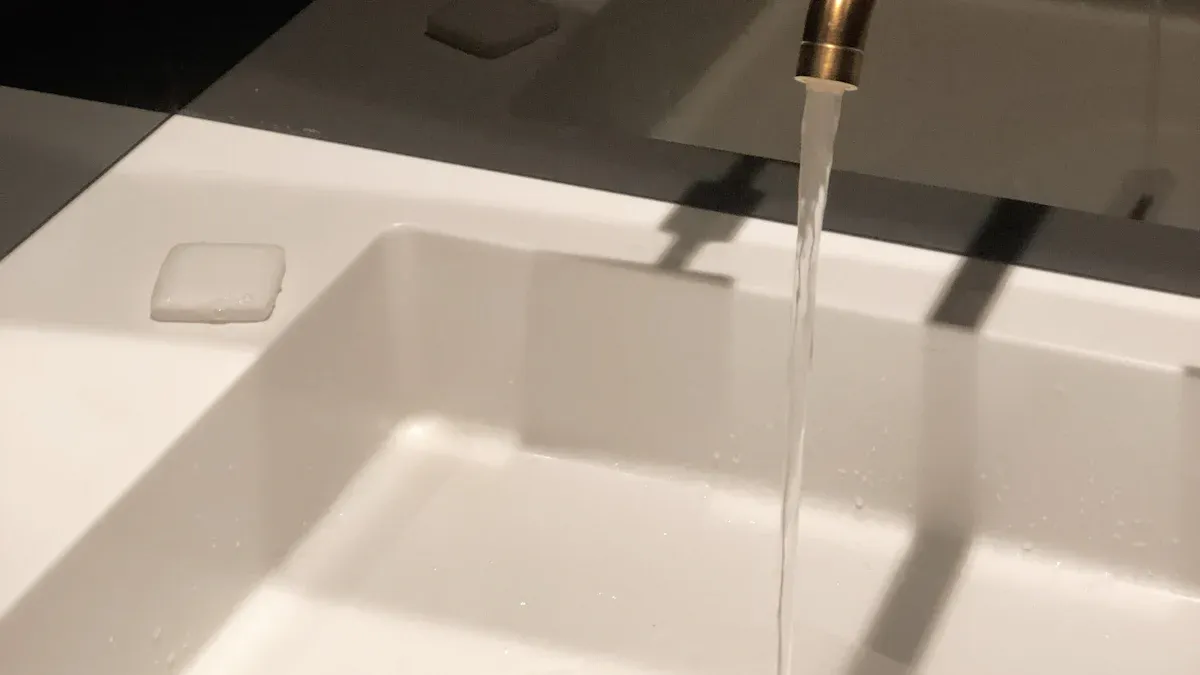
Your faucet is fully cured. Now you can reassemble it. Carefully remove all painter’s tape. Take your time. Reattach the handles and any other parts you removed. Connect the water lines. Turn on the water slowly. Check for leaks. Wipe down your newly painted faucet. Admire your work! This completes your painted faucet tutorial.
Maintaining Your Painted Faucet
You want your beautiful new finish to last. Proper cleaning is key. Use mild liquid dishwashing soap and water. A damp cloth works well. You can also use a 50/50 solution of water and white vinegar. This helps with water spots. Rinse thoroughly after cleaning. Dry your faucet with a soft cloth. This prevents hard water spots.
Do not use harsh cleansers. Avoid lime scale removers. Abrasive pads or sponges can scratch the finish. Do not soak your faucet in vinegar. For extra protection, apply a quality non-abrasive wax. Car wax or furniture wax works. Test it on a hidden spot first. This simple care keeps your paint a faucet project looking great.
Troubleshooting Faucet Painting Issues
Even with careful planning, sometimes things do not go perfectly. Do not worry! You can fix most common painting problems. Here is how you can handle them.
Dealing with Drips and Uneven Coats
You might see drips or uneven paint. The best way to fix drips is to catch them right away. If the paint is still wet, you can smooth out any heavy or drooping paint with a paintbrush. This prevents them from drying.
If drips dry, you can still fix them.
You need a razor-sharp tool.
Carefully scrape the drip flat. Work slowly. Keep the scraper flush with the surface. This avoids gouging.
After scraping, sand the area. This makes it smooth and flat.
Apply one or two new coats of paint. This blends the area with the rest of the faucet.
You can use several tools for dried paint drips:
Utility Knife
Razor Blades
Glass Scraper
6-in-1 Painter’s Tool
Uneven coats often happen from applying too much paint at once. You can lightly sand the bumpy areas. Then, apply another thin coat.
Addressing Peeling or Chipping
Peeling or chipping usually means the paint did not stick well. This often happens if you skipped proper cleaning or sanding. The surface was not ready for the primer.
To fix this, you need to sand down the chipped area. Make sure you remove all loose paint. Clean the spot well. Then, re-prime the area. Finally, apply new coats of paint. Remember, good prep prevents this problem.
What to Do About Rough Textures
Sometimes, your painted faucet feels rough. This can happen from dust settling on wet paint. It can also be from not sanding enough between coats.
You can fix a rough texture. Lightly sand the rough spots with fine-grit sandpaper. Use 220-grit or higher. Then, wipe away any dust. Apply another thin coat of paint. This smooths out the surface. Always work in a clean, dust-free area to prevent this issue.
You just learned how easy it is to paint a faucet! This simple diy project offers a huge transformation without a full bathroom remodel. Remember, proper preparation, choosing the right materials, and a little patience are your keys to success. Why not give it a try? Share your amazing faucet makeover stories with us!
FAQ
What kind of paint works best for painting a faucet?
You should use a metal etching primer first. Then, apply a durable performance enamel or acrylic paint. These types of paint stand up well to moisture and daily use. They give you a long-lasting finish.
How long will my painted faucet last?
A properly prepped and painted faucet can last for several years. Good surface preparation and high-quality paint are key. Regular, gentle cleaning also helps extend its life. Avoid harsh chemicals.
Do I need to remove the faucet from the sink to paint it?
Yes, you should remove the faucet. This lets you clean, sand, and paint all surfaces evenly. You get a much better finish. It also protects your sink from paint drips.
Can I paint a plastic faucet?
You can paint plastic faucets. You need a primer specifically for plastic. Then, use an acrylic or enamel paint. Make sure the paint adheres well to plastic for the best results.
What if I want to change the color later?
You can absolutely repaint your faucet. Just follow the same steps. Lightly sand the old paint, clean it, prime it, and then apply your new color. This lets you update your look without a full bathroom remodel.

