
Is clutter taking over your home? You want smart storage solutions, but buying new can be expensive and not so kind to the planet. Consider this: paper and cardboard make up about a quarter of our municipal solid waste. That’s a lot of material we can repurpose! This guide shows you how to repurpose cardboard boxes into beautiful, functional storage. You can easily turn a simple cardboard box into a stylish diy storage boxes project. Unleash your creativity and give those boxes a new life with your unique style!
Why DIY Cardboard Storage
Environmental Benefits
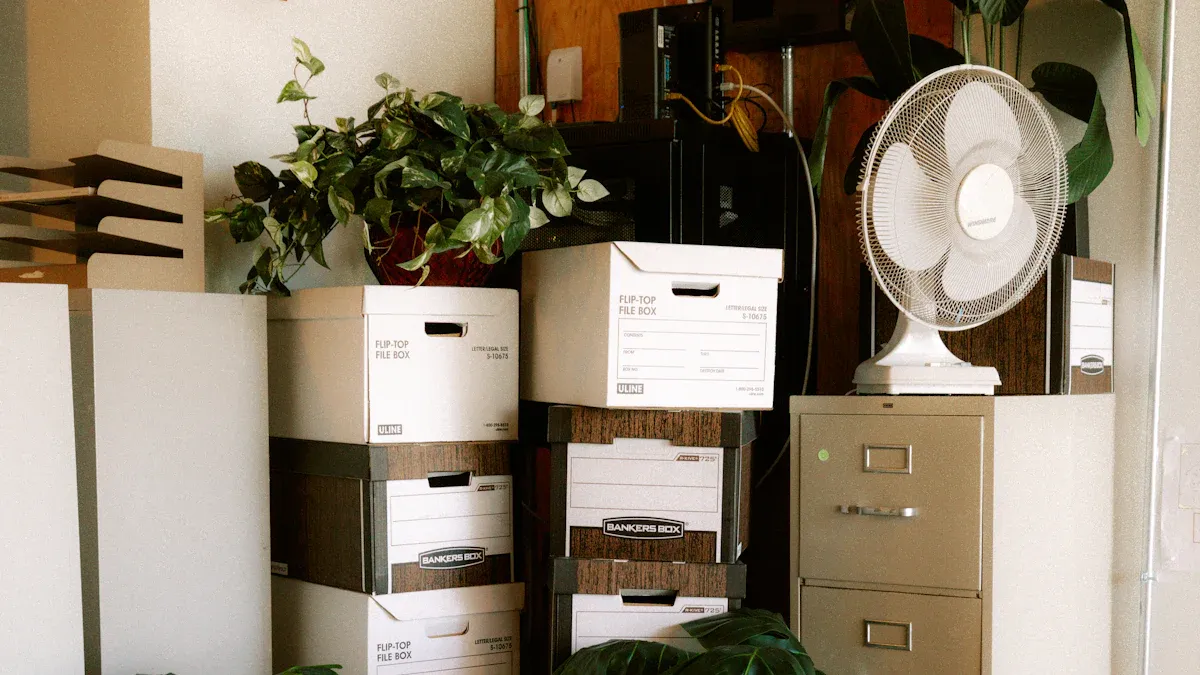
You probably have old cardboard boxes. Many of these boxes end up in landfills. This creates a big problem for our planet. In the UK, families throw away thousands of pieces of cardboard each year. A lot of this waste does not get recycled. It pollutes our water and air. When cardboard breaks down in landfills, it makes methane gas. Methane is very bad for our climate. It causes air pollution. Some cardboard, like wax-coated or laminated types, cannot be recycled. These also release methane or take hundreds of years to break down. In the United States, over half of paper and cardboard waste goes to landfills annually. This is a lost chance to reuse valuable materials. By repurposing your old cardboard, you help reduce this waste. You make a positive impact on the environment.
Cost-Effective Organization
Buying new storage containers can get expensive. You already have the main material for free: old cardboard boxes! This makes for truly budget-friendly diy storage. You save money on expensive bins and shelves. You also get to create something useful. You can make stylish solutions without spending much. Think about all the money you save. You can use that money for other things. This is a smart way to manage your home and your wallet. You get practical storage without the high cost.
Customization Potential
Store-bought items often look the same. They might not fit your style or your space. When you make your own, you get to choose everything. You pick the colors, patterns, and sizes. You can match your home decor perfectly. Do you need a box for craft supplies? Or a special spot for mail? You can design it. This leads to much better organization. Your personalized boxes will look great. They will also help you keep things tidy. You get to express your creativity.
Essential Materials for DIY Storage Boxes
Ready to transform those old containers? You need the right tools and materials. Gathering everything before you start makes your DIY project much smoother. Here is what you will need to create your own stylish storage.
Choosing Your Cardboard Box
The foundation of your project is the cardboard box itself. You want to pick the right one. Think about the size and strength you need. Thinner cardboard is easy to cut. However, you might need to stack it for more strength. Thicker cardboard works better for parts that need to hold weight. This includes things like pillars or walls.
Look at the direction of the corrugation. These are the wavy lines inside the cardboard. Cutting pieces across these lines helps the corrugation run vertically. This gives your box better standing and stacking strength. It is great for legs or walls. For even more strength, stack multiple pieces of cardboard. Make sure their corrugation runs in different directions. This is like how plywood is made. It makes your box stronger and stops it from bending. Corrugated cardboard is a great choice. It is cheap, easy to find, and very strong. This makes it perfect for your diy storage boxes project.
Adhesives and Tools
You need good ways to stick things together. You also need tools to cut and measure.
Adhesives:
Glue Guns: These are fast and strong. They work well for attaching fabric or paper.
Spray Adhesive: This gives a smooth, even coat. It is great for larger surfaces.
Craft Glue: A good all-purpose glue for many materials.
Cutting Tools:
Utility Knife: This is essential for clean cuts. Always use the safest knife for your material. For single-wall corrugated, a CB100 knife works well. For triple-wall, try an AS100.
Scissors: Good for fabric and paper.
Ruler: You need this for straight lines and accurate measurements.
Safety First! Always use a safe cutting position. Stand away from the box. Never hold it against your body. Make sure no one is near you. Use knives with blades that retract. This prevents accidents. Only expose enough blade to cut your material. Replace blades when they get dull. Dull blades make you push harder. This can cause injuries. Dispose of old blades safely in a sharps box.
Decorative Supplies
This is where you make your storage beautiful!
Fabric: Choose patterns and colors that match your home.
Decorative Paper: Scrapbook paper or wallpaper samples work great.
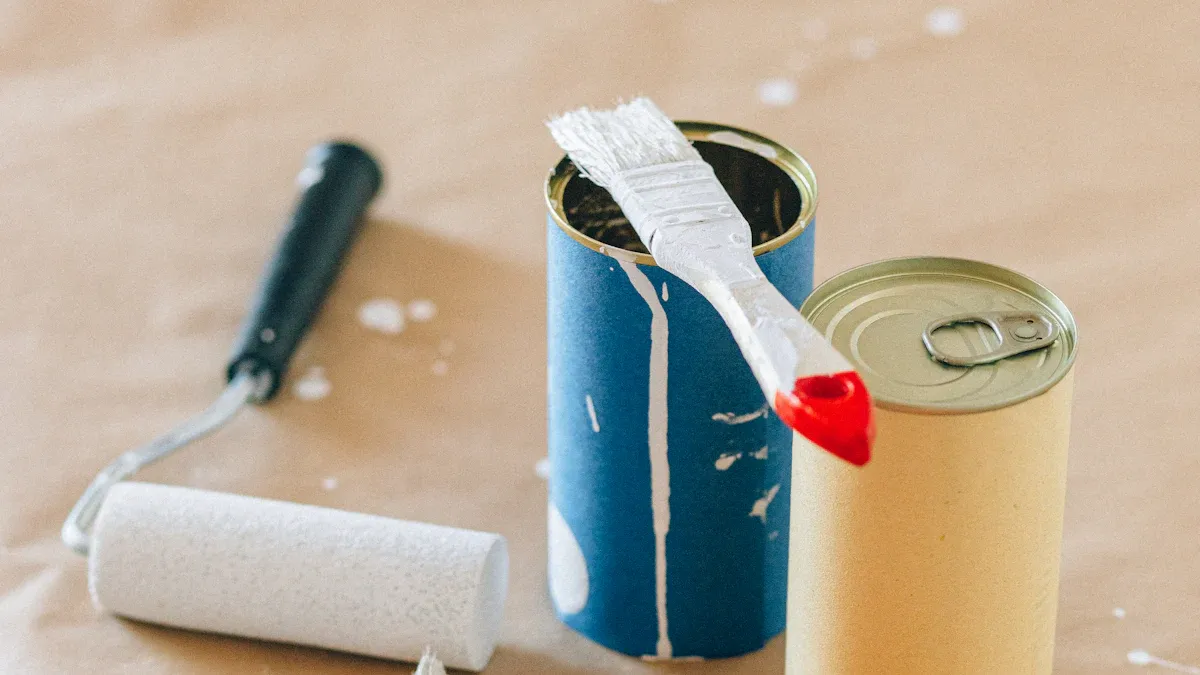
Paint: Acrylic or spray paint can give your box a fresh look.
Rope: Use it for handles or to wrap around the box for a rustic feel.
Contact Paper: This is a sticky-backed paper. It comes in many designs.
Washi Tape: Great for adding small decorative touches.
Embellishments: Think silver embellishments, buttons, or ribbons. These add a personal touch.
Step-by-Step Transformation Techniques
Ready to turn that plain old cardboard box into something amazing? This section gives you a simple tutorial for transforming your boxes. You will learn how to prepare your materials, cover them beautifully, and add useful features.
Preparing Your Cardboard
Before you start decorating, you need to get your cardboard ready. A clean, strong foundation makes all the difference for your diy storage boxes.
First, clean your box.
Dry Cleaning: Start by wiping away any loose dirt or dust with a dry cloth or brush. This is usually the best way to keep the cardboard strong.
Light Cleaning: If you need more, mix some dish soap with lukewarm water. Use only the bubbles from this mix. Gently dab the bubbles onto the surface. Then, wipe it clean with an absorbent cloth.
Stain Removal: For tougher spots, lightly spray a mix of baking soda and white vinegar. Blot it with a cloth.
Odor and Mold Control: A spray of water and vinegar can help with smells and mold. You can also put a small bowl of baking soda inside the box for a few days to soak up odors.
Laminated Boxes: If your box is shiny or laminated, use a little orange oil on a cloth.
Sanitization: Lightly spray with disinfectant or diluted white vinegar to kill germs. Letting your box sit in direct sunlight for a few days also helps prevent mold and makes sure it is dry.
What to Avoid: Never use alcohol-based cleaners. They can damage the ink and harm older waxed boxes.
Next, reinforce your cardboard. If your box feels a bit flimsy, you can add extra layers of cardboard to the inside walls or bottom with strong glue. This makes your finished storage much sturdier.
Covering and Decorating
Now for the fun part: making your box look fantastic! You have many options here.
Fabric Covering
Fabric gives your box a soft, elegant look. Here is one way to do it:
Cut Your Fabric: Cut one large piece of fabric for the front, bottom, and back of your box. Make it longer and wider than you need (add about 2-3 inches to the length and 1 inch to the width). Cut two smaller pieces for the sides, also adding extra length and width.
Prepare Edges: Fold over about half an inch on each side of your front/bottom/back fabric piece. Press it flat.
Attach Sides: Spray glue onto the side fabric pieces. Carefully wrap the extra fabric around the sides of your box and glue them down. You can use fabric glue for extra hold. Cut the corners on the bottom so they lay flat.
Attach Main Piece: Spray glue onto your large front/bottom/back fabric piece. Center it on the box. Smooth it out, then wrap the edges inside the box.
Secure Edges: Use a stronger glue on the edges for extra durability.
Finish Inside: Cover any unfinished inside edges with ribbon. This gives it a polished look.
For the inside, you can use Mod Podge:
Prepare Fabric: Flip your fabric for the inside so the wrong side faces up.
Glue Bottom: Flip your box over. Paint a layer of Mod Podge only on the center (bottom) section of the inside.
Attach Bottom Fabric: Quickly flip the box onto the fabric. Smooth it out with your hands or a tool.
Notch Corners: Cut diagonal lines at the corners of the fabric to meet the box corners.
Glue Sides: Flip one side of the box up. Apply Mod Podge. Gently lay the fabric flap onto it. Paint a little Mod Podge around the interior edges. Smooth the fabric against the cardboard and pull it up and over onto the interior.
Hold Corners: Use clothespins to hold the corners while the Mod Podge dries.
Repeat and Dry: Do this for all sides. Let it dry for 20-30 minutes.
Final Inside Piece: Remove clothespins. Paint a thin layer of Mod Podge on the center (bottom) cardboard. Place your interior fabric piece (wrong-side-down) on this part, matching corners. Smooth it out.
Decorative Paper or Contact Paper
This is a quick way to add color and pattern. Measure your box sides. Cut your paper to size, adding a little extra to wrap around the edges. Apply craft glue or use self-adhesive contact paper. Smooth out any bubbles as you go.
Painting
Painting gives your box a clean, custom finish.
Seal the Cardboard: Apply two to three layers of shellac sealant to both sides of the cardboard. Let each layer dry completely. This protects your paint from the natural acids in the cardboard. It also stops paint from soaking in.
Prime with Gesso: Once the sealant is dry, prime the cardboard with gesso. Gesso is a mix of chalk, binder, and pigment. It creates a surface where paint sticks well. Use at least two coats for acrylic paints. Use at least four coats for oil paints. Lightly sand between coats. Apply strokes in different directions.
Prevent Warping: Cardboard can warp, especially larger pieces. To stop this, you can attach a brace to the back. For smaller panels, glue two layers of cardboard together. Make sure their wavy lines (corrugations) run in opposite directions. When drying glued panels, stack them with waxed paper in between. Place heavy weights on top to keep them flat.
Adding Functional Elements
Make your storage even more useful by adding lids, dividers, and handles.
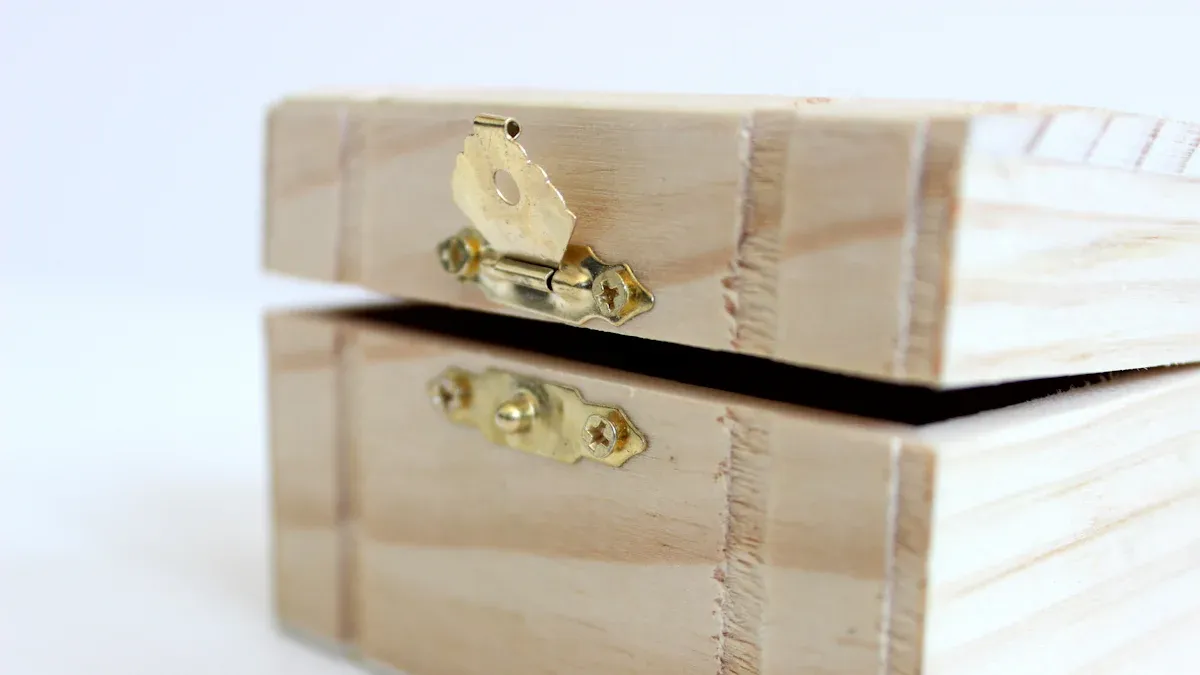
Adding Lids
A lid keeps contents hidden and dust-free.
Measure for Lid: Lay your box on a large piece of cardboard (this will be your lid). Draw a line around the bottom of your box onto the lid piece.
Create Lid Flaps: Measure about 1.5 to 2 inches outside this line. Draw a second, outer line. Draw a line in each corner from the inner line to the outer line.
Cut and Score: Cut off the extra cardboard up to the outer line. Score the cardboard from edge to edge, just outside the inner line. Use a ruler and a scoring tool or the edge of a Phillips screwdriver.
Fold and Attach: Fold the cardboard along your score lines. To attach the corners, use a glue gun or tape. For glue, fold one corner flap in, apply glue, then fold the other flap on top. For tape, fold one flap in, then the other over it, and secure with tape.
Creating Dividers
Dividers help organize small items.
Simple Interlocking Dividers: Measure the inside height, width, and depth of your box. Cut two pieces of cardboard: one with the height and depth, and another with the height and width. Mark the middle of each piece. Cut a line halfway through its length. Interlock the two pieces to form a cross-shaped divider. You can decorate these pieces with wrapping paper before you put them together.
Repurpose Wine Boxes: Wine boxes often come with built-in dividers. These are perfect for storing spray paint cans or other spray products.
Adding Handles
Handles make your box easy to move. You can cut holes in the sides and reinforce them with grommets. Or, attach rope handles by poking holes and tying knots inside.
Finishing Touches
Labels help you know what is inside. You can print them, write them by hand, or use a label maker. Add decorative trims like ribbon or braid around the edges. Small hardware, like decorative tacks, can also add a nice touch.
Creative DIY Storage Box Ideas
You have learned the basics. Now, let’s explore some amazing inspiration for your next diy project. These ideas will help you create beautiful and functional storage. You can match your home’s style perfectly.
Fabric and Paper Designs
Fabric-covered bins are great for many things. You can use them for linens, toys, or craft supplies. They add a soft touch to any room. For desk supplies or mail, decorative paper organizers work well. You can use different types of paper. Handmade paper gives a unique feel. Flat wrap offers sleek designs. Scrapbook paper lets you choose from many patterns. You can even use die-cut paper shapes for extra flair. These boxes make your desk look tidy and stylish.
Painted and Textured Looks
Painting your box gives it a fresh, custom look. For a minimalist aesthetic, choose simple colors. This approach emphasizes a clean, uncluttered appearance. It conveys a premium feel. Minimalist box design celebrates simplicity, clarity, and elegance. This design philosophy helps your storage stand out. It looks sophisticated and high quality. It has a timeless charm.
You can also add texture. First, brush a light layer of Gesso over the box. Let some cardboard show through for a grungy effect. Then, add texture with wall putty or a DIY paste. You can mix Plaster of Paris with Gesso for a homemade paste. Spread it unevenly for a stucco-like effect. Let it dry completely. Next, brush on dark paint like black or burnt umber. Spritz it with water. Use a wet wipe to lift the top layer. This makes the dark paint settle into crevices. It makes the texture pop. You can also collage vintage book pages onto parts of the textured surface. Use a glue stick or gel medium. Finally, dry brush Gesso with a palette knife. This adds lightness and softens dark areas. You can also add scribbled pencil marks for a personal, handmade feel.
Specialized Organizers
Think beyond basic bins. You can make lidded boxes with labels for your pantry or closet. This helps with organization. You always know what is inside.
Consider creating flexible shoe racks. You cut cardboard pieces to specific dimensions. Then, you bend them at designated points. This forms cubby structures. You can use plastic corner guards and adhesive tape to join the pieces. This DIY cardboard shoe organizer is quick to build. It has surprisingly sturdy cubbies. You can customize its size and stackability. It offers an effective storage solution for shoes. It also promotes recycling. These creative diy projects turn waste into wonderful home solutions.
Durability Tips for DIY Cardboard Storage
You put effort into making your custom storage. Now, you want it to last! Here are some tips to make your repurposed items strong and durable.
Reinforcing Weak Spots
Your cardboard boxes can become much stronger. You can add extra support where they need it most. First, apply strong tape, like duct tape, along edges and corners. Do this both inside and outside. This helps areas that get a lot of pressure. You can also coat the cardboard with a thin layer of paper glue, resin, or epoxy. Use a paintbrush for this. Multiple coats make the box water-resistant and stronger. They also help prevent tearing. For better support, add an extra layer of cardboard to the top and bottom. This helps distribute weight evenly. It also reduces the risk of flaps opening. You can also slide cardboard strips into corners. This prevents collapse and helps with stacking. If you have loose joints, re-glue them. Make sure bottom flaps have extra adhesive for a strong base. For maximum strength, try the double-box method. Place one box inside another of the same size. This doubles the wall thickness. It greatly increases strength and load capacity.
Protecting Surfaces
Moisture can damage your beautiful storage. You can protect your cardboard surfaces. Many options create a barrier against water. Clear acrylic sealer works well. Apply it in multiple coats to waterproof the cardboard. Polyurethane is another effective choice. You can spray it or brush it on. Acrylic paint also helps. It makes the box waterproof and looks good. For a simple solution, mix PVA glue with water. Apply this diluted mixture in several coats. It makes the cardboard water-resistant. A polyethylene (PE) coating adds a layer of plastic. This makes your box waterproof and great for humid places. You can also use fiberglass resins. They create a hard, long-lasting, and moisture-resistant surface.
Care and Maintenance
Even your best diy storage boxes need a little care. This keeps them looking great. First, empty your box completely. Remove any debris or fillers. Then, check for stains or smells. This helps you choose the best cleaning method. For light dirt, use a clean, dry cloth or brush. If needed, dampen the cloth slightly. Make sure the box dries fully. If you have smells, spray a half-water, half-vinegar solution. Let it dry in the sun. For persistent smells, place baking soda inside for a few days. For light stains, mix vinegar and baking soda in a spray bottle. Fill it with warm water. Spray the stain and blot it with an absorbent cloth. Pat it dry and air-dry completely. Remember, cleaning is best for light issues. Heavy stains or mold are often not worth the effort. Sometimes, it is better to start a new diy project.
You now see the power of repurposing! Transforming a simple cardboard box offers sustainability, saves money, and lets you add your unique style. Start your own home diy projects today. You will feel great creating something beautiful and functional. Remember to pick good materials, use smart techniques, and make your box durable. Turn that old boxes into amazing storage solutions!
FAQ
What kind of cardboard box should I choose?
You should pick a sturdy box. Look for corrugated cardboard. Thicker boxes work best for heavy items. Make sure the box is clean and dry. Its size should fit your storage needs.
What can I do to make my DIY box stronger?
You can reinforce weak spots. Add extra layers of cardboard inside. Use strong tape on edges and corners. The double-box method also works well. Just place one box inside another.
What if my finished box gets wet?
You can protect your box from moisture. Apply a clear acrylic sealer. Polyurethane spray also works. Even diluted PVA glue can help. These coatings create a water-resistant barrier.
What are some simple ways to add handles?
You can cut holes in the sides. Then, reinforce them with grommets. Or, use rope handles. Just poke holes and tie knots inside. This makes your box easy to move around.

